M1 mini Operation
Home Screen
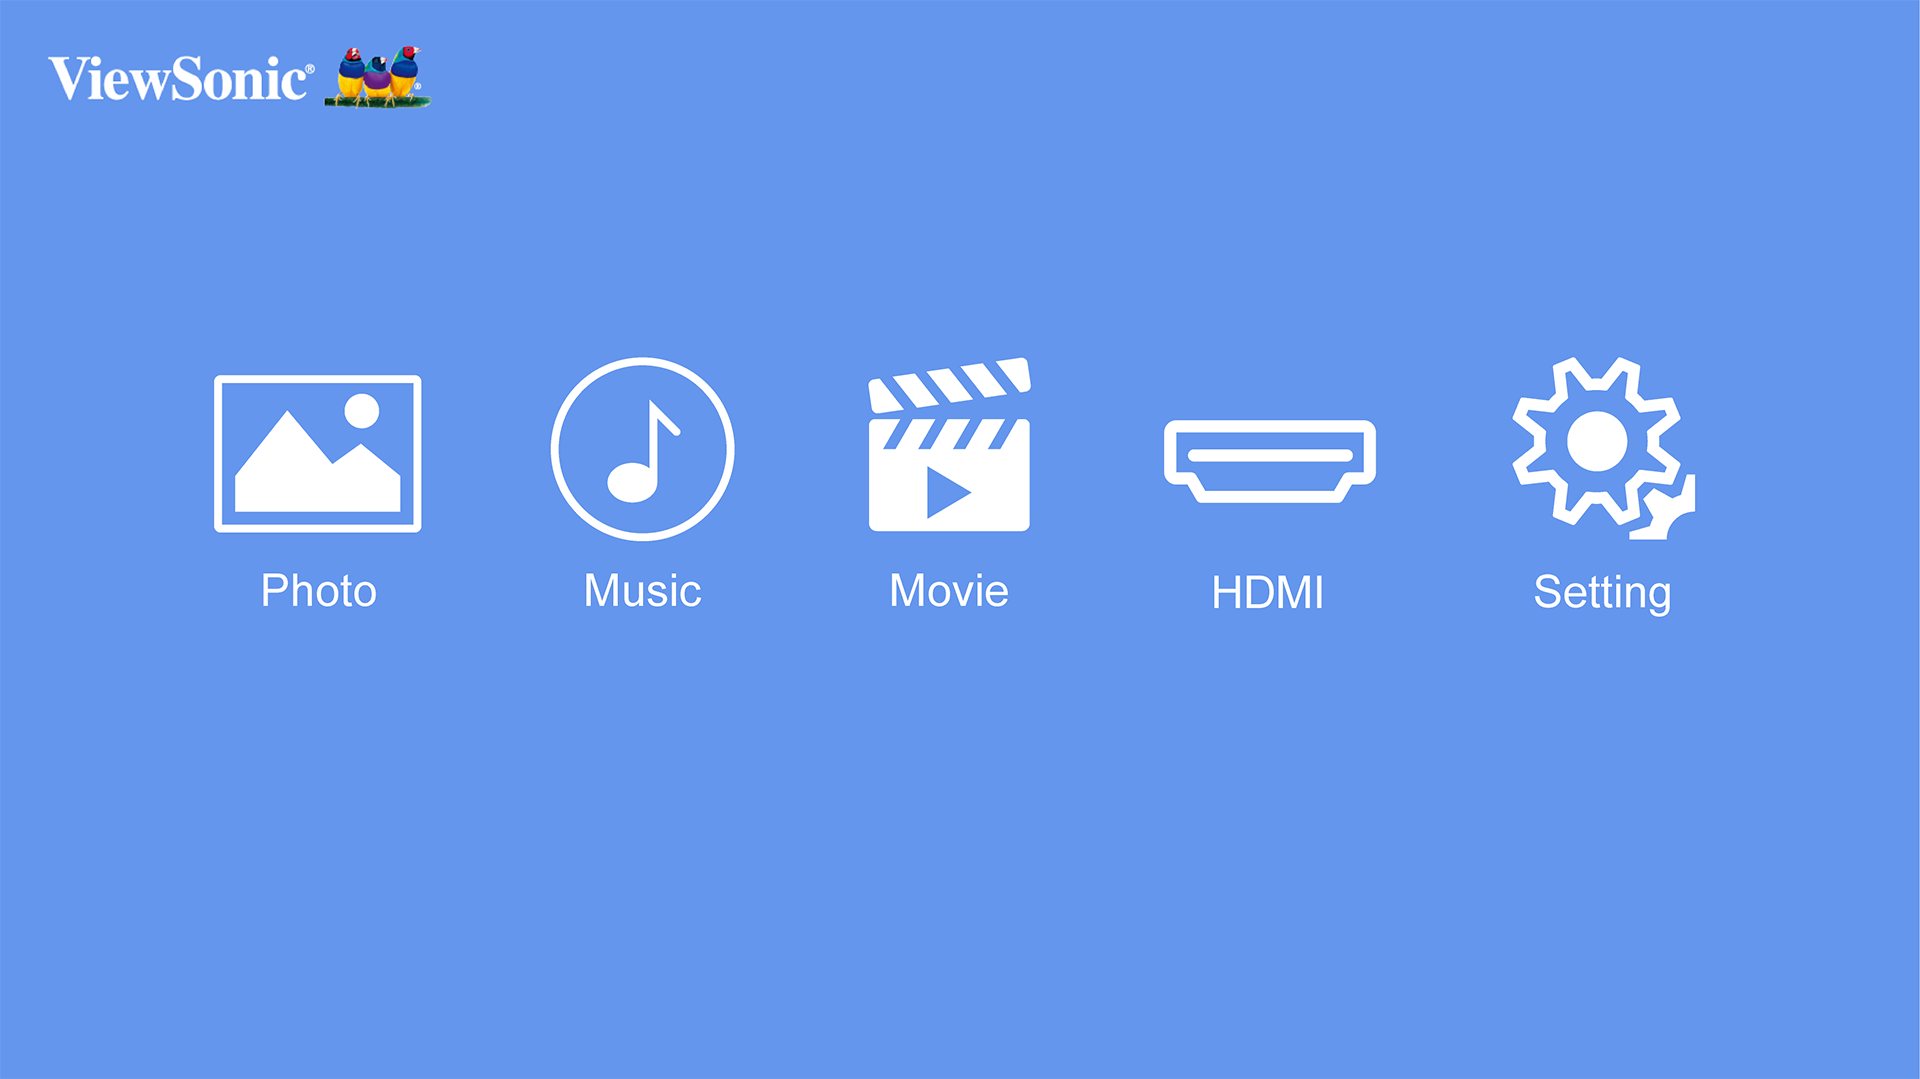
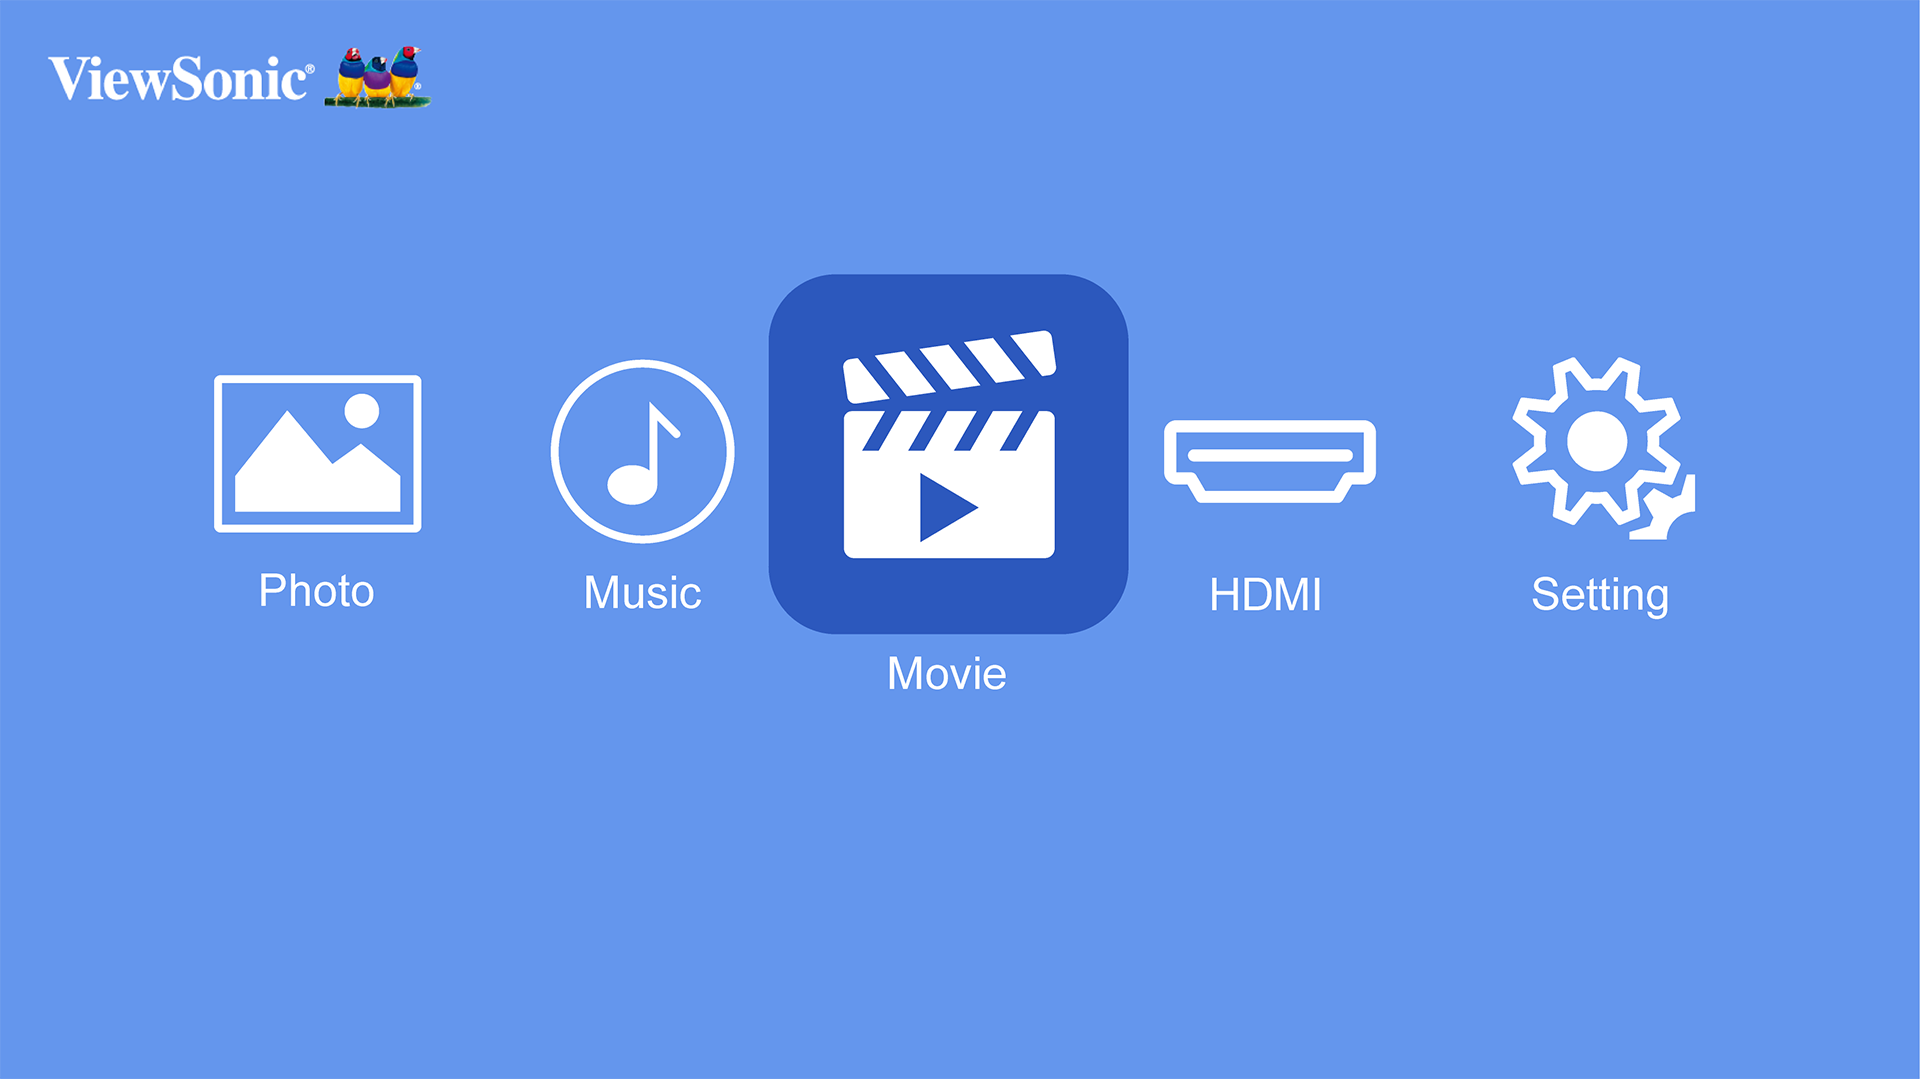
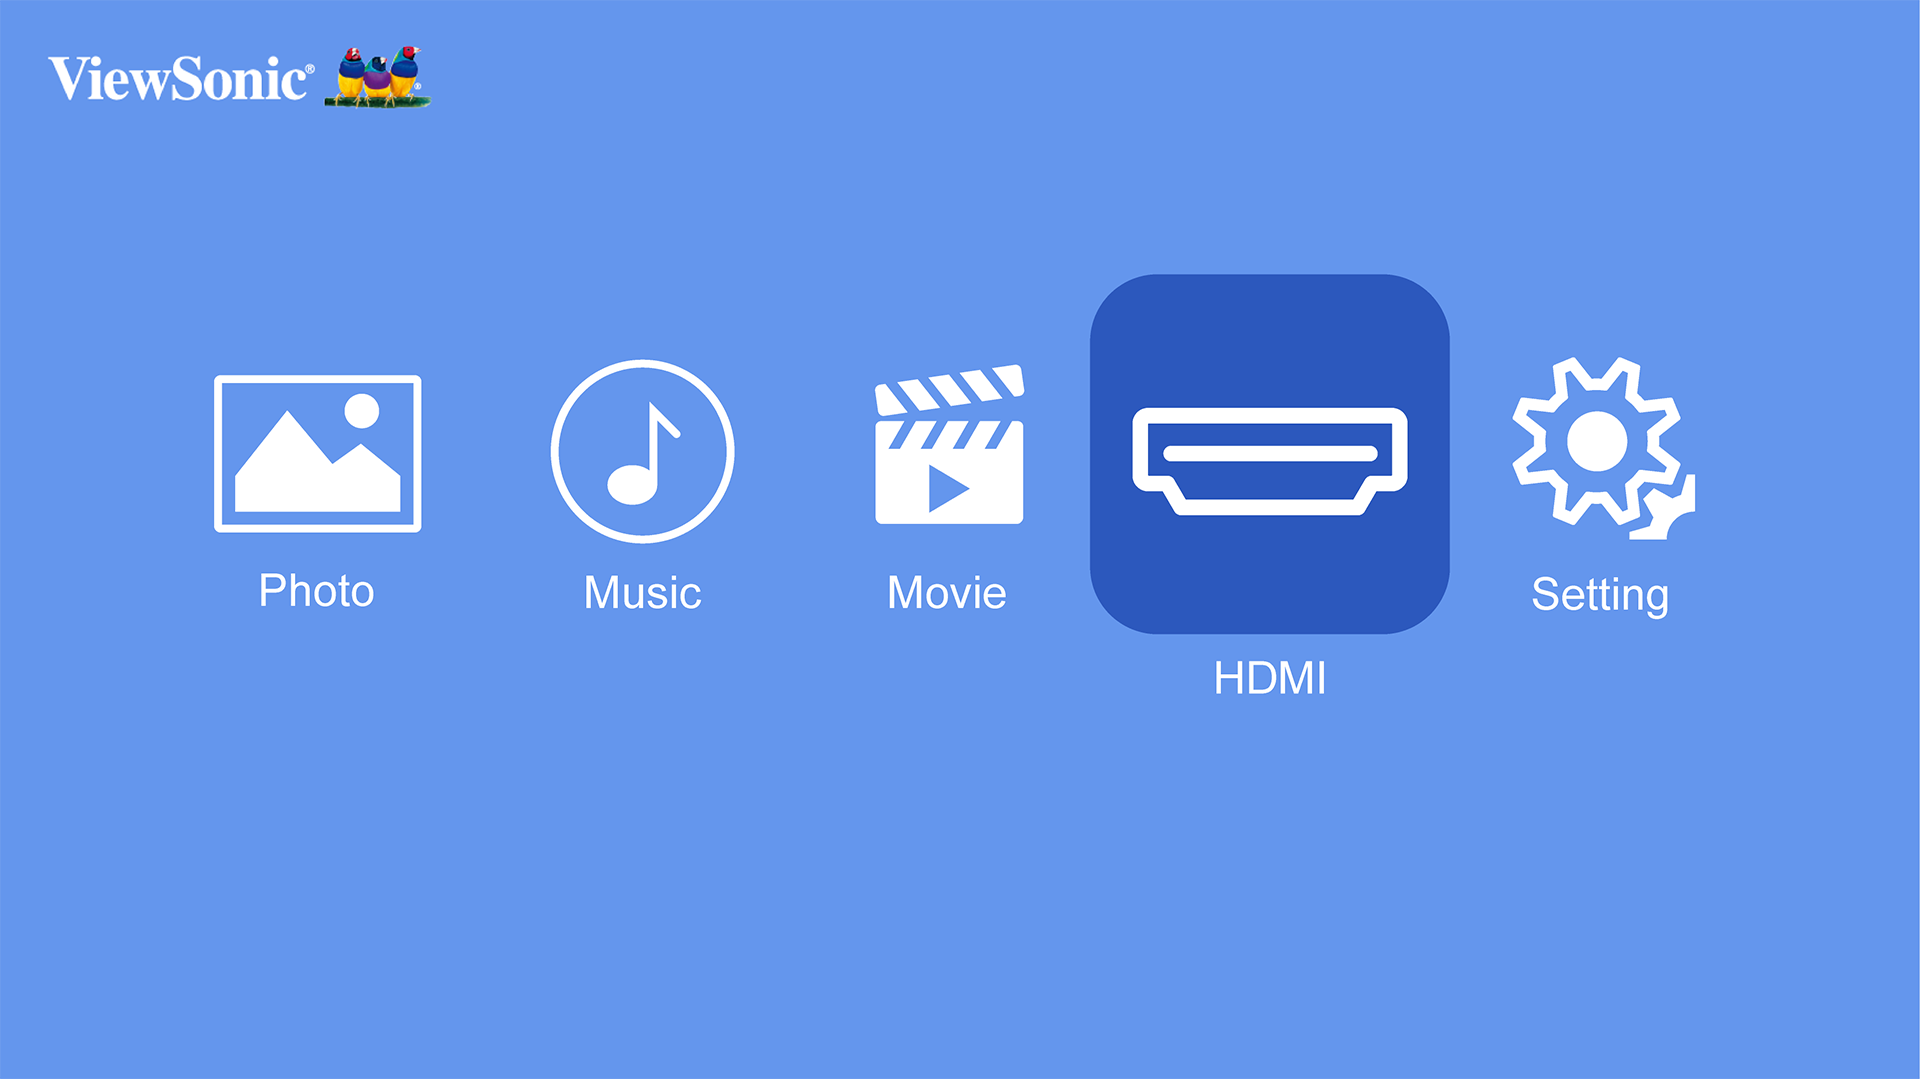
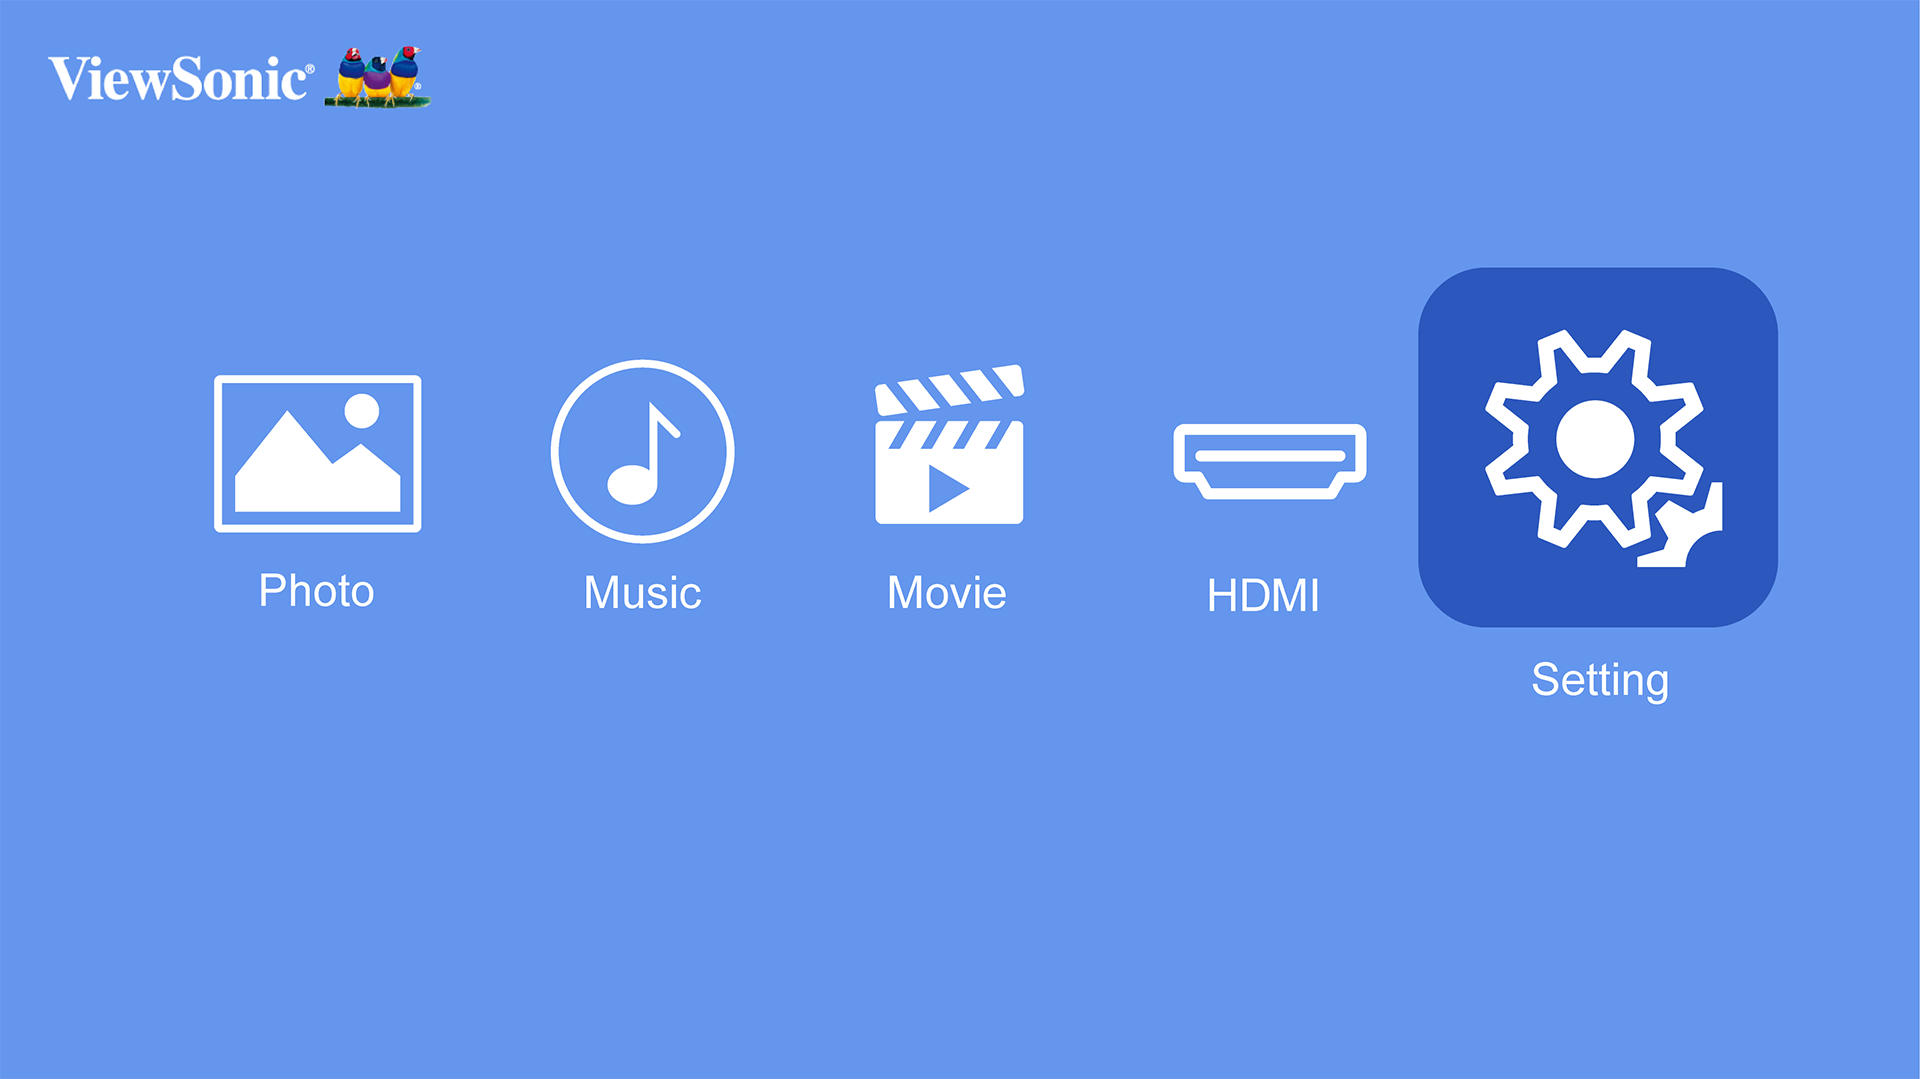
The Home Screen is displayed every time you start the projector. To navigate the Home Screen, simply use the directional buttons on the remote control. You can return to the main Home Screen at any time by pressing the Home button on the remote control.
- NOTE: Picture Mode and Aspect Ratio cannot be adjusted on the Home Screen.
| Menu | Description |
|---|---|
| Photo[1] | View photo files. |
| Music[1] | View and play music files. |
| Video[1] | View and play video files. |
| HDMI | Switch to the connected HDMI source. |
| Setting | Manage various categories such as: Image settings, Basic settings, and System Information. |
Photo
View and display image files on your USB flash drive.
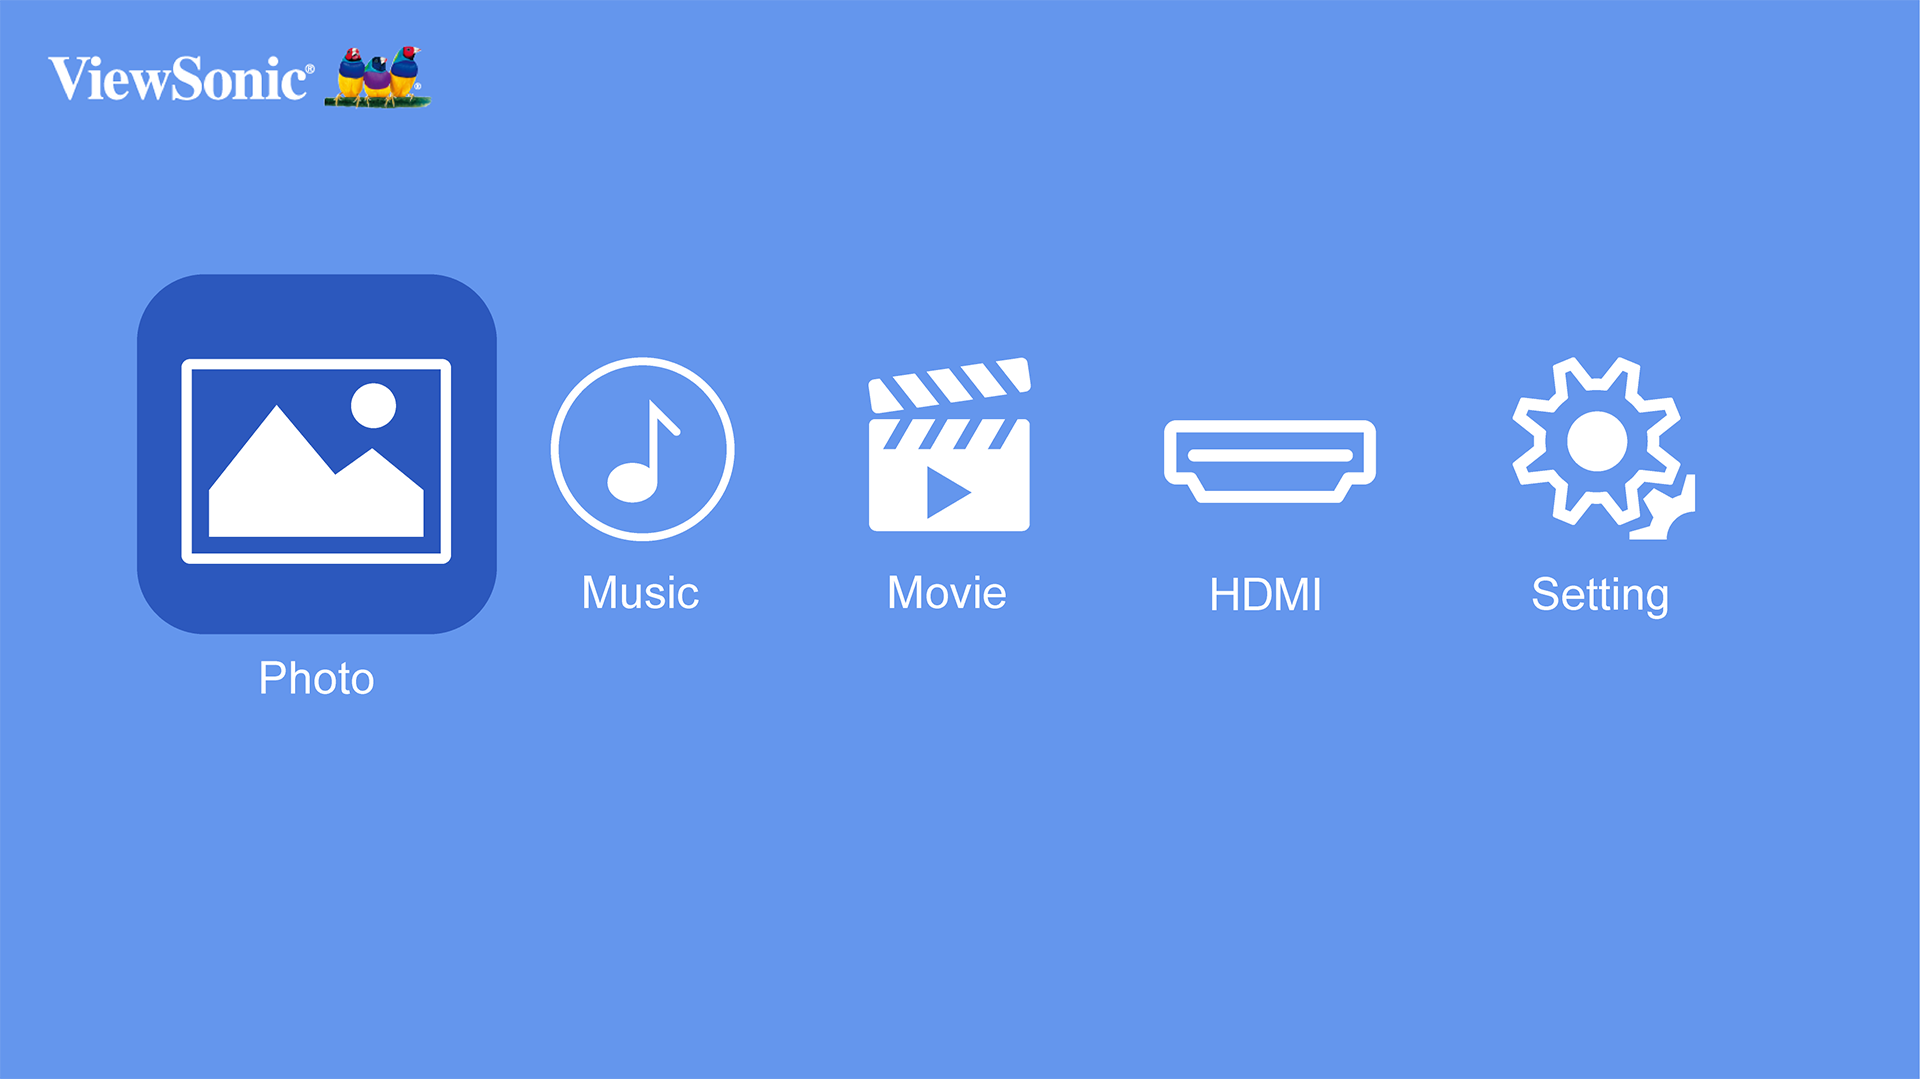
- Using the directional buttons on the remote control select Photo, and press OK.
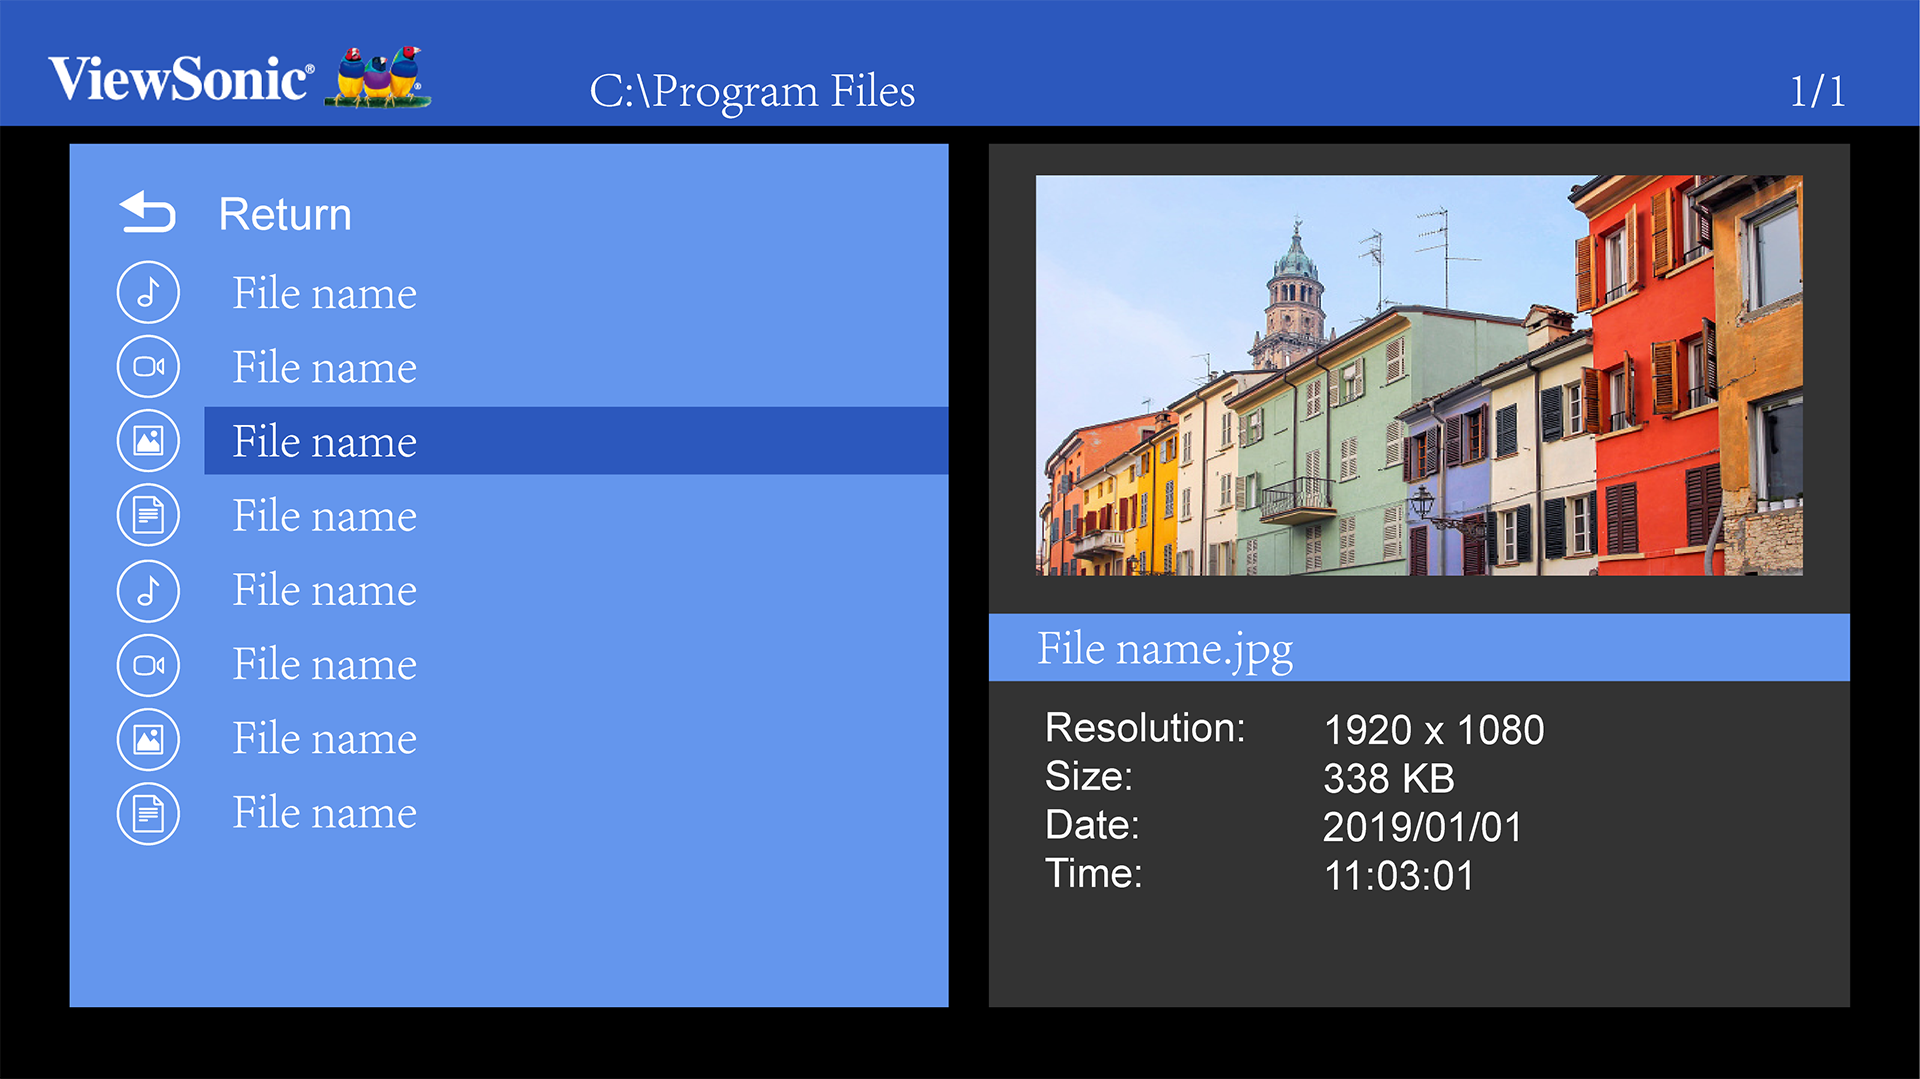
- Use the directional buttons to navigate the folders/files. When you find your preferred image file, press the OK button to open and view it.
Music
View and play music from your USB flash drive.
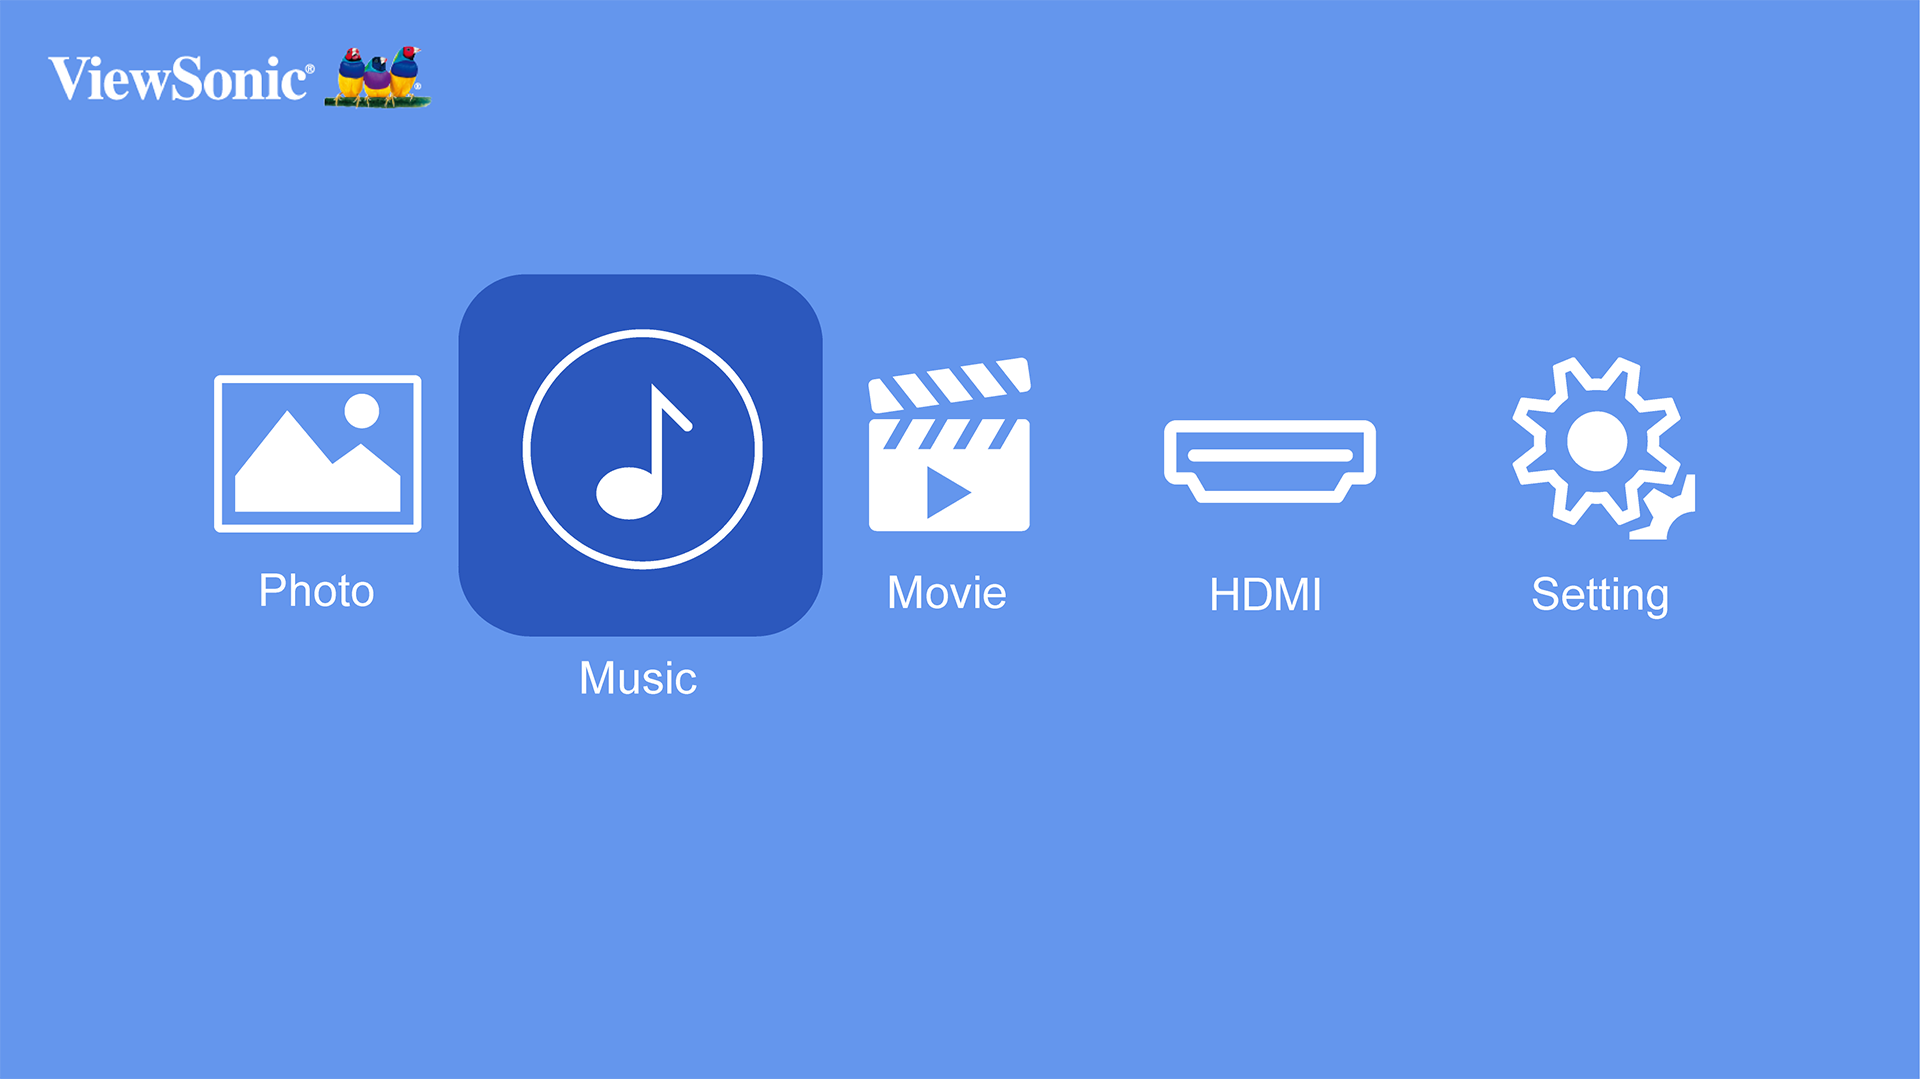
- Using the directional buttons on the remote control select Music, and press OK.
- Use the directional buttons to navigate the folders/files. When you find your preferred music file, press the OK button.
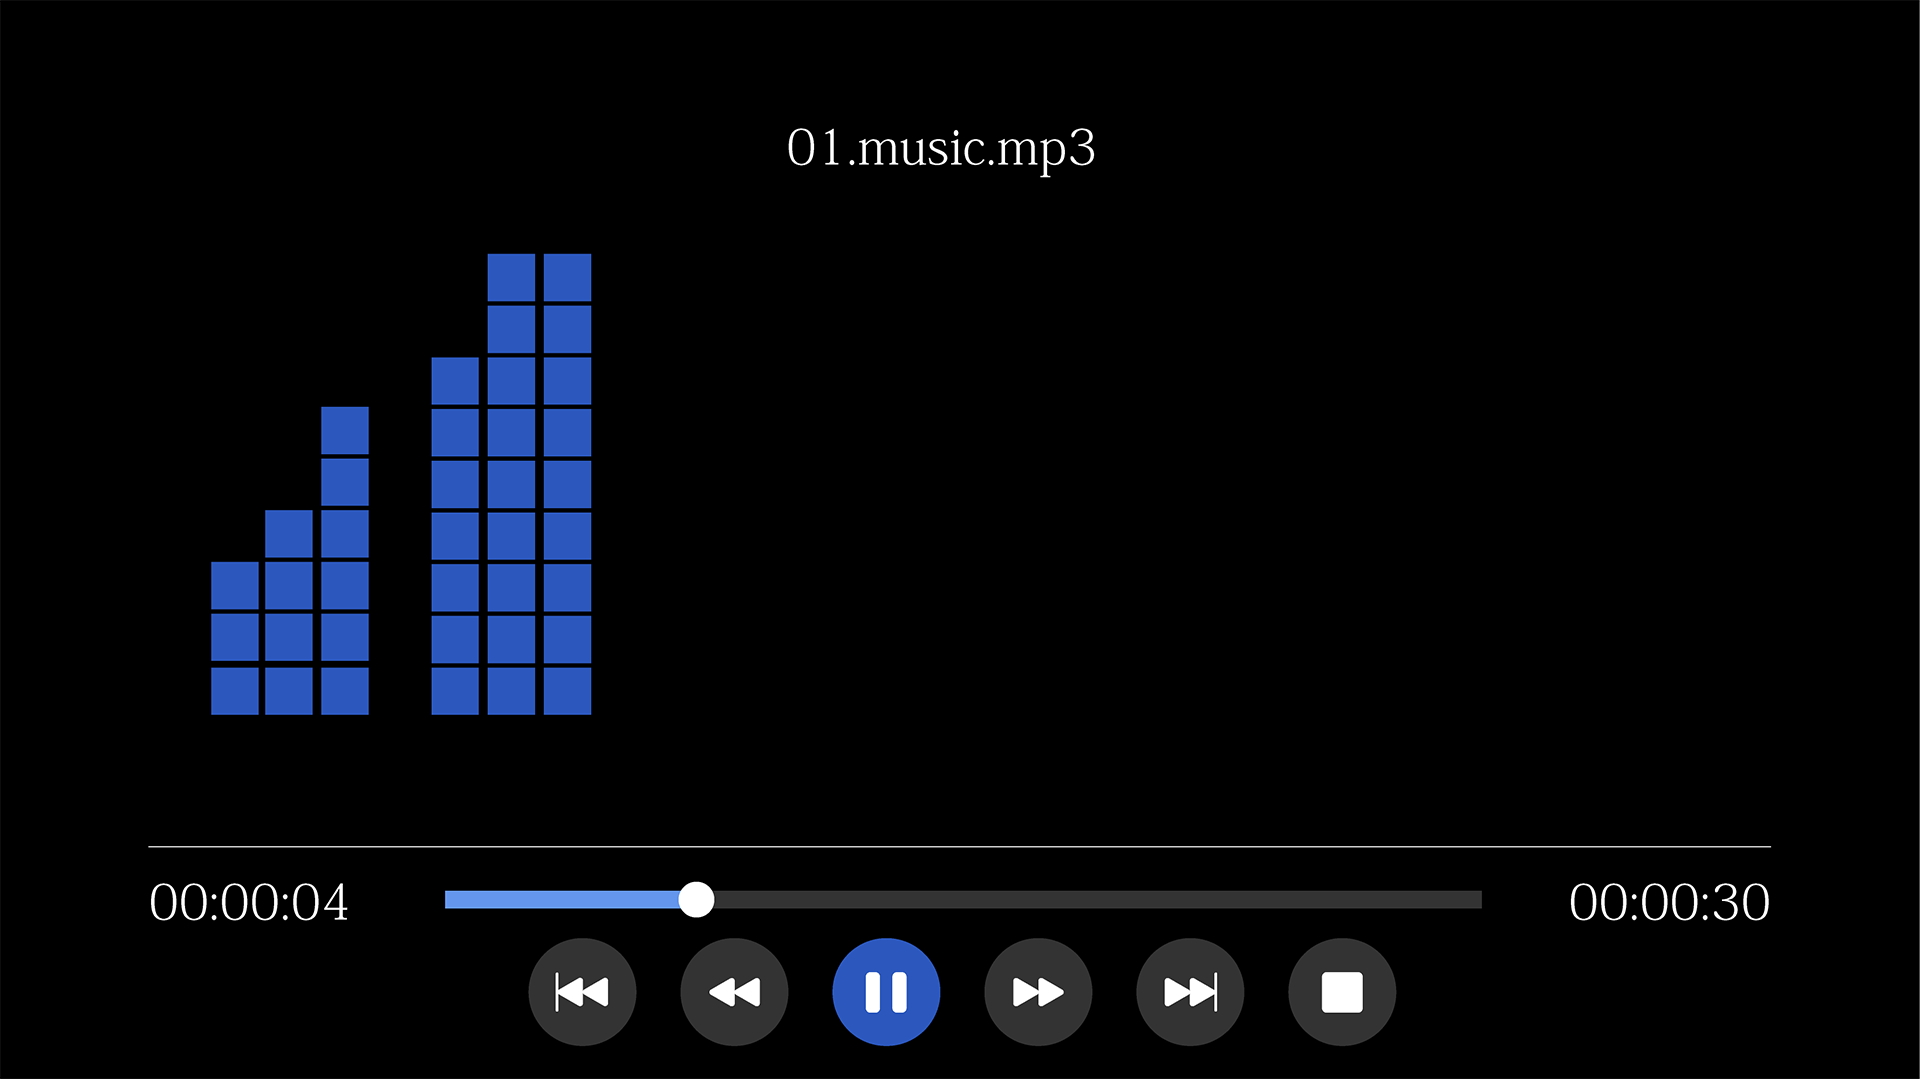
- The media player will open and play the music file.
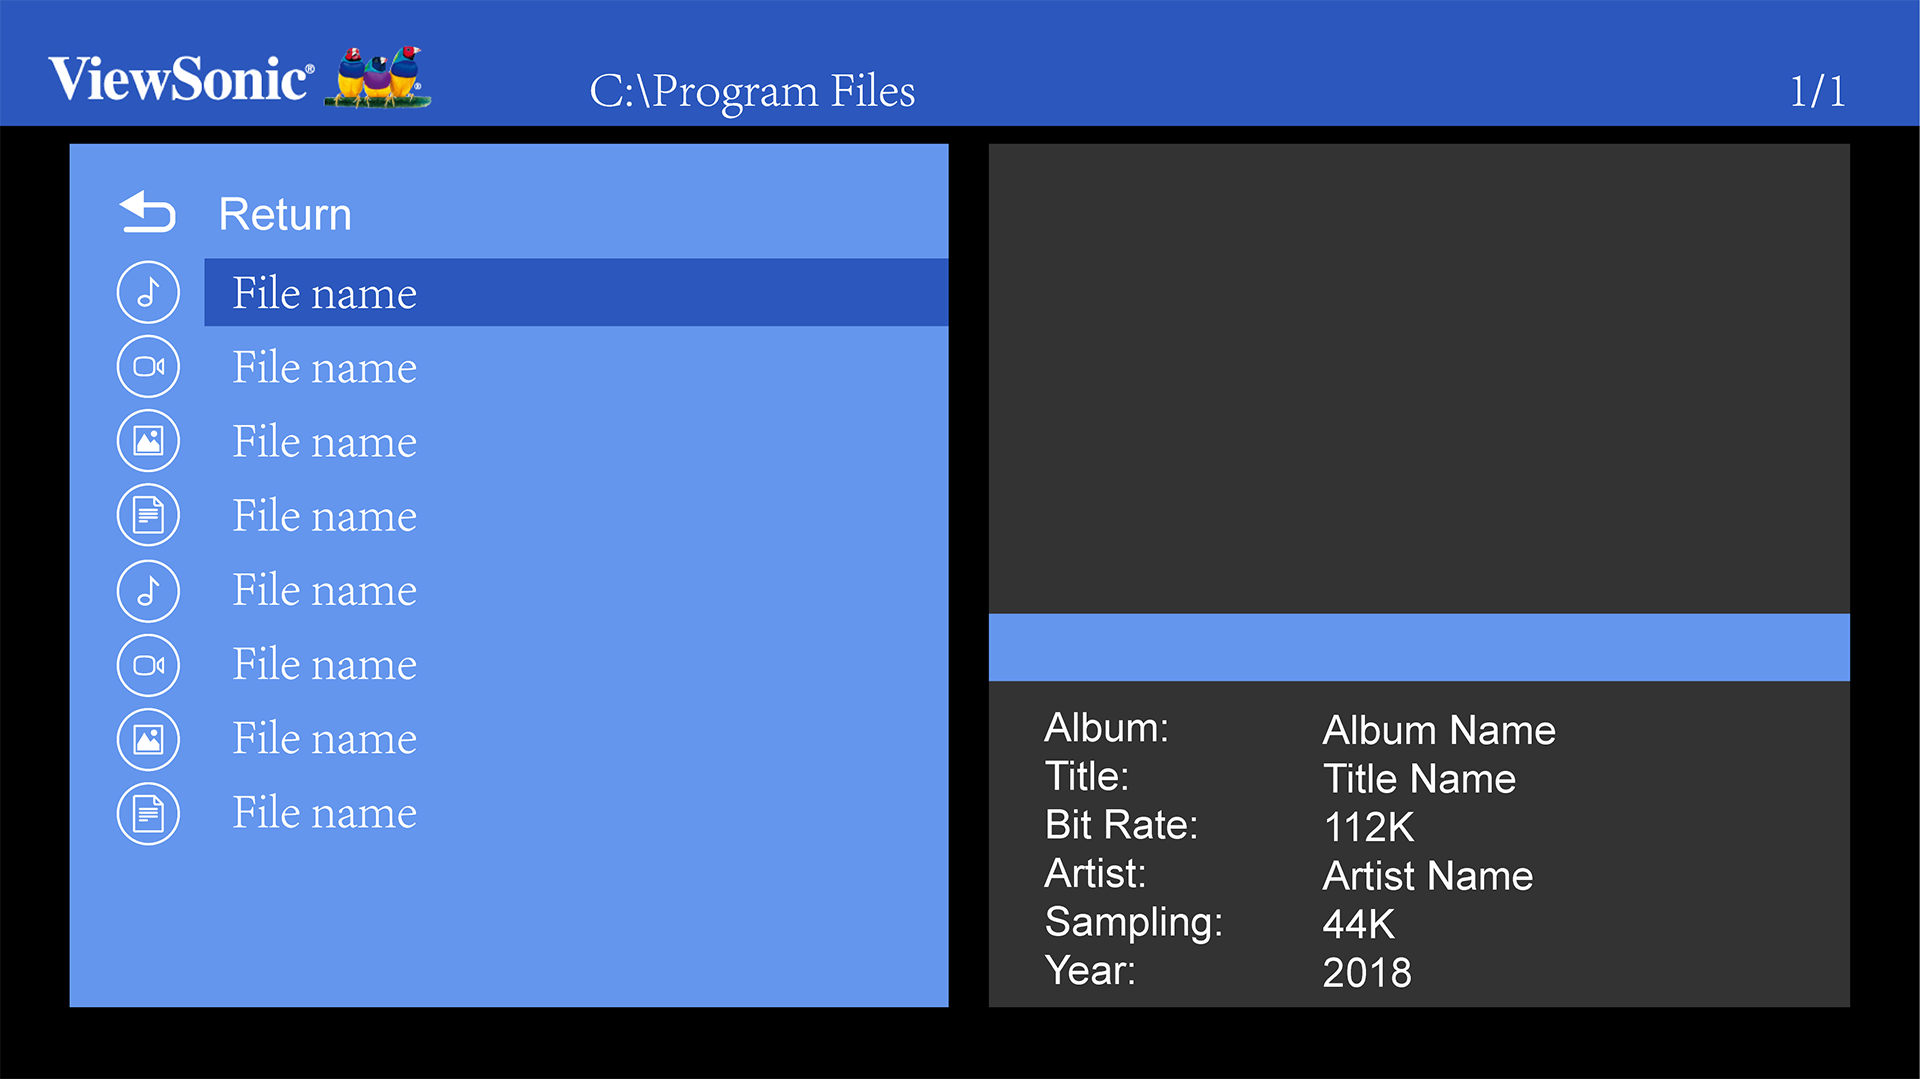
- NOTE: If the audio file includes the album cover, it will be displayed on the right side of the screen.
Movie
View and play videos from your USB flash drive.
- Using the directional buttons on the remote control select Movie, and press OK.
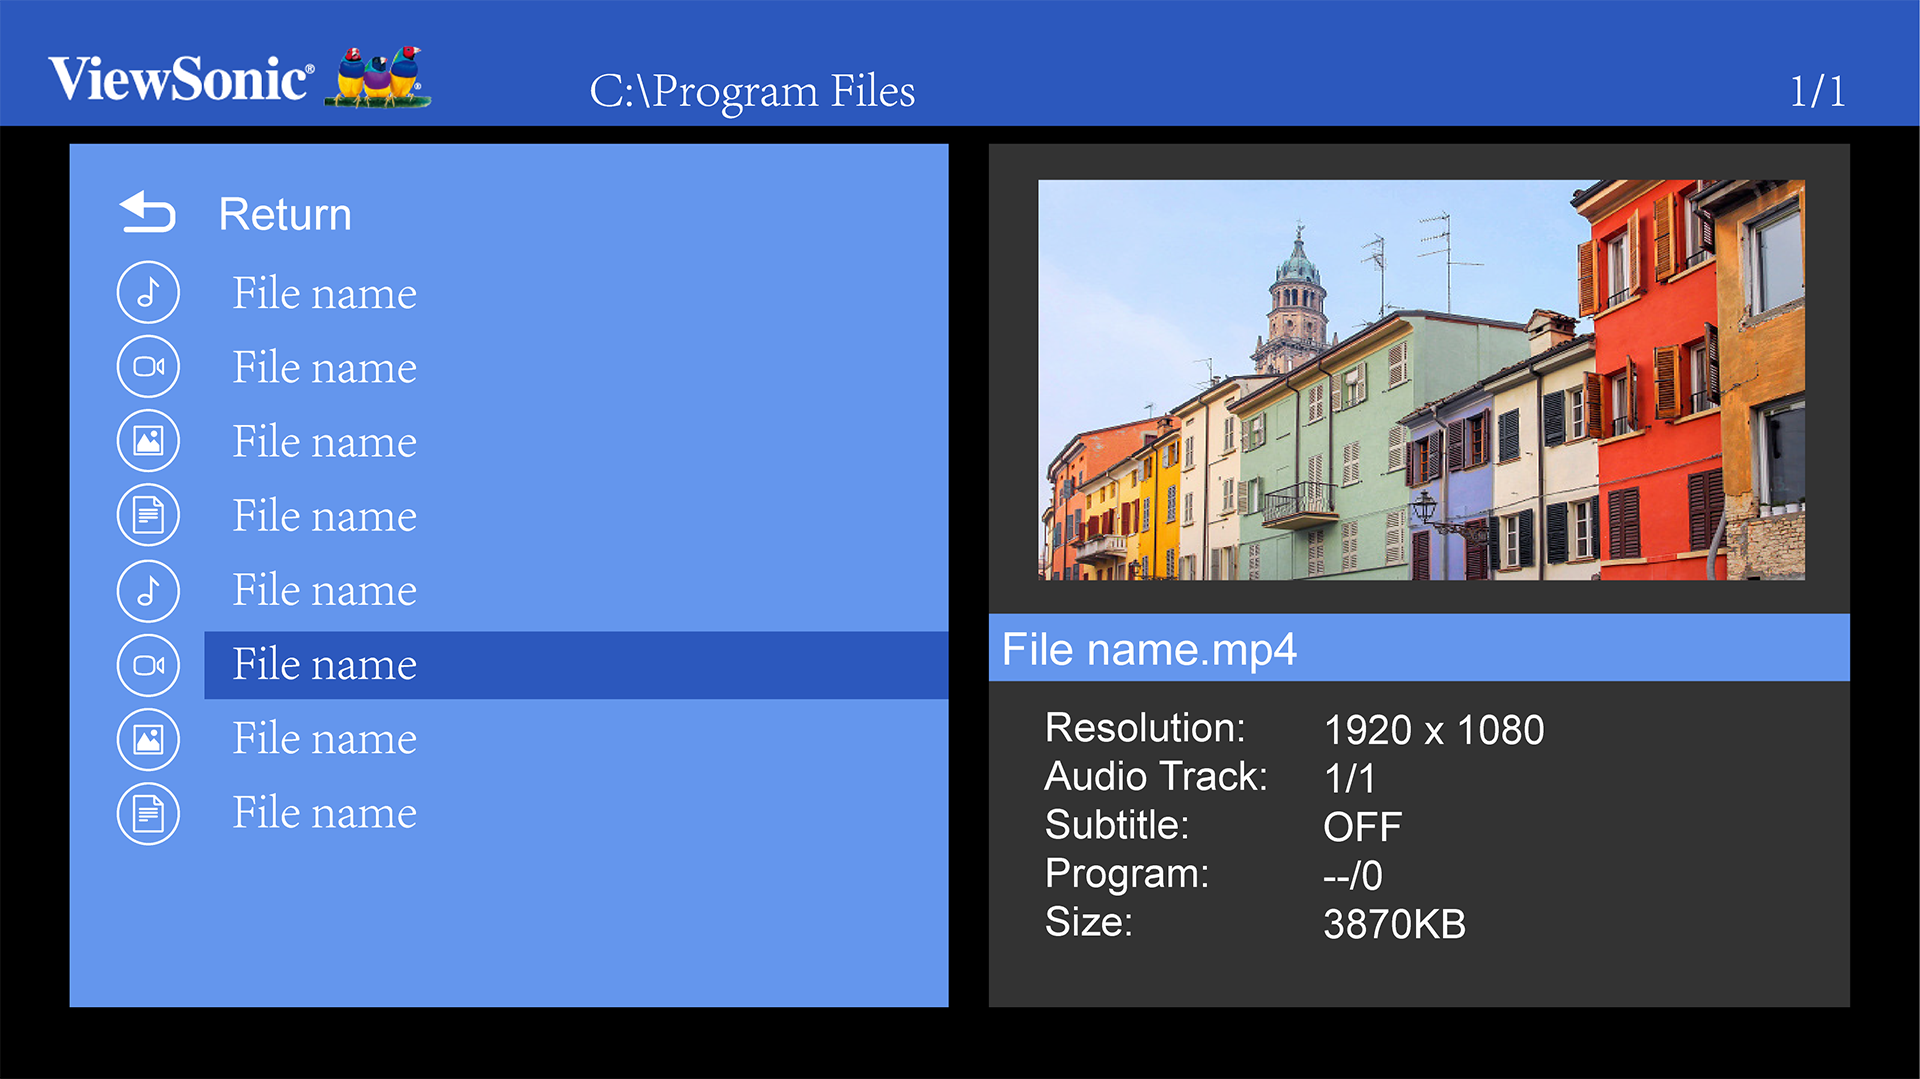
- Use the directional buttons to navigate the folders/files. When you find your preferred music file, press the OK button.
- The media player will open and play the video file.
- NOTE:
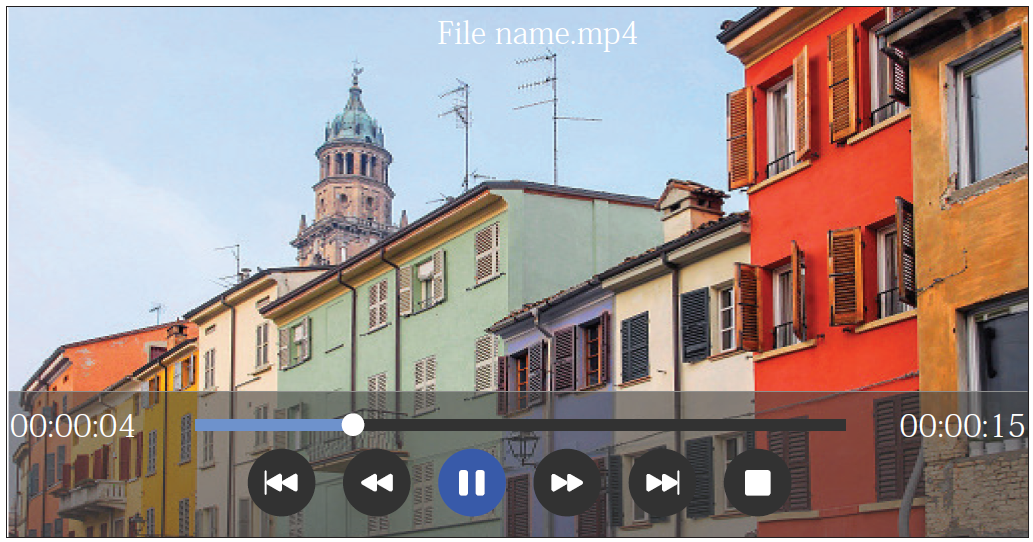
- During playback, press the OK button to access the media control bar.
- Audio soundtrack and subtitles are not supported.
- NOTE:
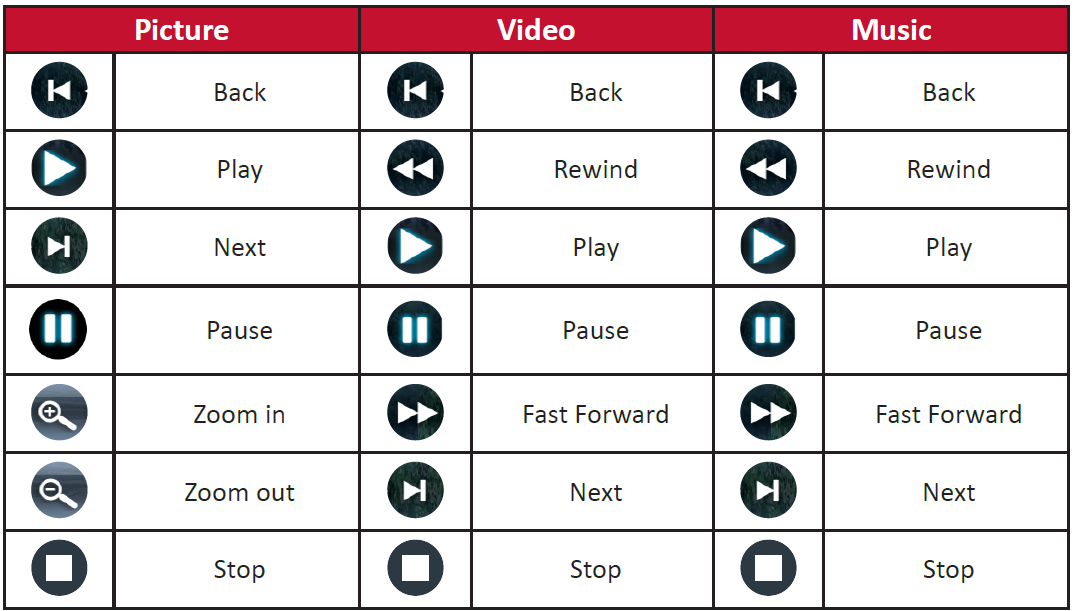
How to Use the Media Control Bar Buttons
The media control bar buttons will appear on screen if a video, music, or photo file are selected to be opened.
Tips for using USB
When using USB for reading and/or storage please keep in mind the following:
- Some USB storage devices may not be compatible.
- If you use an USB extension cable, the USB device may not recognize the USB.
- Only use USB storage devices formatted with Windows FAT32 or NTFS file system.
- Larger files will need extra time to load.
- Data on USB storage devices may be damaged or lost. Back up important files.
Supported File Formats
| Multimedia | Format | Video | Audio | Comment |
|---|---|---|---|---|
| Movie | .avi | Xvid, MPEG-2, MPEG-4, Divx, H.264 | MP3, WMA, AAC, MP2, PCM | Max resolution:
1920 x 1080 @ 30 FPS |
| .mp4 | MPEG-2, MPEG-4, Divx, H.264 | |||
| .ts/.trp | MPEG-4, H.264 | |||
| .mkv/.mov | MPEG-4, H.264 | |||
| .mpg | MPEG-1, MPEG-2 | |||
| .dat | MPEG-1 | MP2 | ||
| .vob | MPEG-2 | |||
| .rm/.rmvb | RV8, RV9, RV10 | COOK | Max resolution:
1280 x 720 @ 30 FPS | |
| Music | .mp3 | MP3 | Sampling rate: 32K~48 KHz
Bit rate: 32K~320 Kbps | |
| .wma | WMA | Sampling rate: 8K~48 KHz
Bit rate: 128K~320 Kbps | ||
| .m4a/.aac | AAC | Sampling rate: 8K~48 KHz
Bit rate: 128K~442 Kbps | ||
| Photo | .jpg/.jpeg | Progressive JPEG | Max Resolution:
1024 x 768 | |
| Baseline JPEG | Max Resolution:
15360 x 8640 | |||
| .bmp | Max Resolution:
9600 x 6400 | |||
| .png | Non-interlaced | Max Resolution:
9600 x 6400 | ||
| Interlaced | Max Resolution:
1200 x 800 | |||
HDMI
Project content from your media player, PC, or other HDMI compatible device.
- Connect your media player, PC, or other HDMI compatible device to the projector via an HDMI cable.
- Using the directional buttons on the remote control select HDMI, and press OK.
- While in HDMI mode, Image and Basic settings can be adjusted by pressing the Settings button on the remote control.
- NOTE: If there is no HDMI signal input for 20 minutes, the system will power off automatically.
Setting
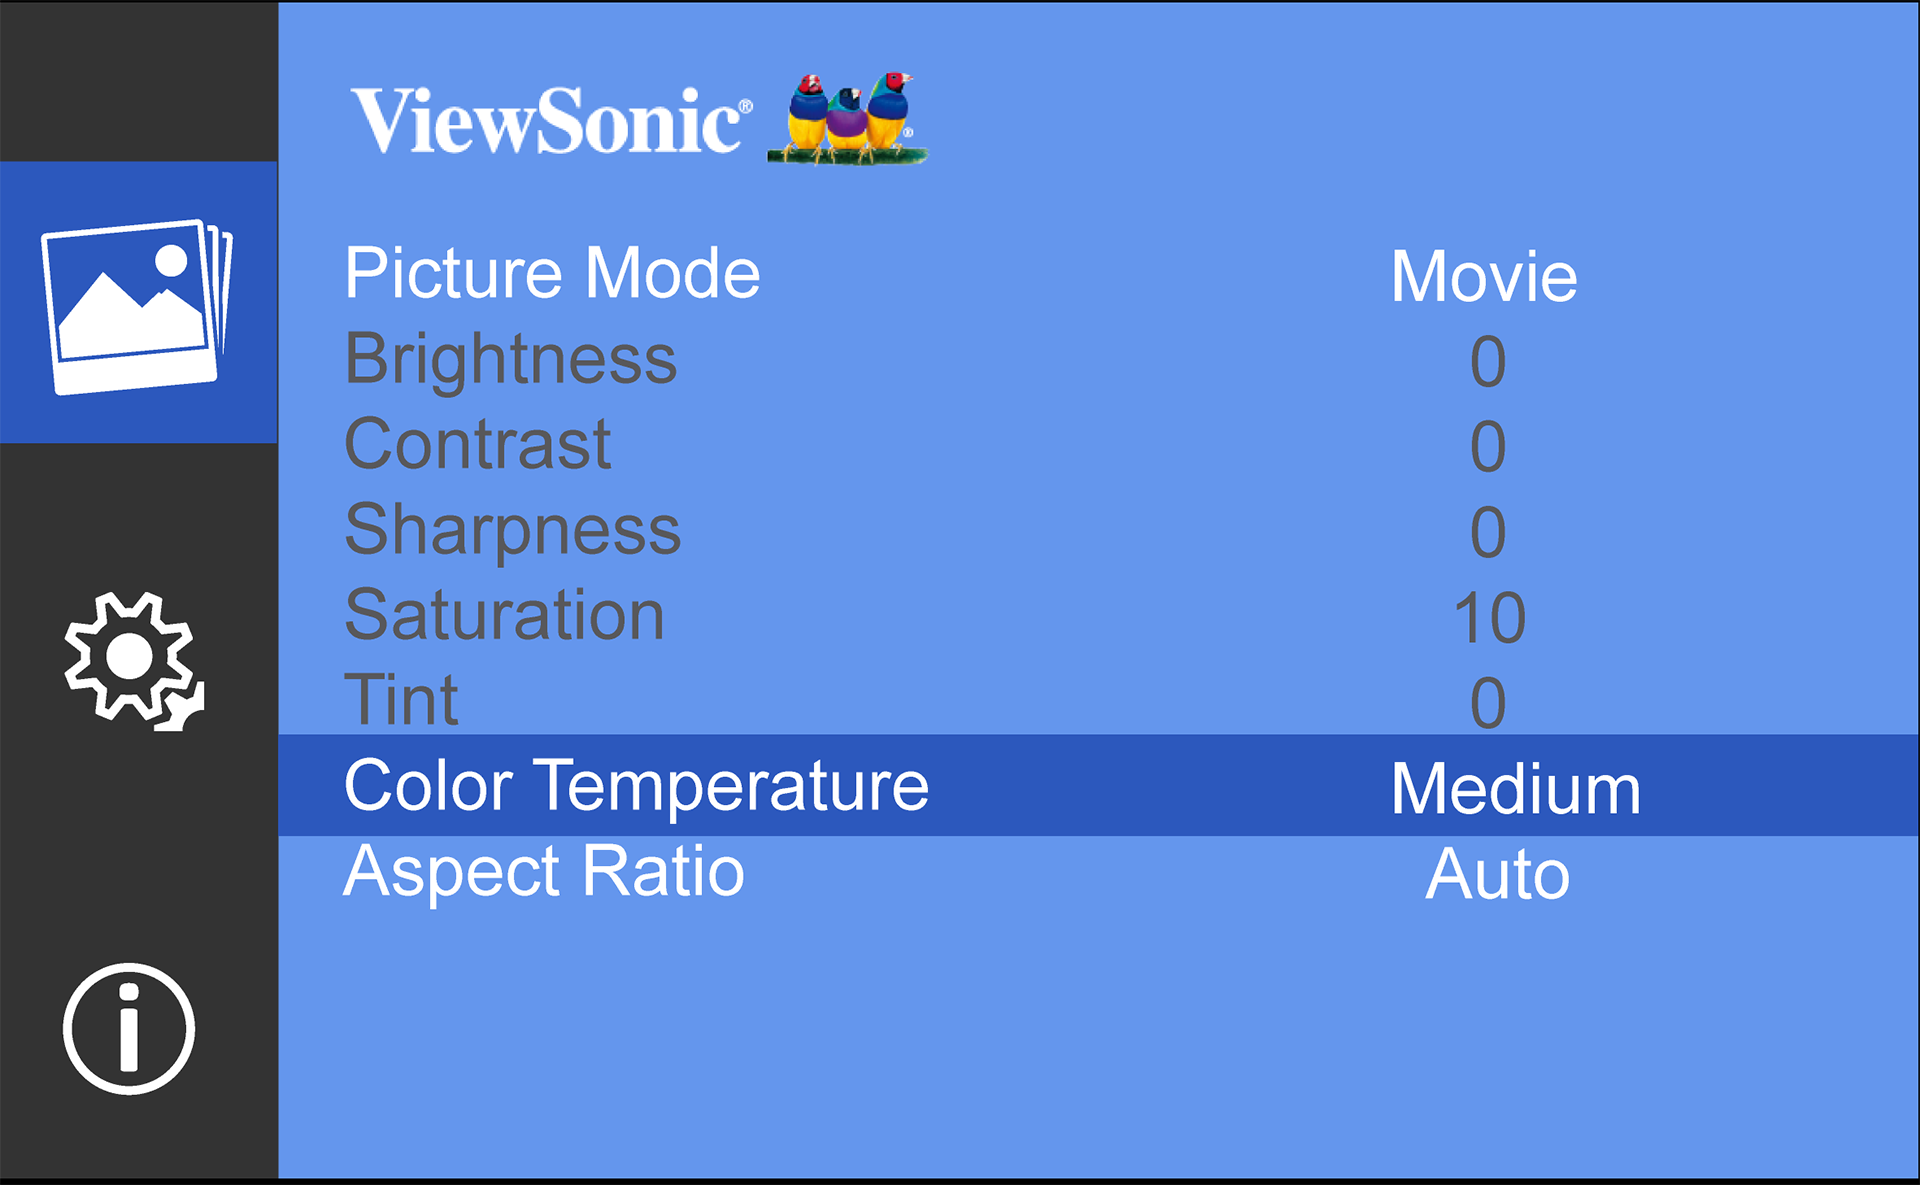
Under Setting you can adjust Image and Basic Settings, update Firmware, and view Information.
- Using the directional buttons on the remote control select Setting, and press OK.
- Use the Up and Down buttons to select the desired setting and press OK. Then use the Left and Right buttons or the OK button to make adjustments or selections.
Firmware Upgrade
Users can update the firmware by USB.
- NOTE: Do not unplug the power cord or USB during the upgrading process.
- Download the latest version from the ViewSonic website and copy the file to a USB device.
- Power on the projector and plug in the USB with the new Firmware.
- The system will display a dialog message confirming your wish to update.
- After selecting Yes, a progress bar will appear as the update process begins.
- After reaching 100% the projector will restart. The whole process will take about five (5) minutes.
- After updating the Firmware, it will take a few minutes to restart the projector.

