M1 mini Initial Setup
Choosing a Location - Projector Orientation
Personal preference and room layout will decide the installation location. Consider the following:
- Size and position of your screen.
- Location of a suitable power outlet.
- Location and distance between the projector and other equipment.
| Location | Description |
|---|---|
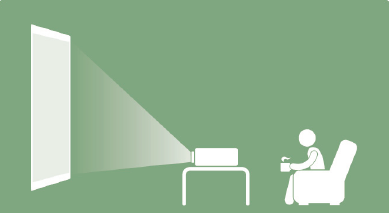
| Front Table | The projector is placed near the floor in front of the screen. |
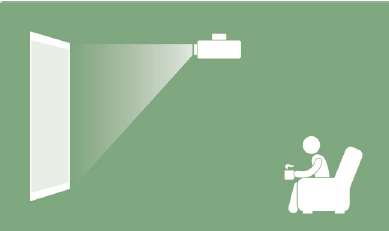
| Front Ceiling | The projector is suspended upside-down from the ceiling in front of the screen. |
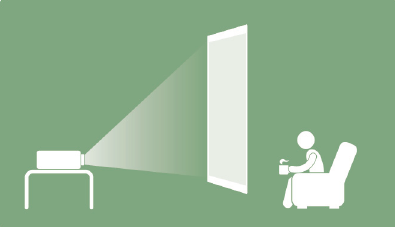
| Rear Table[1] | The projector is placed near the floor behind the screen. |
| Rear Ceiling[1] | The projector is suspended upside-down from the ceiling behind the screen. |
Projection Dimensions
- NOTE: (e) = Screen | (f) = Center of Lens
16:9 Image on a 16:9 Screen
| (a) Screen Size | (b) Projection Distance | (c) Image Height | Image Width | ||||||
|---|---|---|---|---|---|---|---|---|---|
| Minimum | Maximum | ||||||||
| in. | cm | in. | m | in. | m | in. | cm | in. | mm |
| 30 | 76.2 | 32.16 | 0.82 | 32.16 | 0.82 | 14.7 | 37.36 | 26.15 | 664 |
| 40 | 101.6 | 42.88 | 1.09 | 42.88 | 1.09 | 19.6 | 49.81 | 34.86 | 886 |
| 50 | 127 | 53.6 | 1.36 | 53.6 | 1.36 | 24.5 | 62.26 | 43.58 | 1107 |
| 60 | 152.4 | 64.32 | 1.63 | 64.32 | 1.63 | 29.4 | 74.72 | 52.29 | 1328 |
| 70 | 177.8 | 75.04 | 1.91 | 75.04 | 1.91 | 34.3 | 87.17 | 61.01 | 1550 |
| 80 | 203.2 | 85.76 | 2.18 | 85.76 | 2.18 | 39.2 | 99.62 | 69.73 | 1771 |
| 90 | 228.6 | 96.48 | 2.45 | 96.48 | 2.45 | 44.1 | 112.07 | 78.44 | 1992 |
| 100 | 254 | 107.2 | 2.72 | 107.2 | 2.72 | 49 | 124.53 | 87.16 | 2214 |
- There is a 3% tolerance among these numbers due to optical component variations. It is recommended to physically test the projection size and distance before permanently installing the projector.
Top Plate Removal/Installation
The M1 mini comes with different color top plates.
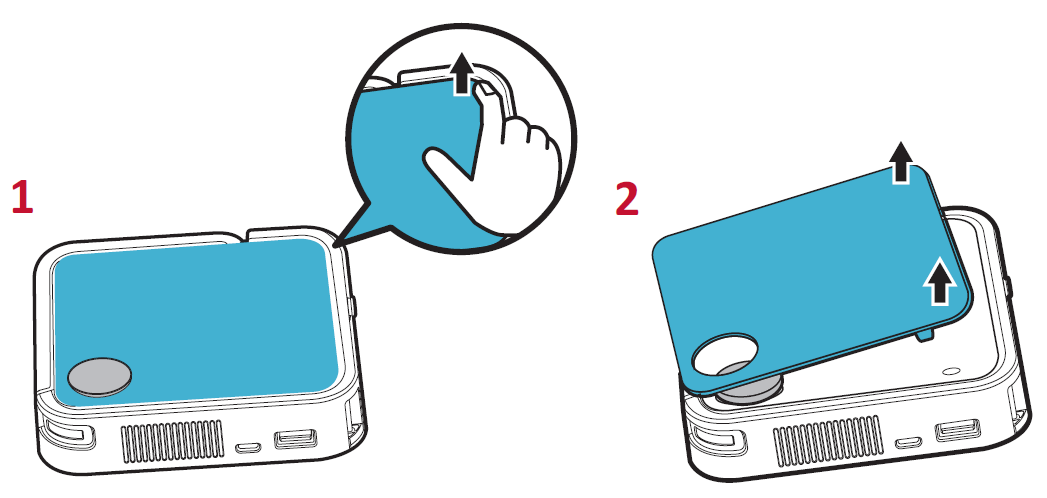
To change the top plate:
- Remove the top plate by carefully prying up one corner and lifting the top plate off (as shown above).
- To install a top plate, line up the circular hole and prongs located under the top plate with the spacing and holes of the projector. Gently press the top plate into place.

