M1 Plus Initial Setup
Choosing a Location - Projector Orientation
Personal preference and room layout will decide the installation location. Consider the following:
- Size and position of your screen.
- Location of a suitable power outlet.
- Location and distance between the projector and other equipment.
| Location | Description |
|---|---|
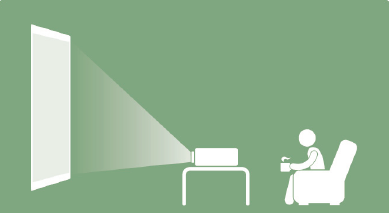
| Front Table | The projector is placed near the floor in front of the screen. |
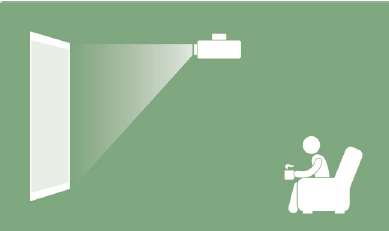
| Front Ceiling | The projector is suspended upside-down from the ceiling in front of the screen. |
| Rear Table[1] | The projector is placed near the floor behind the screen. |
| Rear Ceiling[1] | The projector is suspended upside-down from the ceiling behind the screen. |
Projection Dimensions
16:9 Image on a 16:9 Screen
| Screen Size | Image Width | Image Height | Projection Distance | ||||
|---|---|---|---|---|---|---|---|
| inch | mm | inch | mm | inch | mm | inch | mm |
| 24 | 610 | 21 | 531 | 12 | 299 | 25 | 637 |
| 30 | 762 | 26 | 664 | 15 | 373 | 31 | 796 |
| 40 | 1016 | 35 | 885 | 20 | 498 | 42 | 1062 |
| 50 | 1270 | 44 | 1106 | 25 | 622 | 52 | 1327 |
| 60 | 1524 | 52 | 1327 | 29 | 747 | 63 | 1593 |
| 70 | 1778 | 61 | 1549 | 34 | 871 | 73 | 1858 |
| 80 | 2032 | 70 | 1770 | 39 | 996 | 84 | 2124 |
| 90 | 2286 | 78 | 1991 | 44 | 1120 | 94 | 2389 |
| 100 | 2540 | 87 | 2212 | 49 | 1245 | 105 | 2655 |
- There is a 3% tolerance among these numbers due to optical component variations. It is recommended to physically test the projection size and distance before permanently installing the projector.
Mounting the Projector
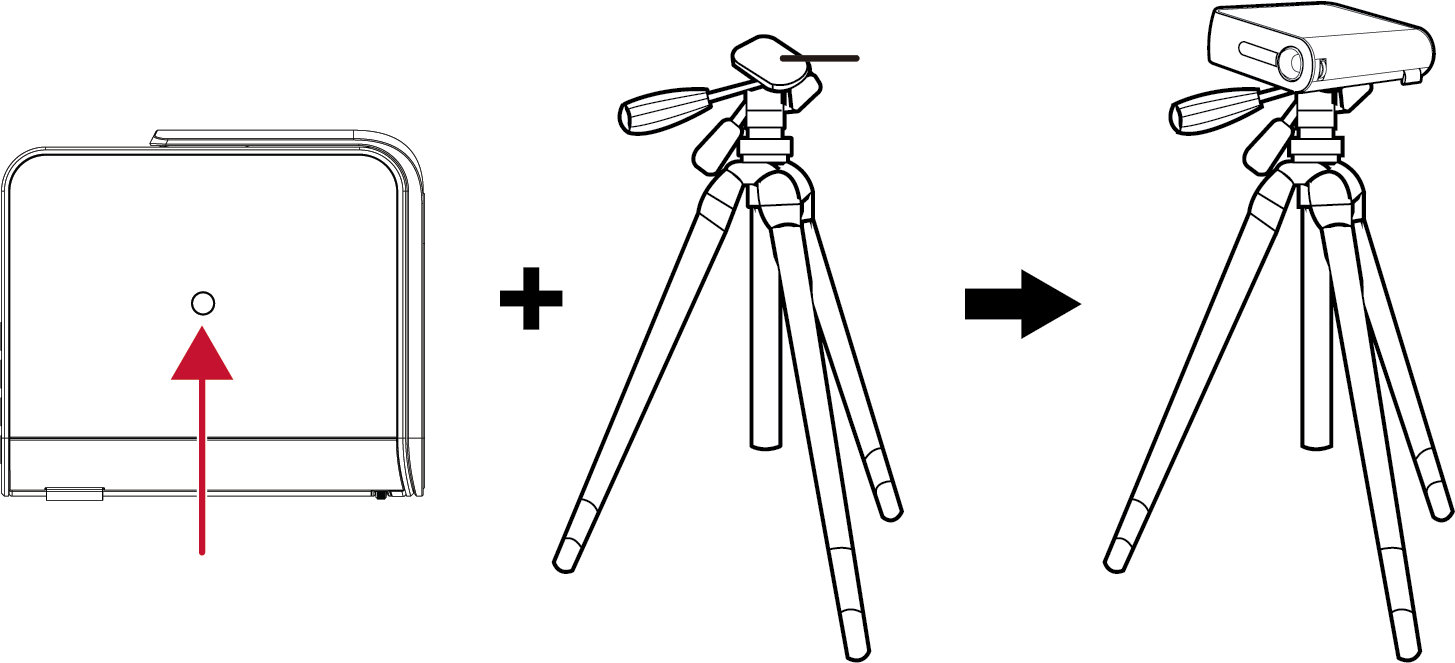
Screw a standard tripod into the screw hole on the bottom side of the projector.
- NOTE: The tripod is sold separately.

