
M1X On-Screen Display Menu Options
Input Source Selected - On-Screen Display (OSD) Menu Options
After your input source is selected, you can adjust the Image Setting and Advanced menus.
Image Setting Menu
After your input source is selected, you can adjust the Image Setting menu.
To access the Image Setting menu:
-
Press Setting
 on the remote control.
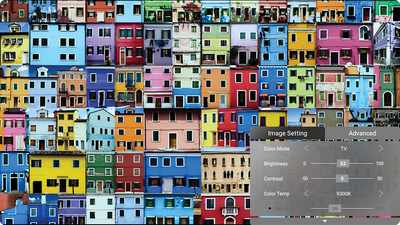
-
Use the Up ▲ / Down ▼ directional buttons to select a menu.
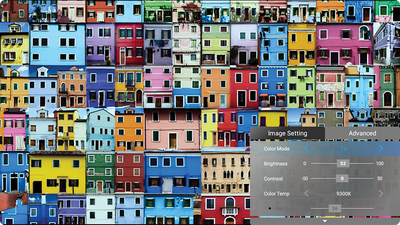
-
Then use the Left ◄ / Right ► directional buttons to enter the sub-menu(s) and/or adjust the settings.
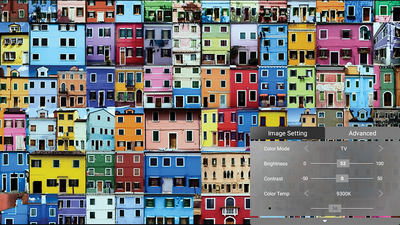
-
Press the Return
 button to go to the previous menu or exit.
Note: USB device source does not support the Image Setting function.
button to go to the previous menu or exit.
Note: USB device source does not support the Image Setting function.


| Menu Option | Description |
|---|---|
| Color Mode | The projector is preset with several predefined picture modes so that you can choose one to suit your operating environment and input signal.
Brightest TV Movie Gaming User 1/User 2
|
| Brightness | The higher the value, the brighter the image. Lower values will result in a darker image.
 |
| Contrast | Use this to set the peak white level after you have previously adjusted the Brightness setting to suit your selected input and viewing environment.
 |
| Color Temp | Select the color temperature setting.
|
| Tint | The higher the value, the more greenish the picture becomes. The lower the value, the more reddish the picture becomes. |
| Saturation | Refers to the amount of that color in a video picture. Lower settings produce less saturated colors; in fact, a setting of “0” removes that color from the image entirely. If the saturation is too high, that color will be overpowering and unrealistic. |
| Sharpness | A high value results in a sharper picture; a low value softens the picture. |
| Gamma | Reflects the relationship between input source and picture brightness. |
| Reset Current Color Settings | Return current color settings to their default values. |
Advanced Setting Menu
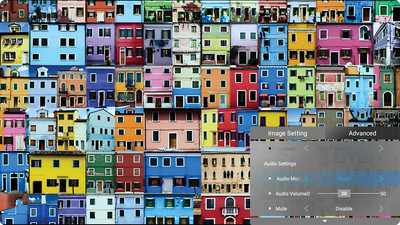
After your input source is selected, you can adjust the Advanced menu.
To access the Advanced menu:
-
Press Setting
on the remote control.
-
Use the Right ▶ directional buttons to access the Advanced menu.
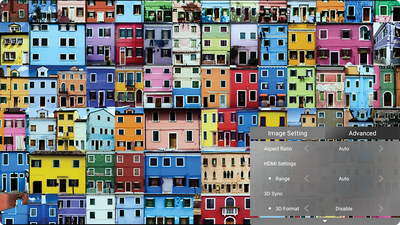
-
Use the Up ▲ or Down ▼ directional buttons to select a menu.
-
Then use the Left ◄ / Right ► directional buttons to enter the sub-menu(s) and/or adjust the settings.
-
Press the Return
button to go to the previous menu or exit.


| Menu Option | Description |
|---|---|
| Aspect Ratio | The Aspect Ratio is the ratio of the image width to the image height. With the advent of digital signal processing, digital display devices, like this projector, can dynamically stretch and scale the image output to a different aspect than that of the image input signal.
Auto 4:3 16:9 |
| HDMI Settings | Range
Select a suitable color range according to the color range setting of the connected output device.
|
| 3D Settings | Enables you to enjoy 3D movies, videos, and sporting events in a more realistic way by presenting the depth of the images while wearing 3D glasses.
3D Format 3D Sync Invert |
| harman/kardon | Adjust the audio settings. |
| Light Source Level | Full 100% power consumption Eco Extended Eco Battery Saving |
| Information | Shows Input Source, Resolution, and 3D Format. |