
| Sub-menu | Menu Option | ||
|---|---|---|---|
| Color Mode | Brightest | ||
| TV | |||
| Movie | |||
| Low Blue Light | |||
| Brightness | (-/+, 0~100) | ||
| Contrast | (-/+, -50~50) | ||
| Color Temp | 6500K | ||
| 7500K | |||
| 9300K | |||
| User | Red Gain | (-/+, 0~100) | |
| Green Gain | (-/+, 0~100) | ||
| Blue Gain | (-/+, 0~100) | ||
| Red Offset | (-/+, 0~100) | ||
| Green Offset | (-/+, 0~100) | ||
| Blue Offset | (-/+, 0~100) | ||
| Wall Color - Pink | |||
| Wall Color - Yellow | |||
| Wall Color - Blue | |||
| Tint | (-/+, -50~50) | ||
| Saturation | (-/+, 0~100) | ||
| Sharpness | (-/+, 0~50) | ||
| Gamma | 1.8 | ||
| 2.0 | |||
| 2.2 | |||
| 2.5 | |||
| Light Source Level | Full | ||
| Eco | |||
| Battery Saving | |||
| Test Pattern | OK | ||
| Reset Current Color Settings | Yes | ||
| Cancel | |||
M1X On-Screen Display Menu Tree: Difference between revisions
From ViewSonic Documentation
// via Wikitext Extension for VSCode |
// via Wikitext Extension for VSCode |
||
| Line 193: | Line 193: | ||
Then use the '''Left ◄ / Right ►''' directional buttons to enter the sub-menu(s) and/or adjust the settings. | Then use the '''Left ◄ / Right ►''' directional buttons to enter the sub-menu(s) and/or adjust the settings. | ||
</p> | </p> | ||
<div class="res-img">[[File:M1X_OSD_Image_Setting-3.png|400px|alt=Entering/Adjusting | <div class="res-img">[[File:M1X_OSD_Image_Setting-3.png|400px|alt=Entering/Adjusting the desired OSD Menu item]]</div> | ||
</li> | </li> | ||
<li> | <li> | ||
| Line 201: | Line 201: | ||
</li> | </li> | ||
</ol> | </ol> | ||
==Advanced Setting Menu== | |||
<p>After your input source is selected, you can adjust the '''Advanced''' menu.</p> | |||
<p>To access the '''Advanced''' menu:</p> | |||
<ol> | |||
<li> | |||
<p> | |||
Press '''Setting''' [[File:LS710HD_LS751HD_Setup_Icon.png|30px]] on the remote control. | |||
</p> | |||
<div class="res-img">[[File:M1X_OSD_Image_Setting-1.png|400px|alt=M1X's Advanced OSD Menu]]</div> | |||
</li> | |||
<li> | |||
<p> | |||
Use the '''Right ''' ▶ directional buttons to access the '''Advanced''' menu. | |||
</p> | |||
<div class="res-img">[[File:M1X_OSD_Advanced-2.png|400px|alt=Selecting M1X's Advanced OSD Menu item]]</div> | |||
</li> | |||
<li> | |||
<p> | |||
Use the '''Up''' ▲ or '''Down''' ▼ directional buttons to select a menu. | |||
</p> | |||
<div class="res-img">[[File:M1X_OSD_Advanced-3.png|400px|alt=Selecting M1X's Advanced OSD Menu item]]</div> | |||
</li> | |||
<li> | |||
<p> | |||
Then use the '''Left ◄ / Right ►''' directional buttons to enter the sub-menu(s) and/or adjust the settings. | |||
</p> | |||
</li> | |||
<li> | |||
<p>Press the '''Return''' [[File:VCast_Pro_Return.svg|18px]] button to go to the previous menu or exit. | |||
</p> | |||
</li> | |||
</ol> | |||
=Home Screen - On-Screen Display (OSD) Menu Tree= | =Home Screen - On-Screen Display (OSD) Menu Tree= | ||
Revision as of 08:32, 4 July 2024
Input Source Selected - On-Screen Display (OSD) Menu Tree
After your input source is selected, you can adjust the Image Setting and Advanced menus.
| Sub-menu | Menu Option | |
|---|---|---|
| Aspect Ratio | Auto | |
| 4:3 | ||
| 16:9 | ||
| HDMI Setting | Auto | |
| Full | ||
| Limited | ||
| 3D Settings | 3D Format | Disable |
| Frame Sequential | ||
| Frame Packing | ||
| Top-Bottom | ||
| Side-by-Side | ||
| 3D Sync Invert | Disable | |
| Invert | ||
| Audio Settings | Audio Mode | Movie |
| Music | ||
| Audio Volume | (-/+, 0~50) | |
| Mute | Disable | |
| Enable | ||
| Information | Source | Ex. HDMI |
| Rsolution | Ex. 1920 x 1080 @60Hz | |
| 3D Format | Ex. Frame Packing | |
Image Setting Menu
After your input source is selected, you can adjust the Image Setting menu.
To access the Image Setting menu:
-
Press Setting
 on the remote control.
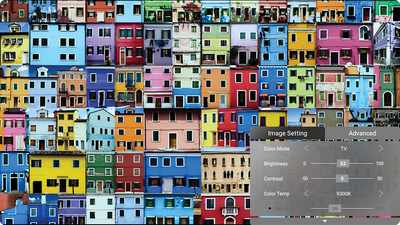
-
Use the Up ▲ / Down ▼ directional buttons to select a menu.
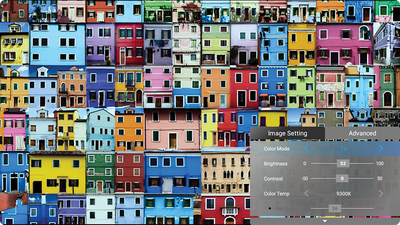
-
Then use the Left ◄ / Right ► directional buttons to enter the sub-menu(s) and/or adjust the settings.
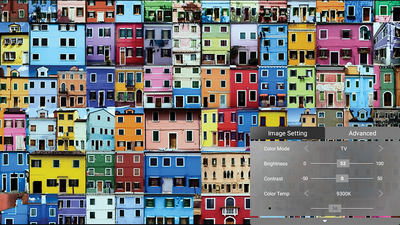
-
Press the Return
 button to go to the previous menu or exit.
Note: USB device source does not support the Image Setting function.
button to go to the previous menu or exit.
Note: USB device source does not support the Image Setting function.


Advanced Setting Menu
After your input source is selected, you can adjust the Advanced menu.
To access the Advanced menu:
-
Press Setting
on the remote control.
-
Use the Right ▶ directional buttons to access the Advanced menu.
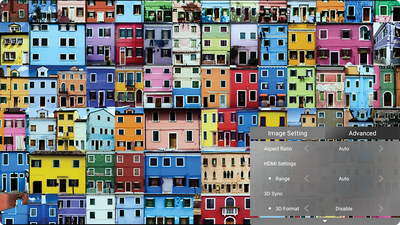
-
Use the Up ▲ or Down ▼ directional buttons to select a menu.
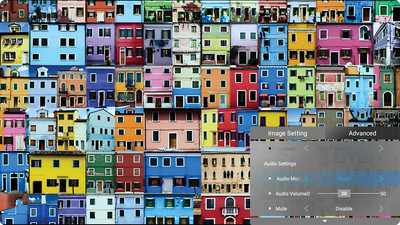
-
Then use the Left ◄ / Right ► directional buttons to enter the sub-menu(s) and/or adjust the settings.
-
Press the Return
button to go to the previous menu or exit.


Home Screen - On-Screen Display (OSD) Menu Tree
File Management
Basic Settings
| Sub-menu | Menu Option | ||
|---|---|---|---|
| Language | English | ||
| French | |||
| German | |||
| Italian | |||
| Spanish | |||
| Russian | |||
| 繁體中文 | |||
| 簡體中文 | |||
| 日本語 | |||
| 韓語 | |||
| Swedish | |||
| Dutch | |||
| Turkish | |||
| Czech | |||
| Portuguese | |||
| Thai | |||
| Polish | |||
| Finnish | |||
| Arabic | |||
| Indonesian | |||
| Hindi | |||
| Vietnam | |||
| Greek | |||
| Projector Position | Front Table | ||
| Front Ceiling | |||
| Rear Table | |||
| Rear Ceiling | |||
| Keystone | Manual | (-/+, -40~40) | |
| Auto V Keystone | Disable | ||
| Enable | |||
Source
Audio Mode
Advanced Settings
| Sub-menu | Menu Option | ||
|---|---|---|---|
| Advanced Settings | Power On Source | Home | |
| HDMI | |||
| USB-C | |||
| Power On/Off Ring Tone | Off | ||
| On | |||
| Smart Energy | Auto Power Off | Disable | |
| 10 minutes | |||
| 20 minutes | |||
| 30 minutes | |||
| Sleep Timer | Disable | ||
| 30 minutes | |||
| 1 hour | |||
| 2 hours | |||
| 3 hours | |||
| 4 hours | |||
| 8 hours | |||
| 12 hours | |||
| Power Saving | Enable | ||
| Disable | |||
| harmon/kardon | Audio Mode | Movie | |
| Music | |||
| User | |||
| Audio Volume | (-/+, 0~20) | ||
| Mute | Off | ||
| On | |||
| Light Source Level | Full | ||
| Eco | |||
| Extended Eco | |||
| Battery Saving | |||
| High Altitude Mode | Off | ||
| On | |||
| Reset Settings | Yes | ||
| Cancel | |||
| Reset to Factory Default | Yes | ||
| Cancel | |||
Information
| Sub-menu | Menu Option | |
|---|---|---|
| Information | Light Source Hours | |
| System Version | ||
| Memory Information | XX GB of XX GB Used | |
| Wi-Fi Mac Address | ||
| Serial Number | ||