XG272-2K-OLED On-Screen Display Menu Options
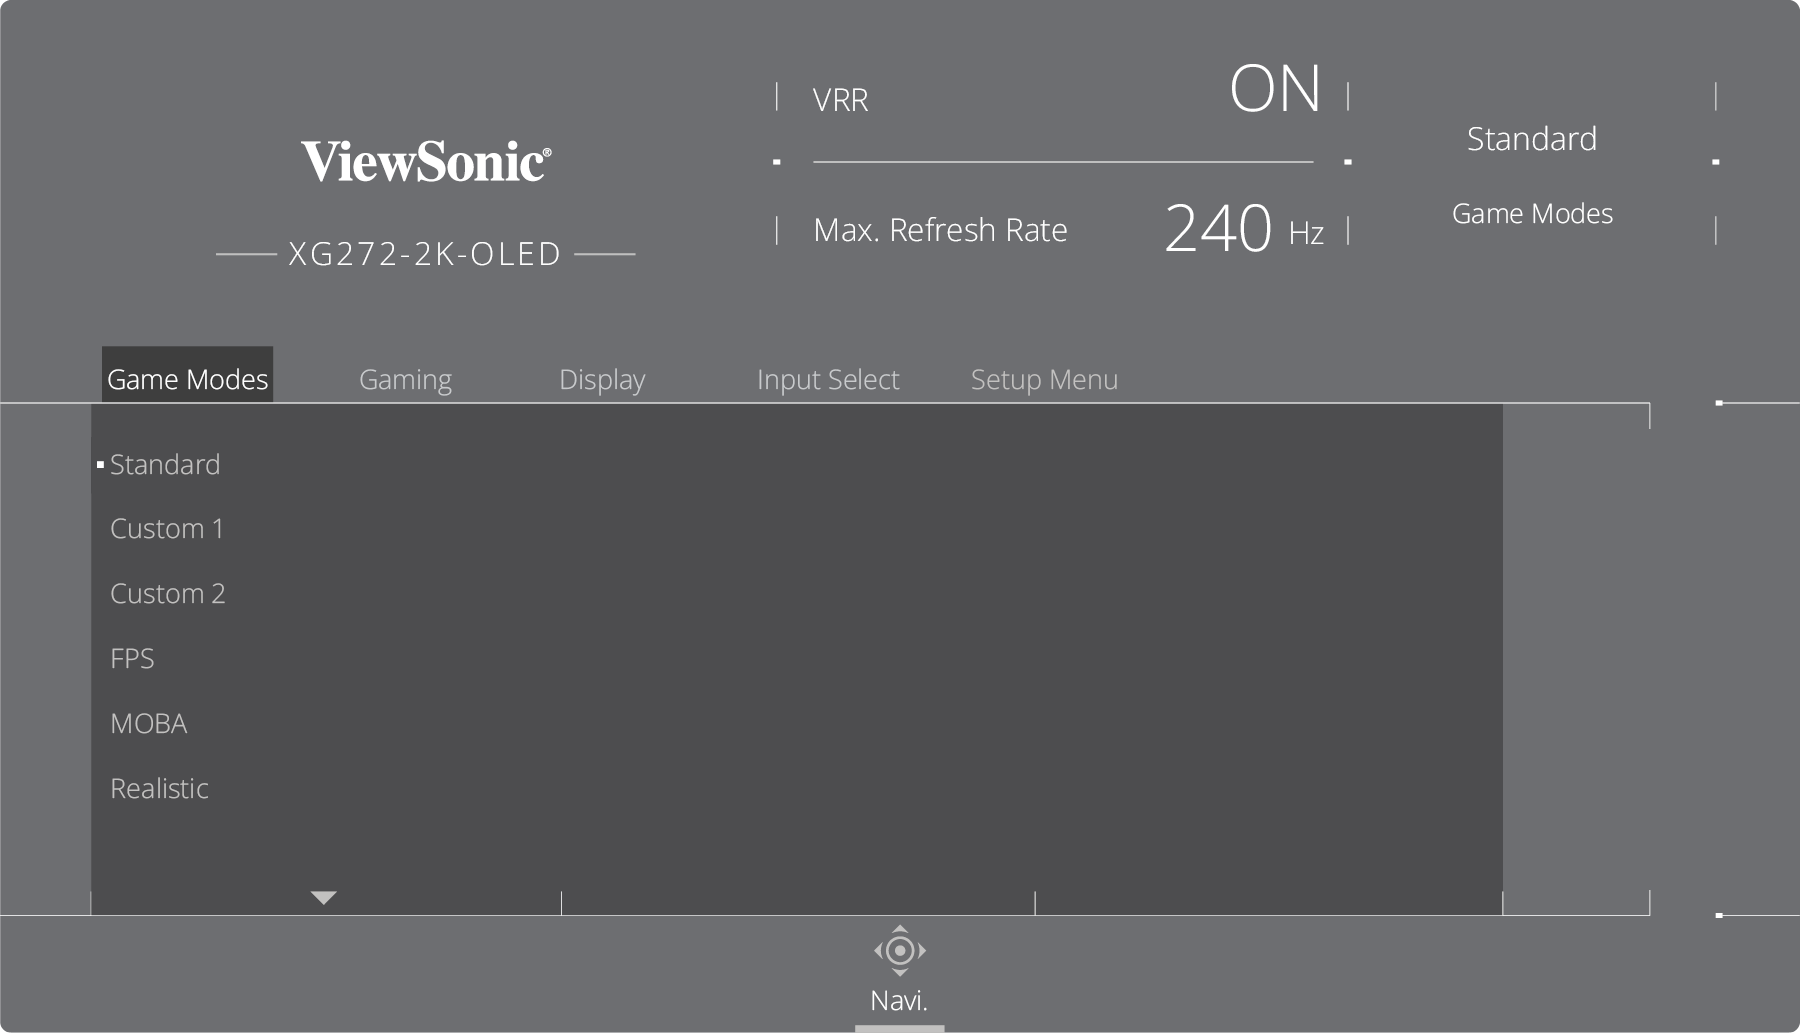
Game Modes
- Press
or move the Joy Key
/
/
/
to open the On-Screen Display (OSD) Menu.
- Move the Joy Key
or
to select Modes. Then move the Joy Key
to enter the Modes menu.
- Move the Joy Key
or
to select the setting. Then press the Joy Key
to confirm the selection.
| Menu Option | Description |
|---|---|
| Standard | For general use. |
| Custom 1/2 | Two customizable settings to match individual preferences. |
| FPS | For First-Person Shooter games. |
| MOBA | For Multiplayer Online Battle Arena games. |
| Realistic | For true-to-life color representation. |
| Vibrant | For bright and saturated colors. |
| Console | For color accuracy for console use. |
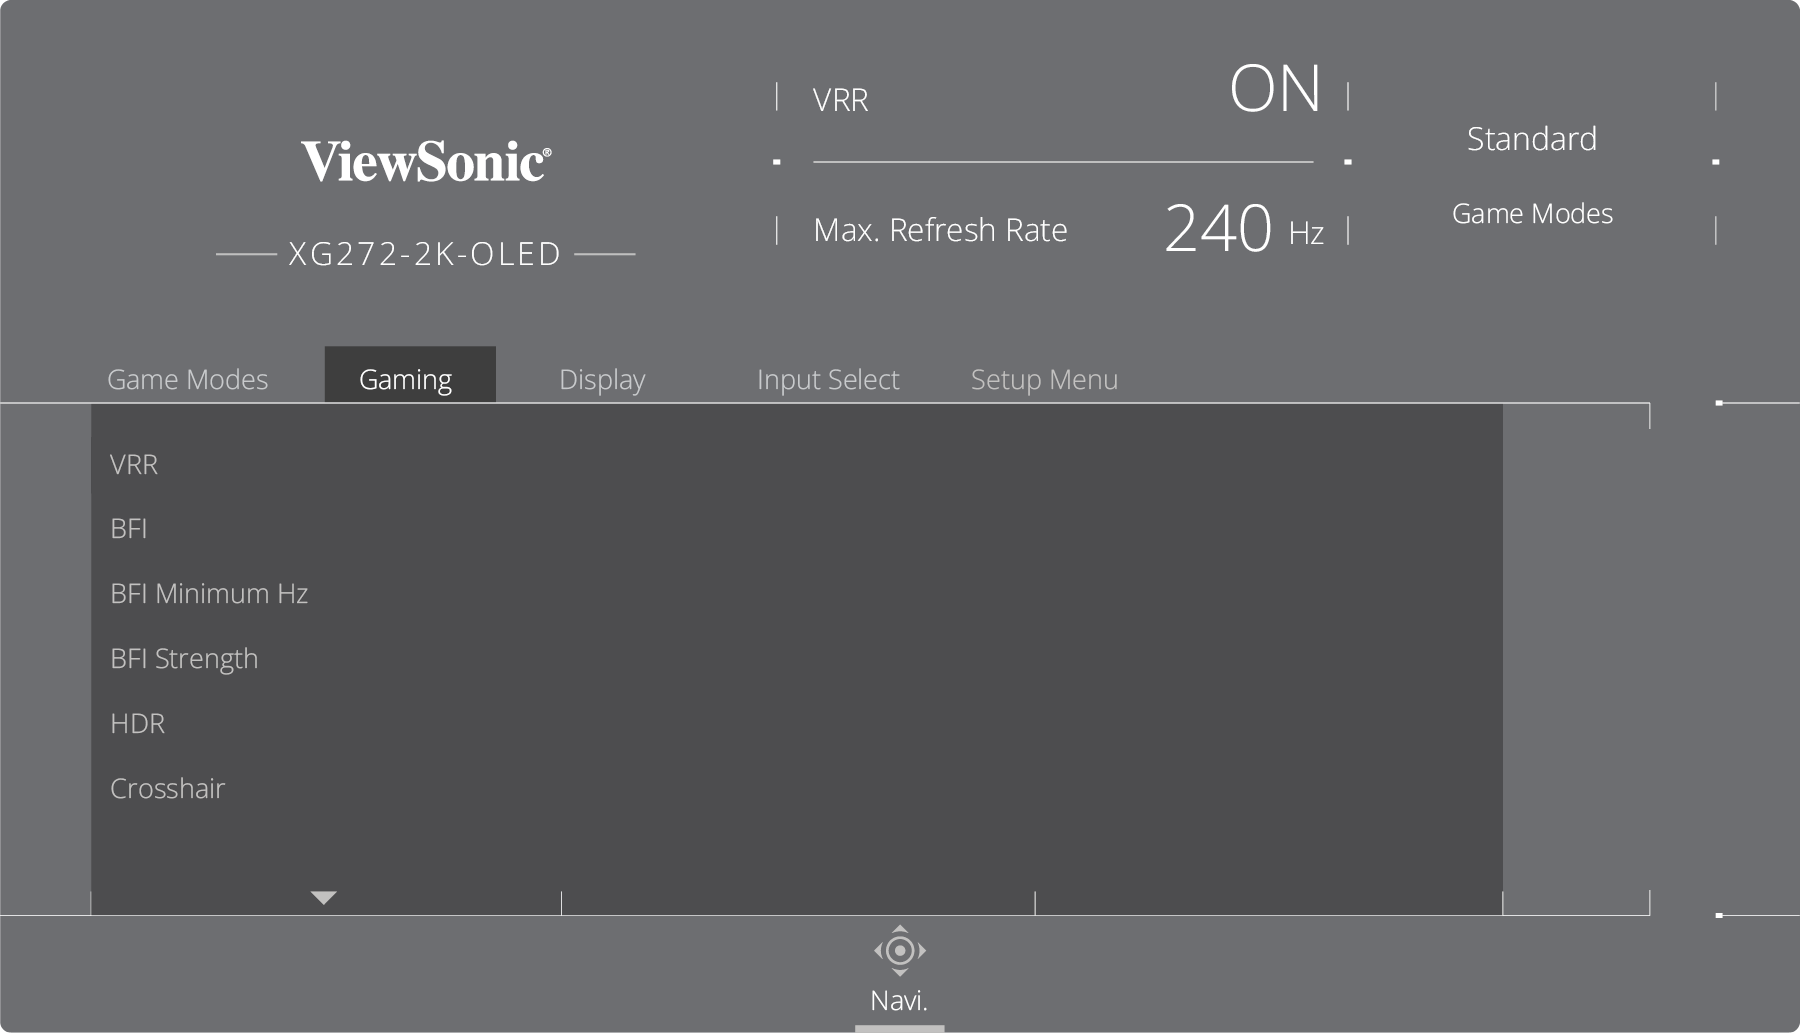
Gaming
- Press
or move the Joy Key
/
/
/
to open the On-Screen Display (OSD) Menu.
- Move the Joy Key
or
to select Gaming. Then move the Joy Key
to enter the Gaming menu.
- Move the Joy Key
or
to select the setting. Then press the Joy Key
to confirm the selection.
Option Description DisplayHDR Passes AMD FreeSync Premium Pro certification and VESA DisplayHDR 1400 certification. CinematicHDR HDR setting for movies. GameplayHDR HDR setting for gaming. - Note:
- When DisplayHDR is enabled, you cannot adjust the brightness. The brightness depends on the HDR content.
- You can adjust the brightness on CinematicHDR and GameplayHDR.
- When you use HDR, please make sure the Windows HDR is turned on and the content also supports HDR.
| Menu Option | Description |
|---|---|
| Variable Refresh Rate (VRR) | Eliminates screen stutter and tearing. |
| BFI | Black Frame Insertion (BFI), when turned on, reduces the persistent blur that can appear behind fast-moving objects on screen. |
| BFI Minimum Hz | Sets the minimum refresh rate for BFI. |
| BFI Strength | Sets the BFI strength, adjusting the black frame length. |
| HDR | Reduces the overall contrast of a given scene so that detail in the highlights and shadows can be seen. |
| Crosshair | Aims more clearly and quickly during FPS games with the on-screen Crosshair overlay. For more, see Crosshair. |
| Gaming RGB | Controls the RGB lighting on the monitor. When turned on, or after being reset, the default Breathing mode will be activated. |
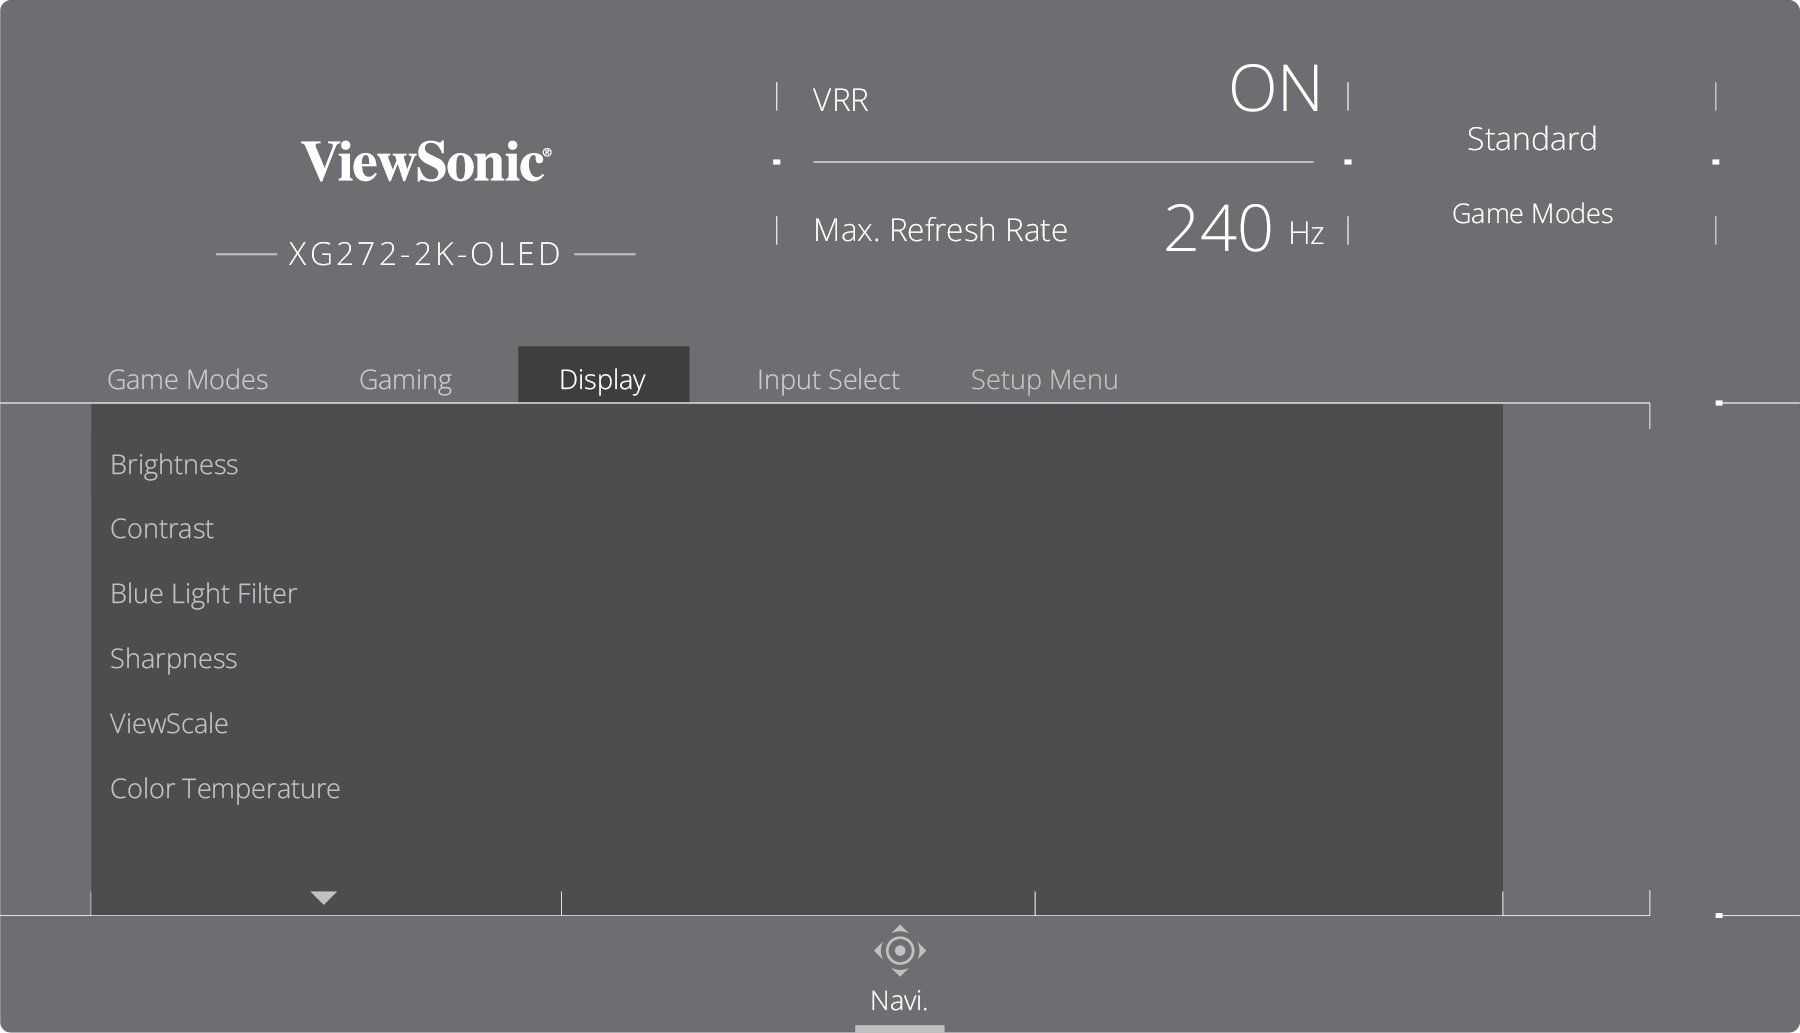
Display
- Press
or move the Joy Key
/
/
/
to open the On-Screen Display (OSD) Menu.
- Move the Joy Key
or
to select Display. Then move the Joy Key
to enter the Display menu.
- Move the Joy Key
or
to select the menu option. Then move the Joy Key
to confirm the selection.
- Move the Joy Key
or
to select the setting. Then press the Joy Key
to confirm the selection (if applicable).
Option Description sRGB Precise color gamut and gamma of the sRGB standard. Bluish Sets the color temperature to 9300K. Cool Sets the color temperature to 7500K. Native Default color temperature.
Recommended for regular use.Warm Sets the color temperature to 5000K. Full Color Control Individually adjust red, green, and blue values. Option Description Auto Automatically recognizes the input signal’s color space. RGB Mode Sets the input signal color format as RGB. YUV Sets the input signal color as YUV. Option Description Auto Automatically recognizes the input signal’s color space. Full Range Black and white levels are full (0~255). Limited Range Black and white levels are limited (16~235). - Press
or move the Joy Key
/
/
/
to open the On-Screen Display (OSD) Menu.
- Move the Joy Key
or
to select Setup Menu. Then move the Joy Key
to enter the Setup Menu menu.
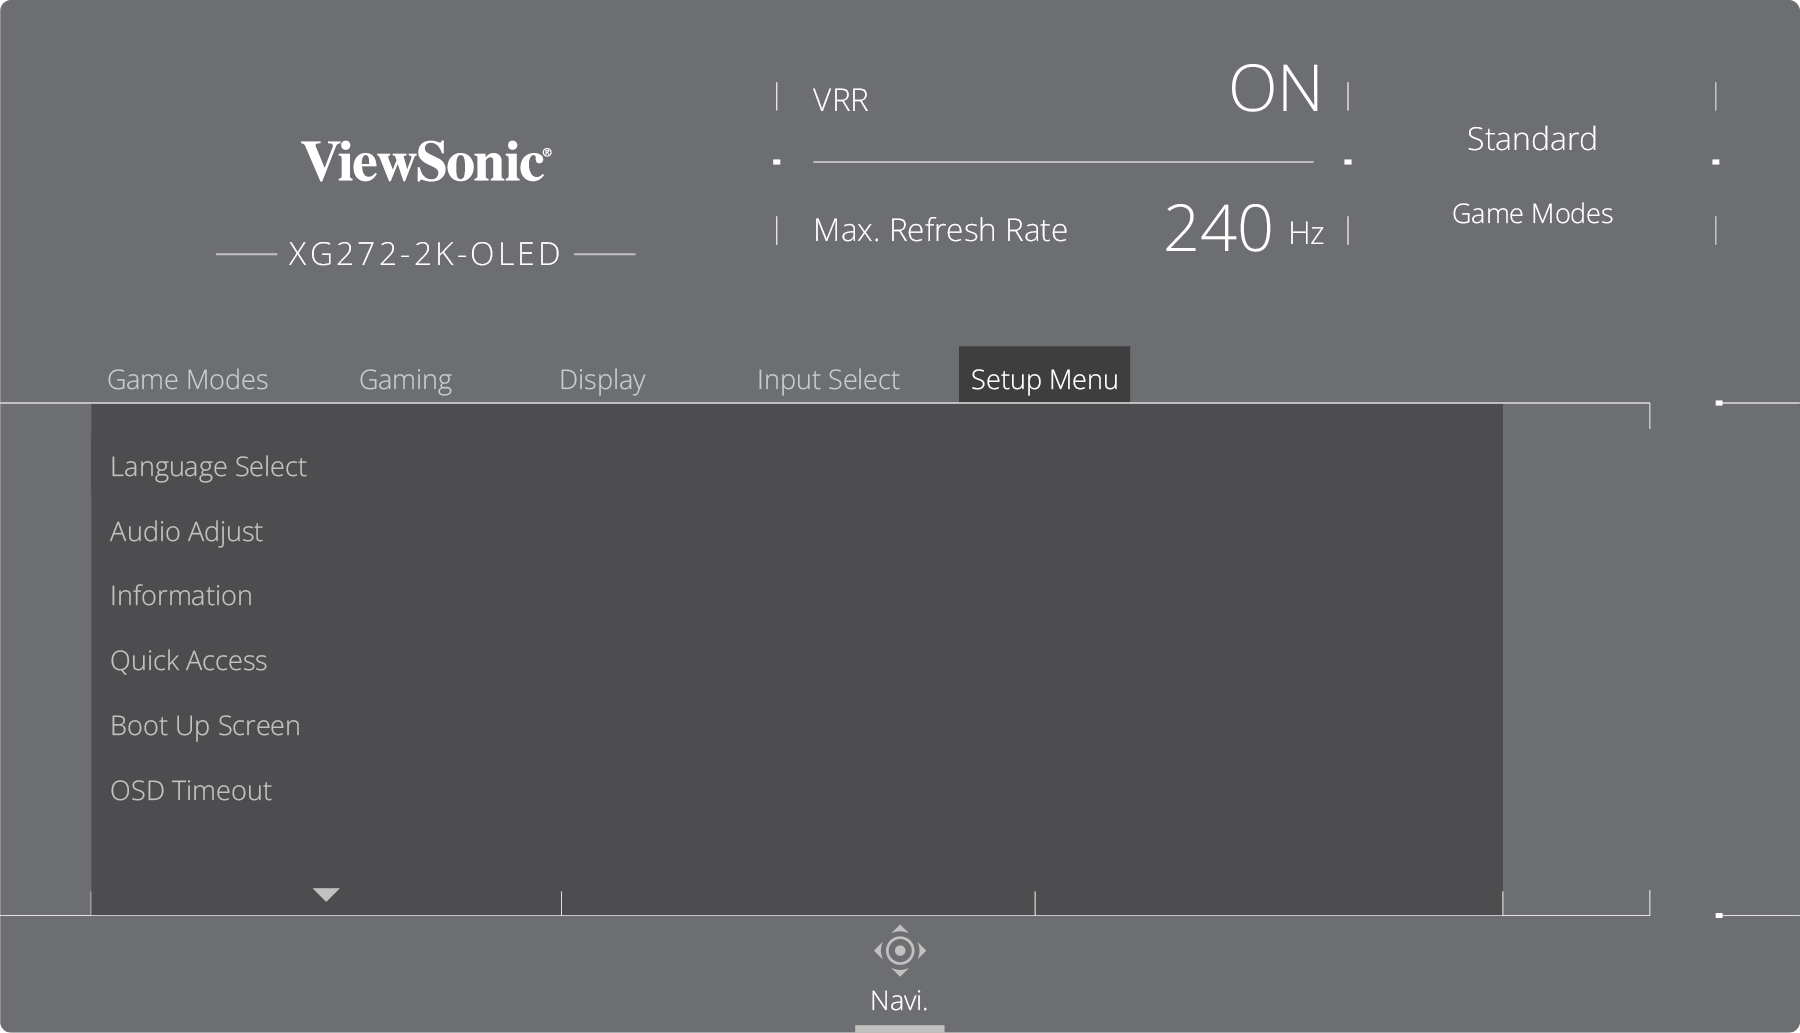
- Move the Joy Key
or
to select the menu option. Then move the Joy Key
to confirm the selection (if applicable).
- Move the Joy Key
or
to select the setting. Then press the Joy Key
to confirm the selection (if applicable).
- NOTE: Energy Saving Mode is On by default. Once turned Off, the brightness level can be adjusted to the maximum level.
- NOTE:
- If the monitor shows no video signal via the HDMI 2.1 port. Please turn on HDMI 2.0. For additional information about HDMI 2.1 support, contact your graphics card manufacturer.
- HDMI 2.0 supports up to 3440 x 1440 @ 100Hz.
- NOTE: If the monitor shows no video signal via the DisplayPort (v. 1.4) port. Please turn on DisplayPort 1.2. For additional information about DisplayPort v. 1.4 support, contact your graphics card manufacturer.
| Menu Option | Description |
|---|---|
| Brightness | Adjusts background black levels of the screen image. |
| Contrast | Adjusts the difference between lightest and darkest parts of the picture and change the amount of black and white in the image. |
| Blue Light Filter | Blocks high-energy blue light for a more comfortable viewing experience. |
| Sharpness | Adjusts the on-screen's image quality. |
| ViewScale | Adjusts the display size of the image. |
| Color Temperature | Sets the color temperature.
|
| Color Adjust | Color Space Selects which color space to use for color output. Color Range Color Saturation Black Stabilization |
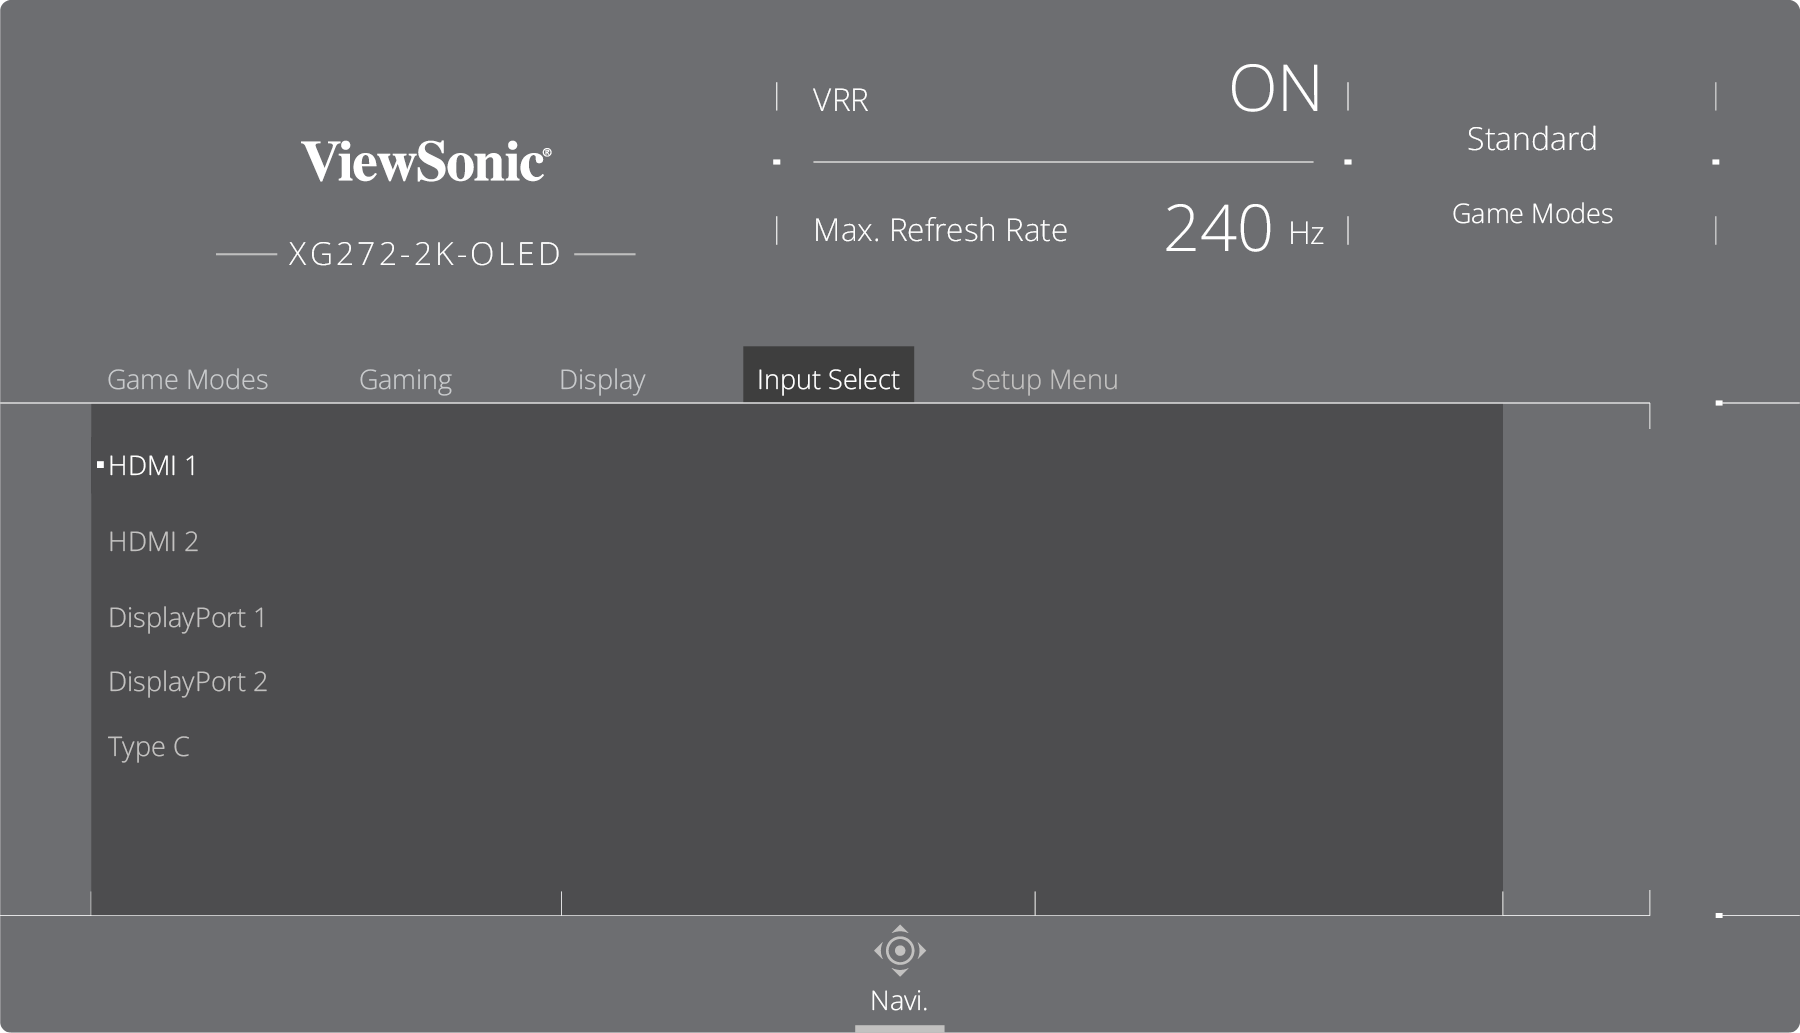
Input Select
Setup Menu
| Menu Option | Description |
|---|---|
| Language Select | Sets the language for the OSD Menu. |
| Audio Adjust | Adjusts the volume level or mutes the monitor’s sound. |
| Information | Shows information about the monitor. |
| Quick Access | Sets which options are added to the Quick Access Menu. |
| Boot Up Screen | Toggles the start screen On or Off. |
| OSD Timeout | Adjusts the length of time the OSD Menu remains on screen. |
| OSD Background | Shows or hides the OSD background when the OSD Menu appears on screen. |
| OSD Pivot | Sets the OSD Menu orientation. |
| Power Indicator | Turns the power indicator light on or off. The power indicator light will be blue when the monitor is turned on. |
| Auto Power Off | Sets the monitor to automatically turn off after a certain amount of time. |
| Sleep | Sets the amount of idle time before the monitor enters Sleep mode. |
| ECO Mode | Adjusts the power consumption of the monitor.
|
| DDC/CI | Allows the monitor control via the connected computer’s graphics card. |
| HDMI 2.0 | Enables HDMI 2.0 support.
|
| DisplayPort 1.2 | Enables DisplayPort 1.2 support. |
| Standby Charger | When turned on, the USB ports will continue to supply power even when the monitor is in standby mode. |
| Memory Recall | Resets all settings to their default values. |

