XG272-2K-OLED Advanced Features and Settings
Variable Refresh Rate (VRR)
Enabling Variable Refresh Rate will put an end to choppy gameplay with fluid, artifact-free performance. To enable Variable Refresh Rate:
- Press
or move the Joy Key
/
/
/
to open the On-Screen Display (OSD) Menu.
- Move the Joy Key
or
to select Display. Then move the Joy Key
to enter the Display menu.
- Move the Joy Key
or
to select Variable Refresh Rate. Then move the Joy Key
to confirm the selection.
- Move the Joy Key
or
to select On or Off. Then press the Joy Key
to confirm the selection.
- Note: When enabled, DisplayHDR will turn on automatically.
HDR (High-Dynamic-Range)
Reduces the overall contrast of a given scene so that detail in the highlights and shadows can be seen.
- Note: Ensure the HDR setting is turned on on your device first before enabling the HDR on the monitor.
| Mode | Description |
|---|---|
| DisplayHDR | Passes AMD FreeSync Premium Pro certification and VESA DisplayHDR 1400 certification. |
| CinematicHDR | HDR setting for movies. |
| GameplayHDR | HDR setting for gaming. |
To enable the HDR function on the monitor:
- Press
or move the Joy Key
/
/
/
to display the On-Screen Display (OSD) Menu.
- Move the Joy Key
or
to select Display. Then move the Joy Key
to enter the Display menu.
- Move the Joy Key
or
to select HDR. Then move the Joy Key
to confirm the selection.
- Move the Joy Key
or
to select the preferred setting. Then press the Joy Key
to confirm.
To enable HDR on Windows:
- Right-click on the desktop then left-click Display Settings.
- Select the XG272-2K-OLED display and select the appropriate Resolution.
- Toggle HDR On.
- Note:
- The screen may slightly dim, indicating HDR has been activated.
- Please select Off for the HDR function when you have no need for the automatic activation function.
Blue Light Filter and Eye Health
The Blue Light Filter blocks high-energy blue light for a more comfortable viewing experience.
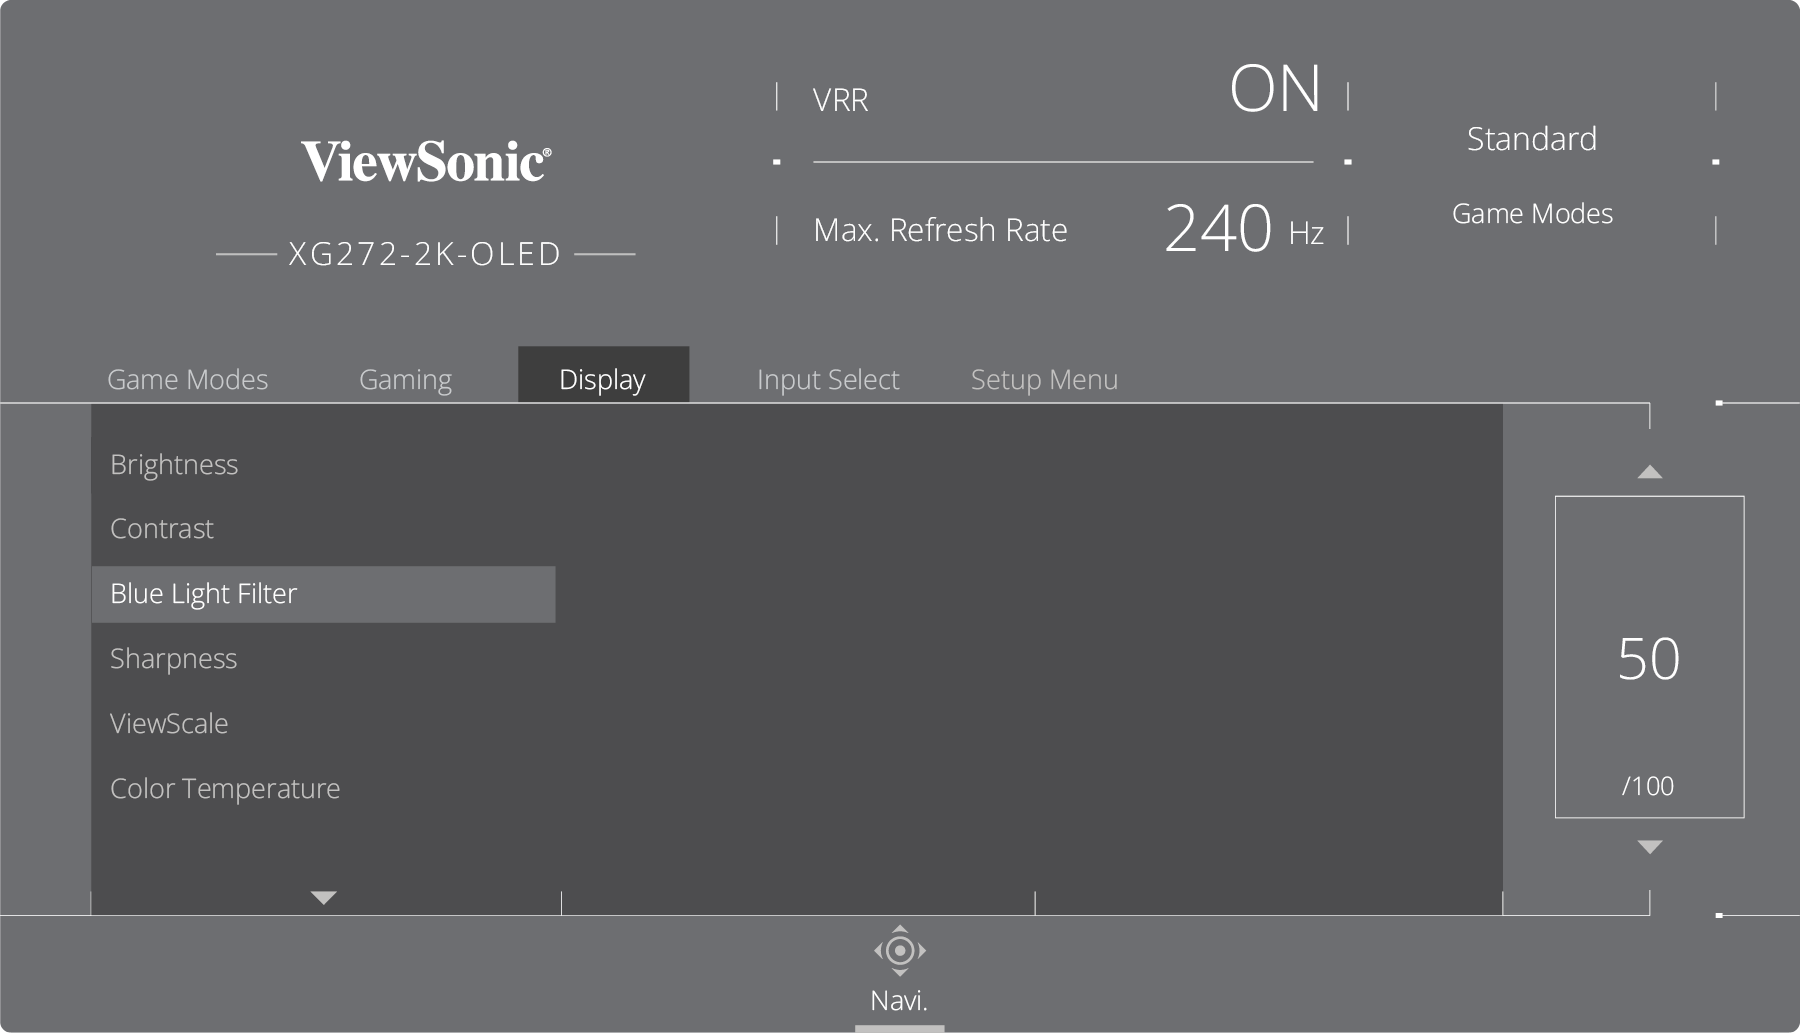
Enabling and disabling the Blue Light Filter can be done quickly via the Display menu.
While using and enjoying your monitor please keep the following in mind:
- Viewing computer screens for extended periods of time may cause eye irritation and discomfort. To reduce these effects, it is recommended to take periodic breaks from viewing to allow the eyes to relax.
- The Blue Light Filter value can be adjusted through the Display menu.
Calculating Breaks
When viewing the monitor for extended periods, it is recommended to take periodic breaks from viewing. Short breaks of at least five (5) minutes are recommended after one (1) to two (2) hours of continuous viewing.
Taking shorter, more frequent breaks are generally more beneficial than longer, less frequent breaks.
Focus Fatigue (20-20-20 Rule)
To reduce the risk of eye fatigue by constantly looking at the screen, look away from the screen at least every 20 minutes and gaze at a distant object (at least 20 feet away) for at least 20 seconds.
Looking at Distant Objects
While taking breaks, users can further reduce eye strain and dryness by focusing on objects that are further away from them.
Eye and Neck Exercises
Eye Exercises
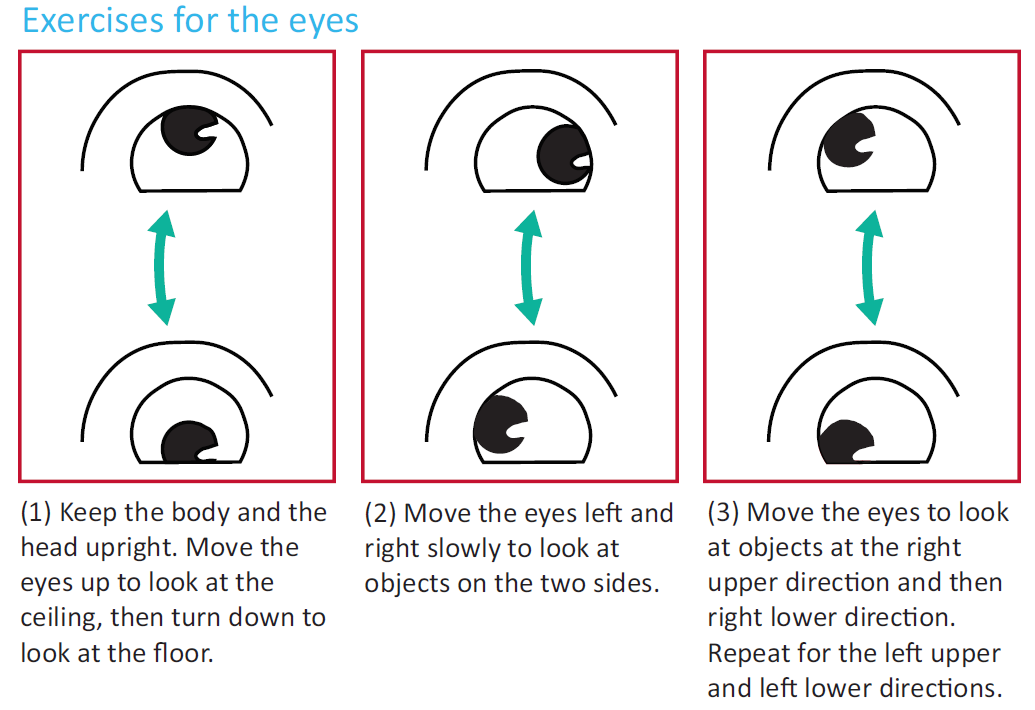
Eye exercises can help minimize eye strain. Slowly roll your eyes to the left, right, up, and down. Repeat as many times as needed.
Neck Exercises
Neck exercises can also help minimize eye strain. Relax your arms and let them hang at your sides, bend forward slightly to stretch the neck, turn your head to the right and to the left. Repeat as many times as needed.
ViewScale
Under ViewScale, the current aspect ratio can be adjusted to fit specific use-case scenarios.
- Note: If users choose a ViewScale aspect mode that is not native, it may impact the overall experience.
To enable ViewScale:
- Press
or move the Joy Key
/
/
/
to open the On-Screen Display (OSD) Menu.
- Move the Joy Key
or
to select Display. Then move the Joy Key
to enter the Display menu.
- Move the Joy Key
or
to select ViewScale. Then move the Joy Key
to enter its sub-menu.
- Move the Joy Key
or
to select the setting. Then press the Joy Key
to confirm the selection.
| Aspect Ratio | Description |
|---|---|
| Full | Scales the inputted image to fill the screen, this is the default input choice and is ideal for 16:9 images. |
| Aspect | The inputted image is allowed to fill the screen as large as it can go without image distortion. |
| 1:1 | The image is directly displayed without scaling. |
| 19" (4:3) | Simulates the inputted image in a 4:3 aspect ratio and 19” display size. |
| 19"W (16:10) | Simulates the inputted image in a 16:10 aspect ratio and 19”W display size. |
| 21.5" (16:9) | Simulates the inputted image in a 16:9 aspect ratio and 21.5” display size. |
| 22”W (16:10) | Simulates the inputted image in a 16:10 aspect ratio and 22”W display size. |
| 23.6”W (16:9) | Simulates the inputted image in a 16:9 aspect ratio and 23.6”W display size. |
| 24”W (16:9) | Simulates the inputted image in a 16:9 aspect ratio and 24”W display size. |
Quick Access
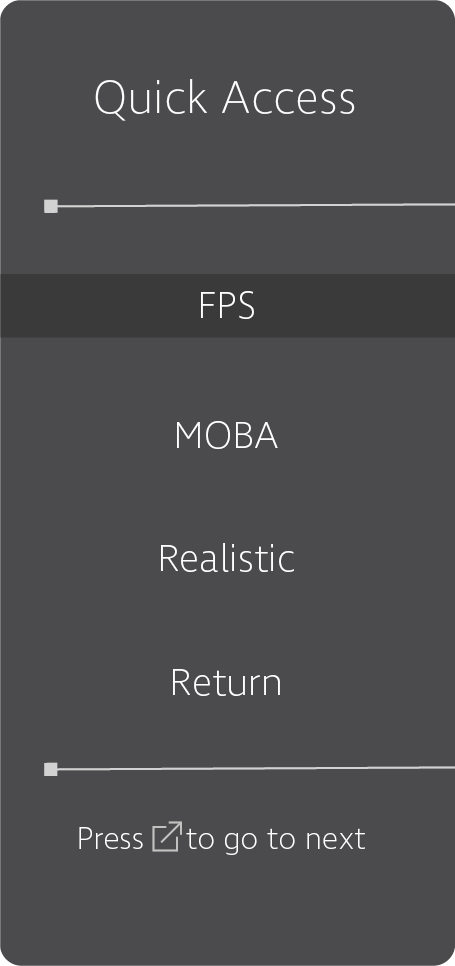
Quickly enable certain functions through the Quick Access Menu. The menu options can be customized via the Setup Menu of the OSD Menu. The function will be enabled as soon as the item is highlighted, and will disable after removing the highlight.
In the Quick Access Menu, Return means users can go back to the mode they chose before entering the Quick Access Menu.
For example, if a user chose Console mode before entering the Quick Access Menu and there is an existing FPS option in the Quick Access Menu, according to the Quick Access definition, users will enable FPS mode when the item is highlighted.
Then, when moving the highlight to Return, the mode will be changed back to Console which is the same mode as before entering the Quick Access Menu.
To activate the Quick Access Menu:
- Press the Quick Access Menu Key to open the Quick Access Menu.
- Move the Joy Key
or
to select your preference.
- Note: After activation, the Quick Access Menu will disappear after three seconds.
To change the Quick Access Menu options:
- Press the
key or move the Joy Key
/
/
/
to open the On-Screen Display (OSD) Menu.
- Move the Joy Key
or
to select Setup Menu. Then move the Joy Key
to enter the Setup Menu menu.
- Move the Joy Key
or
to select Quick Access. Then move the Joy Key
to enter its sub-menu.
- Move the Joy Key
or
to select your preference. Then press the Joy Key
to confirm the selection.
- Note: Some sub-menu options may have another sub-menu. To enter the respective sub-menu, move the Joy Key
.
Crosshair
Select from different Crosshair styles and colors to overlay on your screen.
To enable the Crosshair function:
- Press
or move the joy key
/
/
/
to open the On-Screen Display (OSD) Menu.
- Move the Joy Key
or
to select Gaming. Then move the Joy Key
to enter the Gaming menu.
- Move the Joy Key
or
to select Crosshair. Then move the Joy Key
to confirm the selection.
- Move the Joy Key
or
to select your preferred Crosshair style and color. Then press the Joy Key
to confirm the selection.
- Note: A preview image of the Crosshair (type and color) will be displayed on the right side of the OSD Menu before confirming.
| Type | Crosshair |
|---|---|
| Type A | 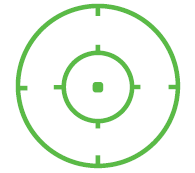
|
| Type B | 
|
| Type C | 
|

