X11-4K Using the Projector
Starting the Projector
- Ensure the projector’s power cord is properly connected to a power outlet.
- Press the Power button to turn on the projector.
First Time Activation
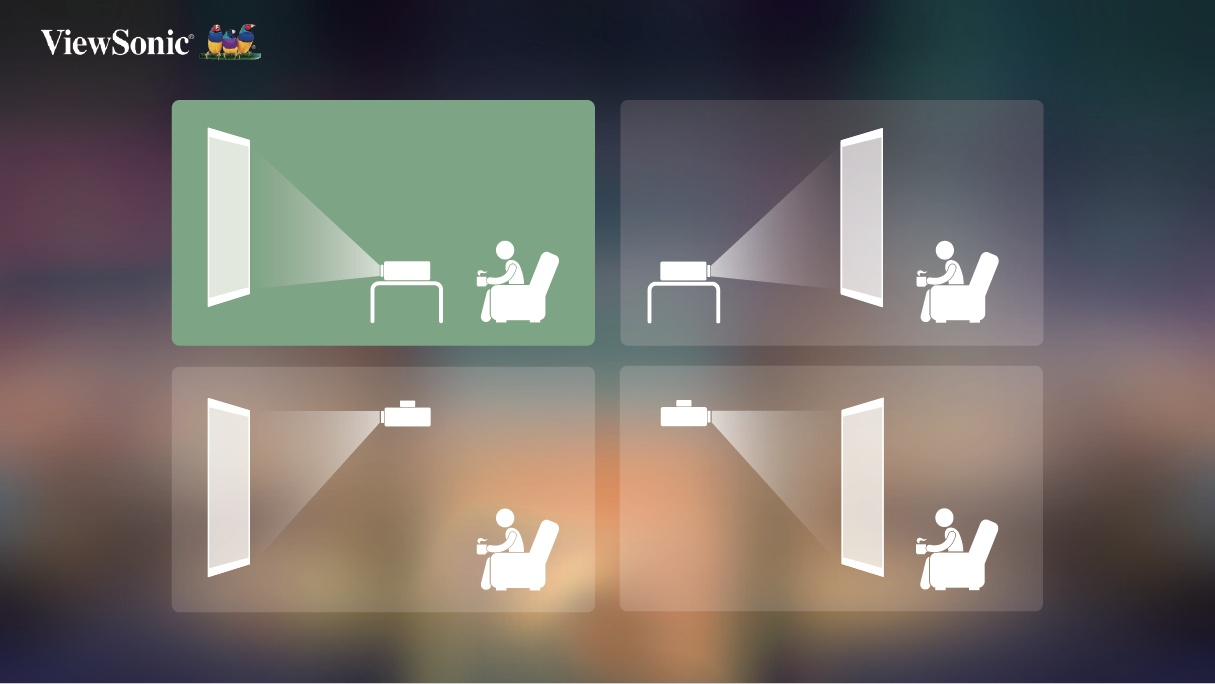
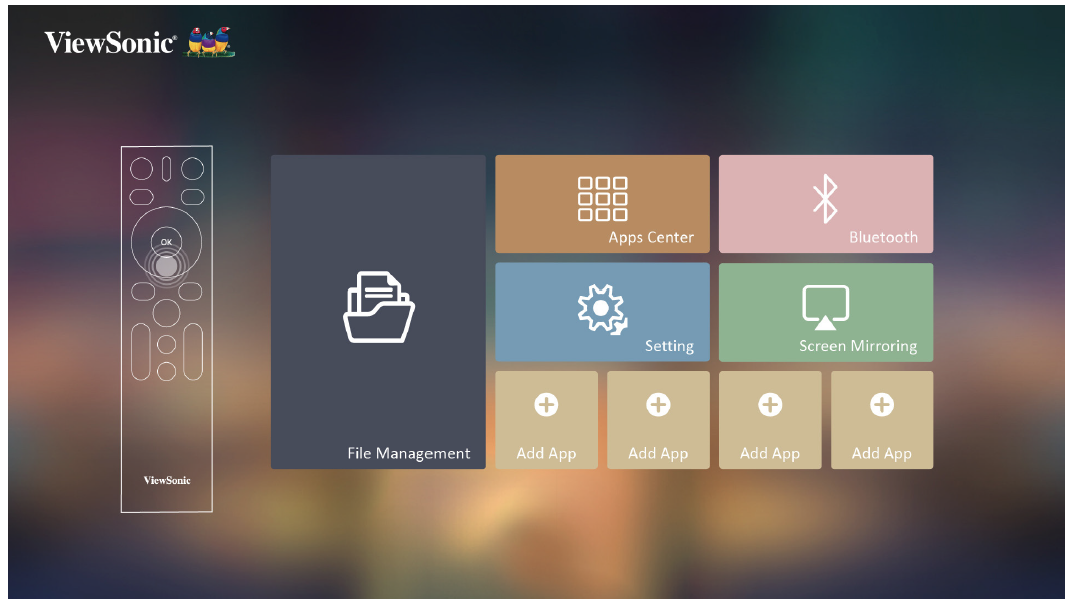
If the projector is activated for the first time, you will need to select your Projection Orientation, Preferred Language, Network Settings, and Source Input. Follow the on-screen instructions using the OK and Up/Down/Left/Right buttons on the remote control. When the “Finish screen” appears, this indicates the projector is ready to use.
Projection Orientation
Select the preferred projection orientation and press OK to confirm the selection.
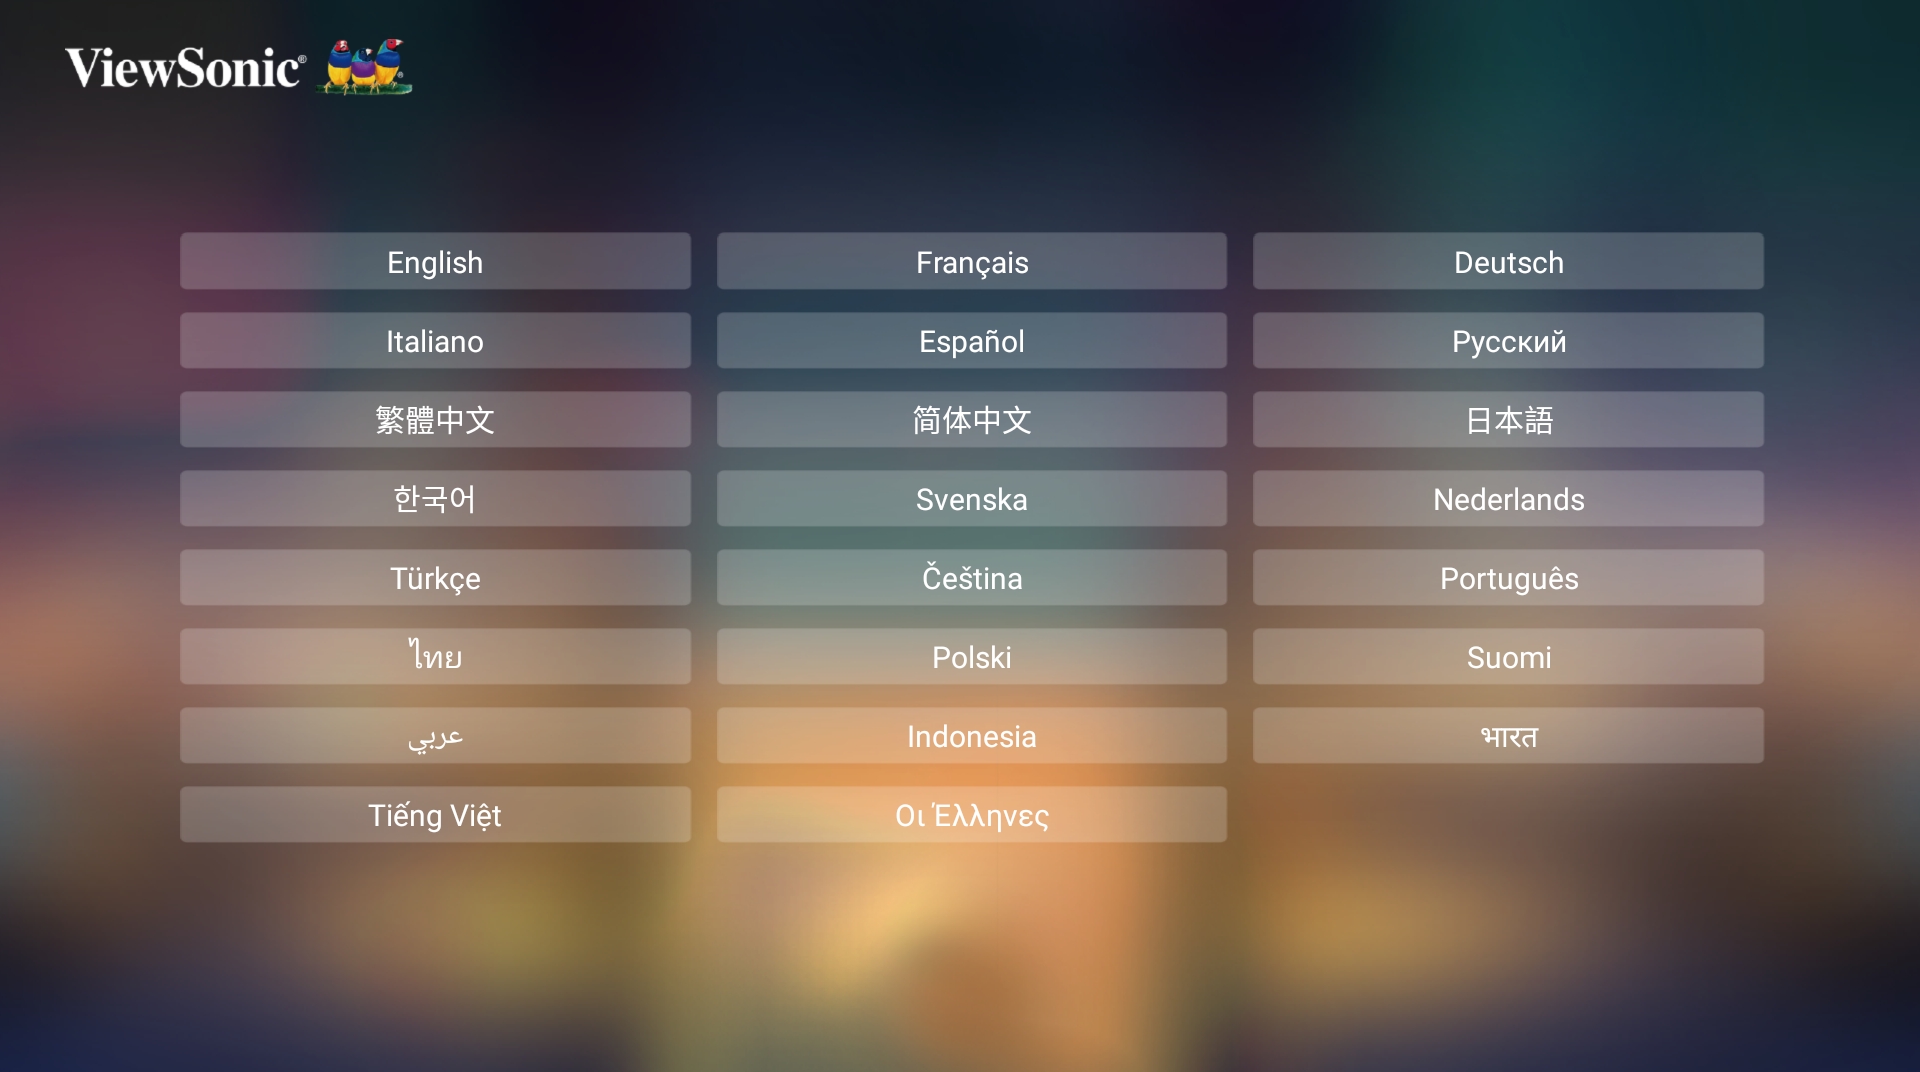
Preferred Language
Select the desired language and press OK to confirm the selection.
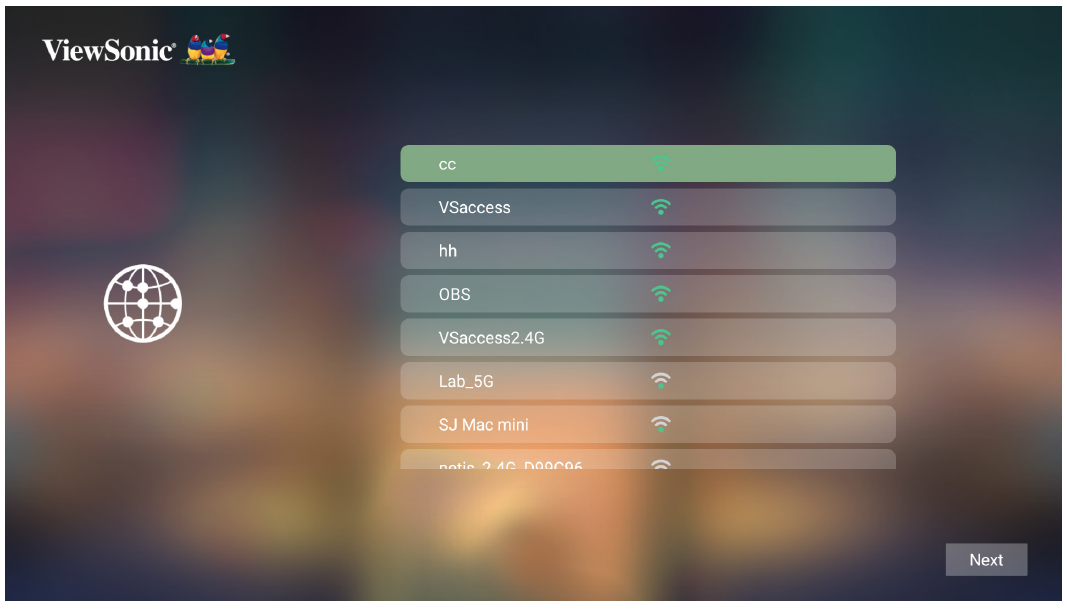
Network Settings
Select one of the available options.
Source Input
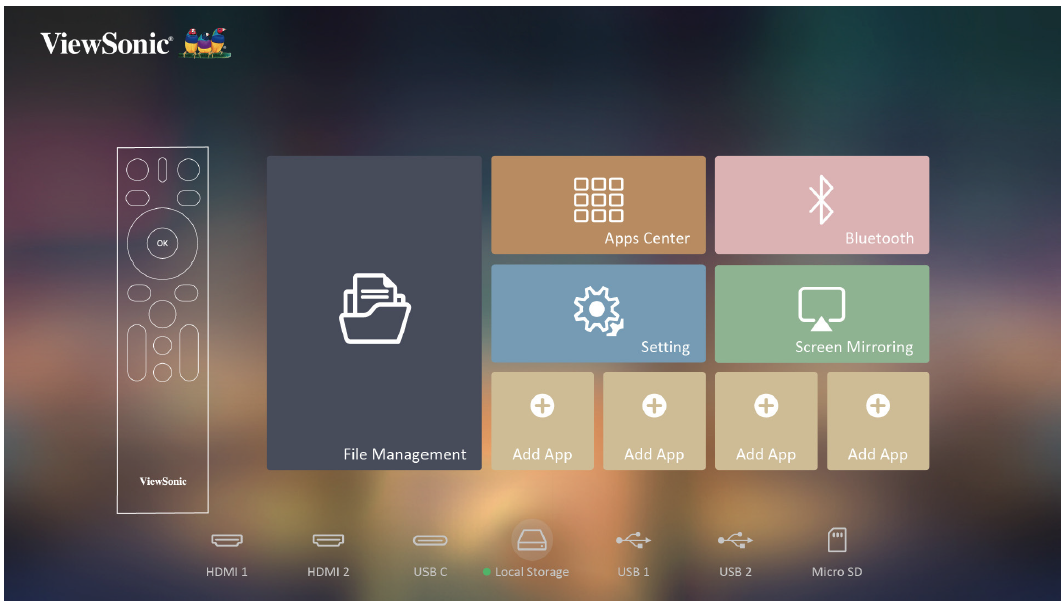
Quickly access the Source Input menu by pressing the Down button on the remote control when at the Home Screen. Additionally, you can press the Source button on the remote control.
- NOTE: If Auto Focus is On, the Automatic Focus Adjustment will run every time the projector is turned on.
Selecting an Input Source
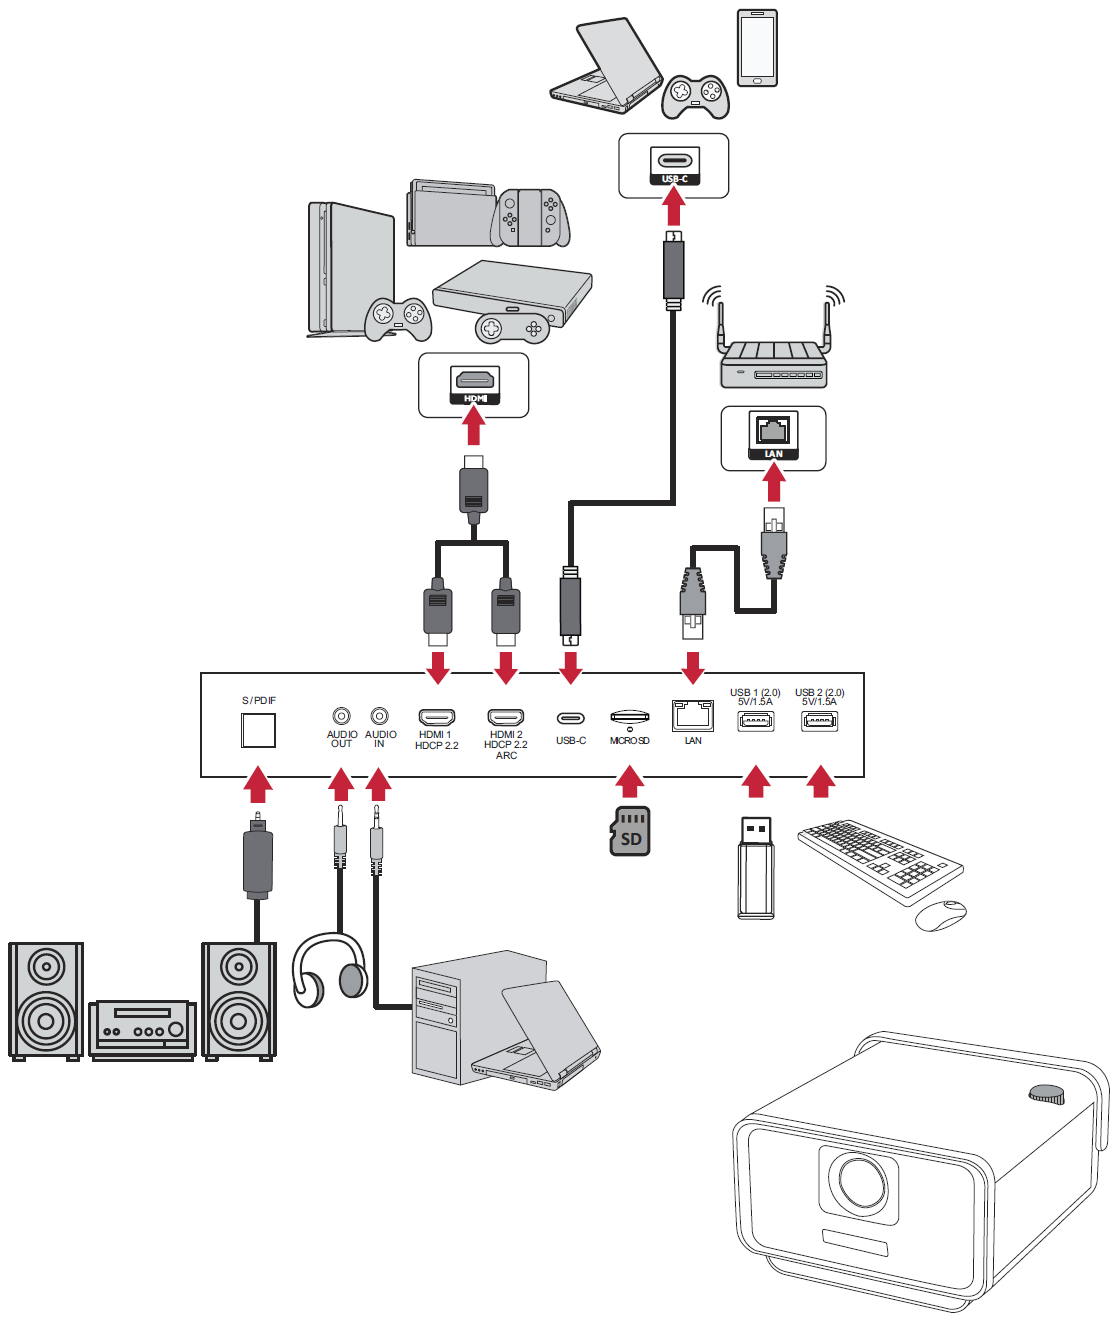
The projector can be connected to multiple devices at the same time. However, it can only display one full screen at a time.
The projector will automatically search for input sources. If multiple sources are connected, press the Source button on the remote control to select the desired input, or press the Down button when at the Home Screen until the source list is displayed.
- NOTE: Ensure the connected sources are also turned on.
Adjusting the Projected Image
Adjusting the Projector's Height and Projection Angle
The projector is equipped with one (1) adjuster foot. Adjusting the foot will change the projector’s height and the vertical projection angle. Carefully adjust the foot to fine tune the projected image’s position.
- NOTE: If the projector is not placed on a flat surface or the screen and the projector are not perpendicular to each other, the projected image can become trapezoidal. However, the “Auto Vertical Keystone” function will correct the issue automatically.
Shutting Down the Projector
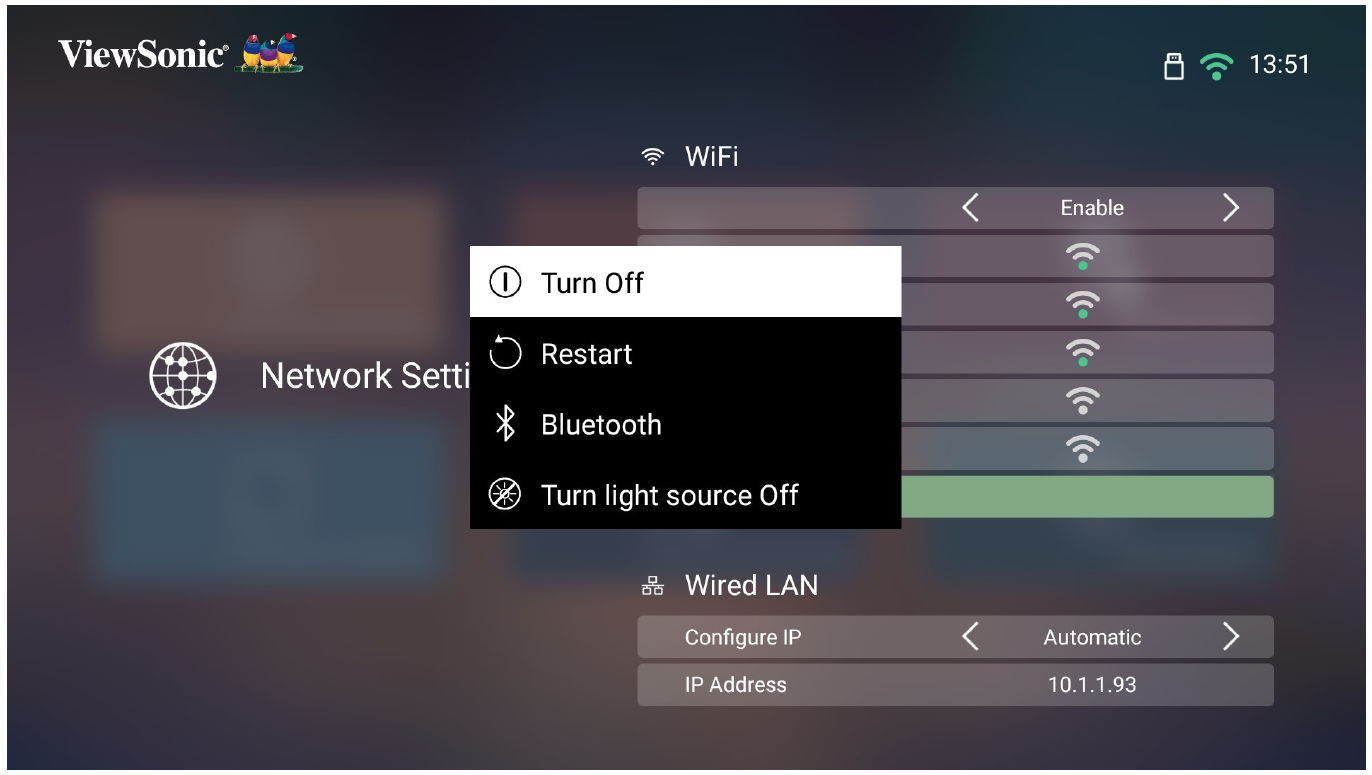
- Press the Power button on the projector or remote control and the following message will appear:
- Press the Up/Down buttons on the remote control to select Turn Off and press OK on the remote control.
- The Status LED will turn solid red once turned off.
- NOTE: When pressing Power on the remote control, you can choose from four (4) options: Turn Off, Restart, Bluetooth, and Turn light source Off.

