From ViewSonic User Guide Database
LDM231-251 Using the Display
Turning the LED Display On/Off
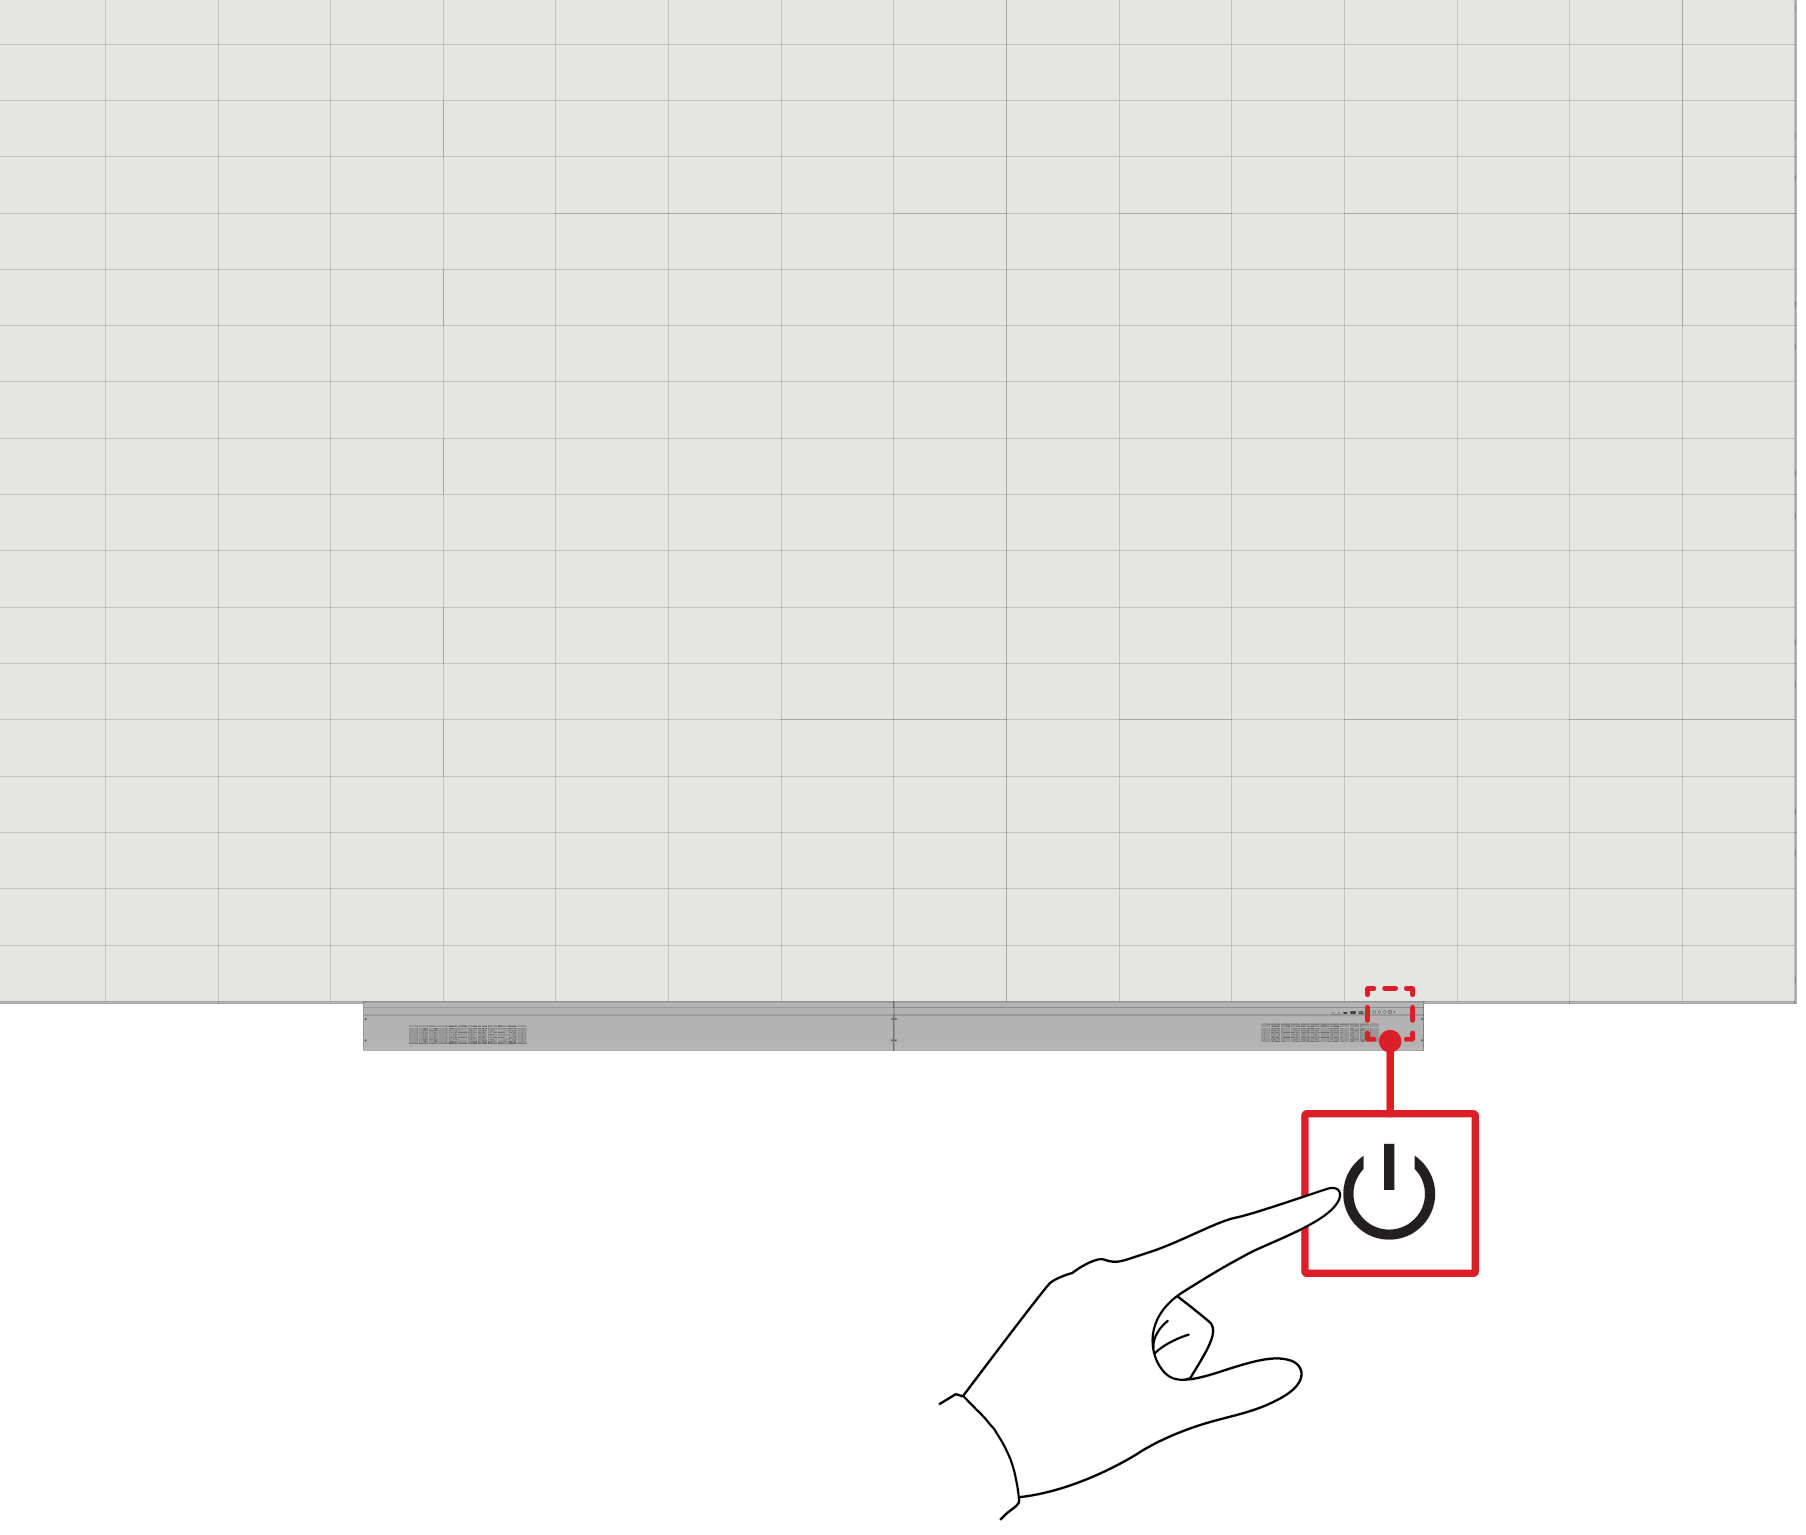
- Ensure the power cord is connected and plugged into a power outlet.
- Press the Power button to turn on the display.
- To turn the LED display off, press the Power button again.
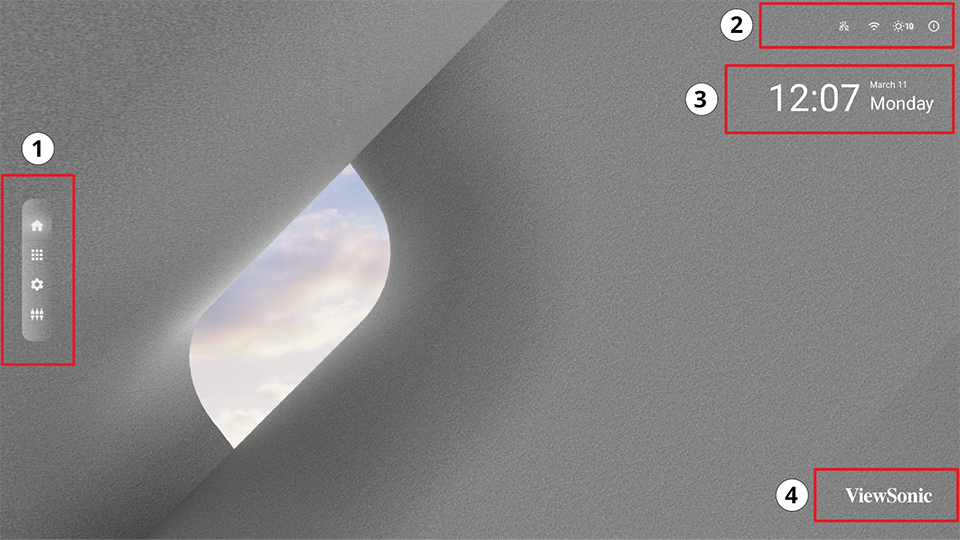
Home Screen
Notes
- ↑ Only supported by keyboard and mouse.
Navigating the Home Screen
Remote Control
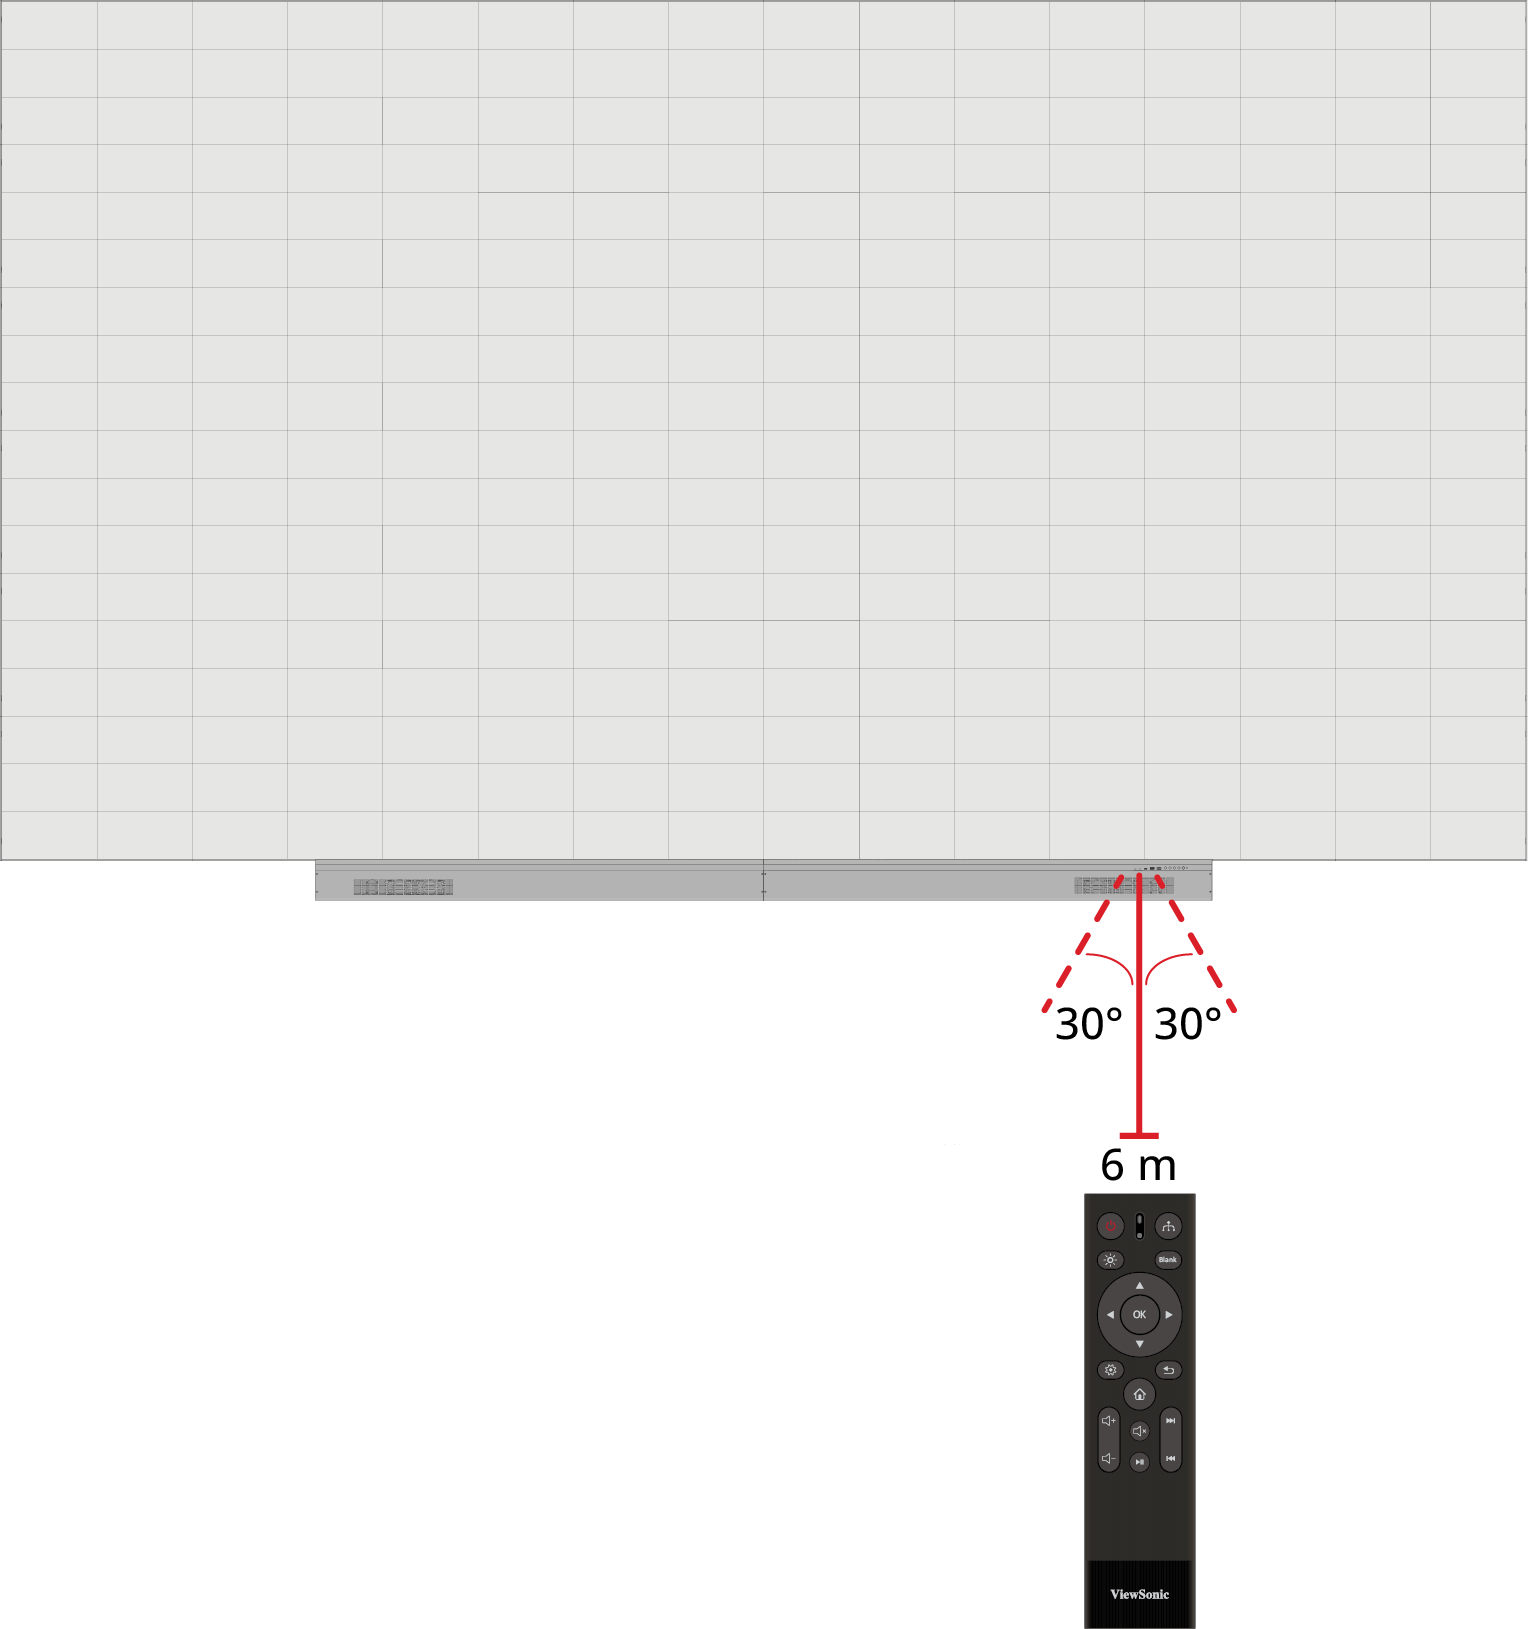
The remote control can be used to easily navigate the Home Screen. When using the remote control, ensure it is kept within the IR receiver range as shown below:
Keyboard and Mouse
When connected to the USB Type-A port of the display, a keyboard and mouse can also be used to navigate the Home Screen.
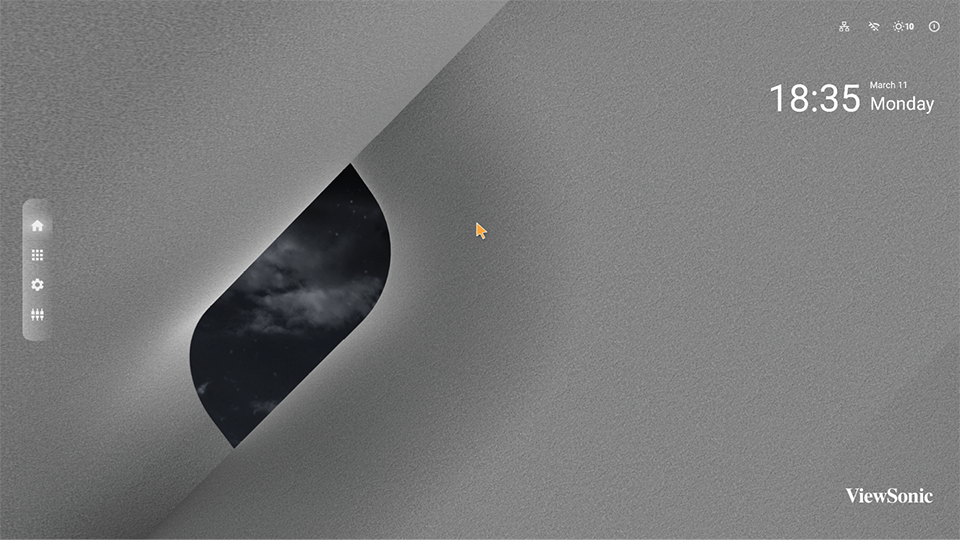
An orange mouse pointer will appear on the display when used:
- The left mouse button will confirm actions.
- The right mouse button will go back to the previous layer.
APP Center
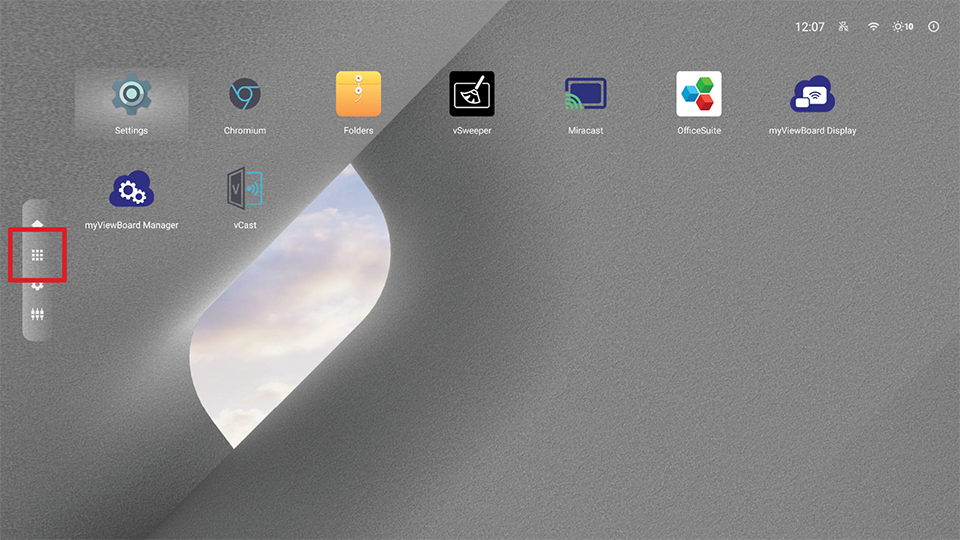
Installed applications will be in the App Center.
| Icon
|
Name
|
Description
|
|
|
Settings
|
Adjust and view the display's settings.
|
|
|
Chromium
|
Web Browser.
|
|
|
Folders
|
File explorer.
|
|
|
vSweeper
|
Resources management tool.
|
|
|
Miracast
|
Wireless screen mirroring.
|
|
|
OfficeSuite
|
Create documents, spreadsheets, and presentations.
|
|
|
myViewBoard Display
|
Wireless mirror your desktop.
|
|
|
myViewBoard Manager
|
Remote device management
|
|
|
vCast
|
Receive casted content from other devices.
|
Note: Pre-installed applications are subject to change without notice.
Input Source
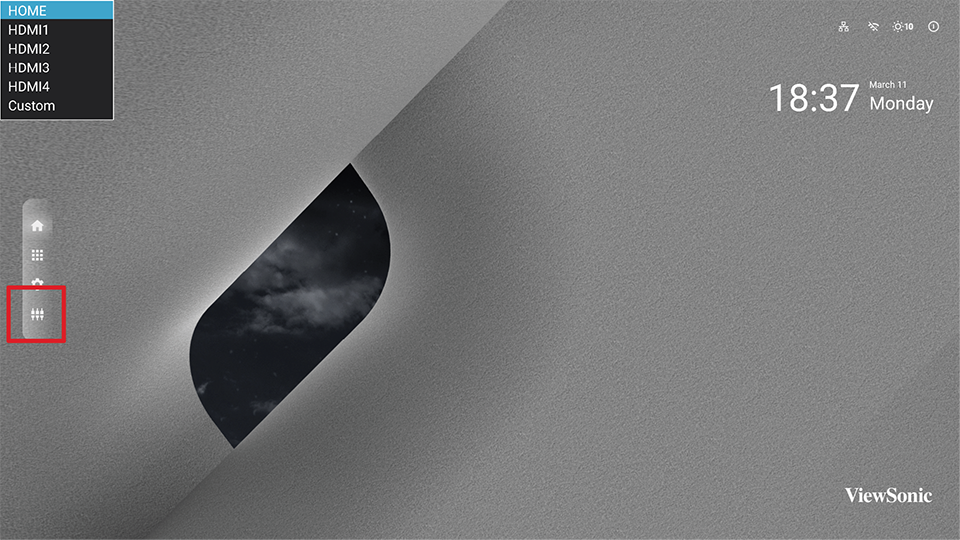
The display supports eight input sources: Home, HDMI 1,HDMI 2, HDMI 3, HDMI 4, and Custom.
Note: The
Custom input source is used to quickly access custom applications. To select the custom application, go to:
Settings >
Device >
Signage Display >
Custom App.
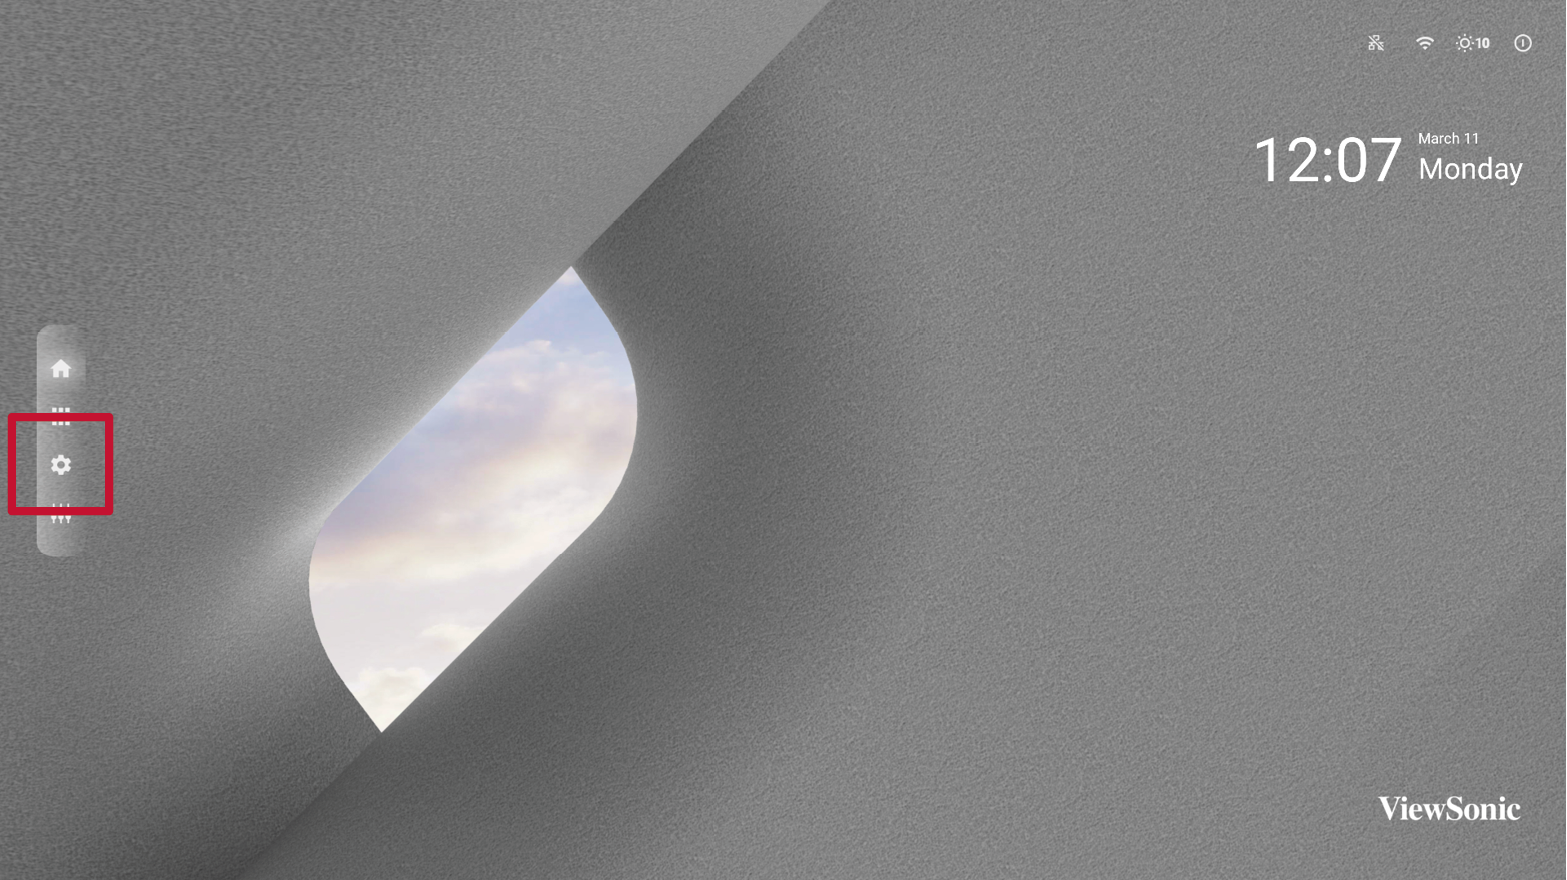
Settings
Adjust and view the display's settings.
| Menu
|
Description
|
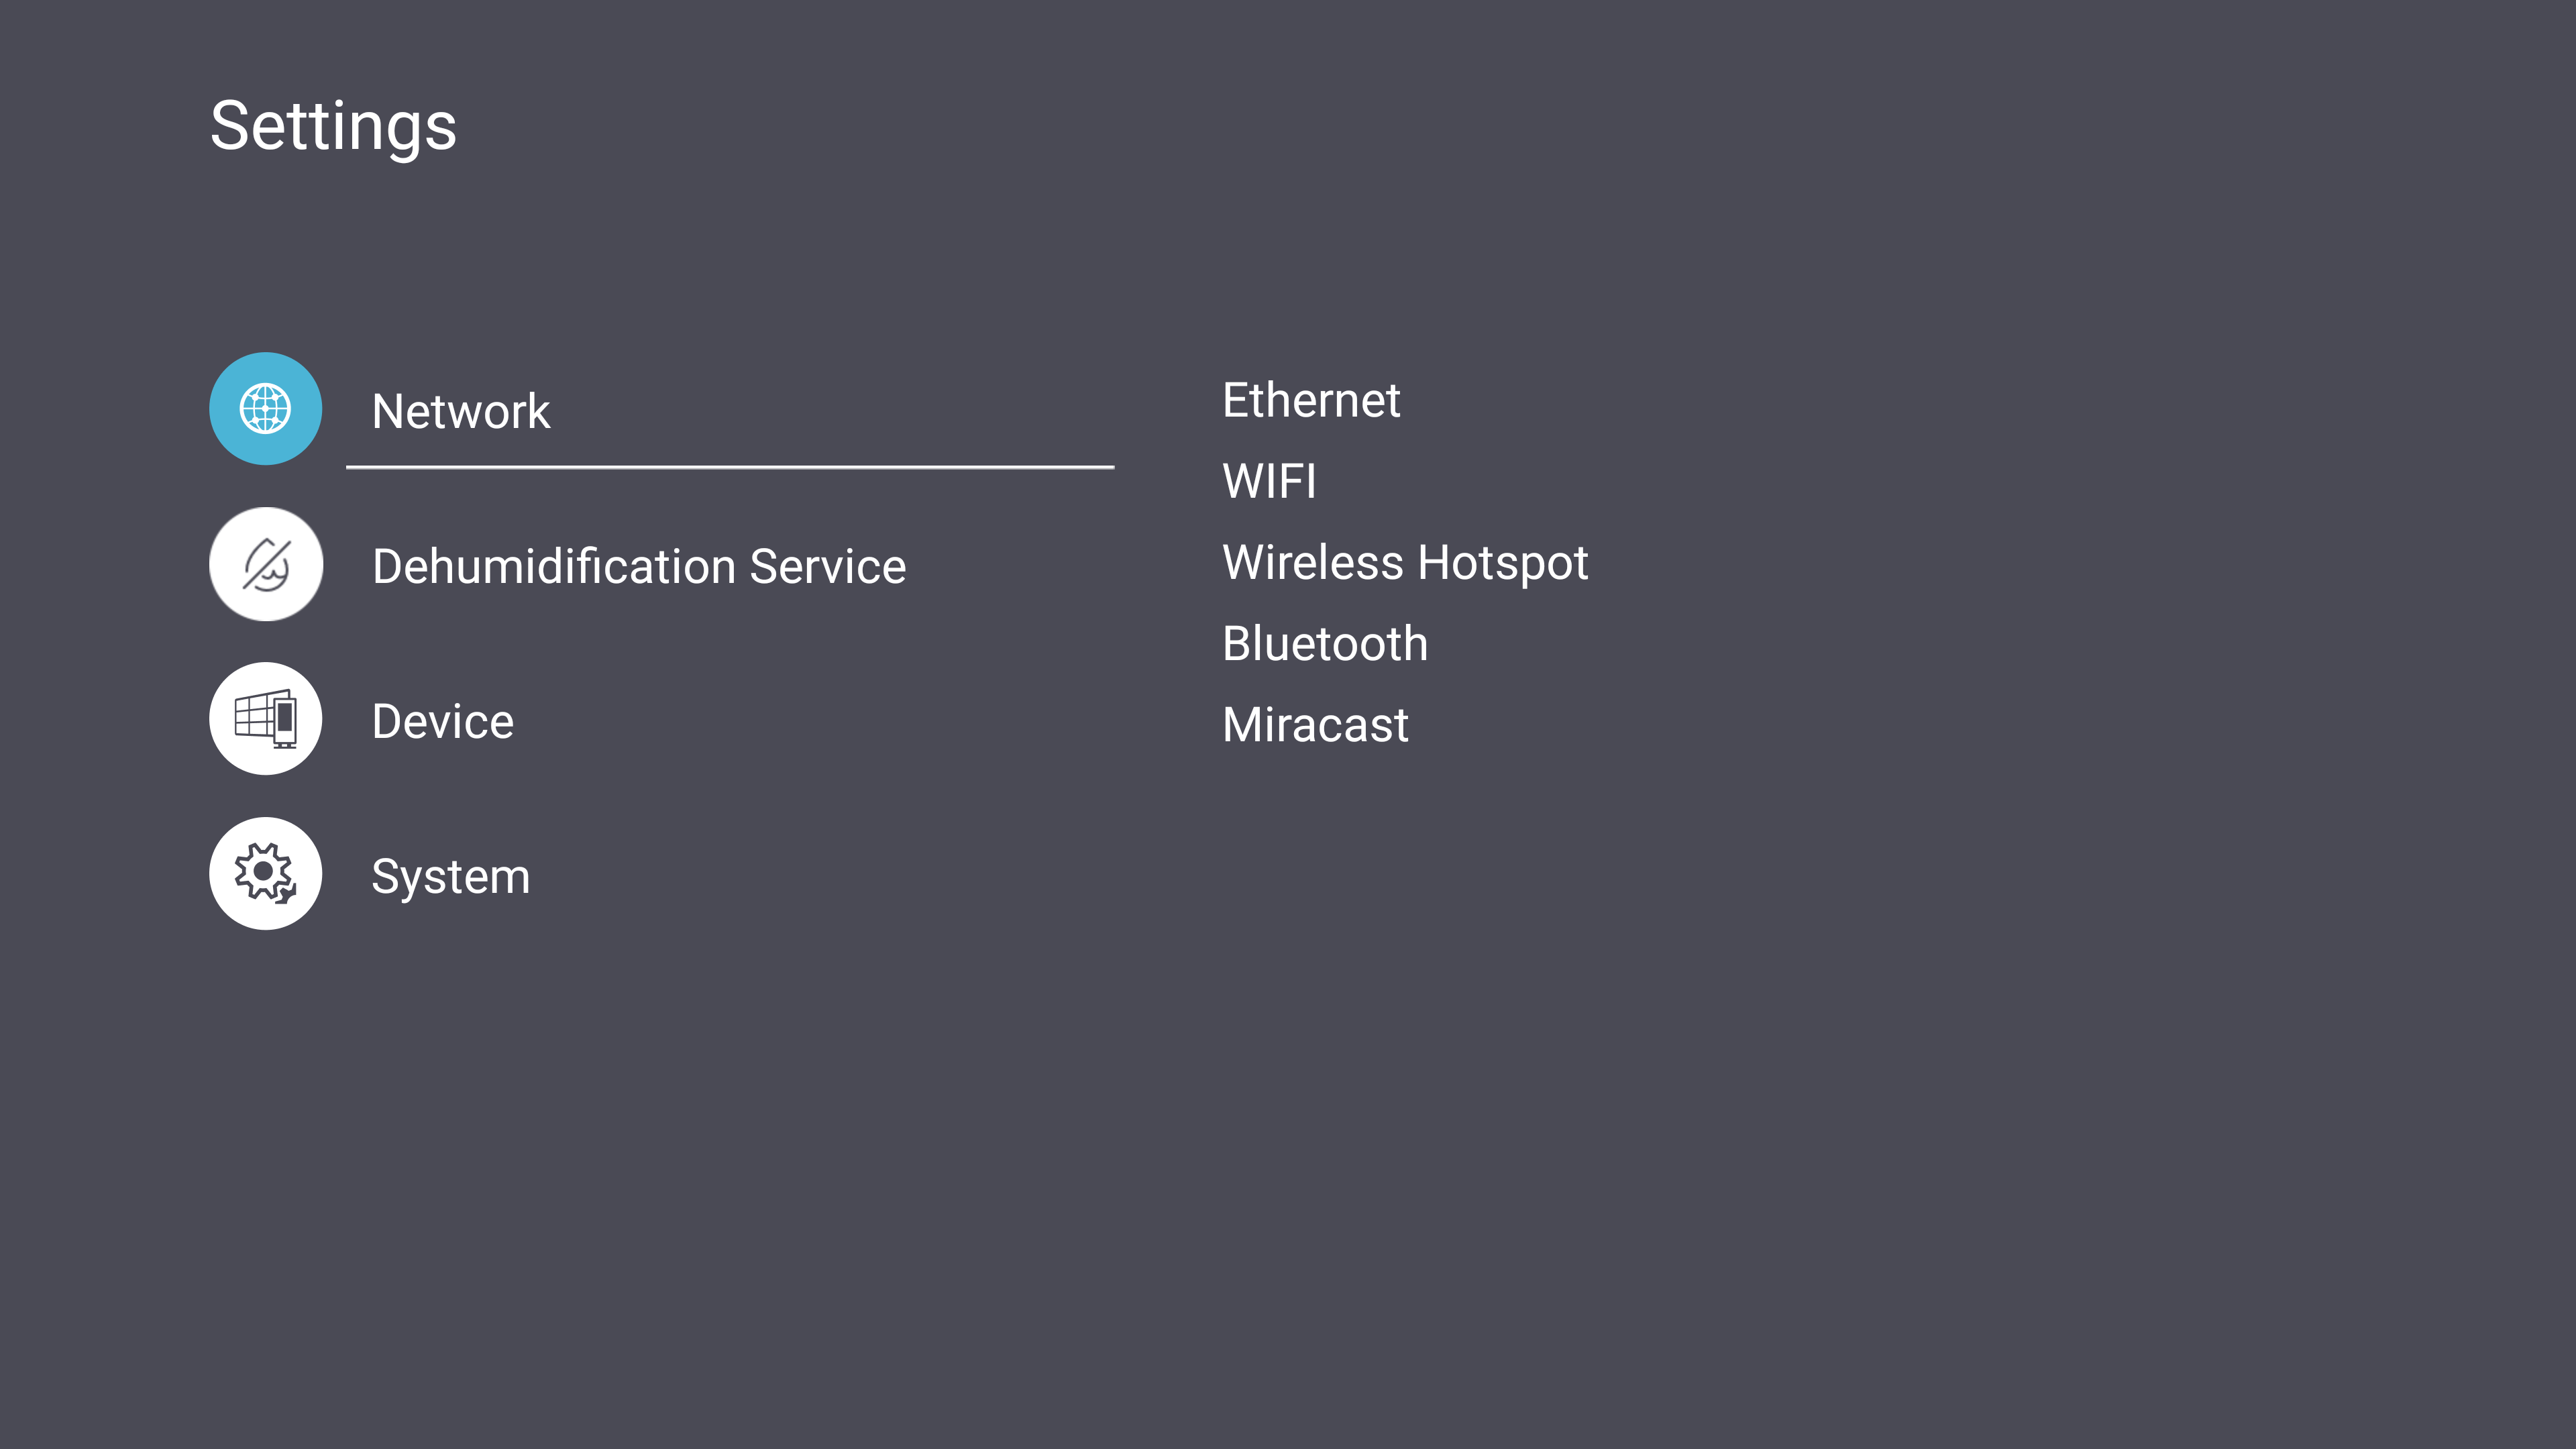
| Network
|
View and adjust Ethernet, Wi-Fi, Wireless Hotspot, Bluetooth, and Miracast settings.
|
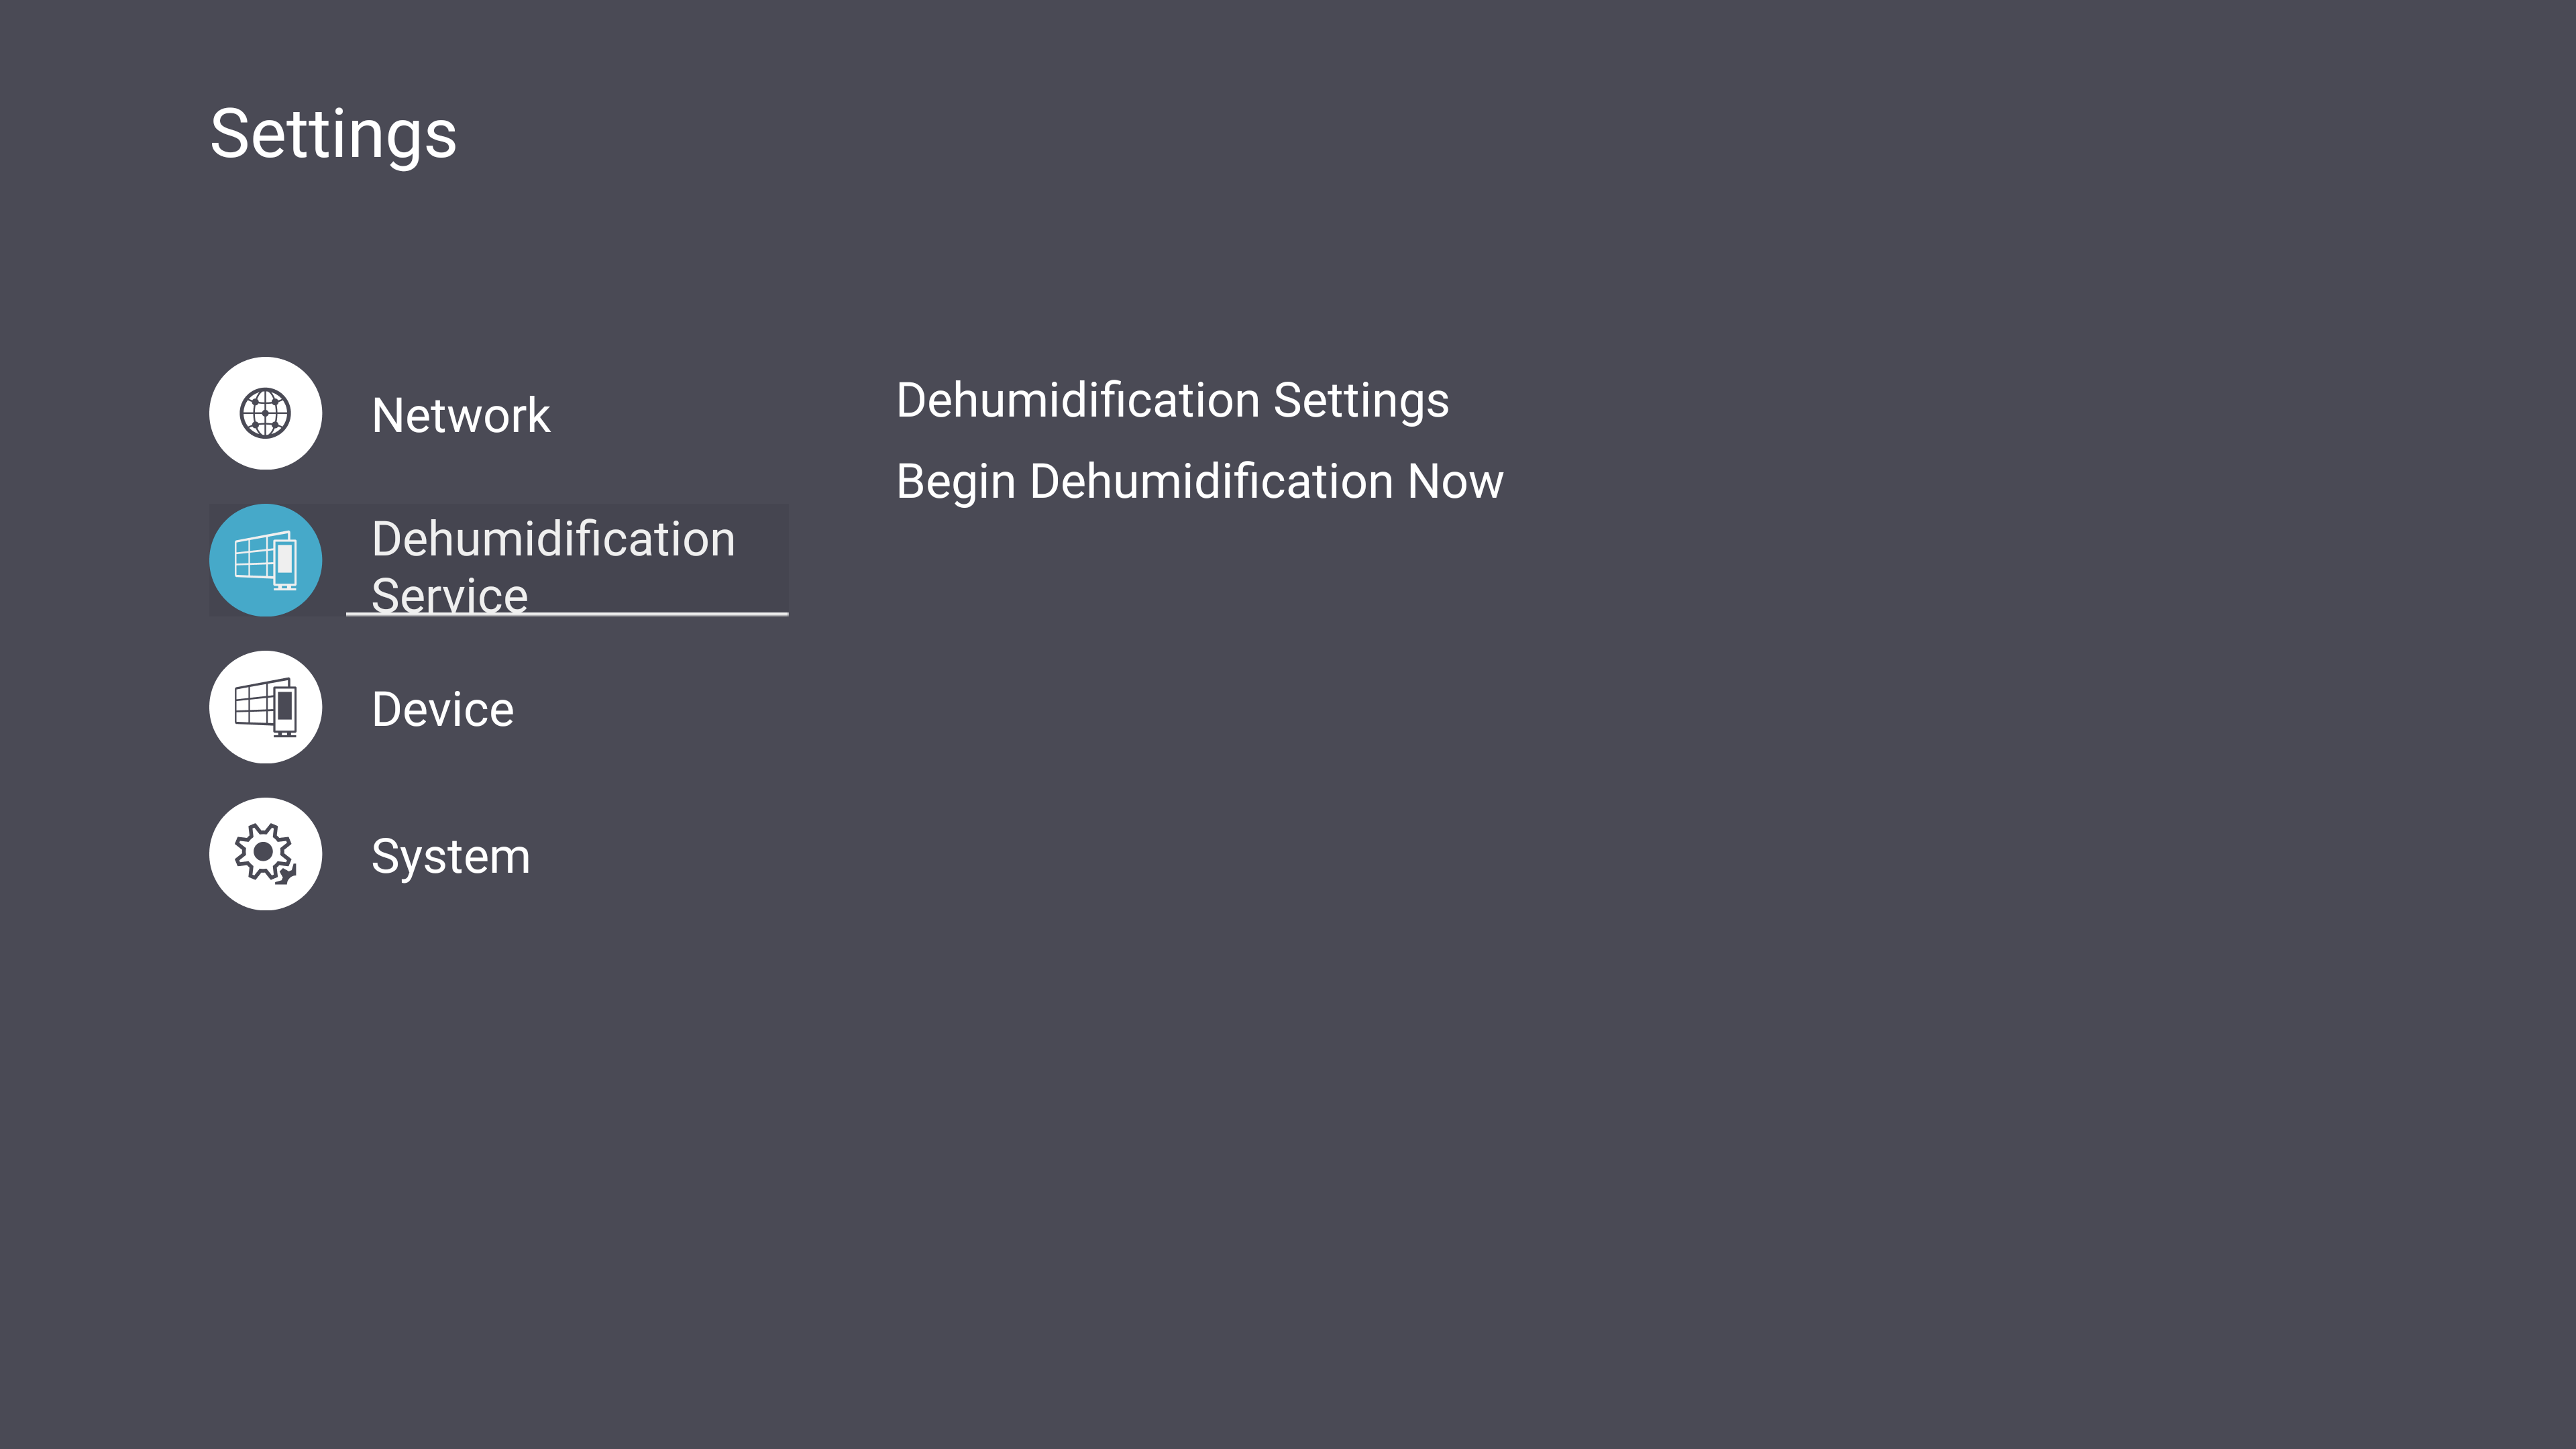
| Dehumidification Service
|
View and adjust dehumidification settings and start the dehumidification process.
|
| Device
|
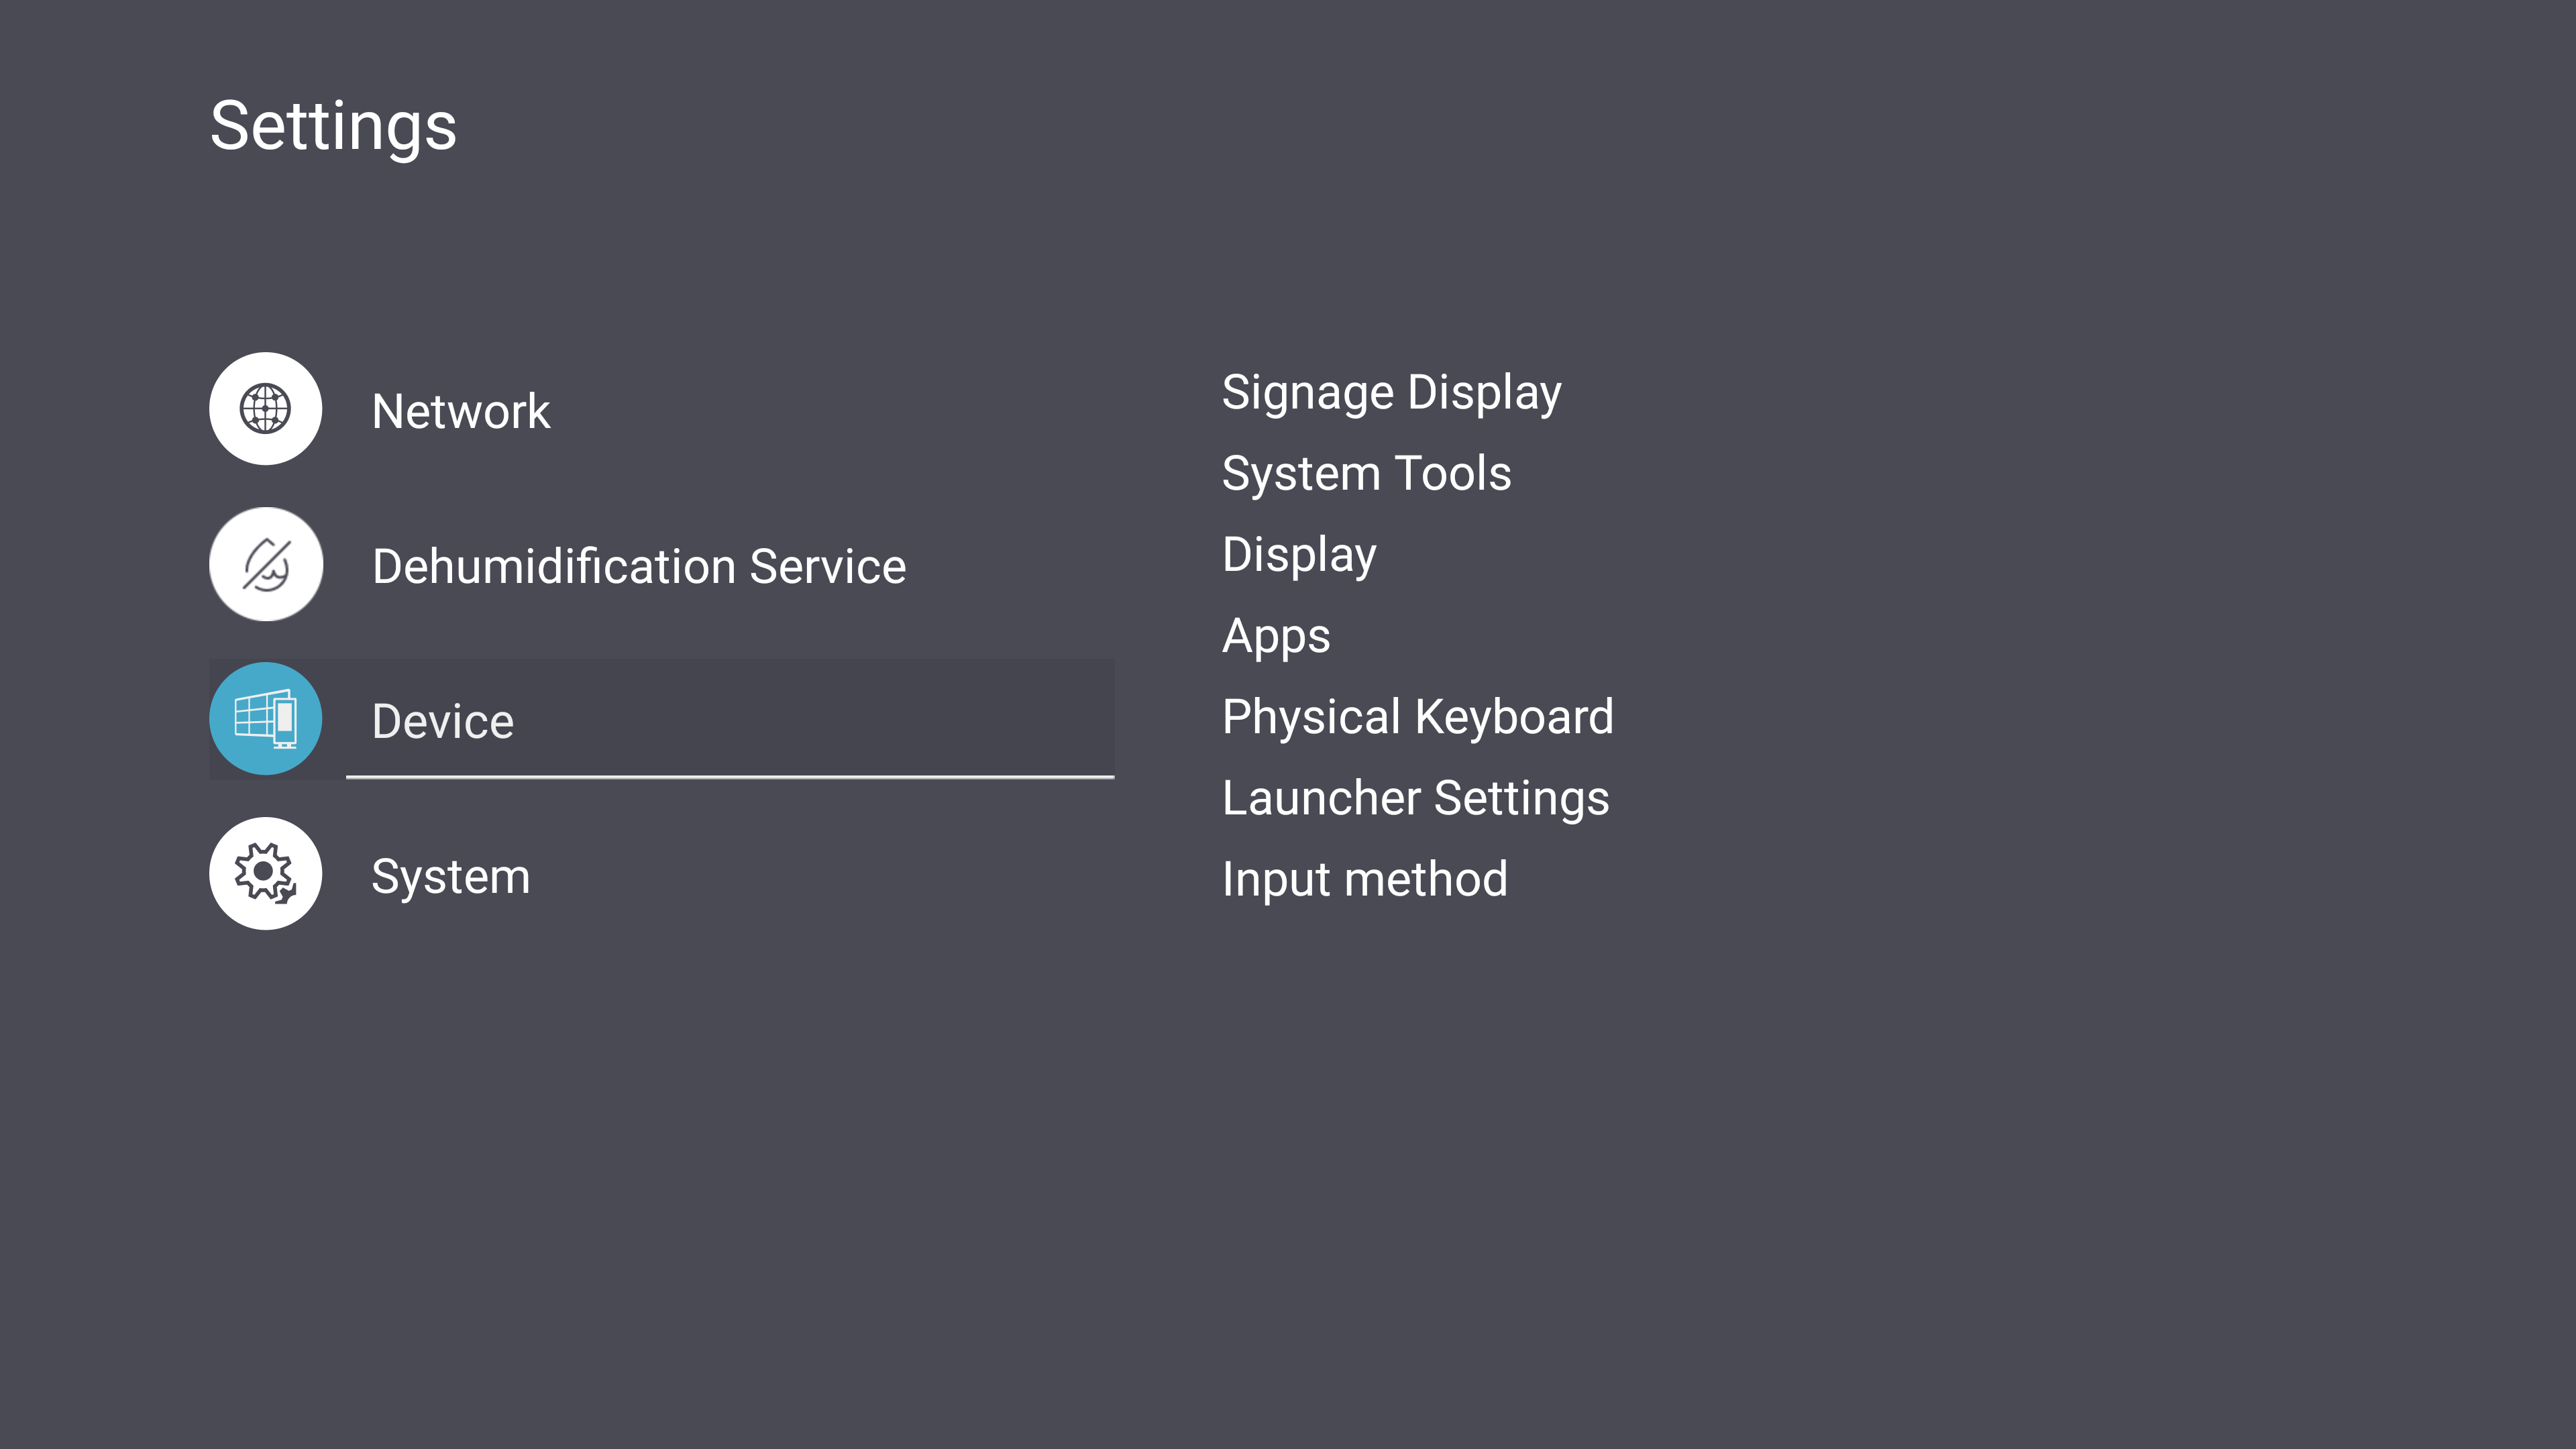
View and adjust Signage Display, System Tools, Display, Apps, Audio, Physical Keyboard, Input method, and Launcher settings.
|
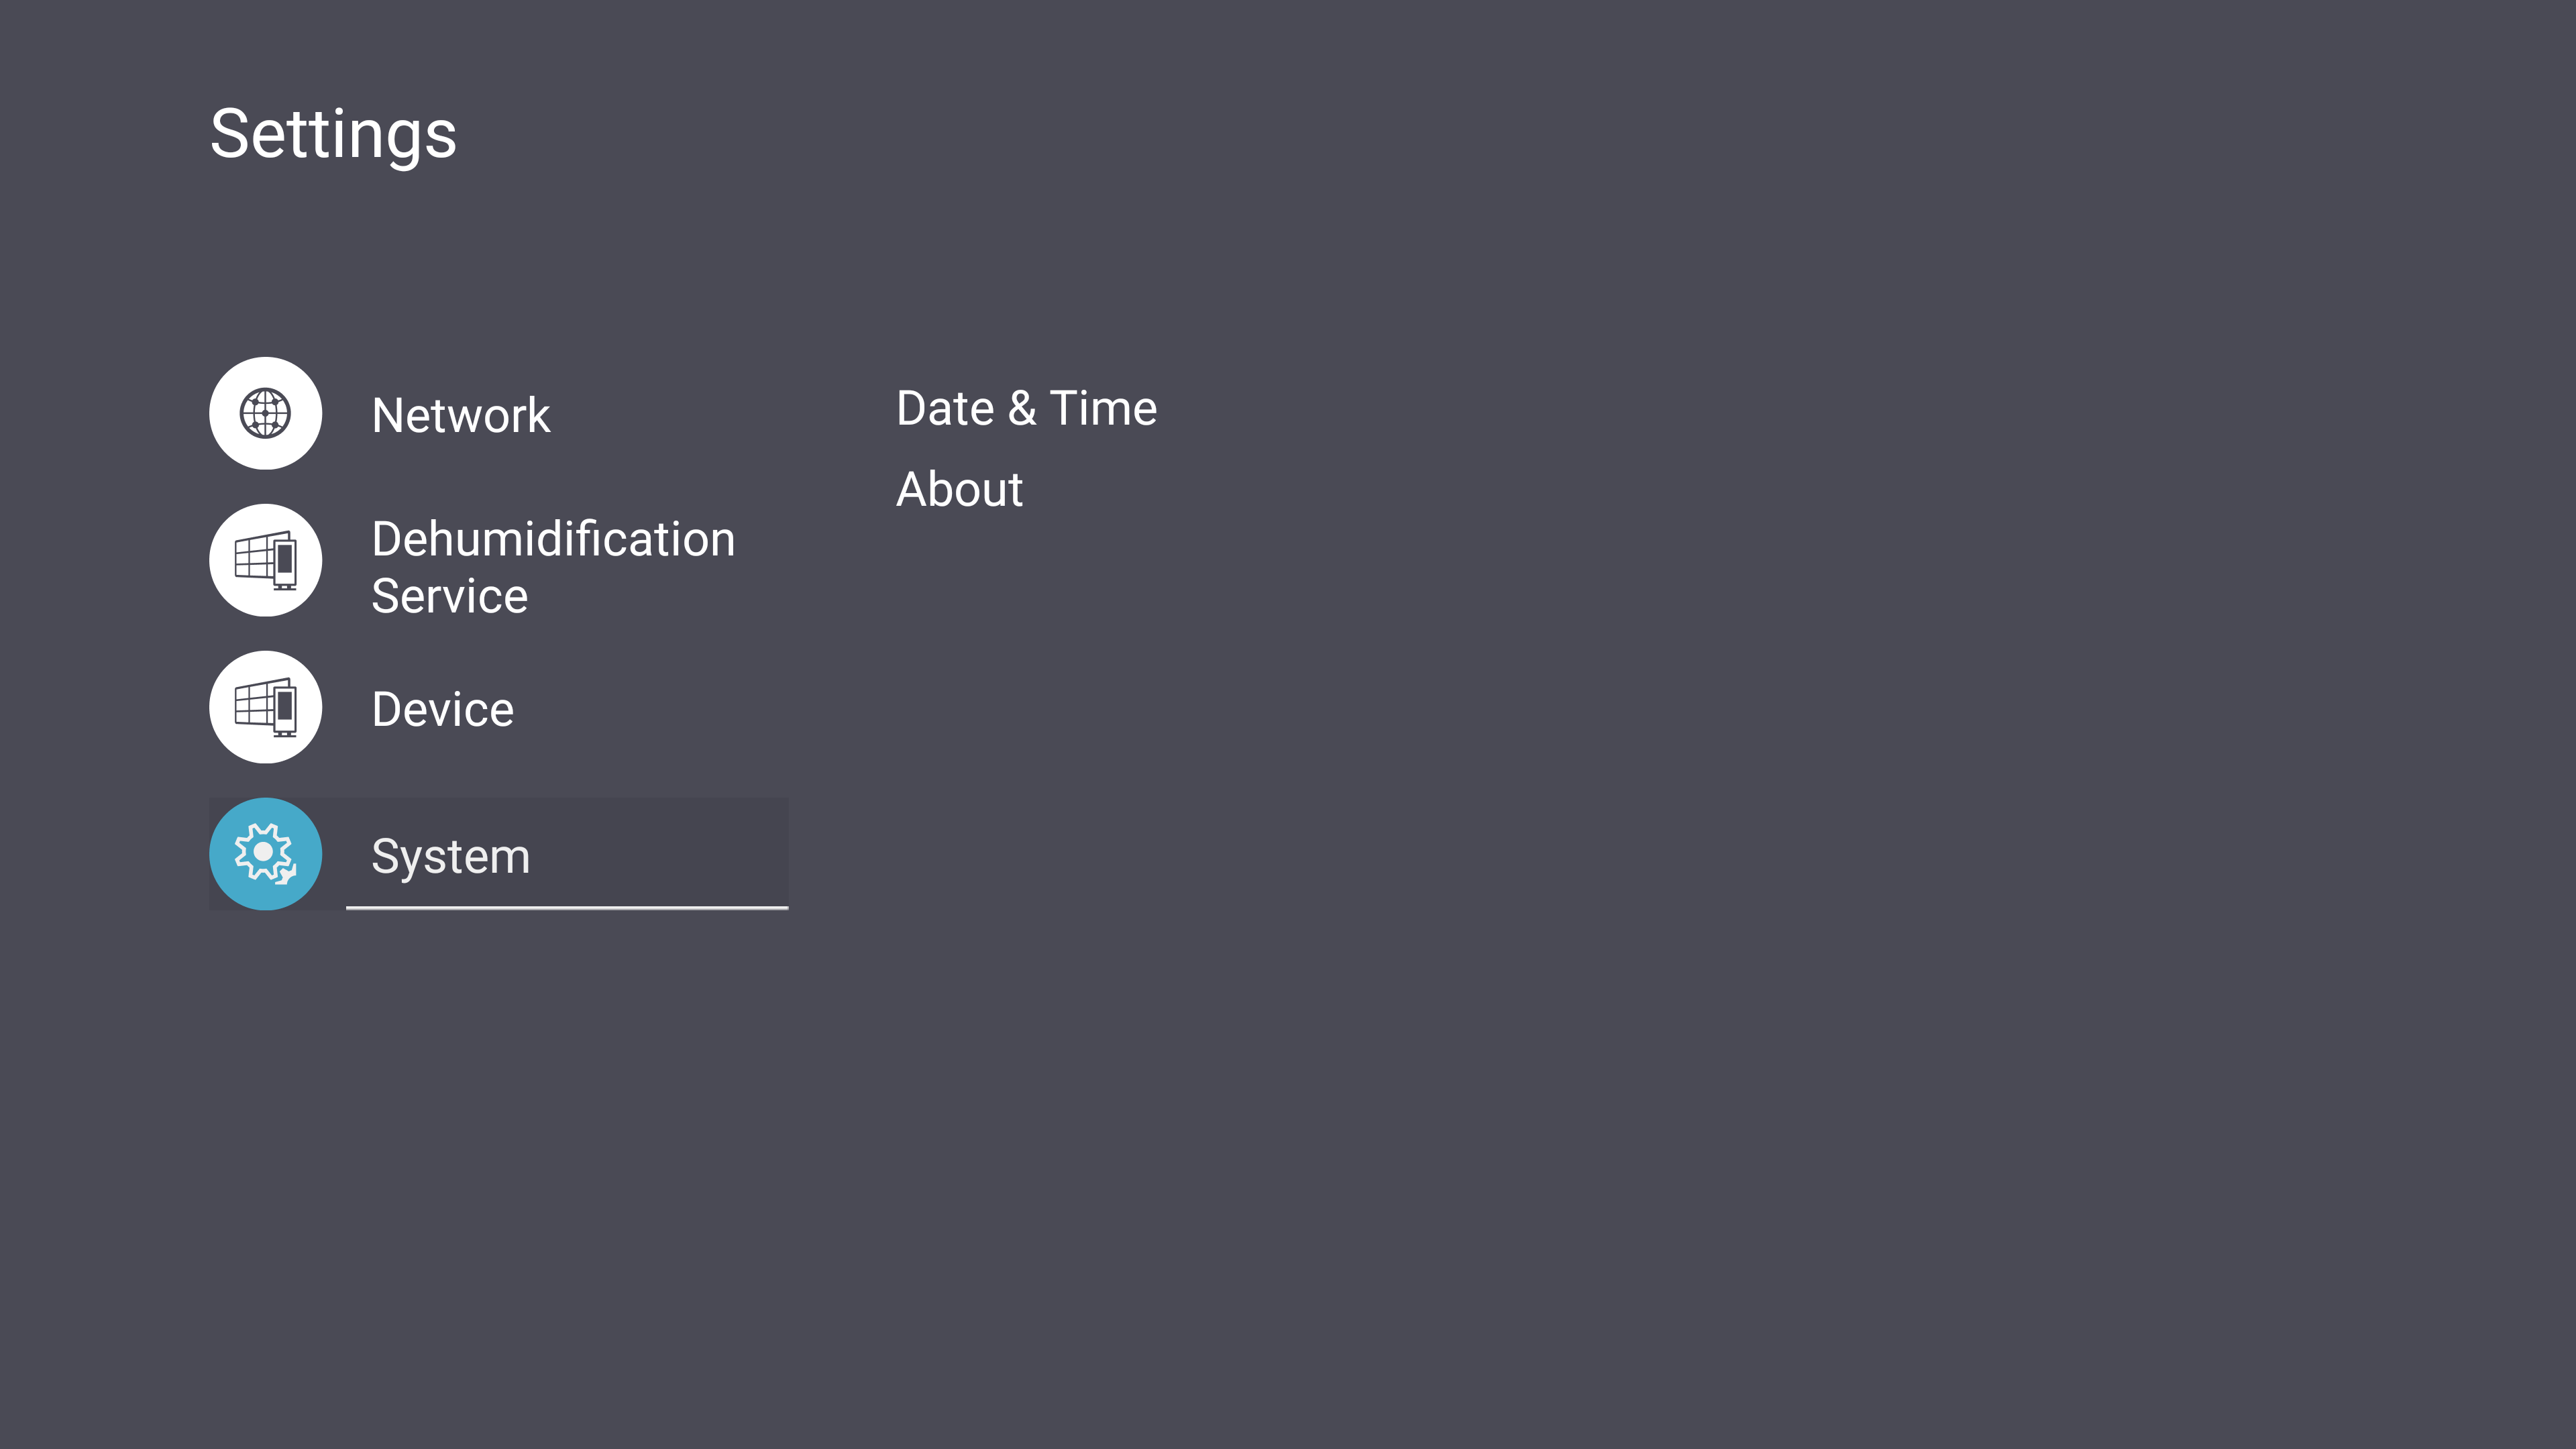
| System
|
View and adjust Date & Time and About settings.
|
| Sub-menu
|
Menu Option
|
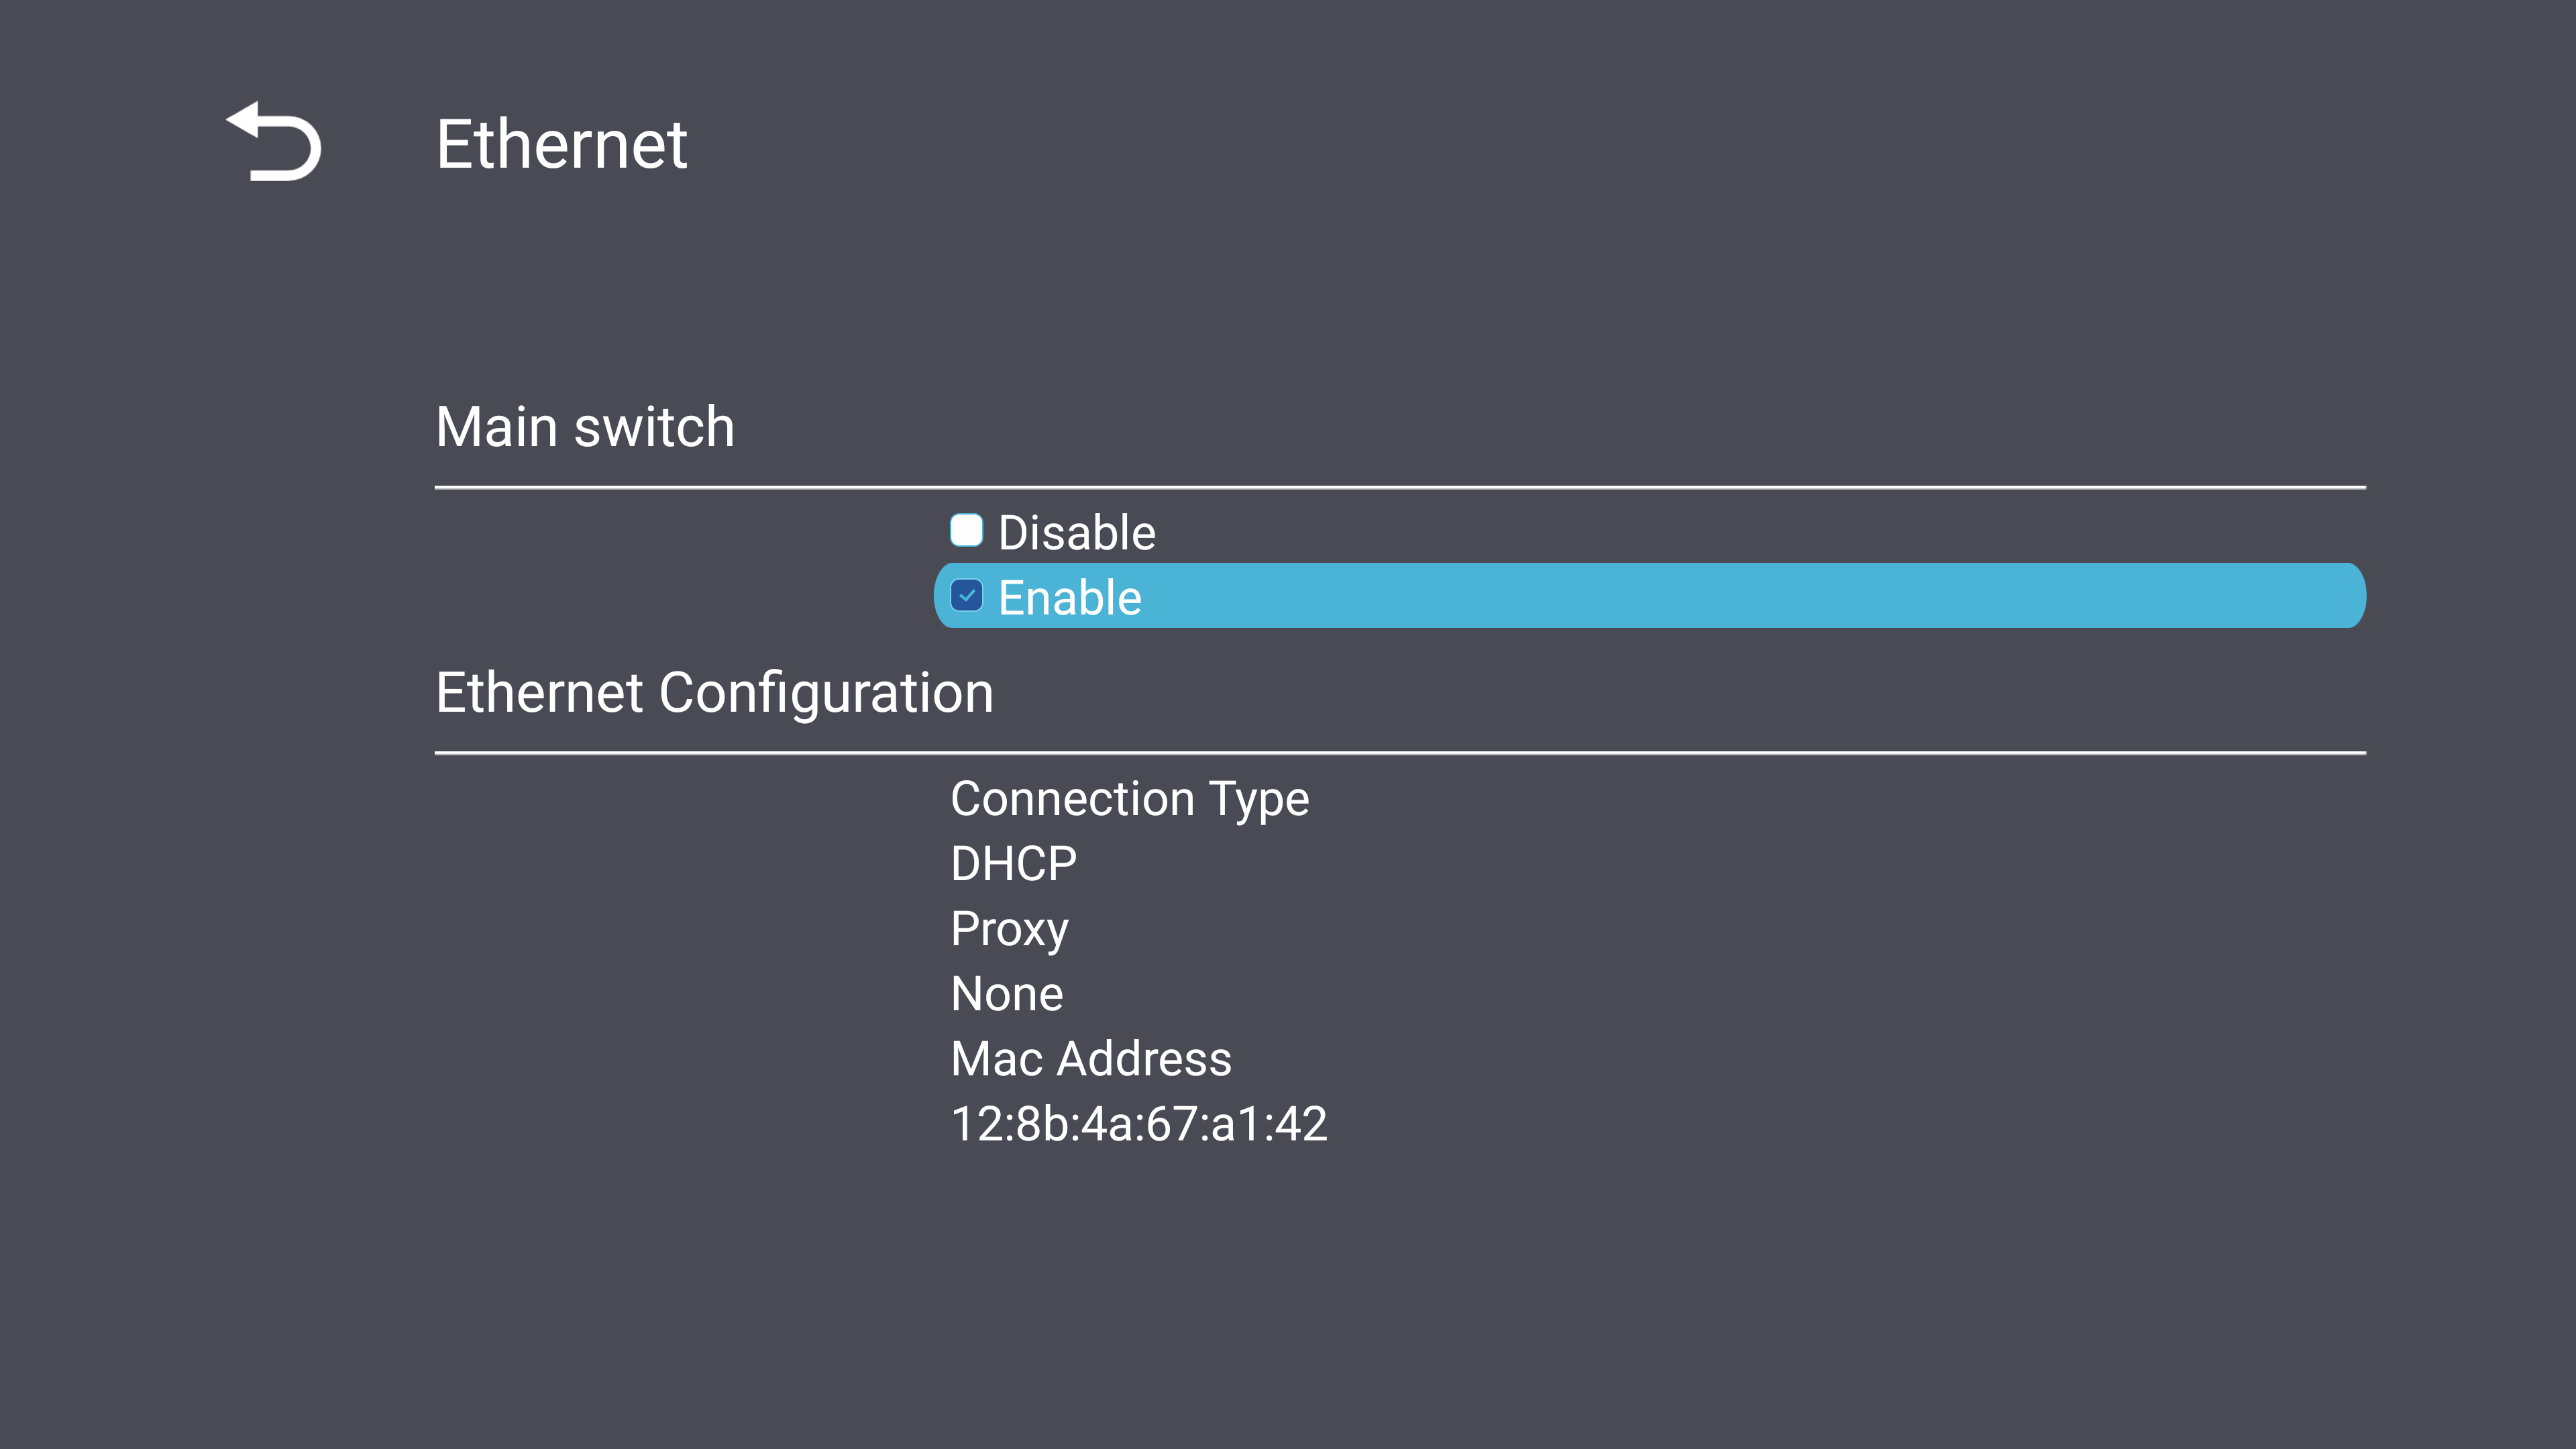
| Ethernet
|
Main Switch
|
Disable
|
| Enable
|
| Ethernet Configuration
|
Connection Type
|
| Mac Address
|
| Wi-Fi
|
Disable
|
|
| Enable
|
| Add Wi-Fi
|
| Wireless Hotspot
|
Main Switch
|
Disable
|
| Enable
|
| Hotspot Configuration
|
Network Name
|
| Security Type
|
| Bluetooth
|
Bluetooth
|
Disable
|
| Enable
|
| Available Device
|
|
| Miracast
|
Main Switch
|
Disable
|
| Enable
|
| Detail
|
Name
|
| Sub-menu
|
Menu Option
|
| Dehumidification Settings
|
Dehumidification Level
|
Shutdown
|
| Low
|
| Middle
|
| High
|
| Begin Dehumidification Now
|
|
| Sub-menu
|
Menu Option
|
| Signage Display
|
General Settings
|
Signage Display Name
|
| Boot Logo
|
| Source Settings
|
Custom App
|
| Credential Settings
|
Trusted Credentials
|
| User Credentials
|
| Install from Storage
|
| Clear Credentials
|
| Security
|
External Storage
|
| Unknown Sources
|
| Privacy and Copyright Protection
|
| App Authority
|
| System Tools
|
Clear Storage
|
All
|
| Internal Storage
|
| USB Storage
|
| Reset
|
Factory Reset
|
| Import & Export
|
Export Signage Display Settings
|
| Import Signage Display Settings
|
| Clone
|
Clone Media Files
|
| Display
|
Font Size
|
|
| Screen Saver
|
| Apps
|
Running
|
|
| All
|
| Download
|
| Physical Keyboard
|
|
| Launcher Settings
|
ViewSonic Logo
|
On
|
| Off
|
| Date & Time
|
On
|
| Off
|
| Theme
|
|
| Input Method
|
|
| Sub-menu
|
Menu Option
|
| Date & Time
|
Select Time Zone
|
| NTP Server
|
| About
|
Local System Updates
|
| Online System Updates
|
| Asset Tagging
|
| Legal Information
|
| Android Version
|
| Kernel Version
|
| Build Number
|
| Operation Hours
|
Network
| Sub-menu
|
Description
|
| Ethernet
|
Enable or disable Ethernet and configure it.
|
| Wi-Fi
|
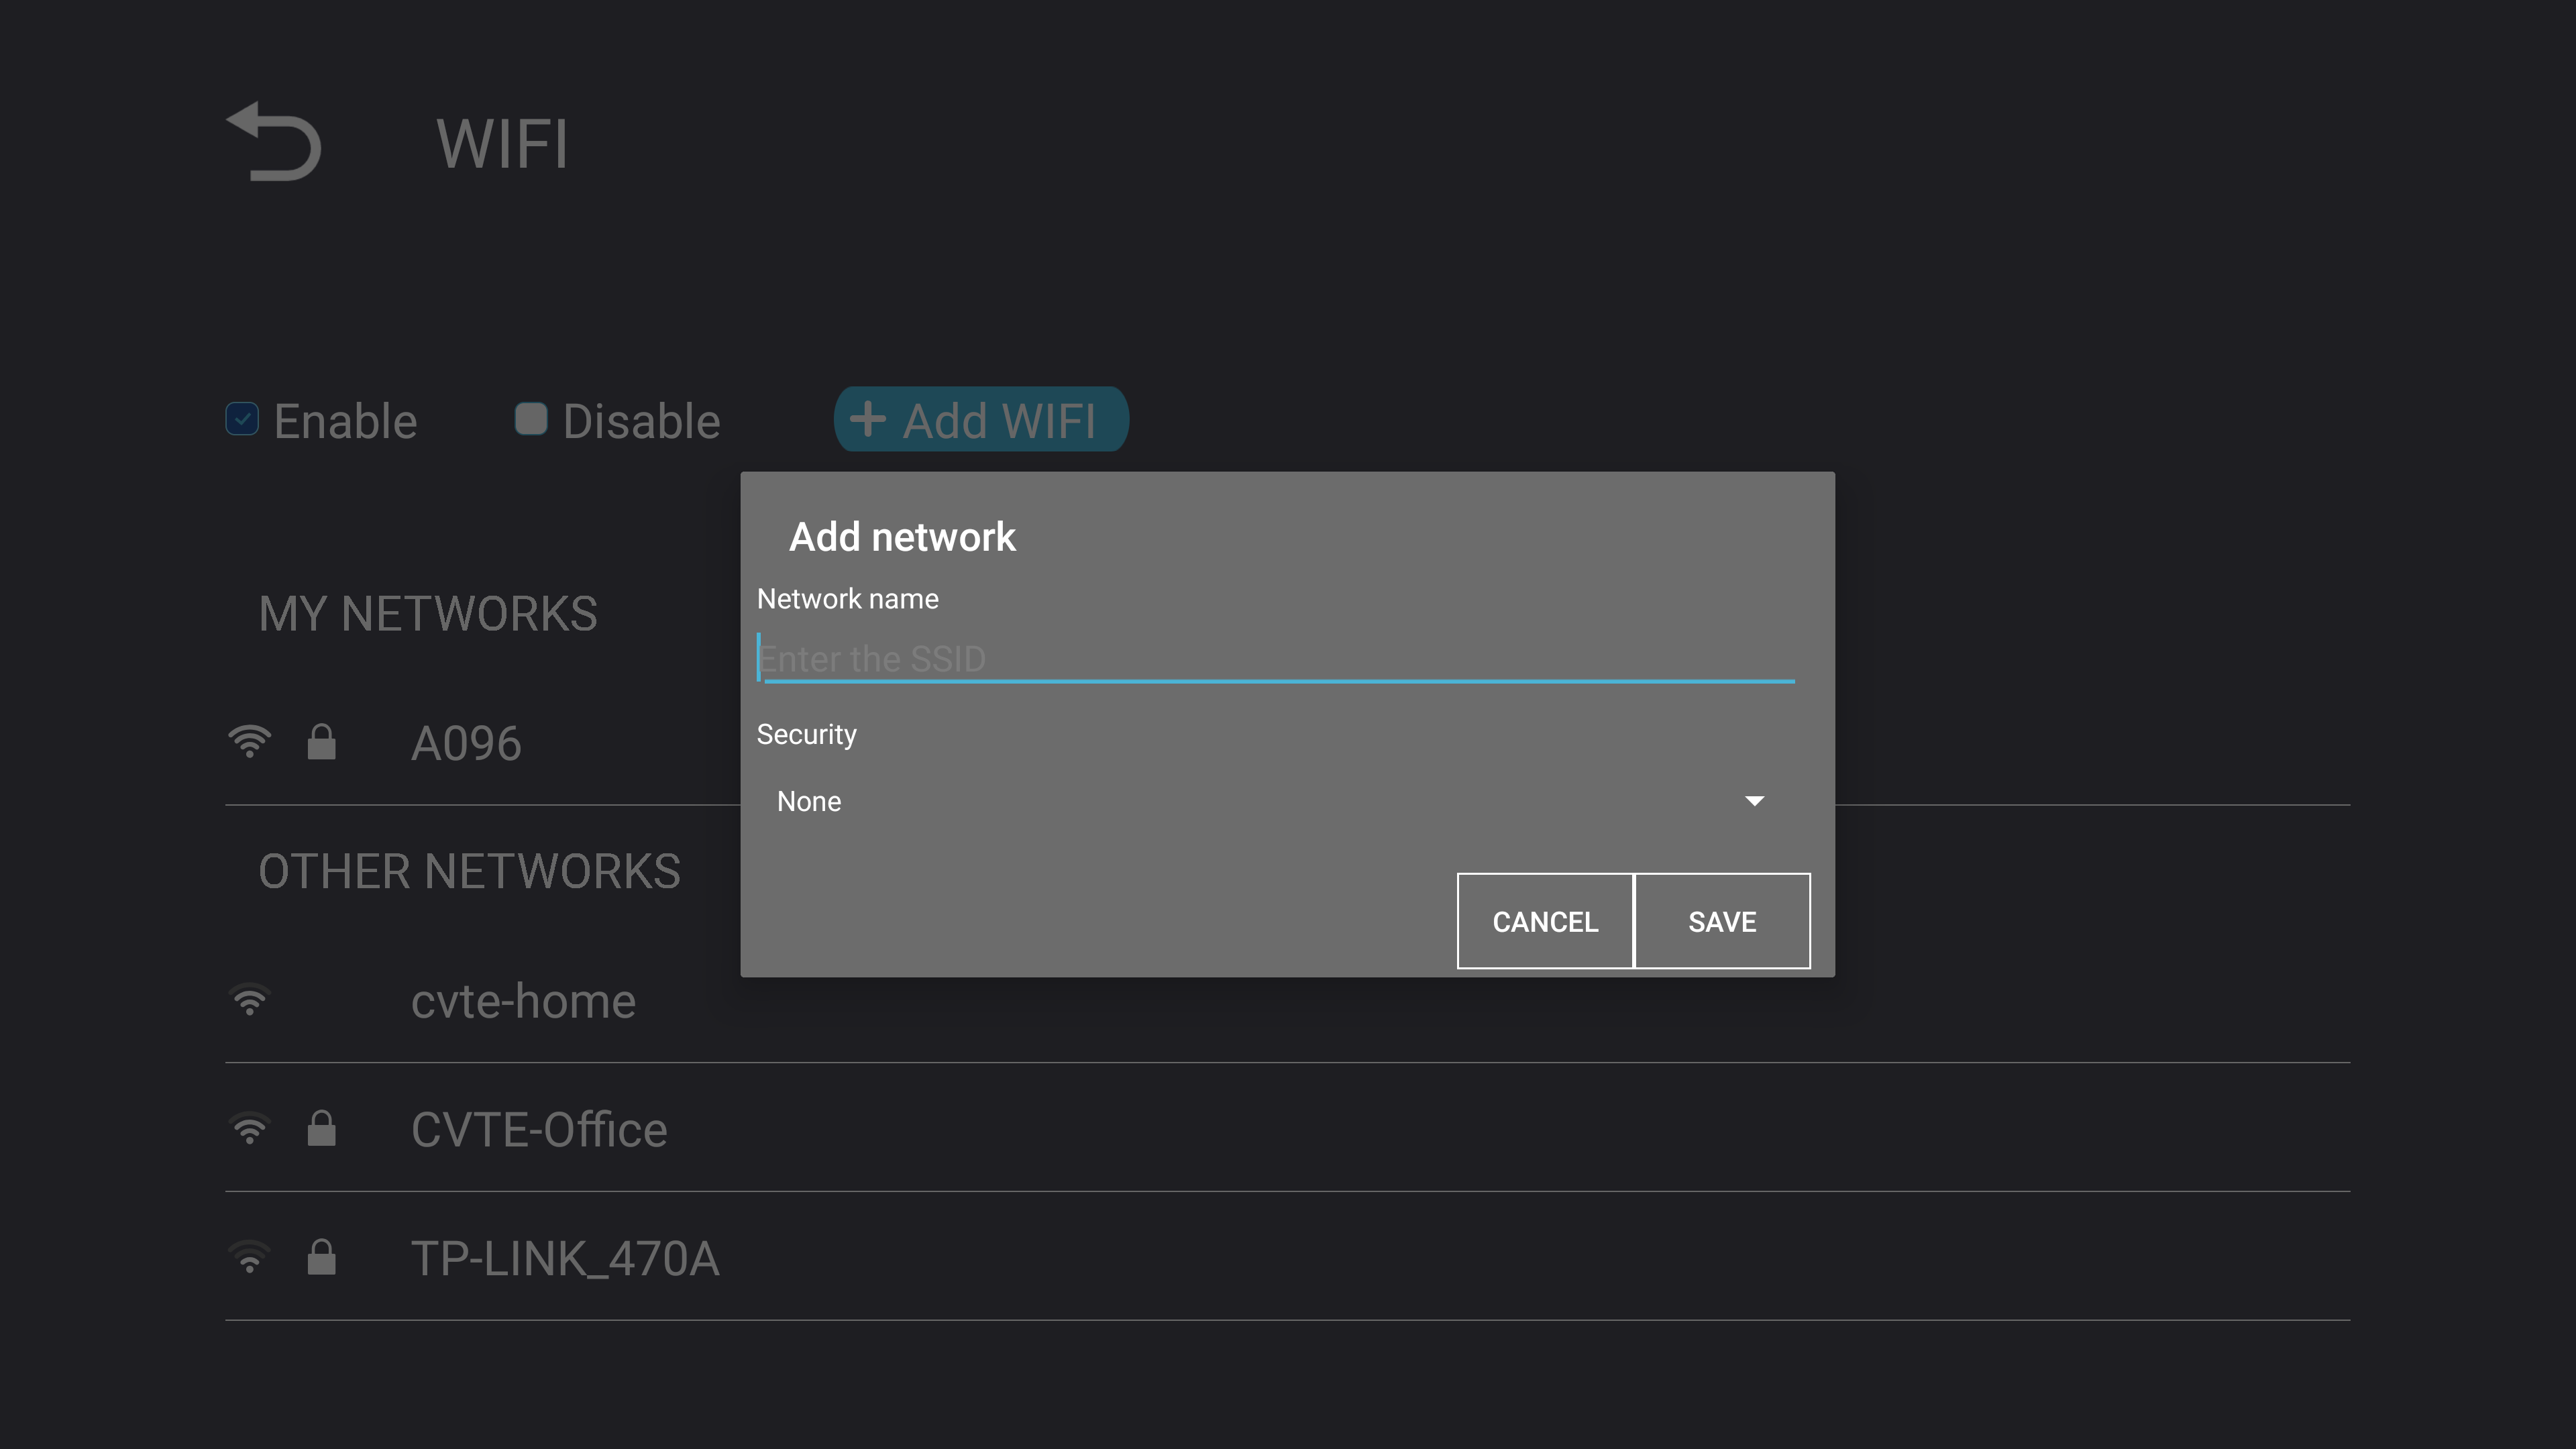
Open the Wi-Fi selection interface to enable or disable Wi-Fi and connect to a Wi-Fi network.
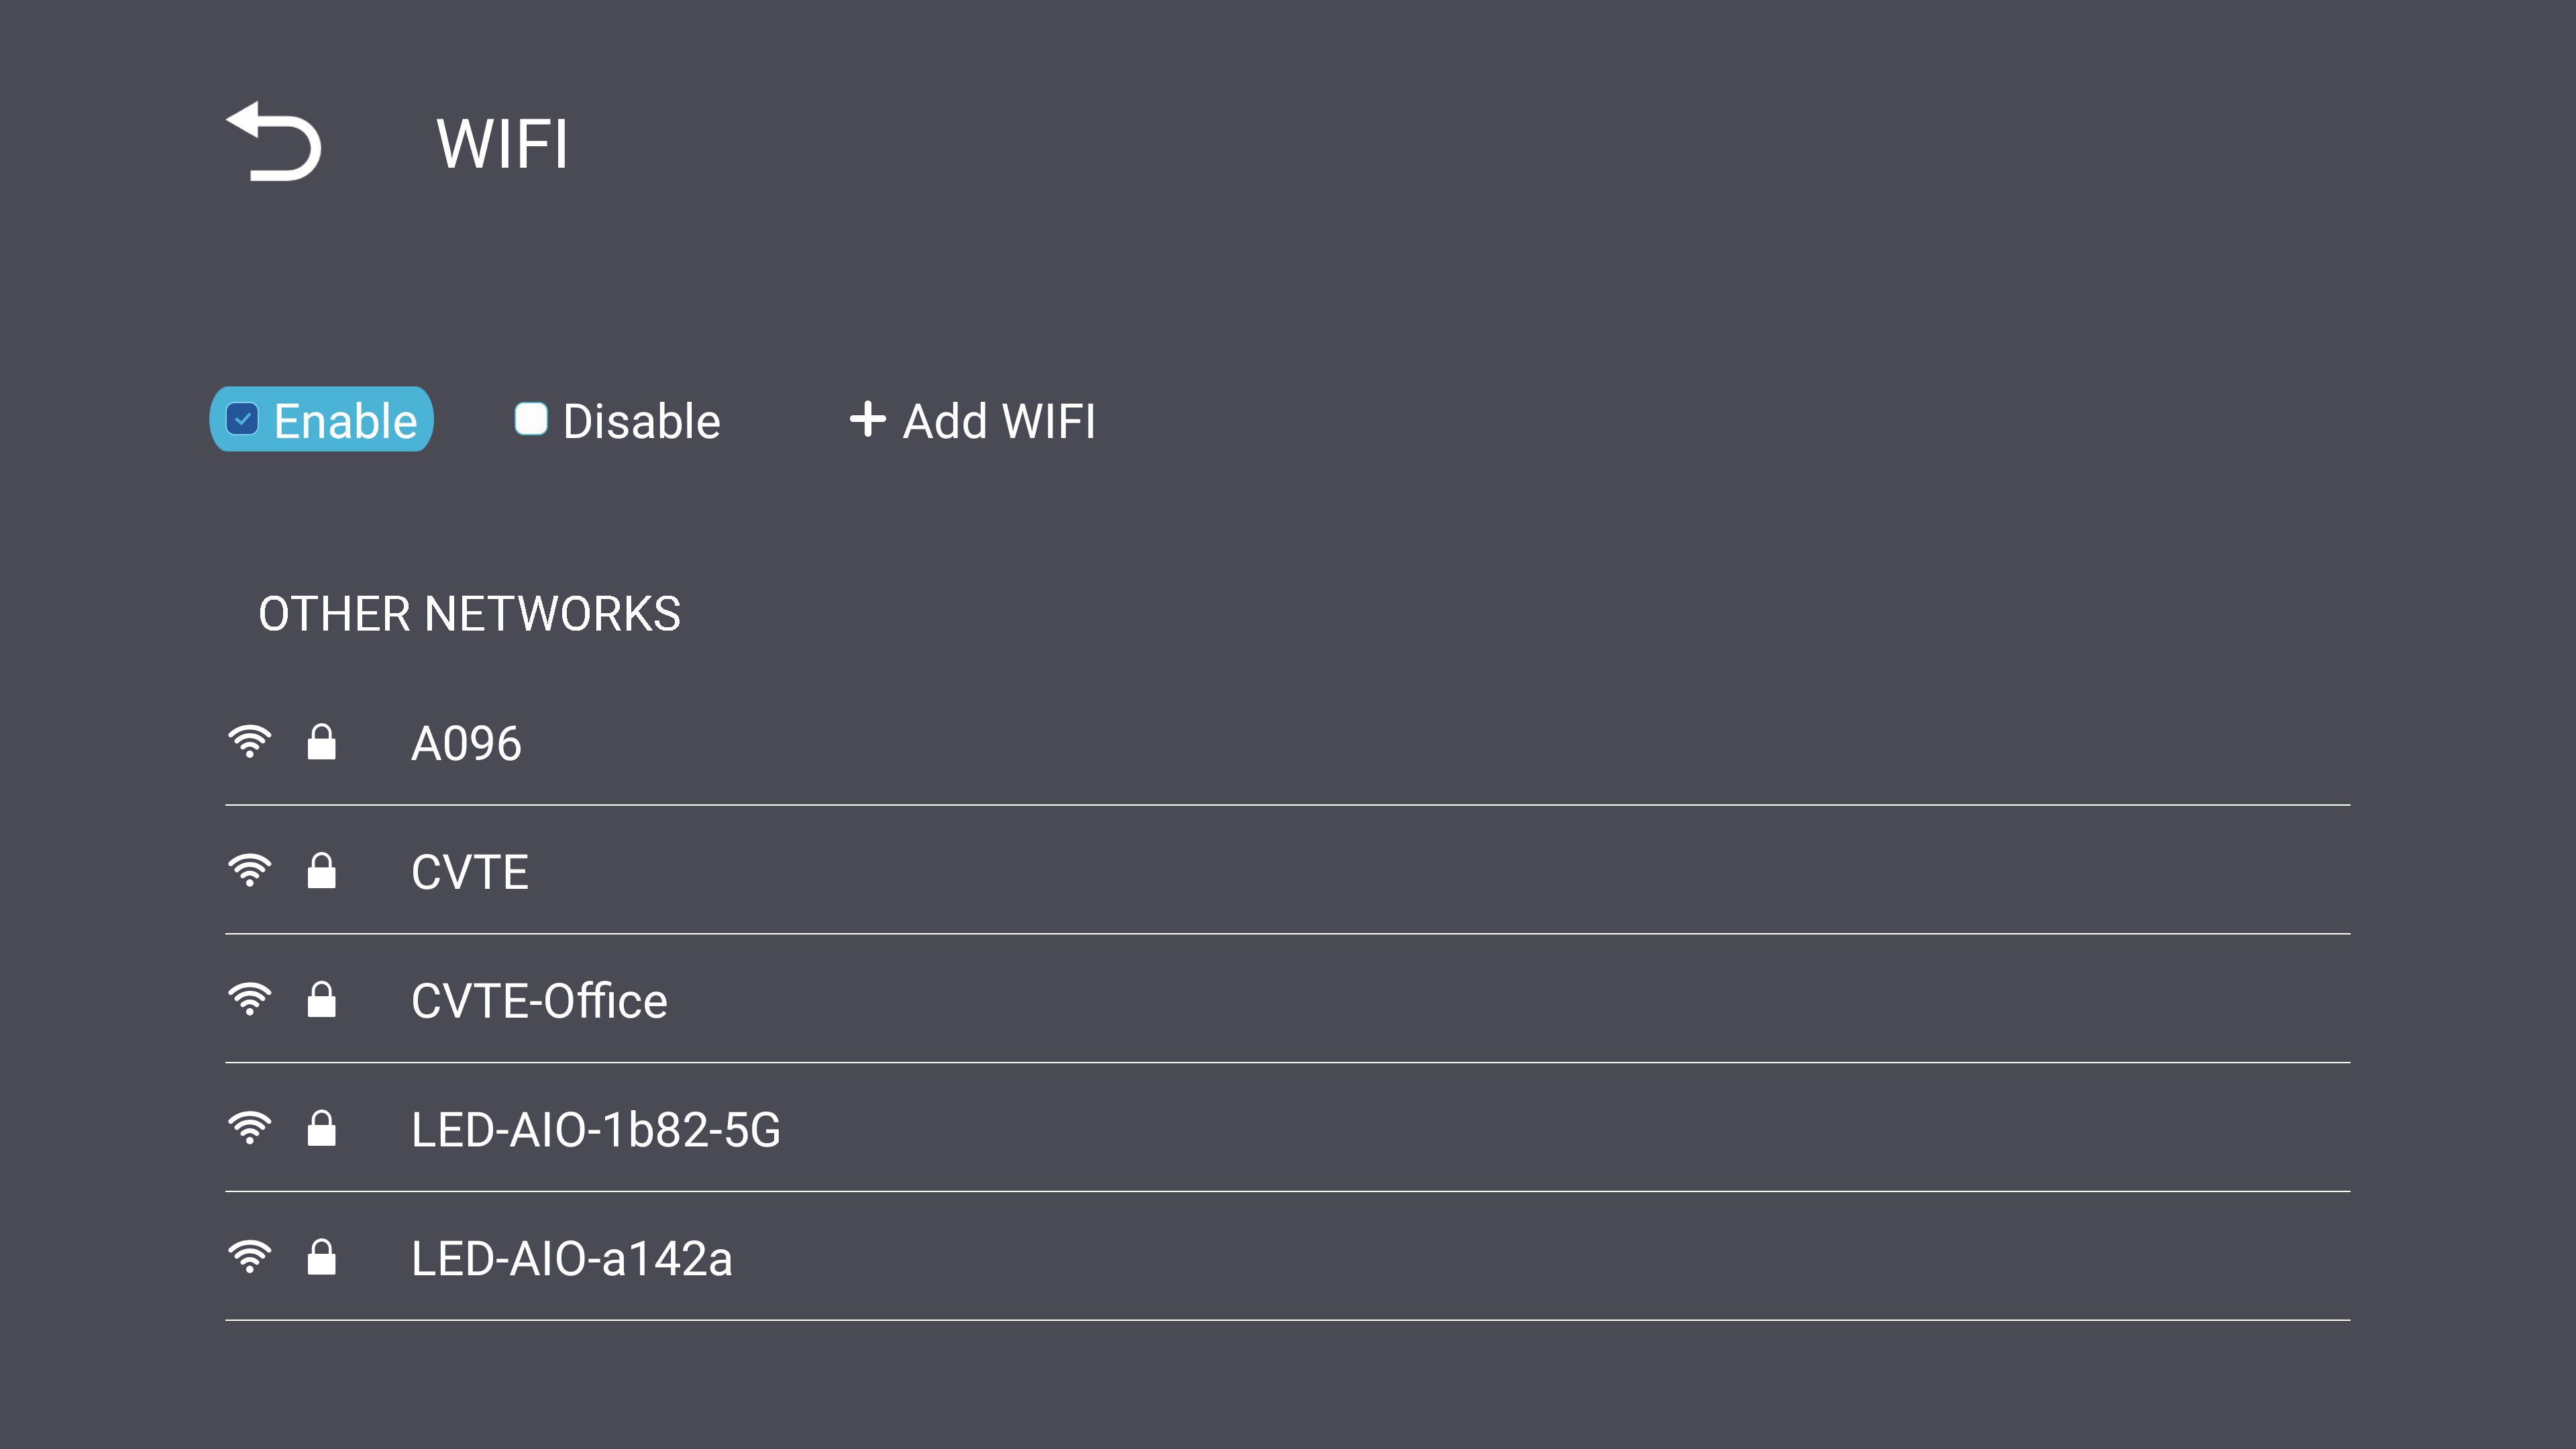
You can also select Add Network in the Wi-Fi selection screen to manually add a Wi-Fi network.
|
| Wireless Hotspot
|
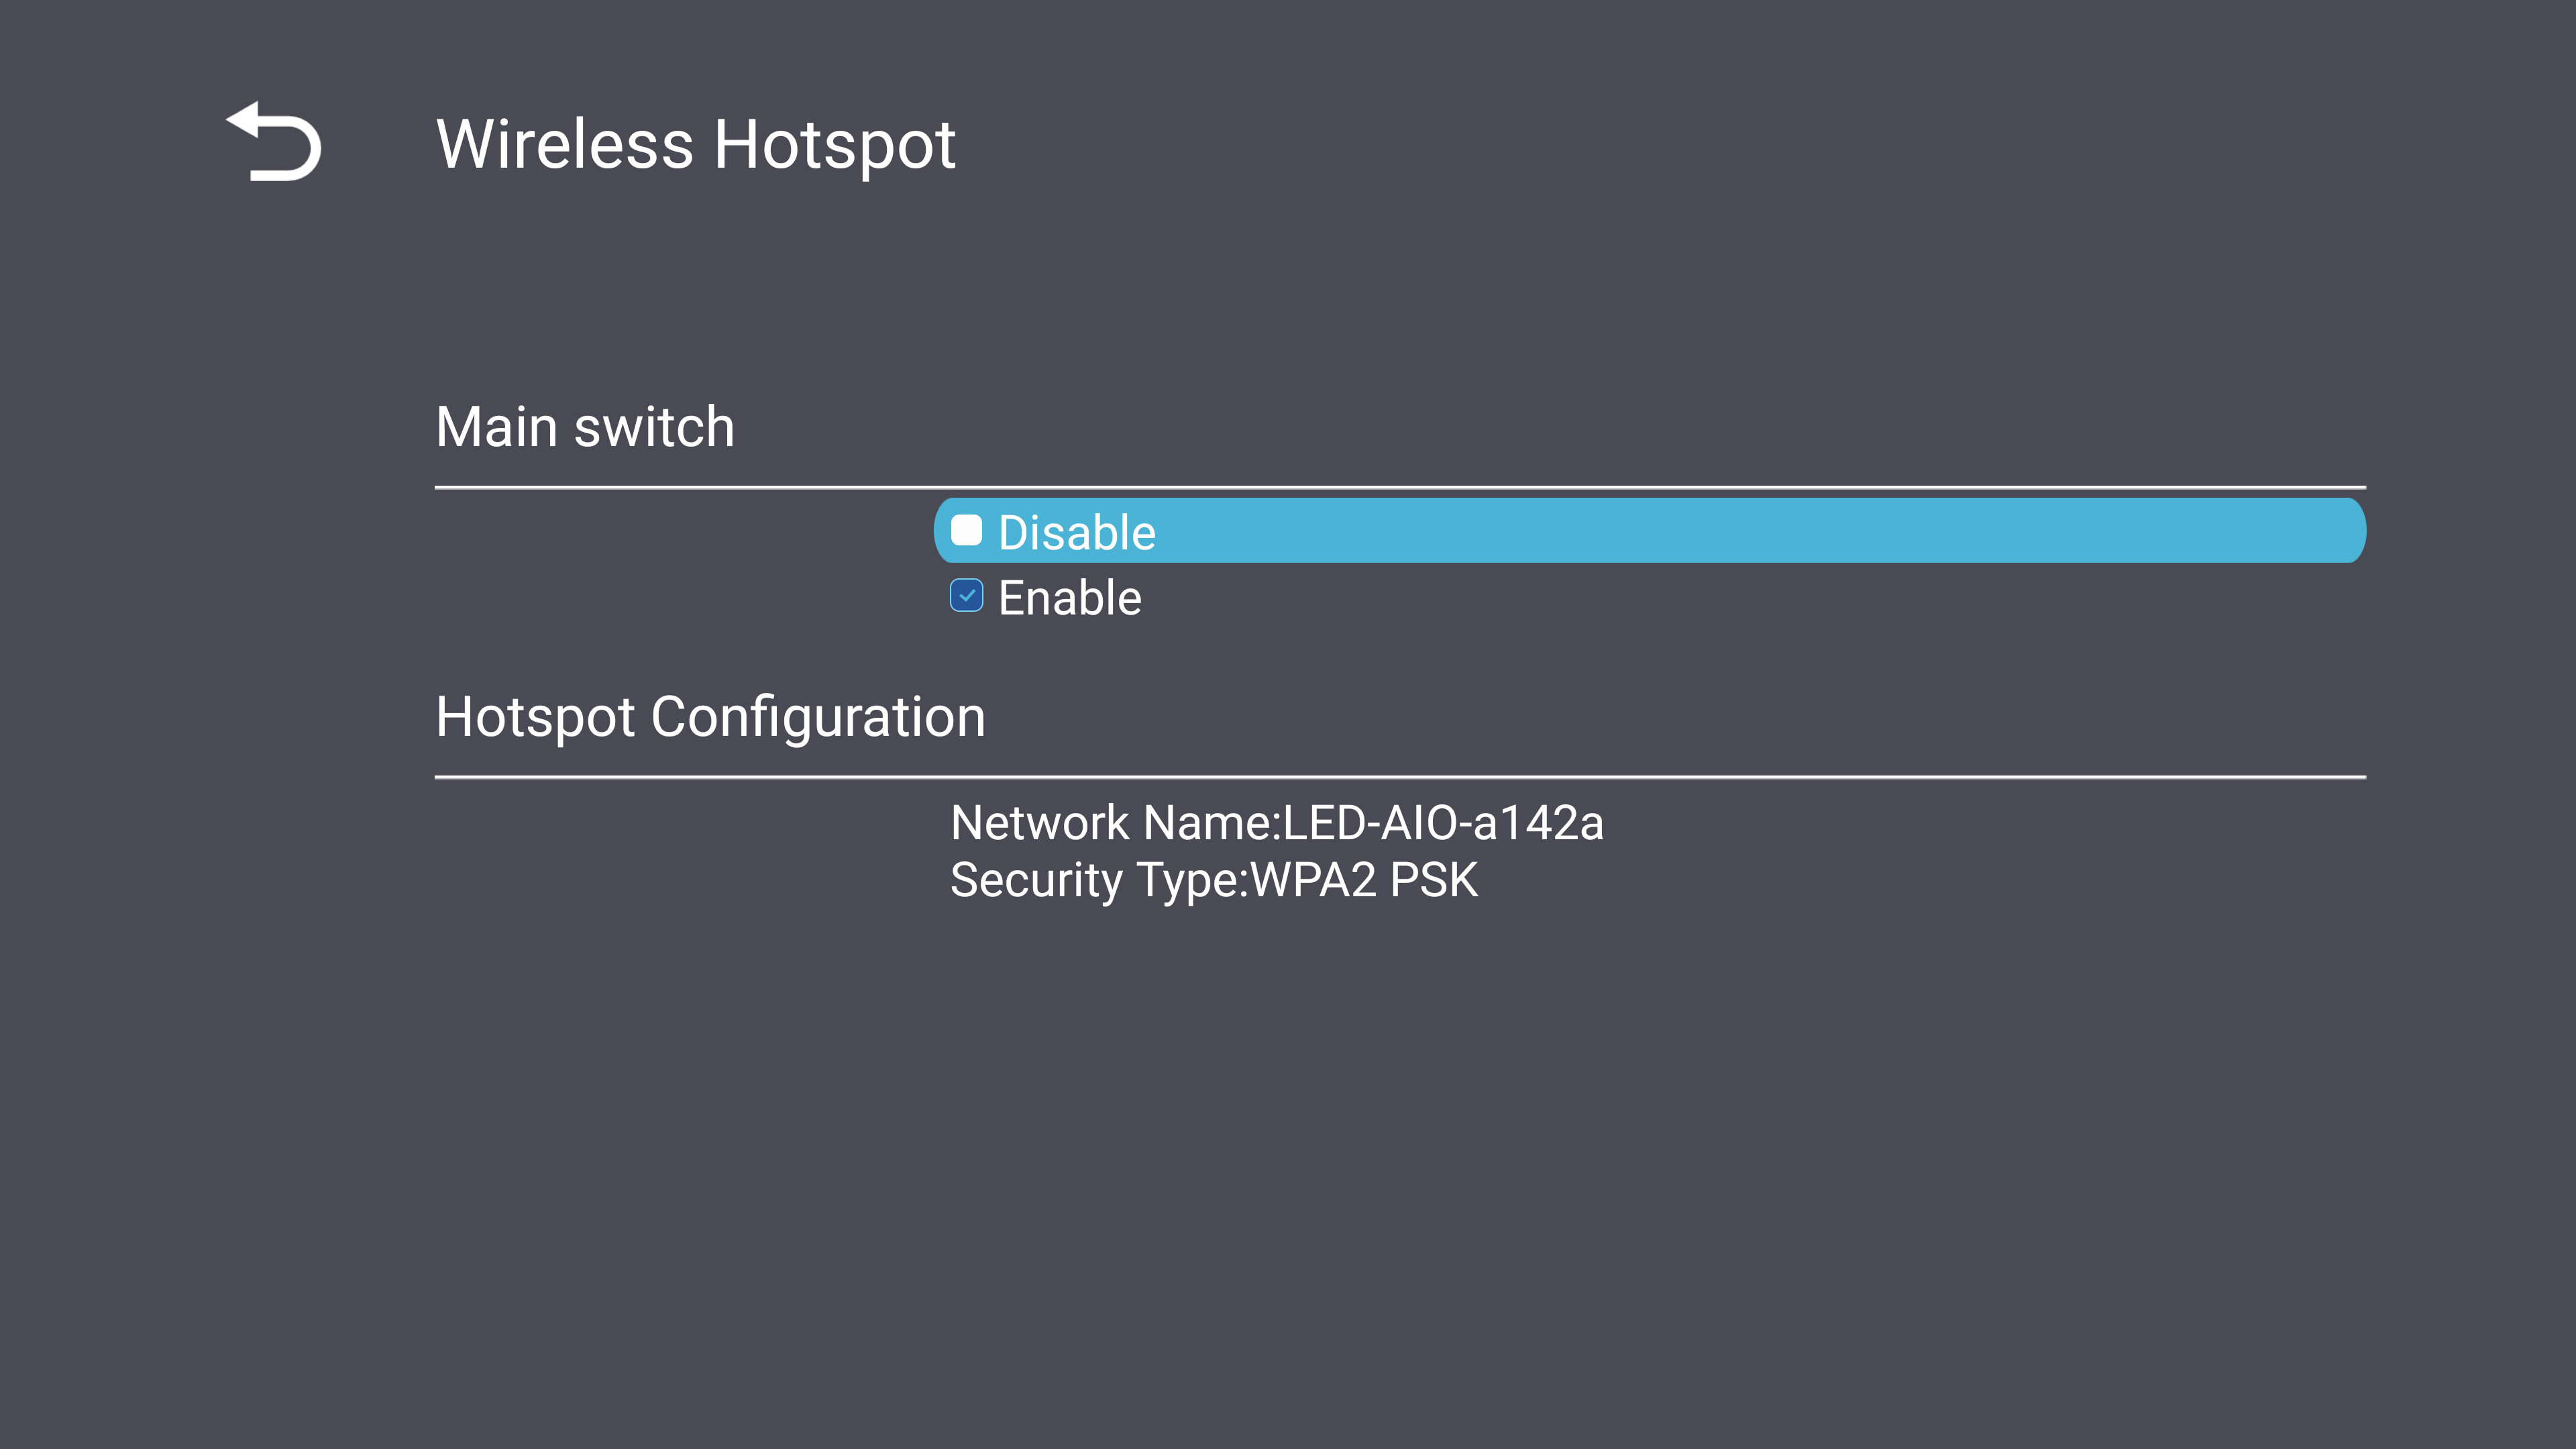
Enable or disable Wireless Wi-Fi Hotspot. Once enabled, the hotspot name will be displayed and can be connected to.
|
| Bluetooth[1]
|
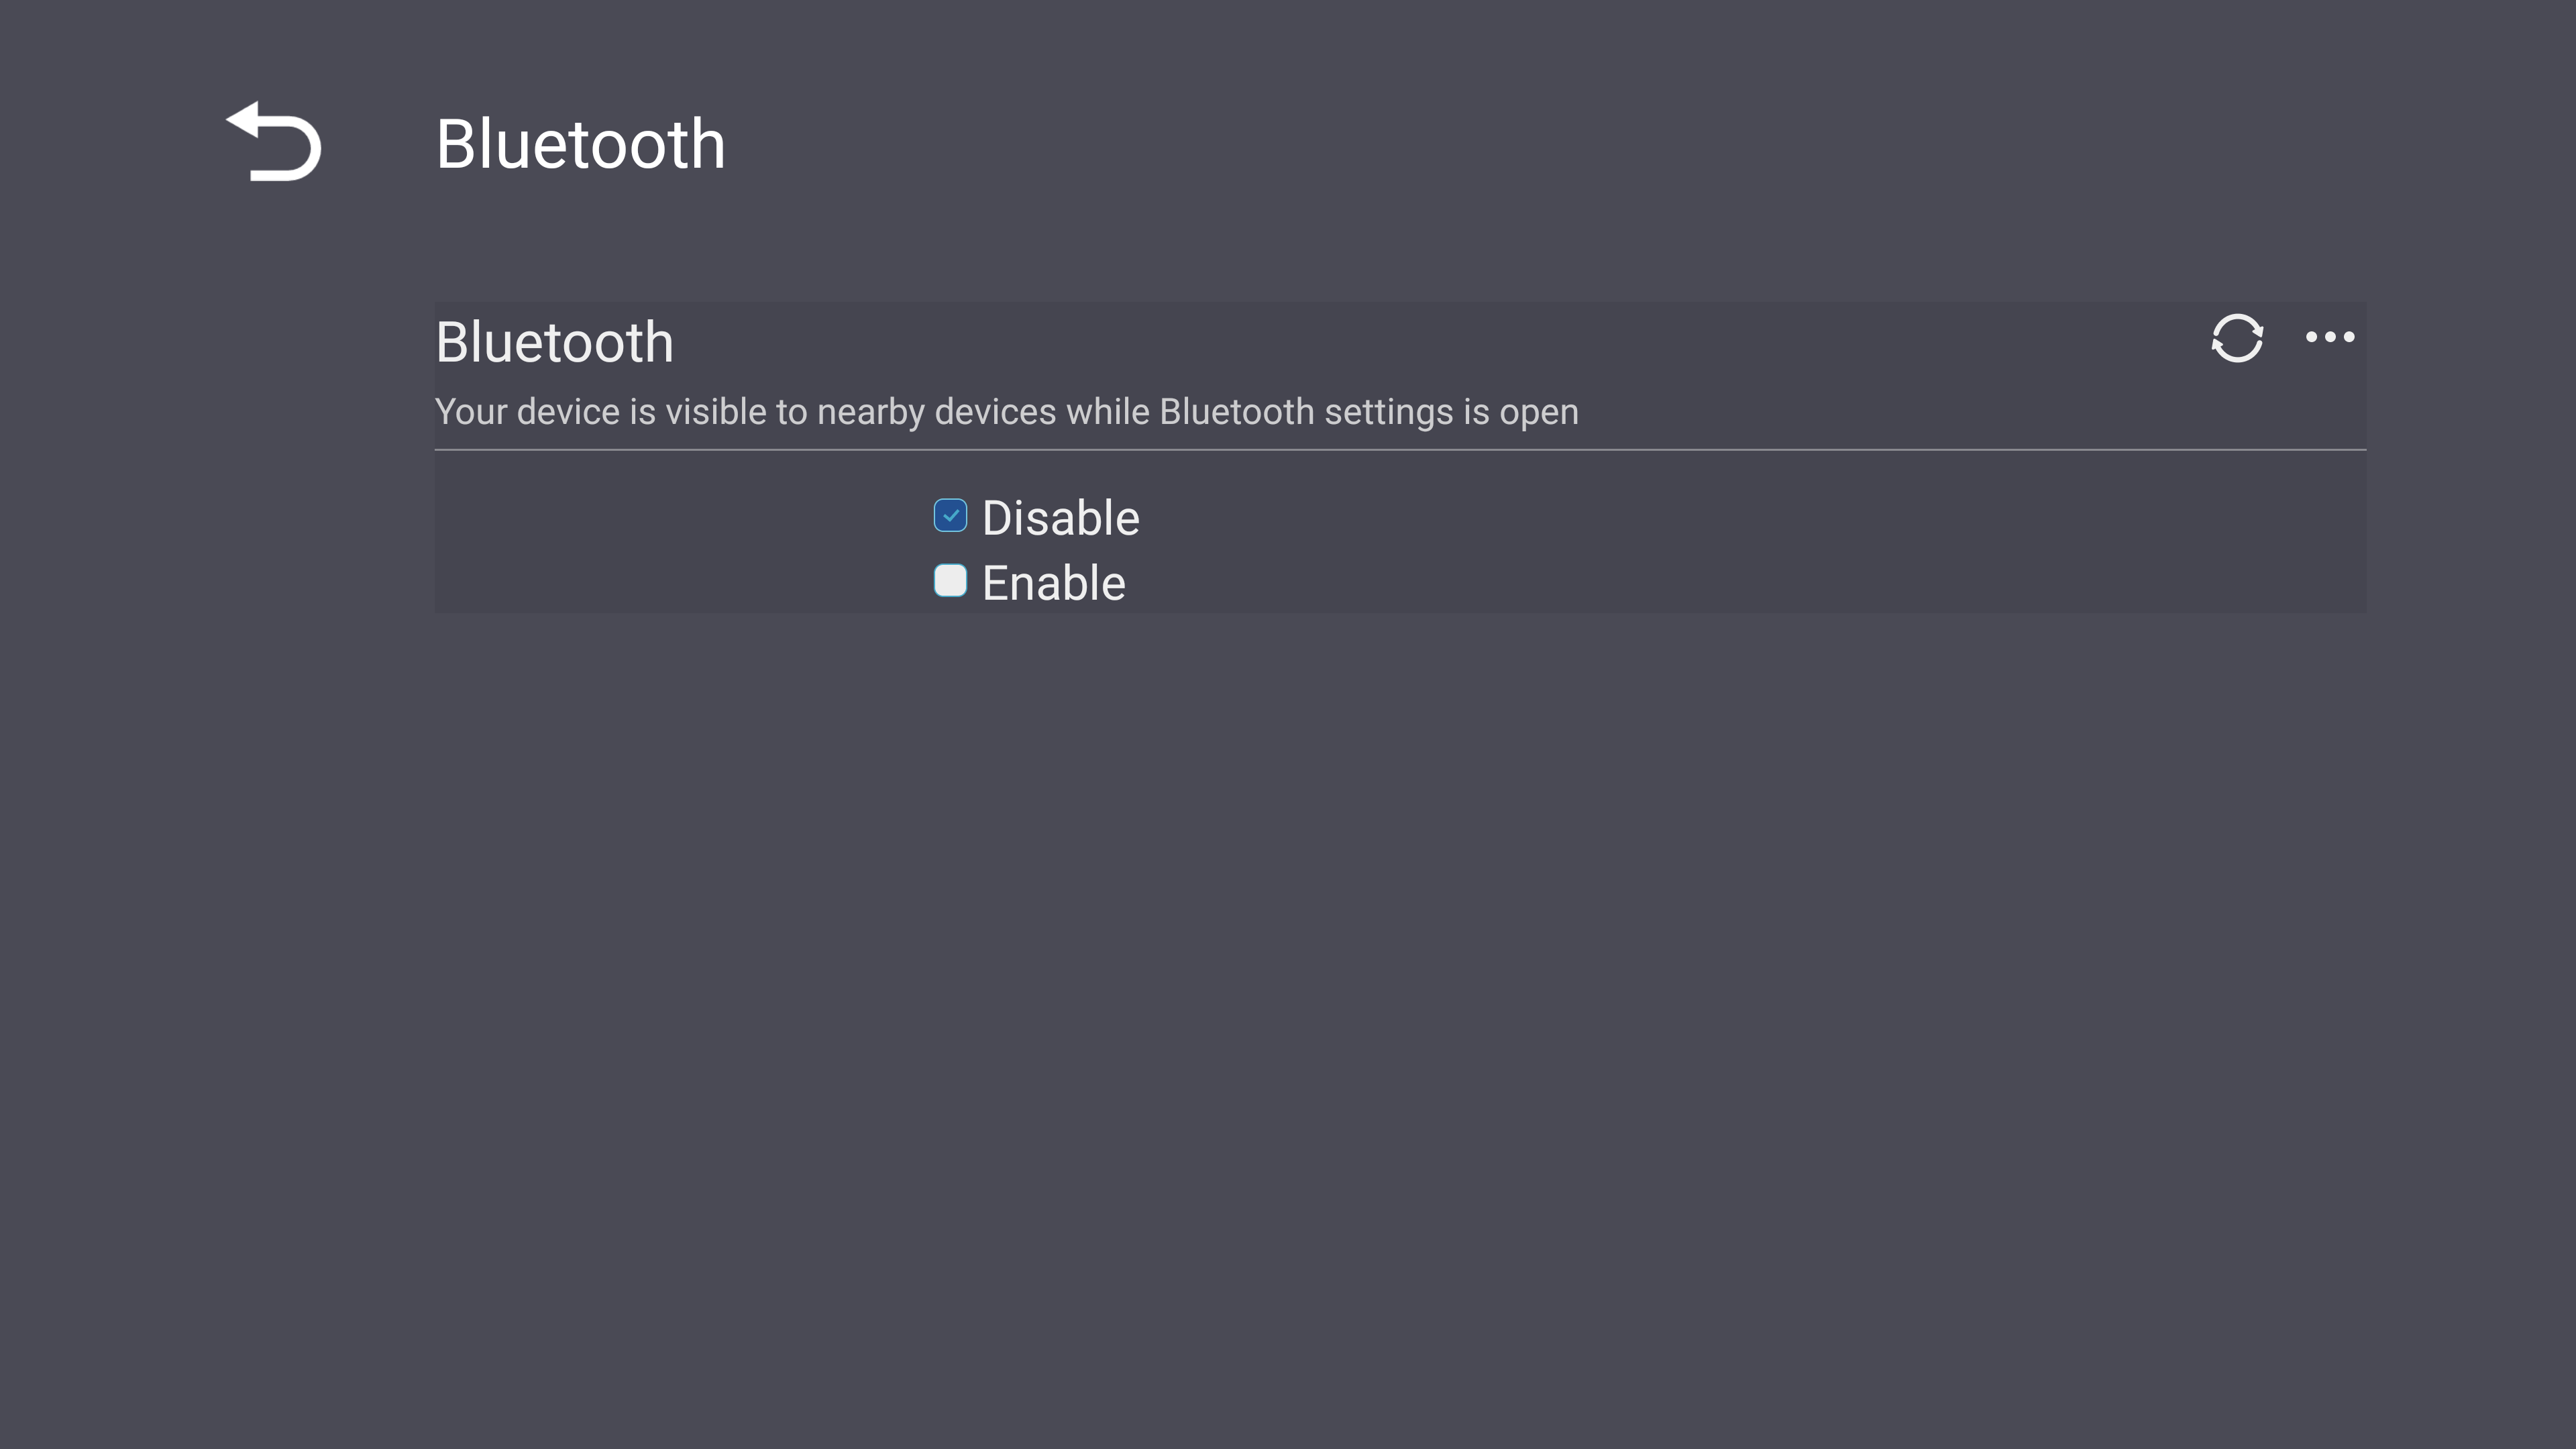
Enable or disable Bluetooth. Once enabled, available devices will be displayed and can be connected to.
|
| Miracast
|
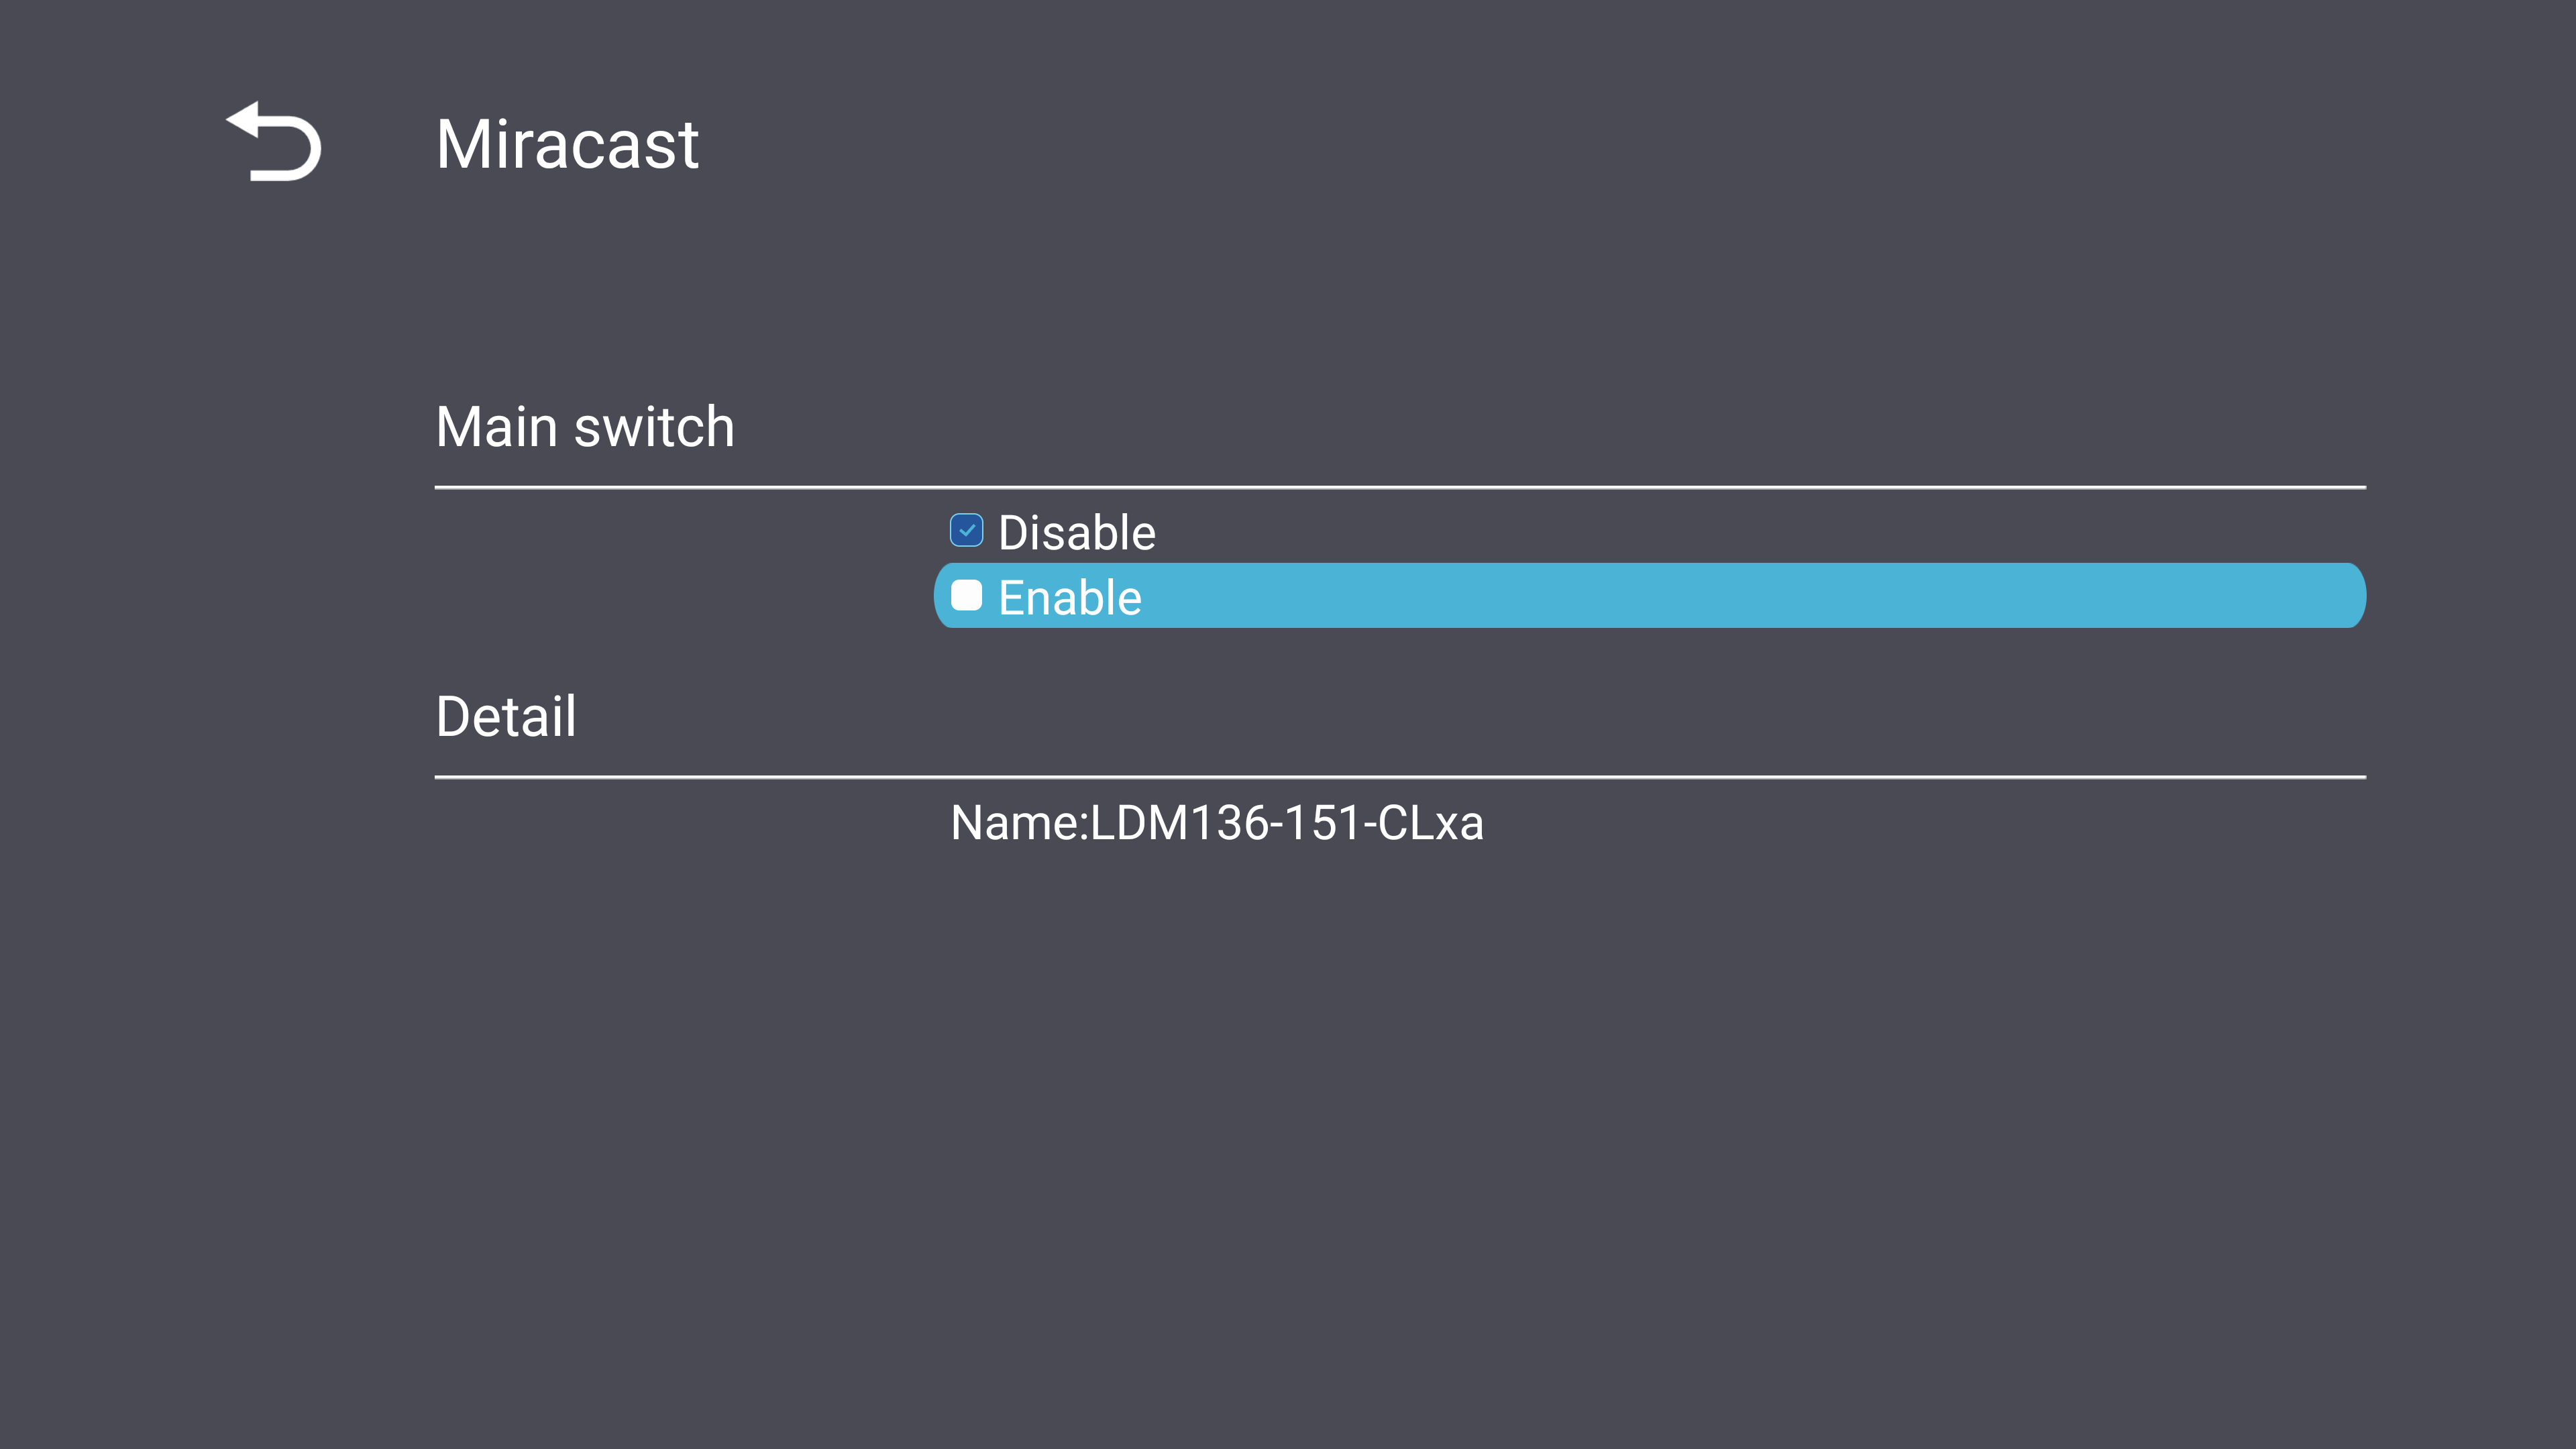
Enable or disable Miracast.
|
Notes
- ↑ The volume of a connected Bluetooth speaker cannot be adjusted with the remote control.
Dehumidification Service
| Sub-menu
|
Menu Option
|
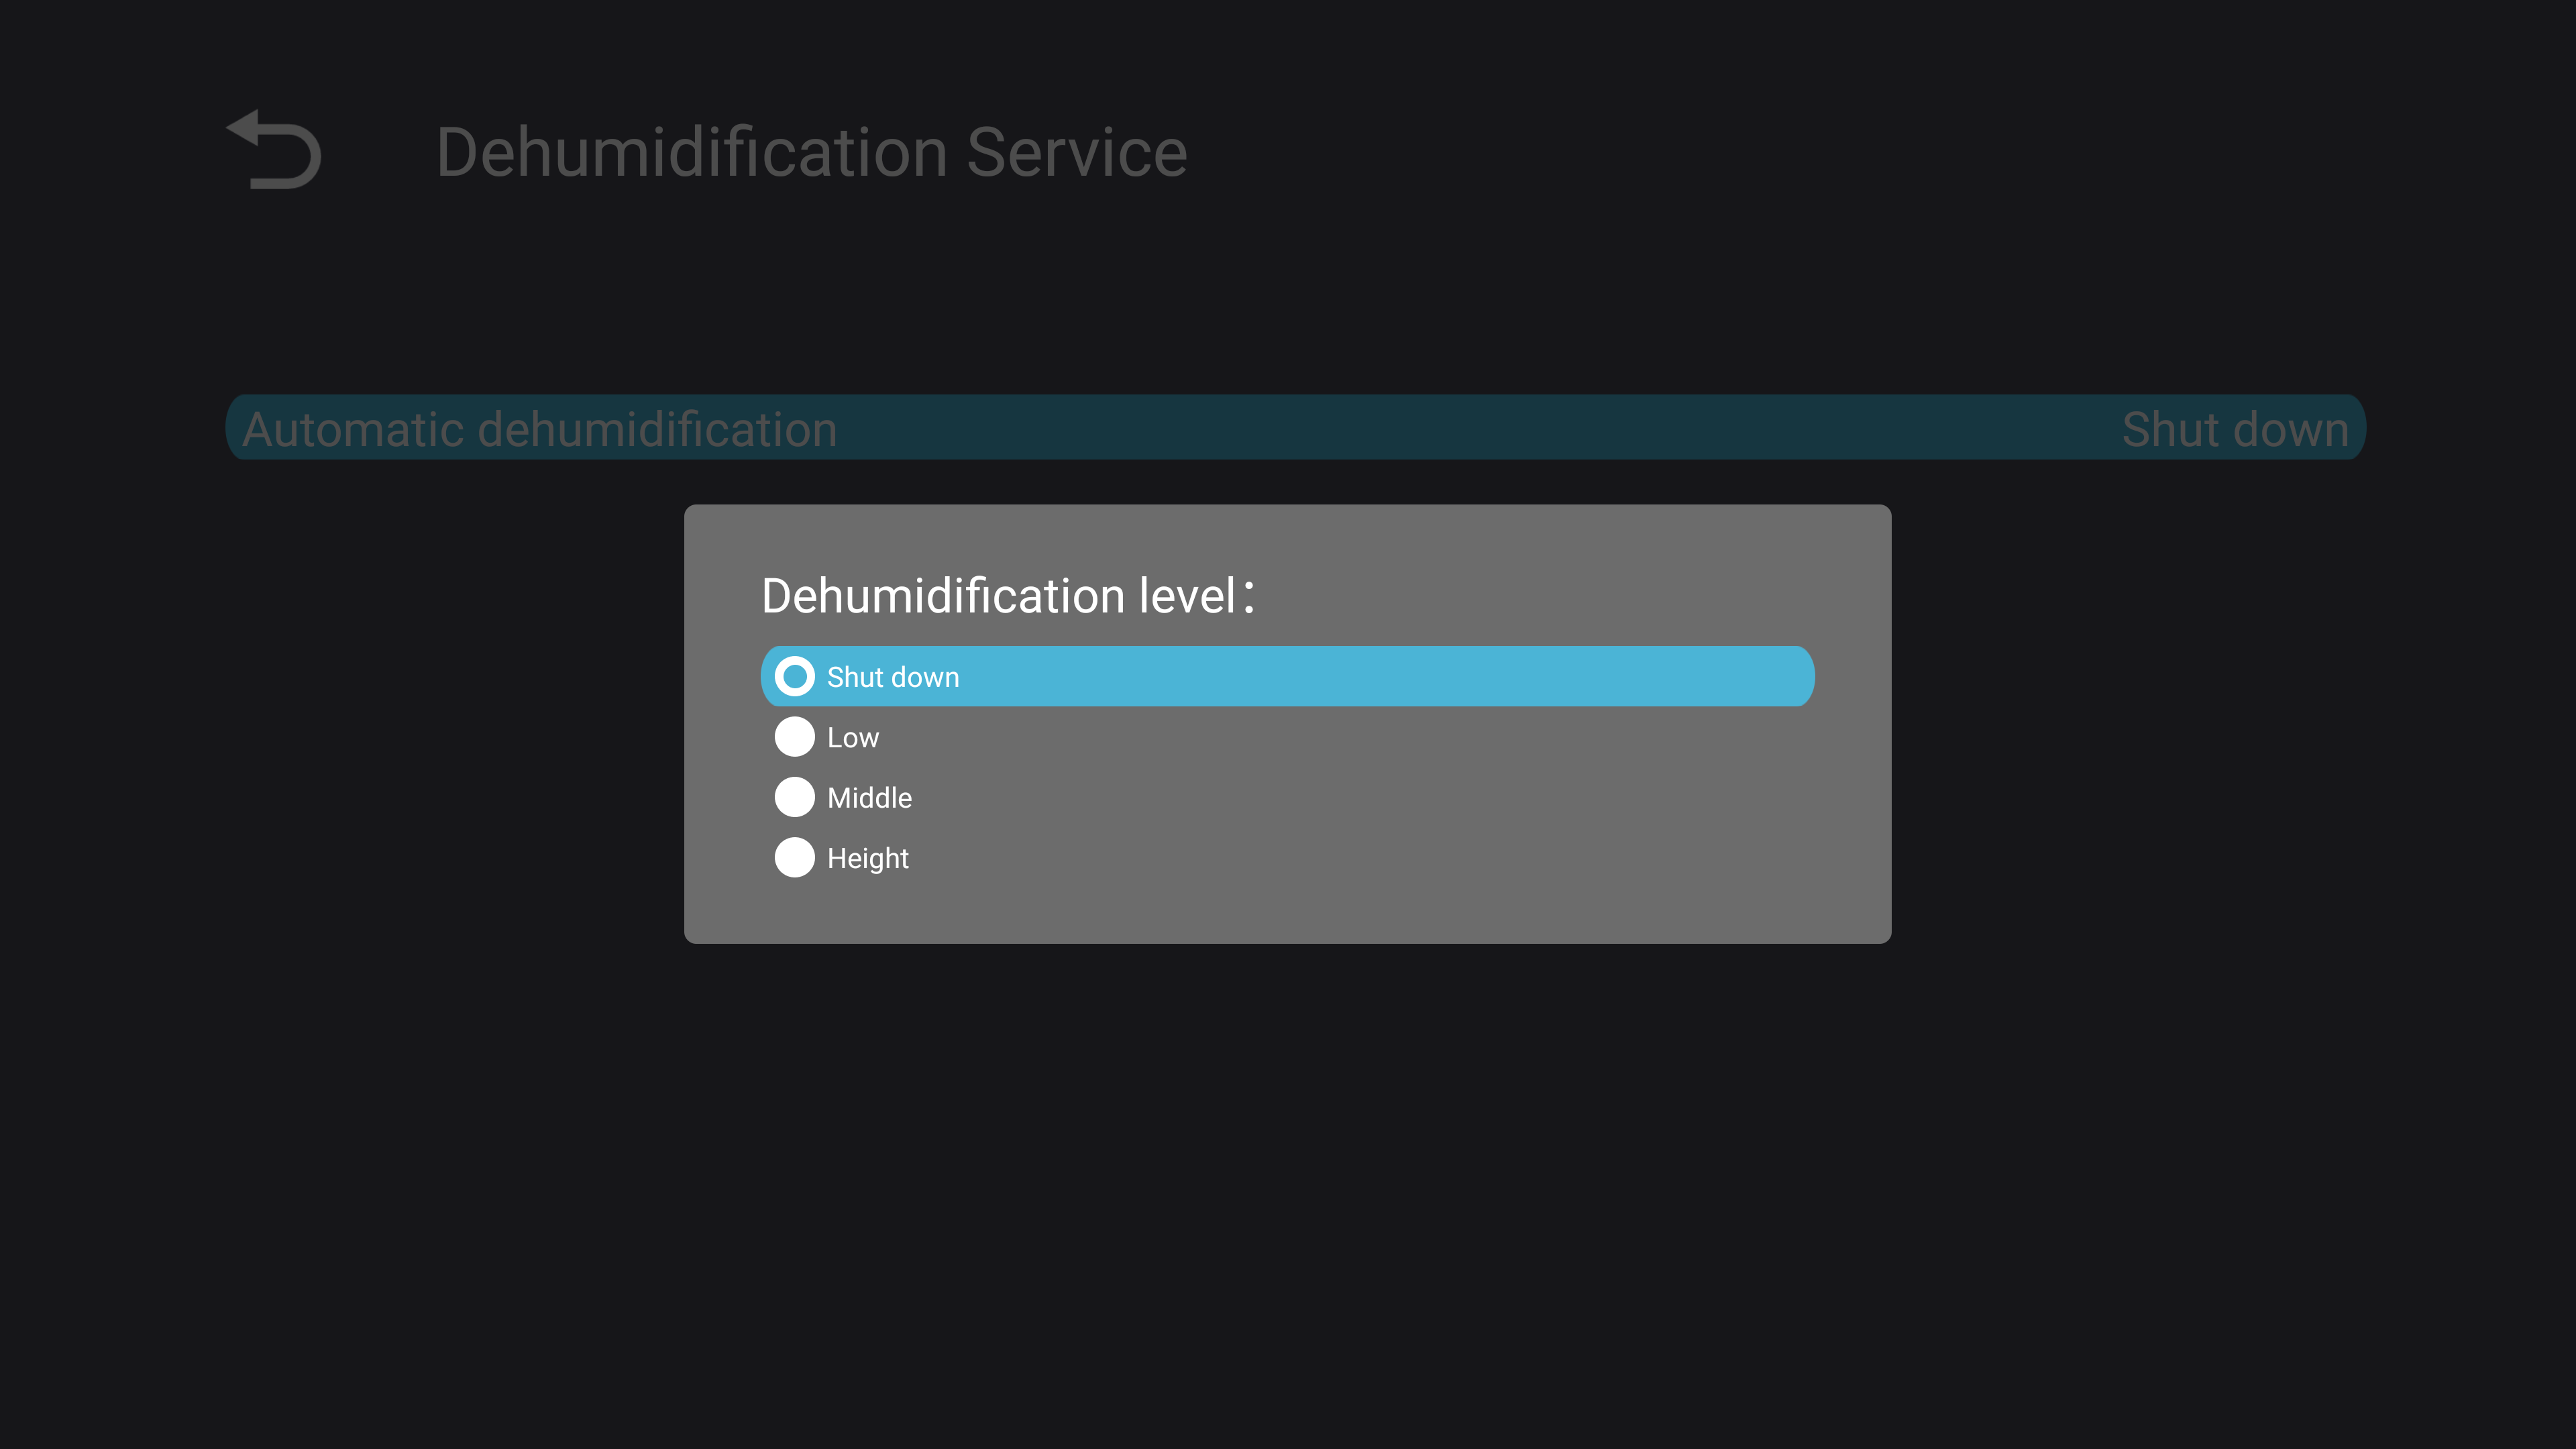
| Dehumidification Settings
|
Set the dehumidification level or shut it down.
|
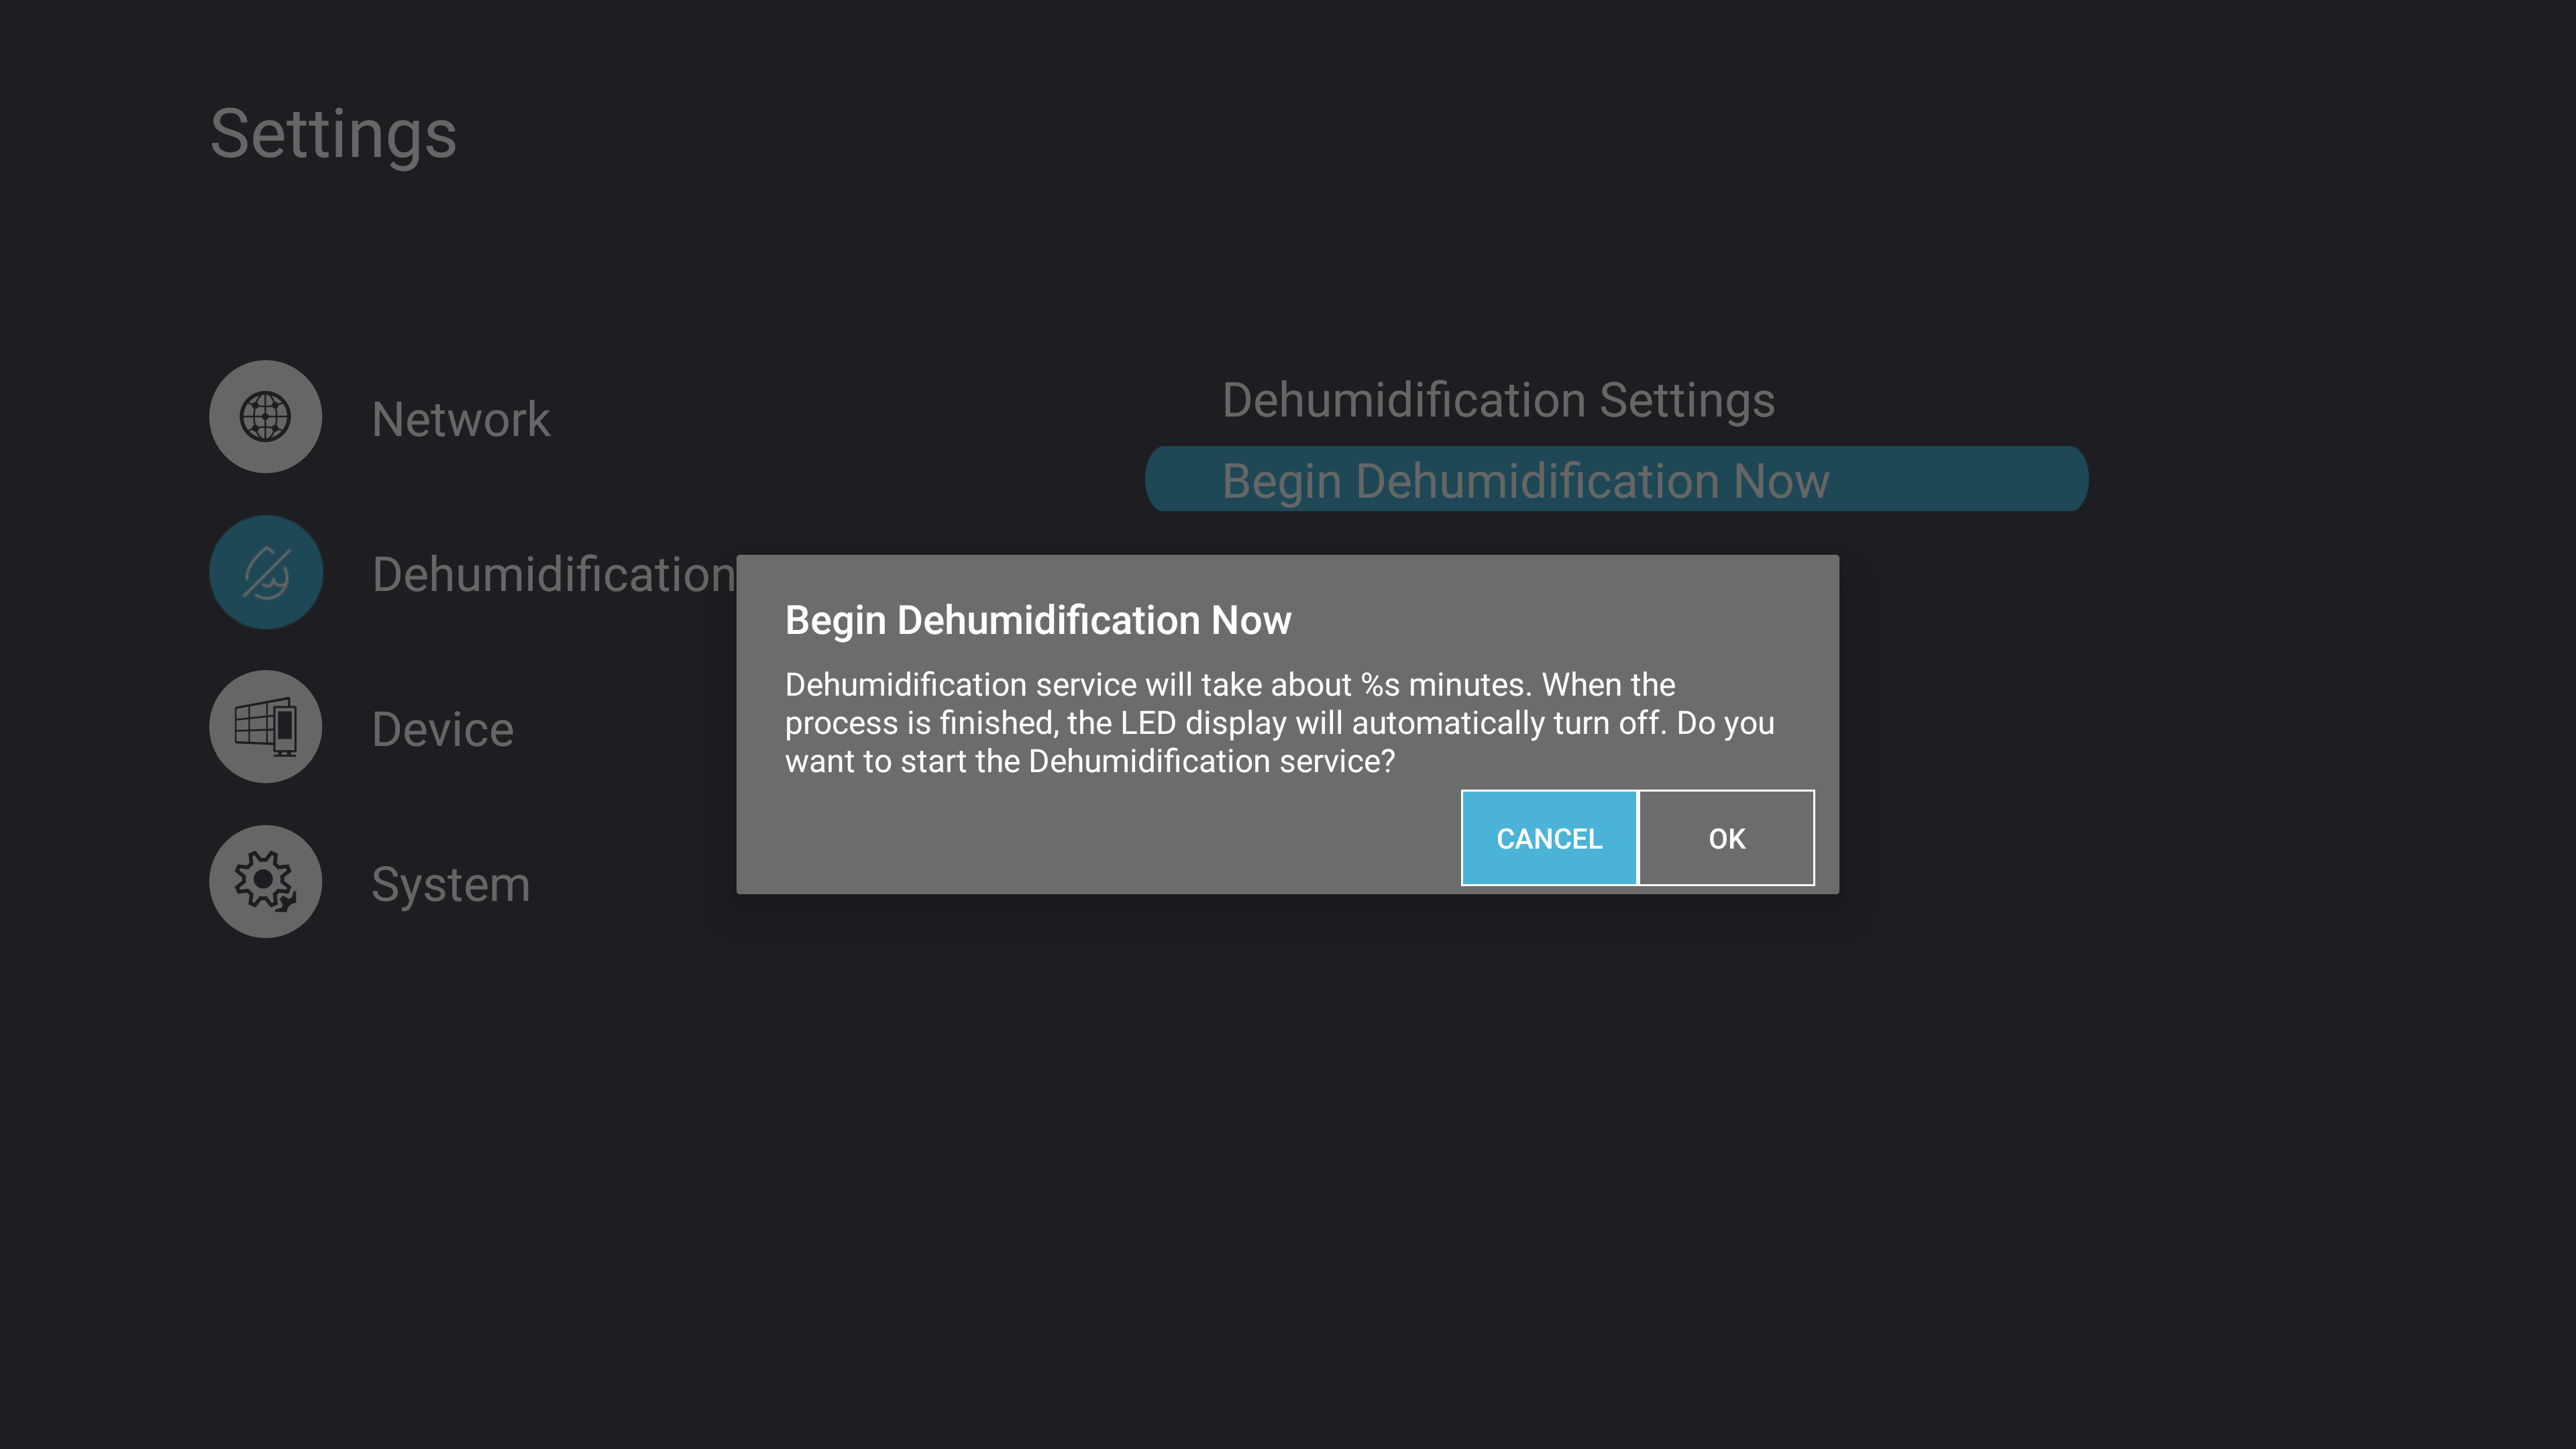
| Begin Dehumidification
|
Manually start the dehumidification process
|
Device
| Sub-menu
|
Menu Option
|
| Signage Display
|
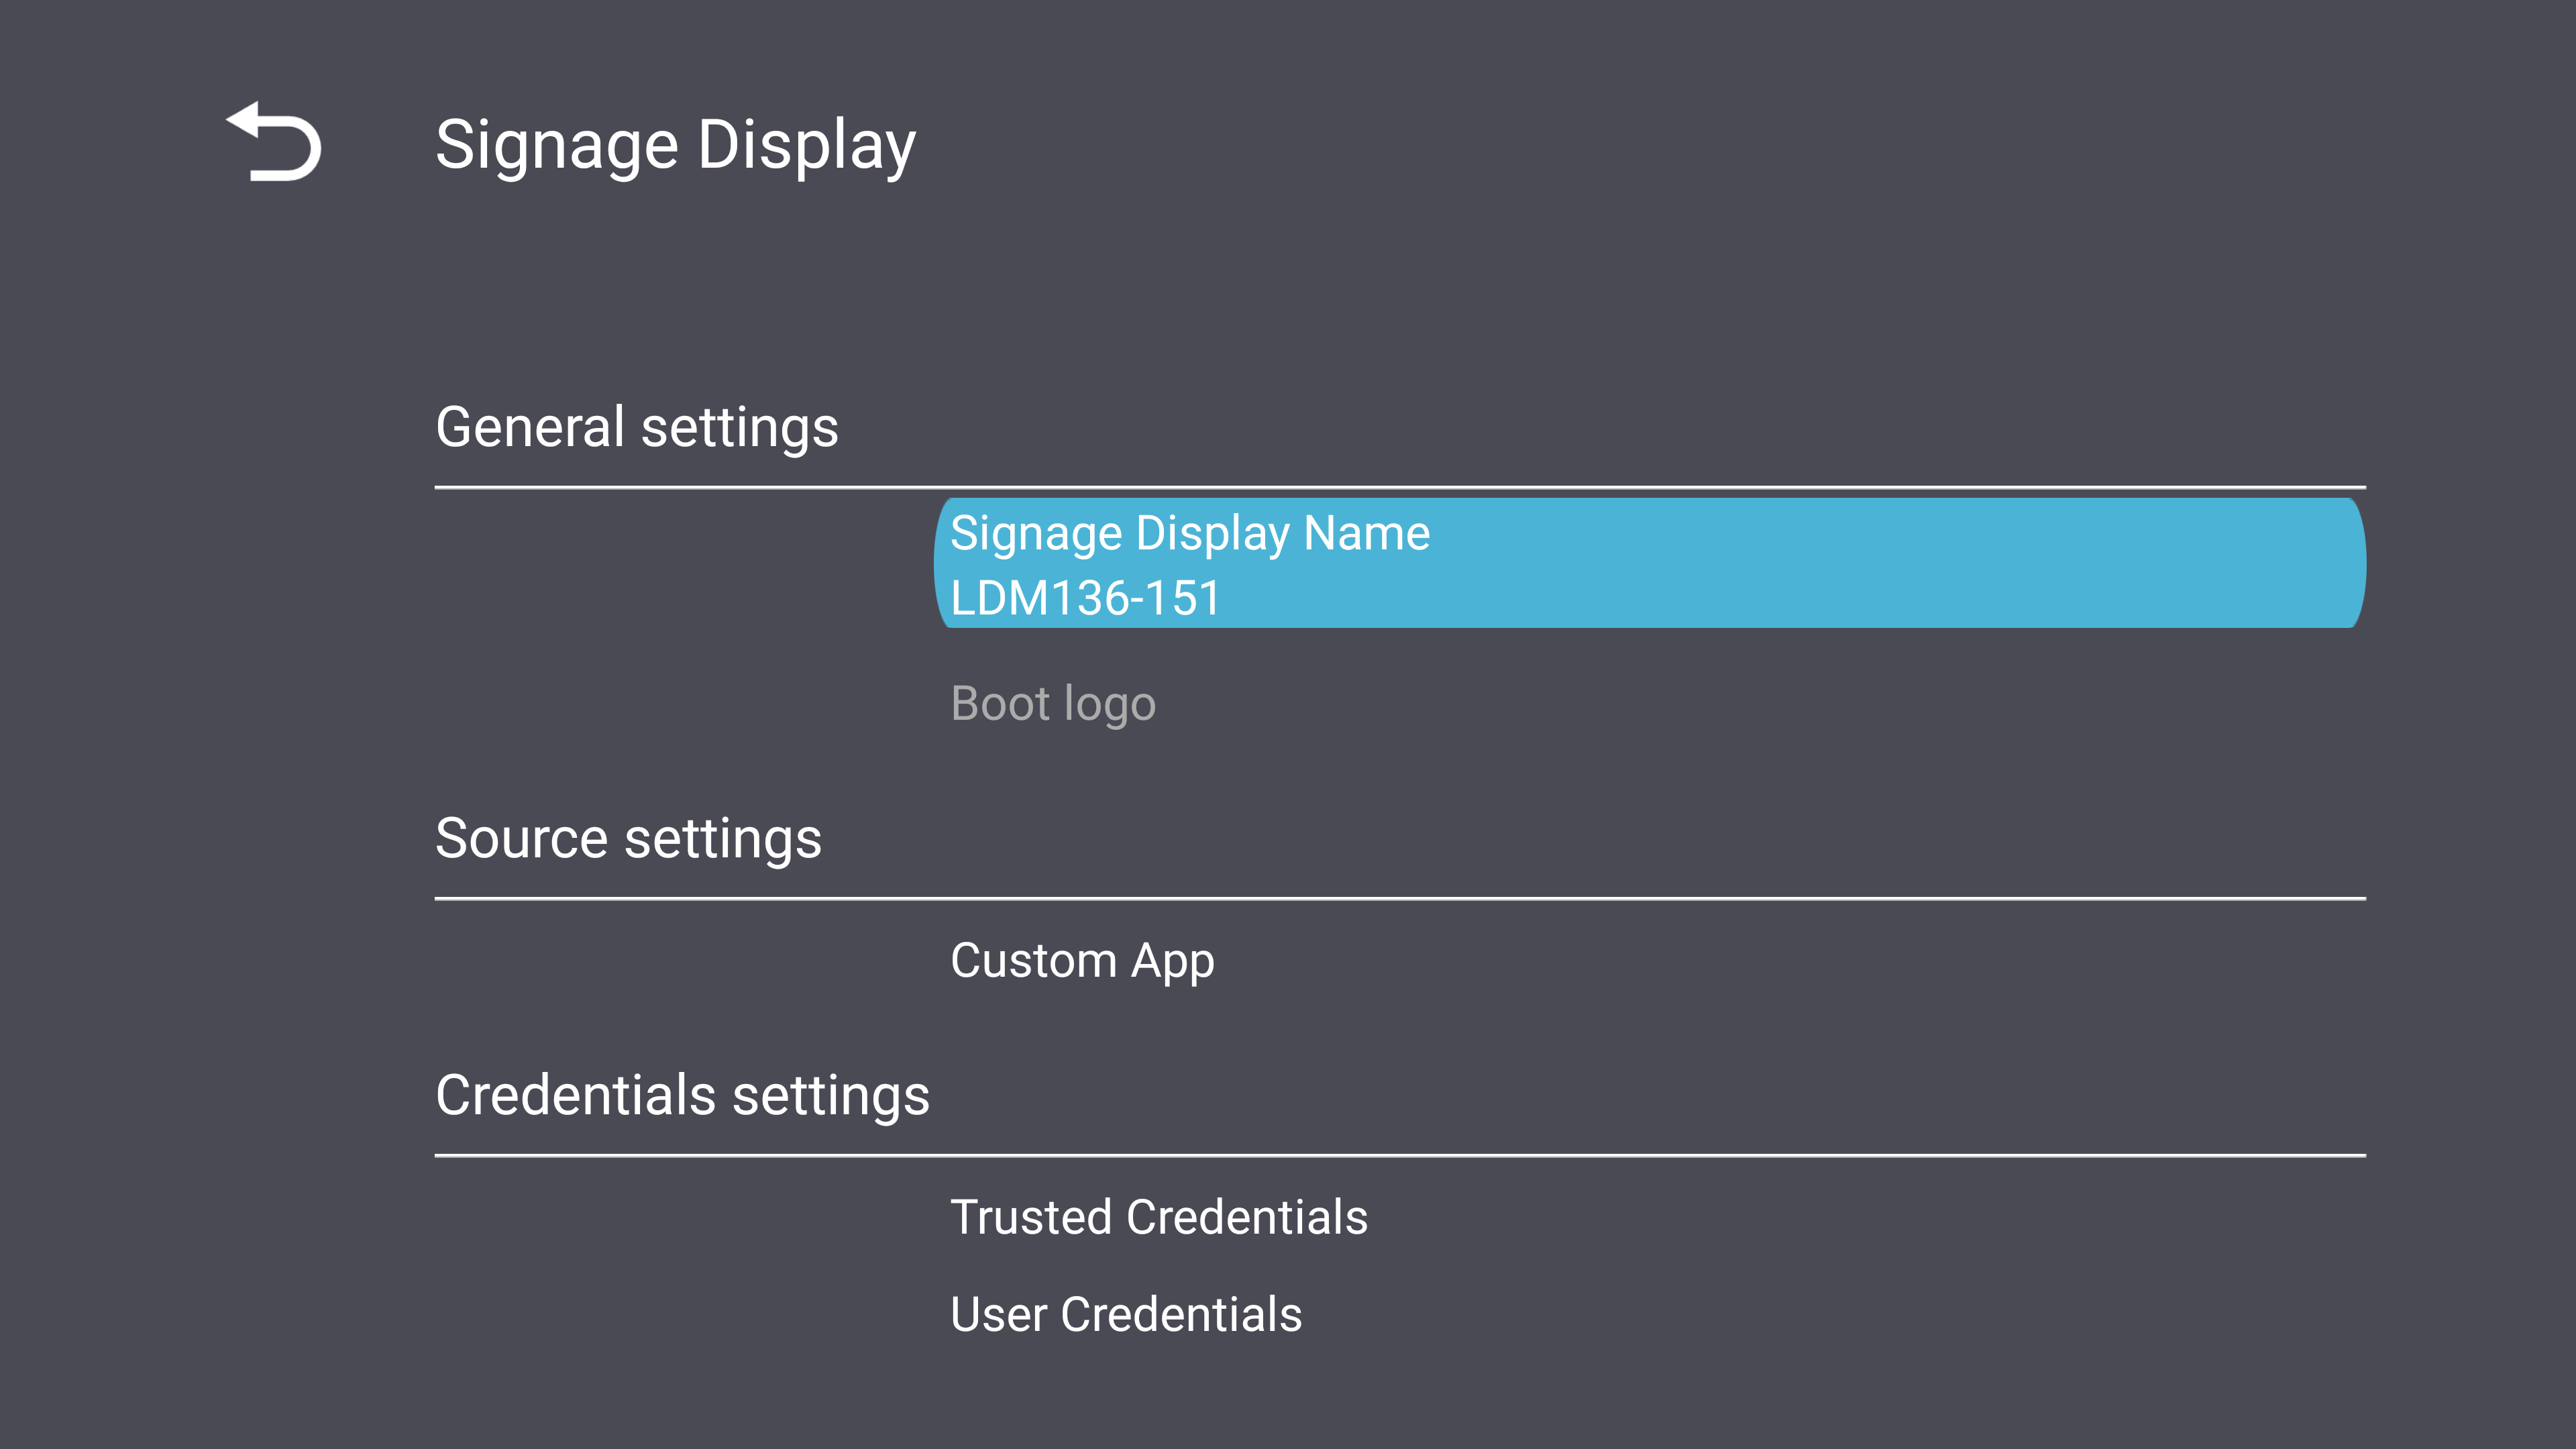
General Settings
Set the Signage Display Name and Boot Logo.
Source Settings
Set the application to open when the Custom input source is selected.
Credential Settings
View and clear credentials and install from storage.
Security
Review privacy and copyright protections, allow external USB storage and installing applications from unknown sources.
|
| System Tools
|
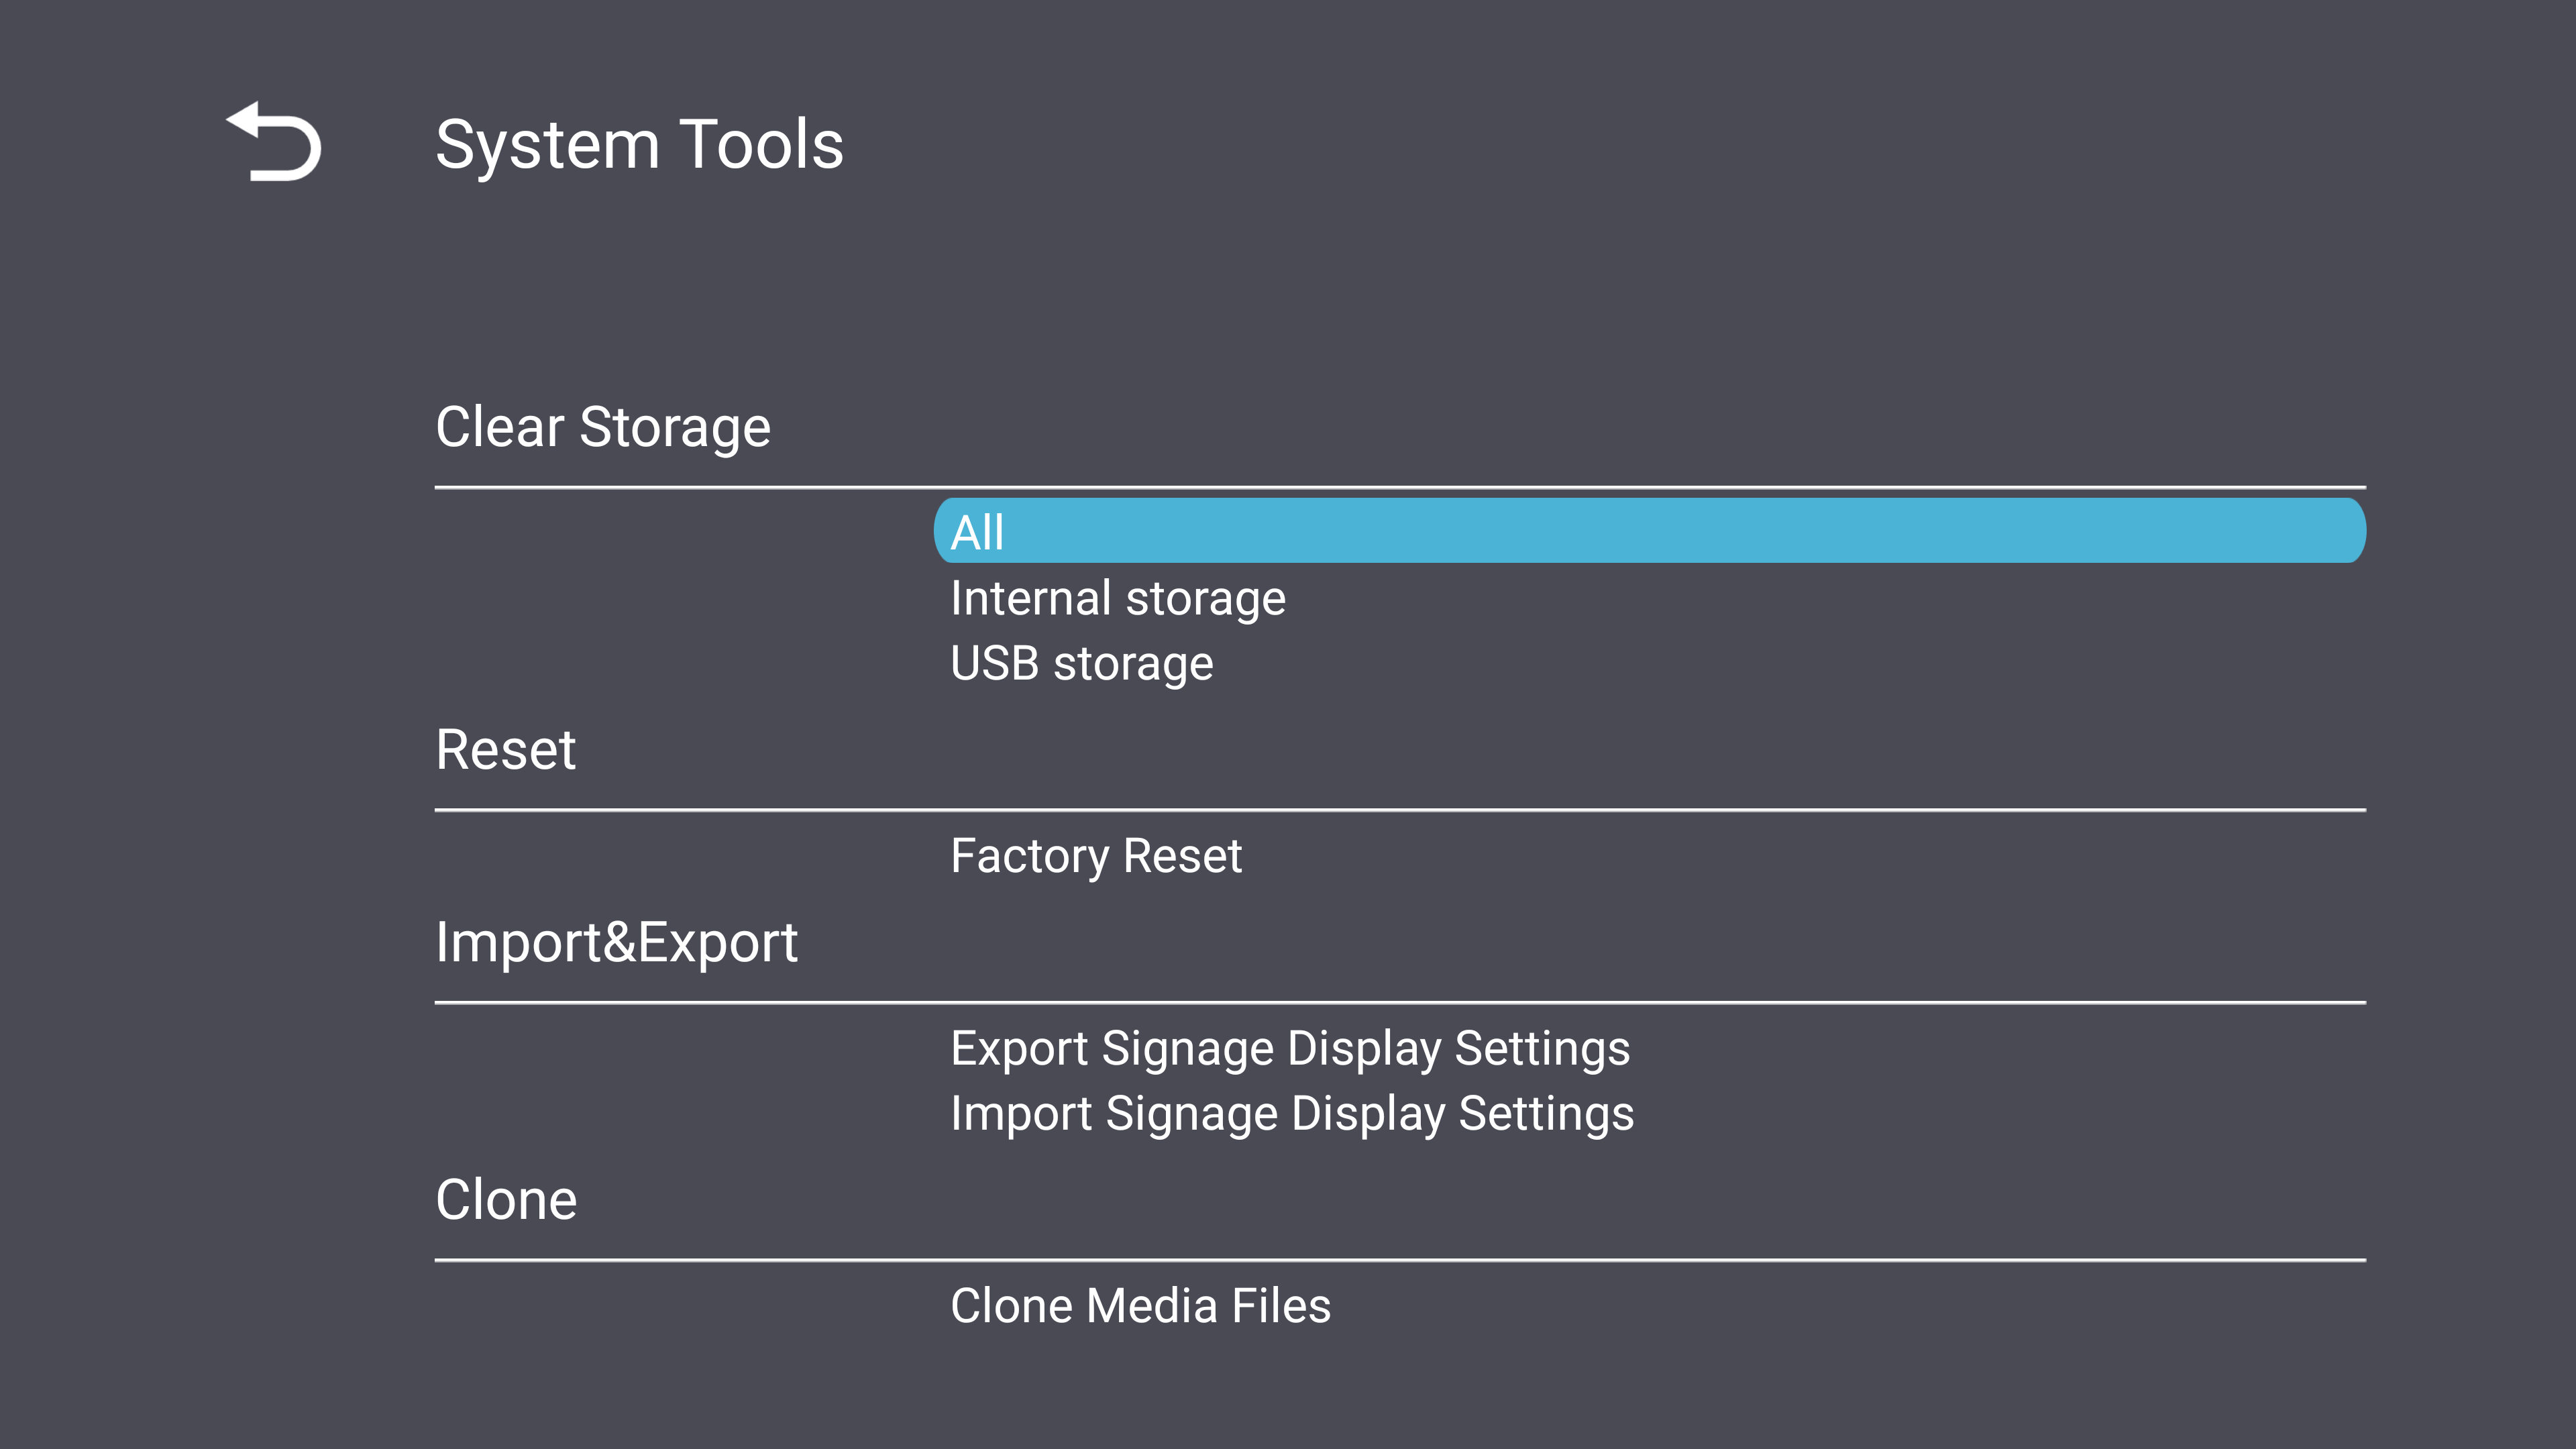
Clear Storage
Clear storage space from both internal and external storage.
Reset
Reset the display to its default factory values.
Import & Export
Import or export the display’s settings.
Clone
Copy media files from the display.
|
| Display
|
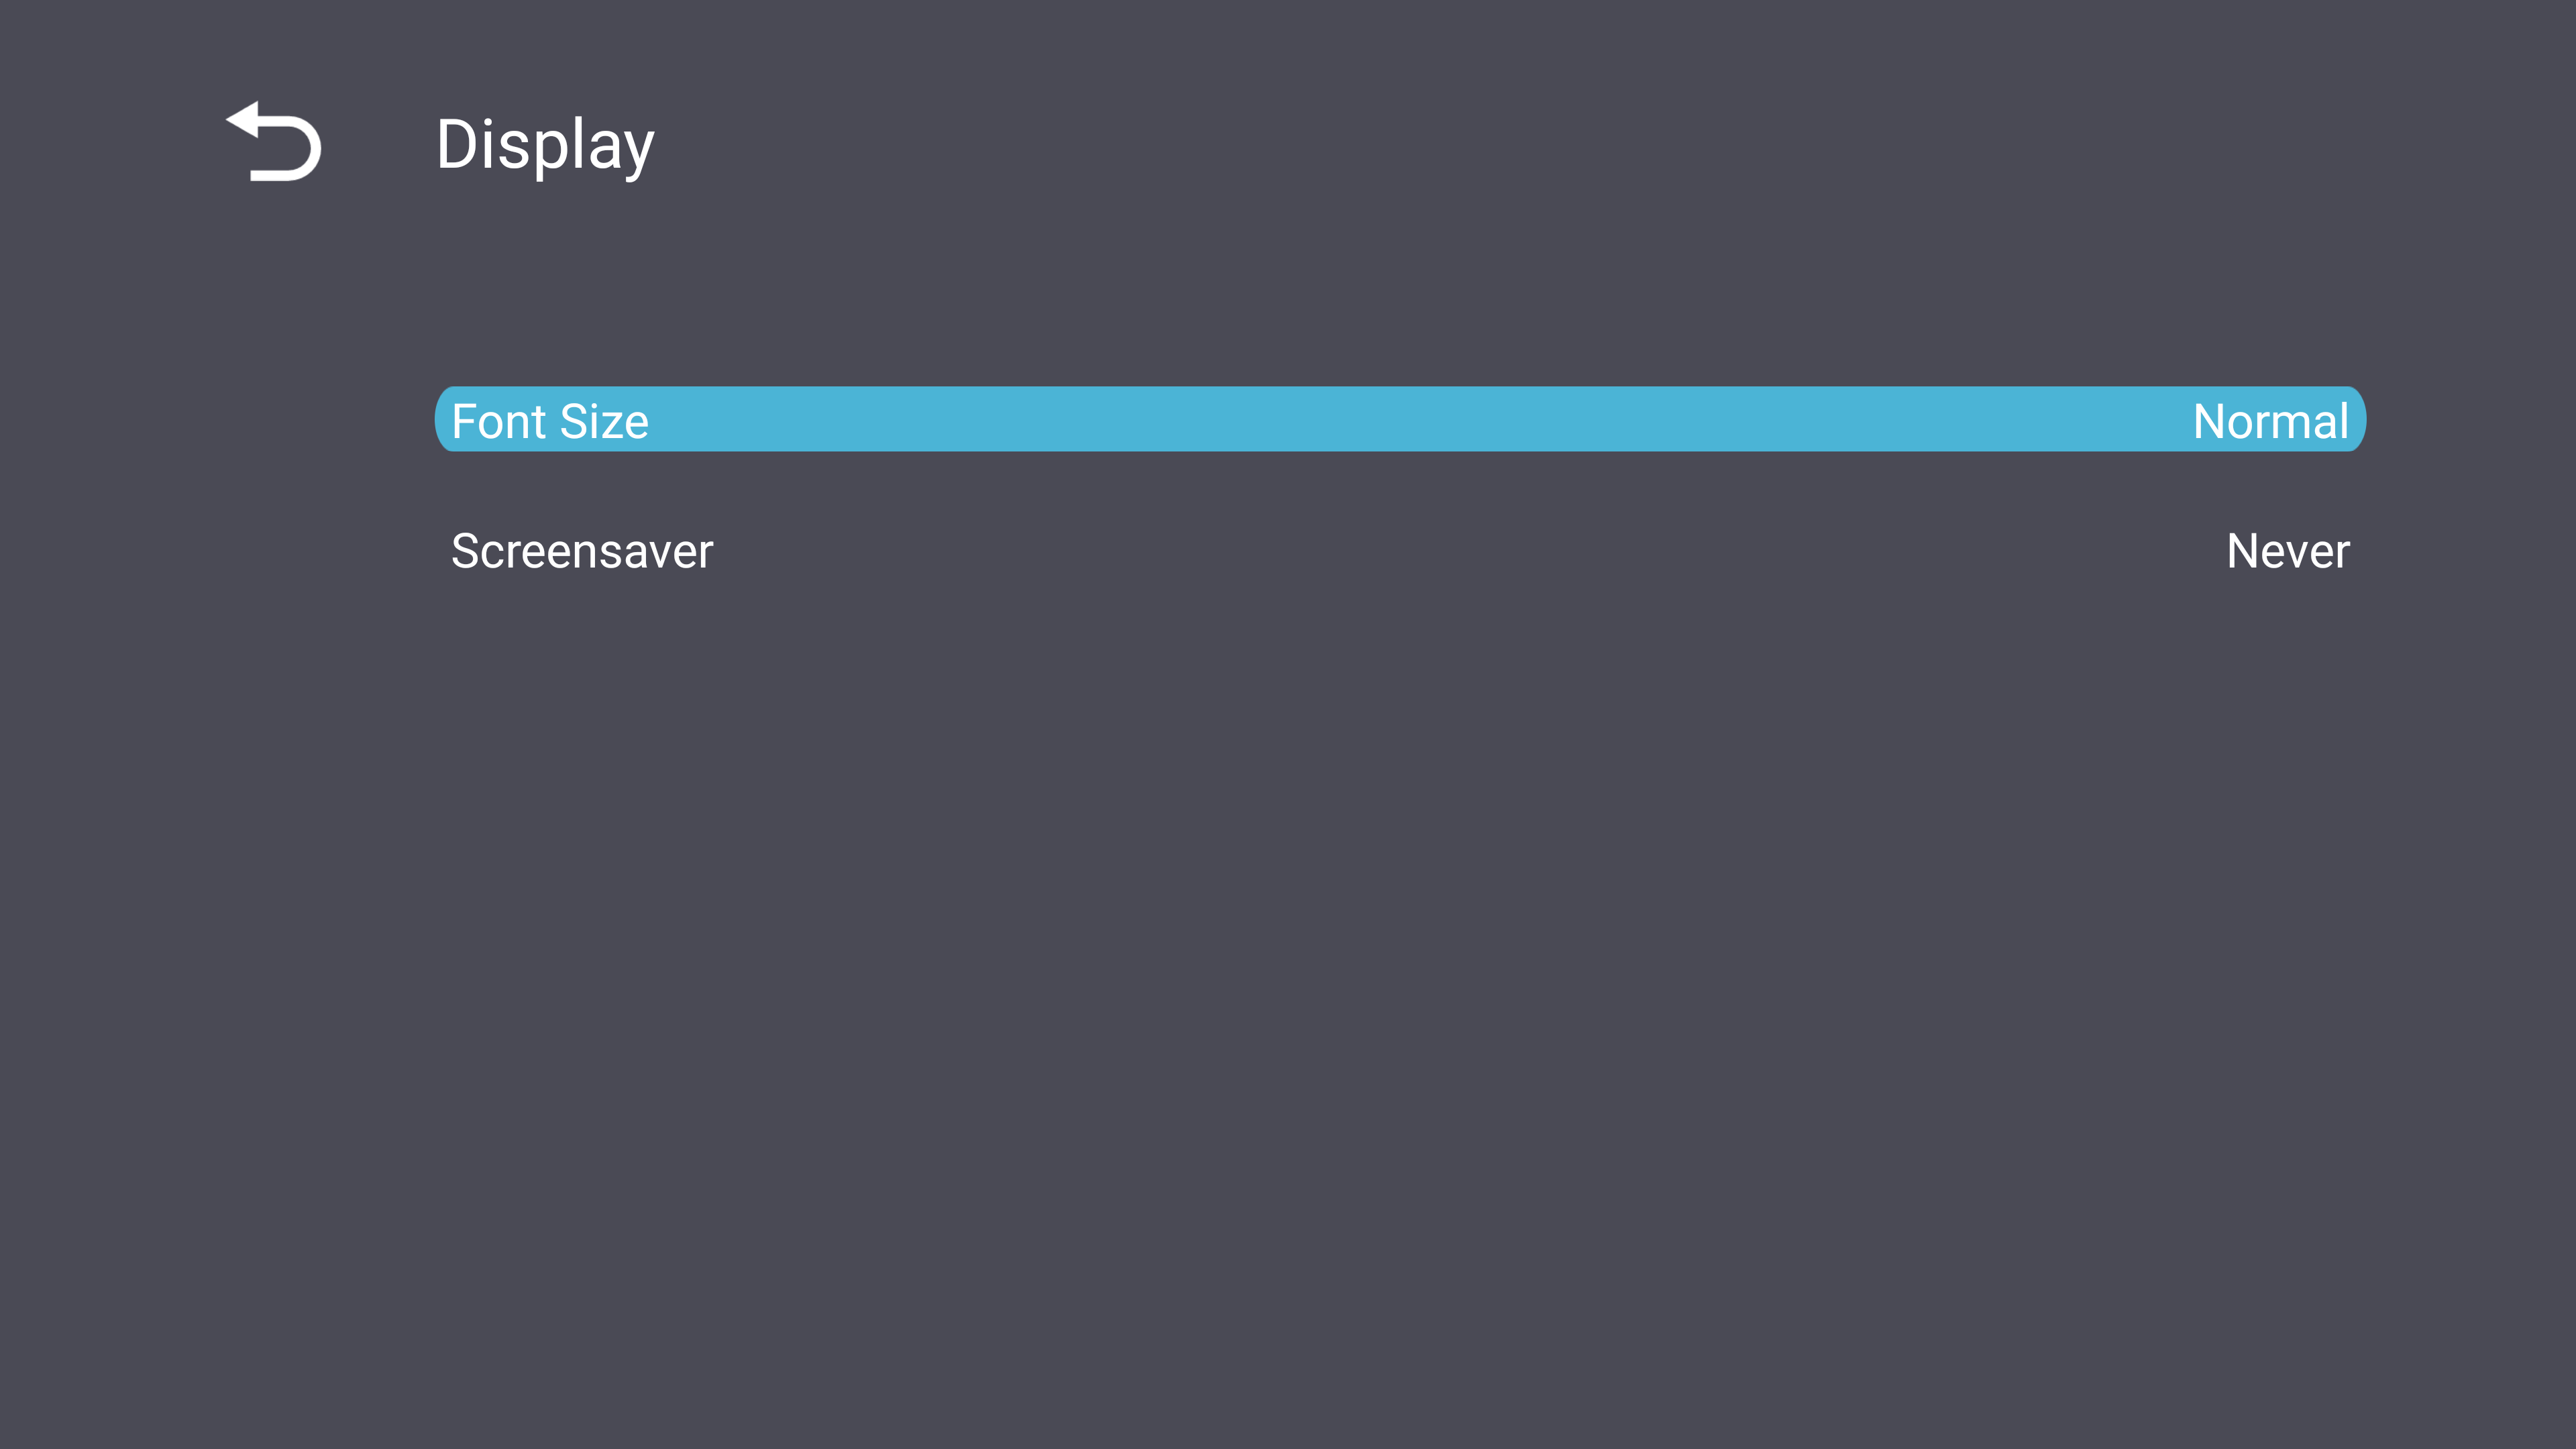
Font Size
Set the font size for the display.
Screensaver
Enable or disable a screensaver.
|
| Apps
|
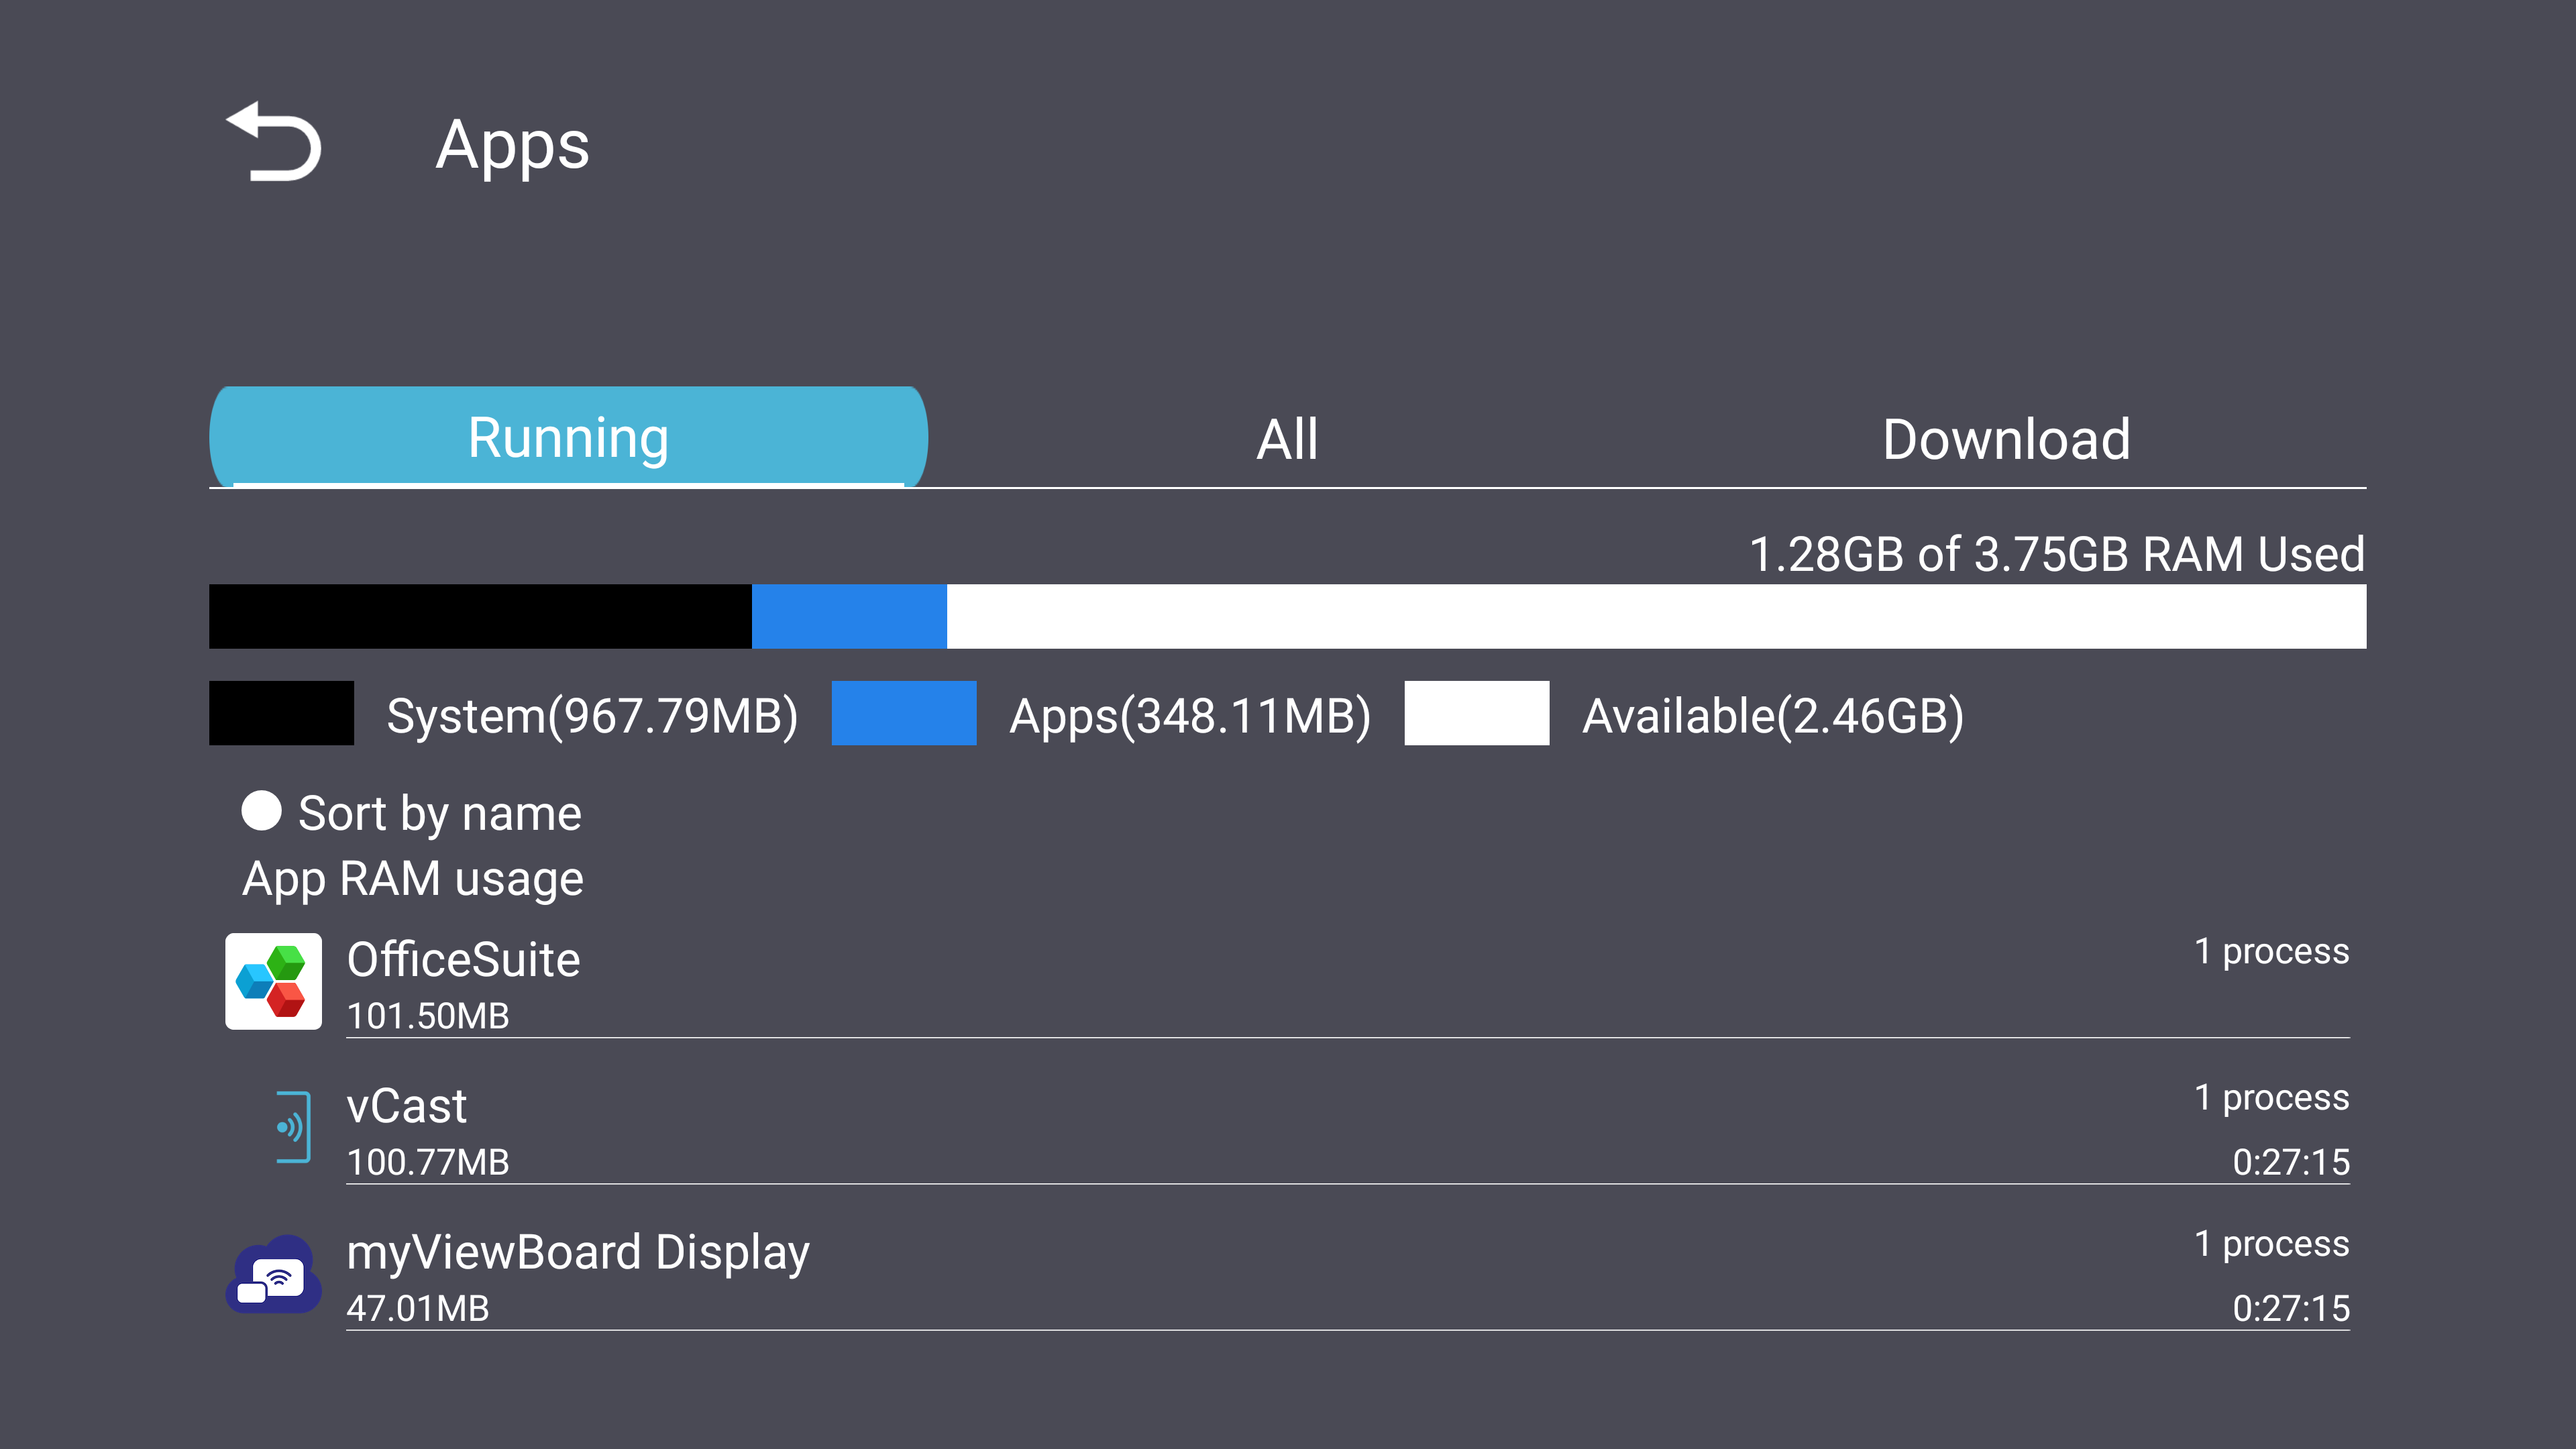
View information about the display’s running, downloaded, or all applications.
|
| Physical Keyboard
|
View and select a keyboard input method.

|
| Launcher Settings
|
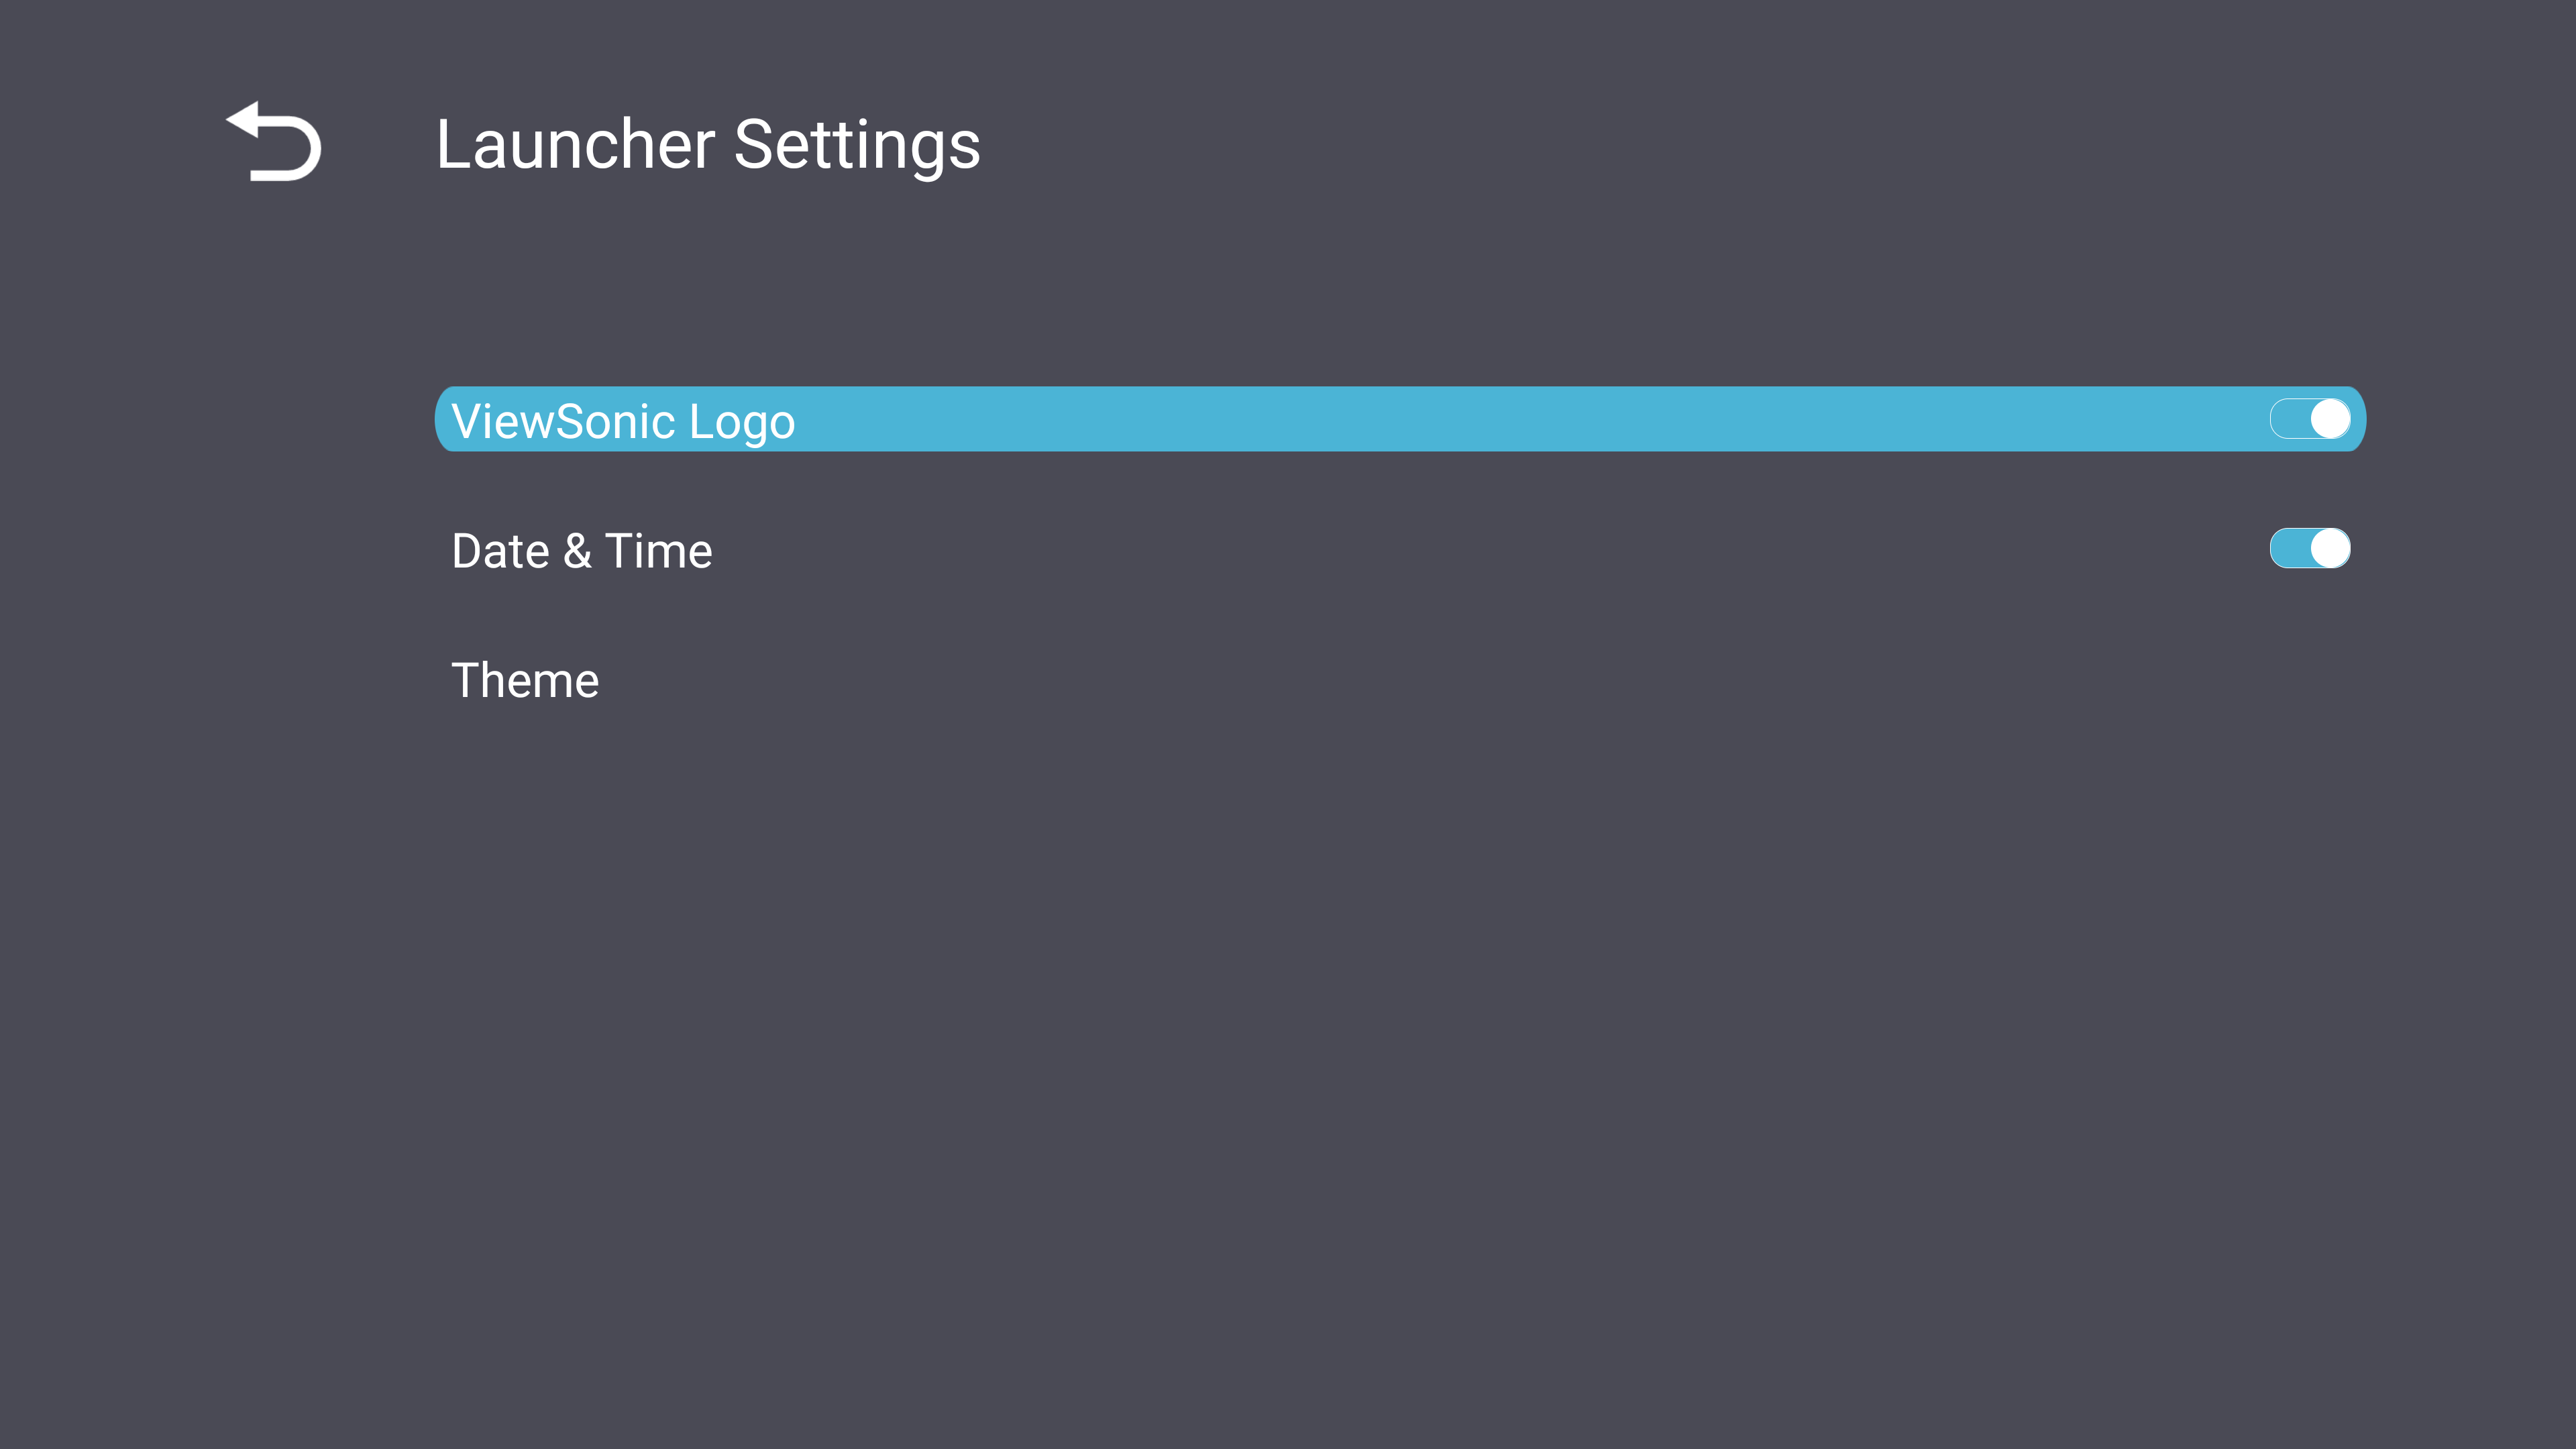
ViewSonic Logo
Display or hide the ViewSonic logo on the Home Screen.
Date & Time
Display or hide the Date & Time on the Home Screen.
Theme
Set the theme for the Home Screen.
|
| Input Method
|
View and select an input method.
|
System
| Sub-menu
|
Menu Option
|
| Date & Time
|
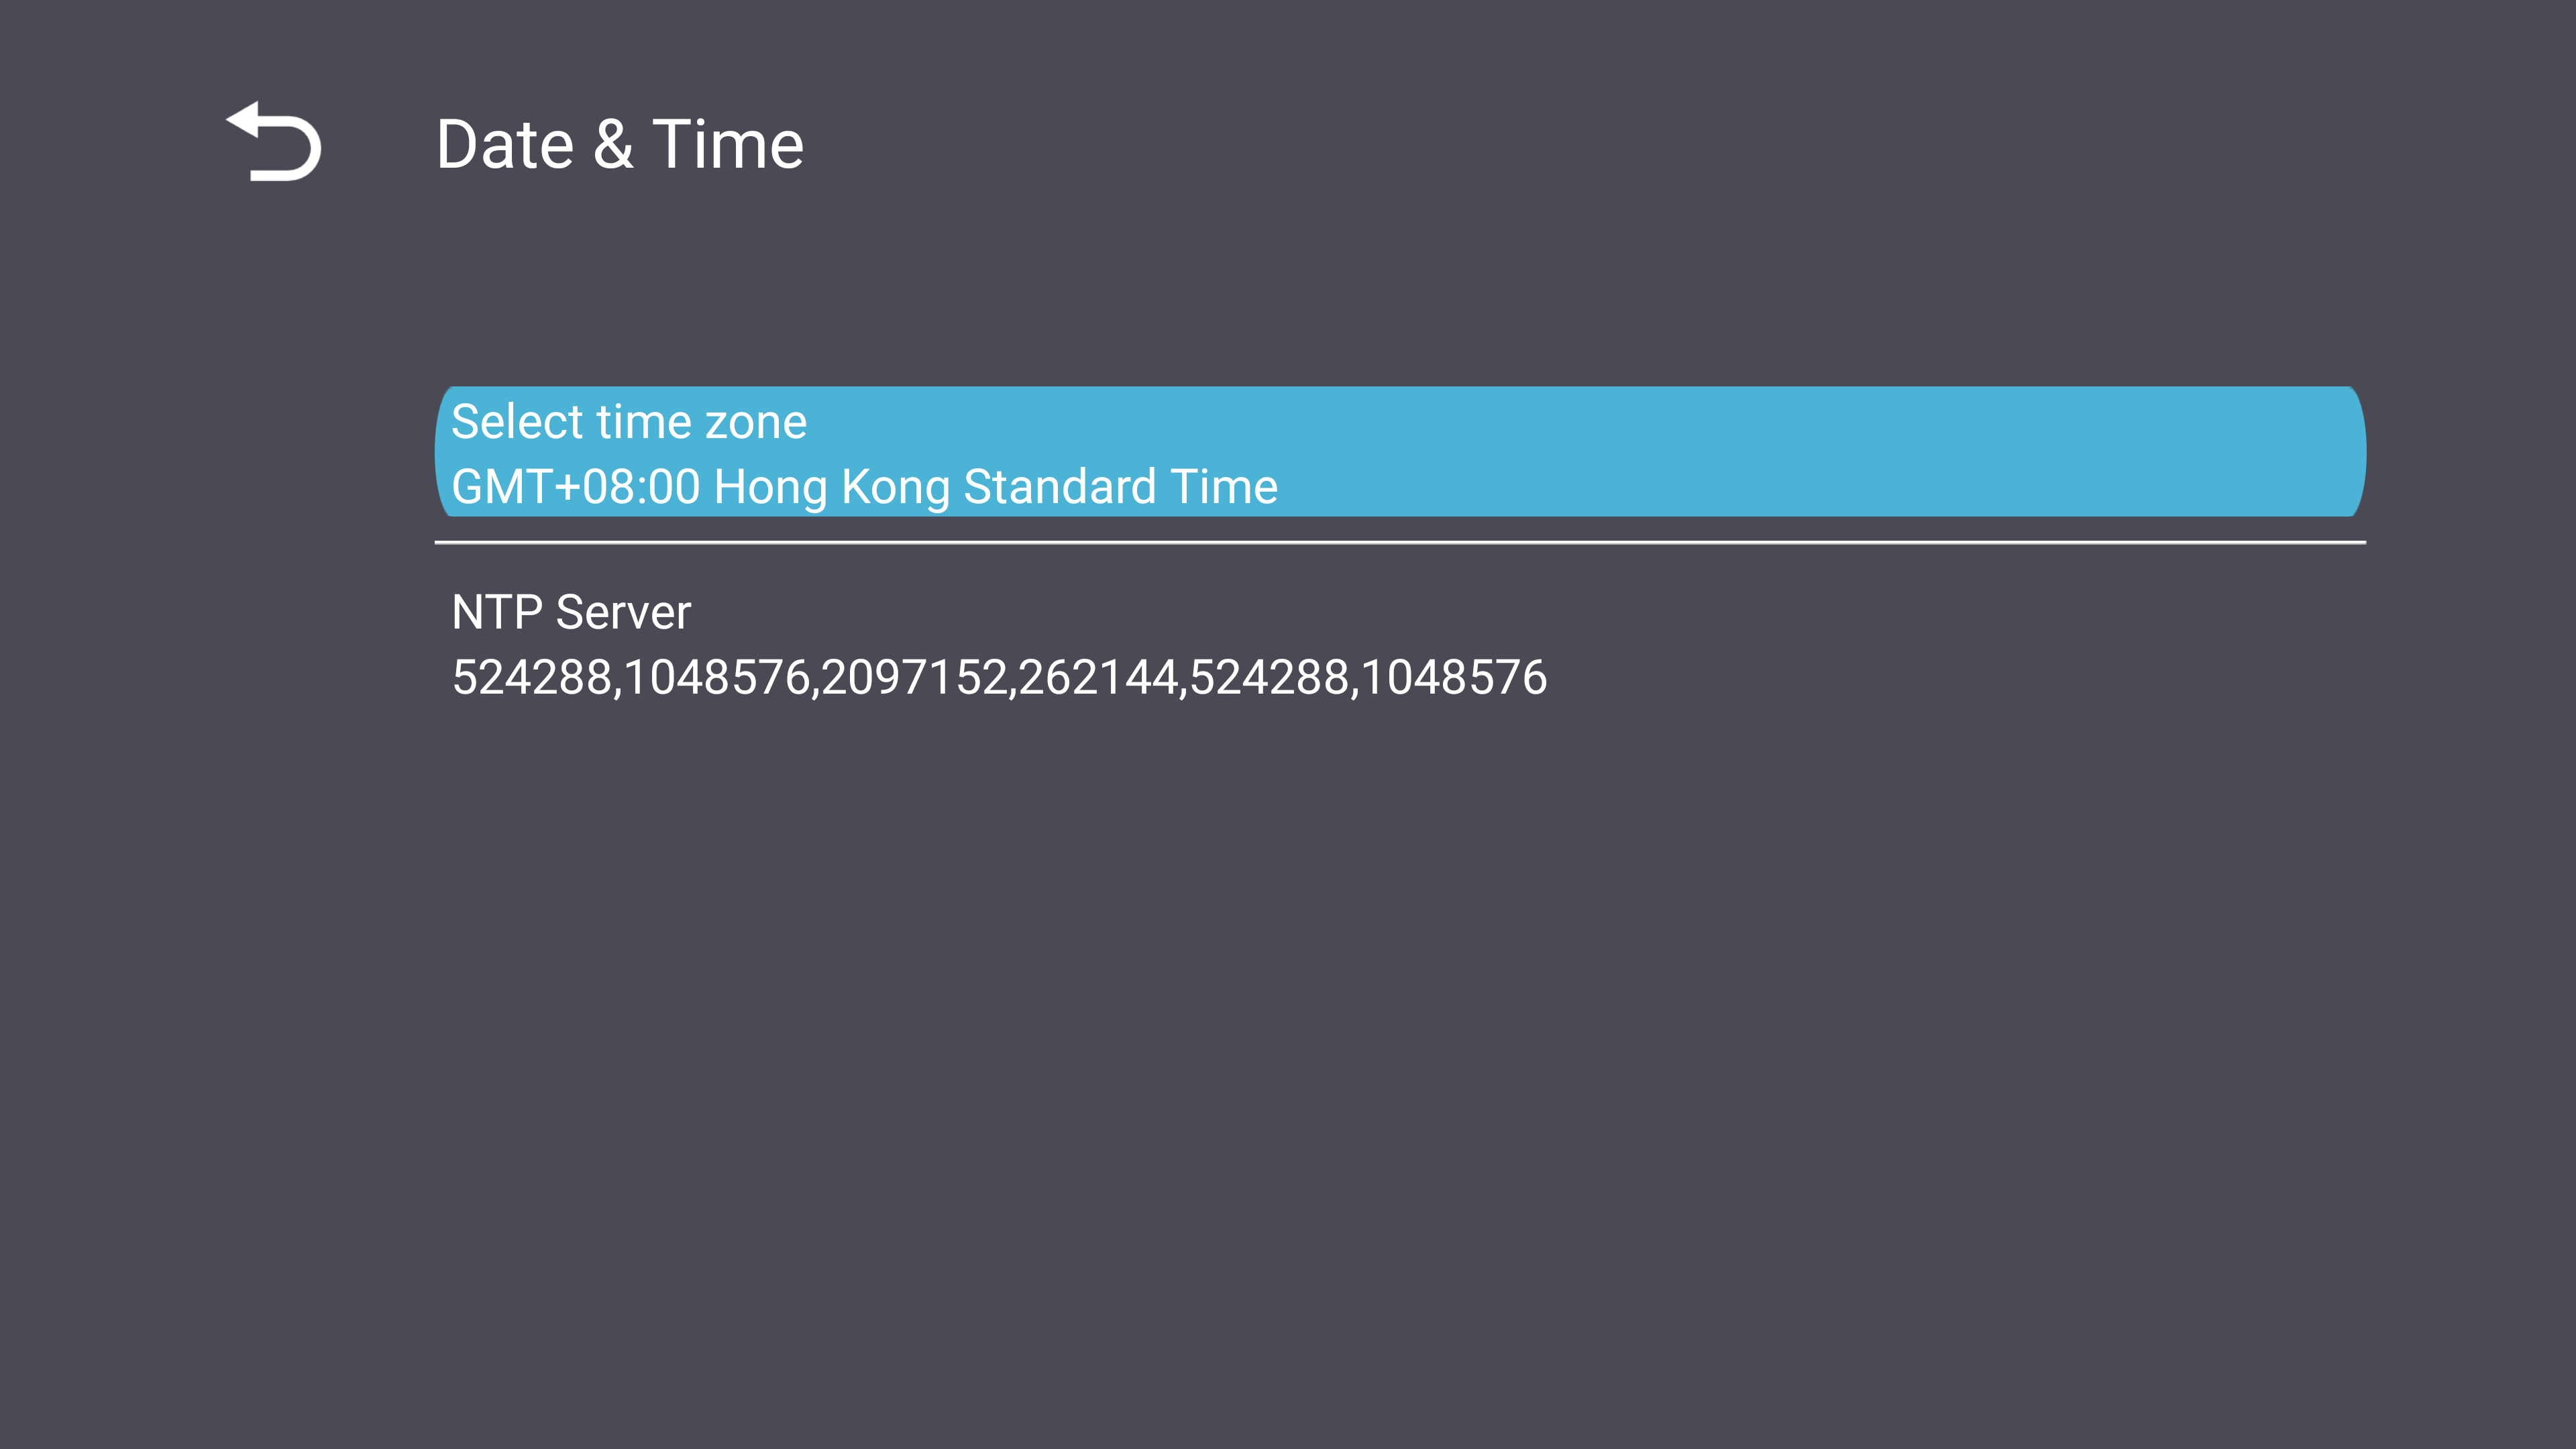
Select Time Zone
Set the display’s time zone.
NTP Server
View NTP service information.
|
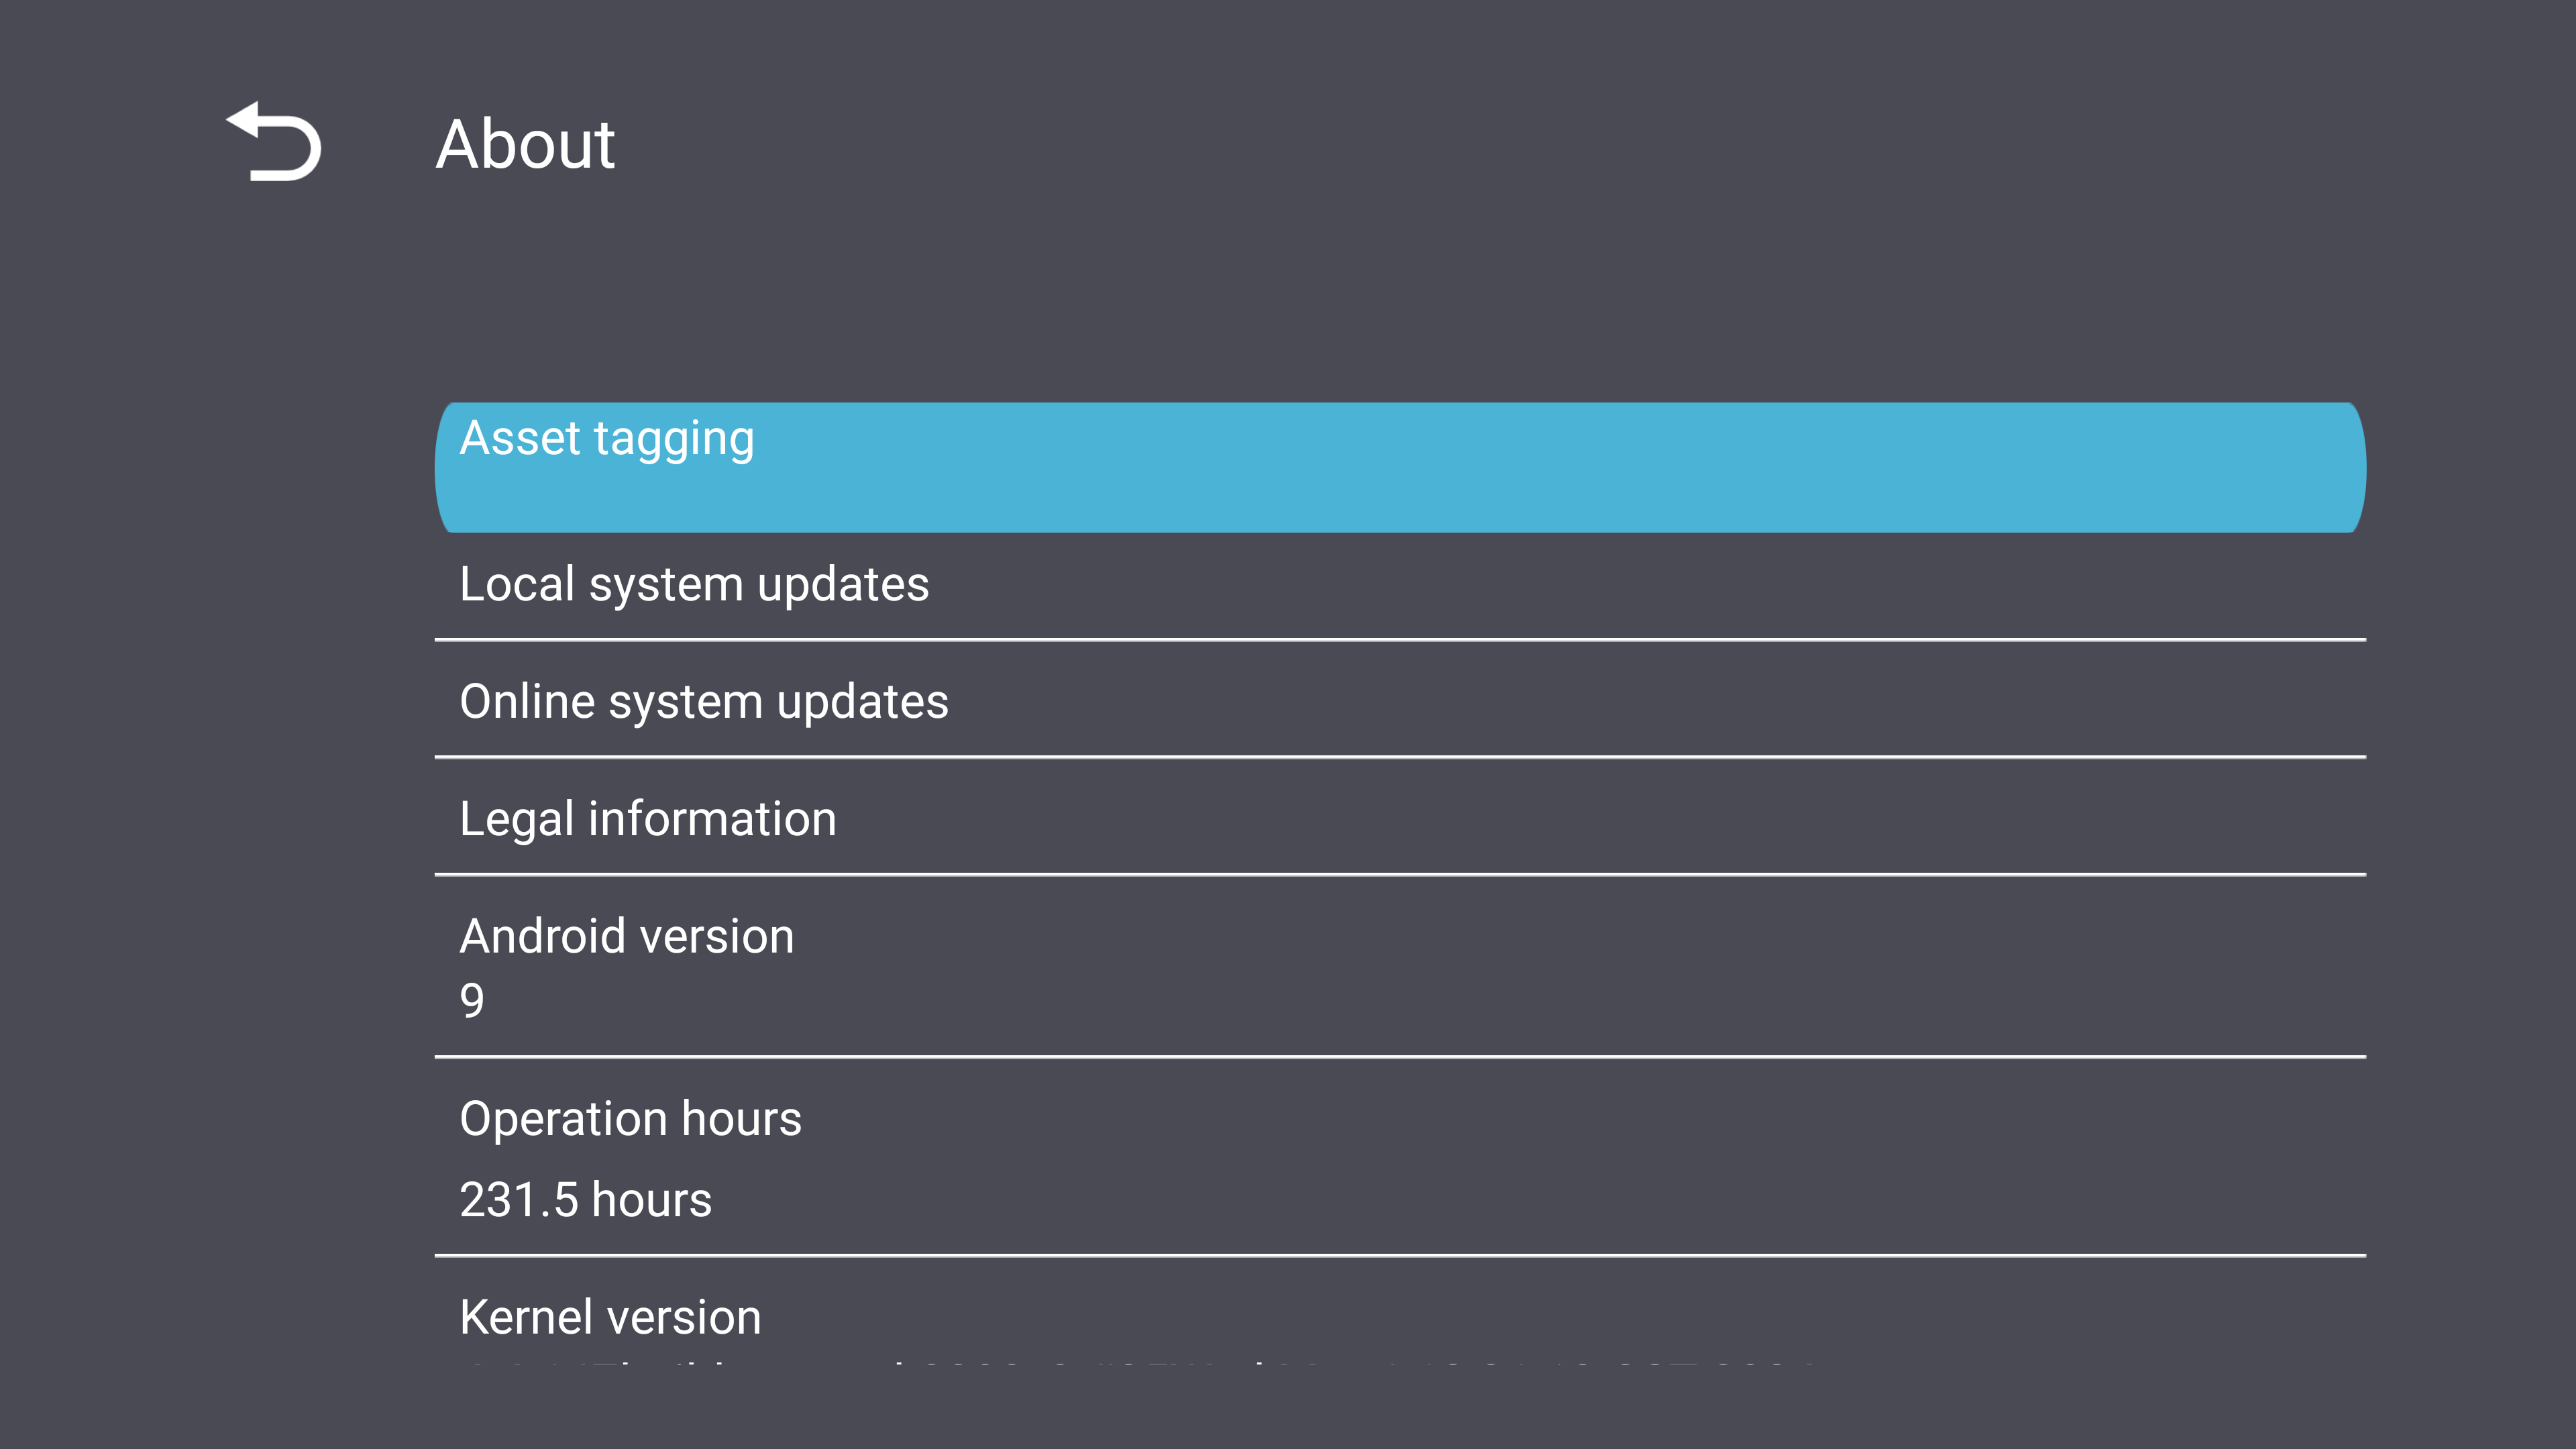
| About Device
|
View information about the display and update the system locally or online.
|

