VPC-A31-O1 Using the Device
Selecting an Input Source
IFP Series
To select an input source:
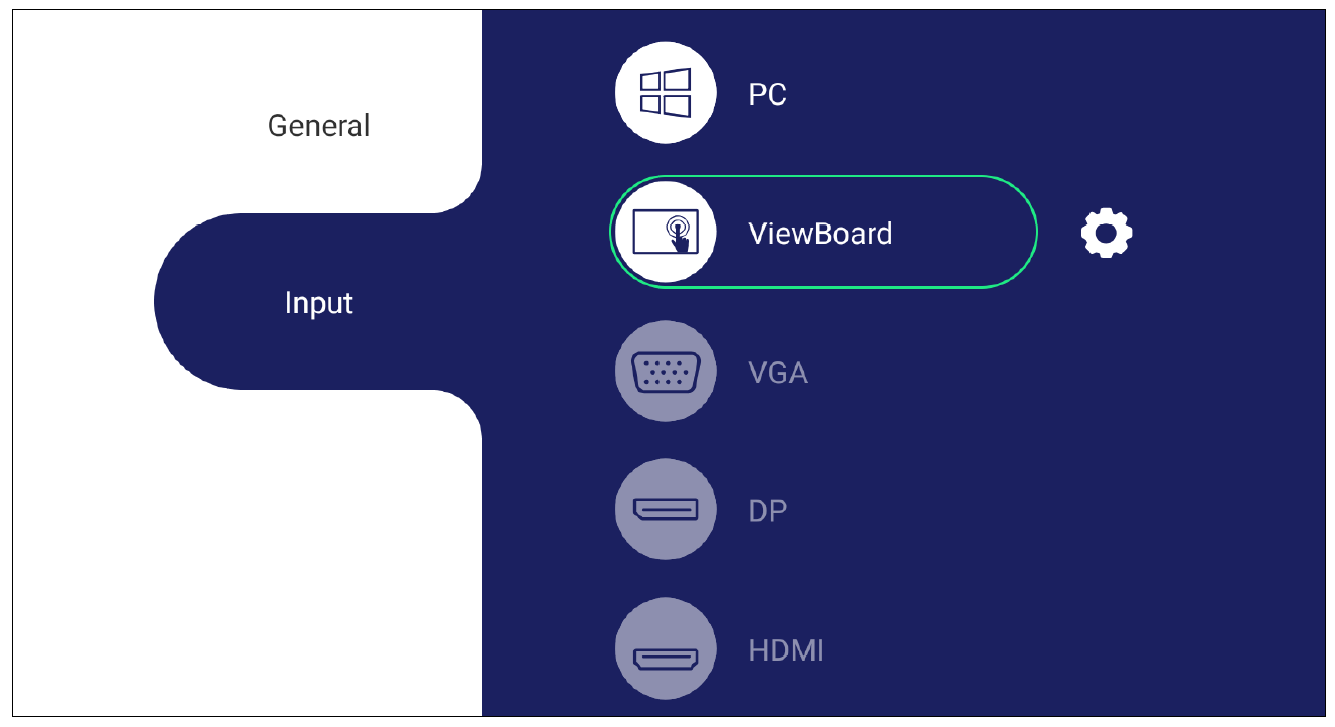
- Press INPUT on the remote control, press the setting button on the front panel, or press the Settings icon from the toolbar to display the Input Settings menu.
- Press ▼/▲/◄/► on the remote control to select the PC source.
- Press OK/ENTER on the remote control, or touch the input source directly.
- Press EPG/BACK on the remote control, or touch a blank area outside of the menu to exit.
- NOTE: The above image is for reference only and is subject to change without notice.
CDE Series
To select an input source:
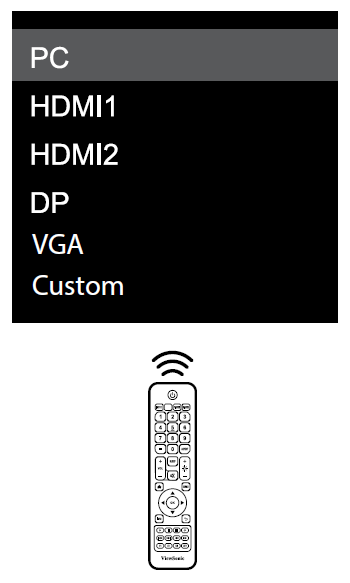
- Press INPUT on the remote control.
- Press ▼/▲ on the remote control to select the PC source.
- Press OK/ENTER on the remote control.
- Press EPG/BACK on the remote control to exit.
- NOTE: The above image is for reference only and is subject to change without notice.
IFPG1 Series
To select an input source:
- Press INPUT on the front panel.
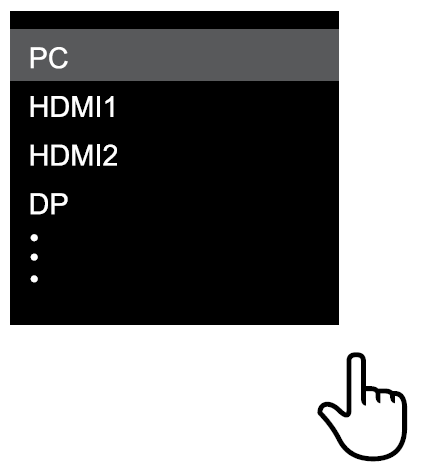
- In the OSD Menu, touch INPUT.
- Touch the PC input source directly.
- Touch a blank area outside of the menu to exit.
- NOTE: The above image is for reference only and is subject to change without notice.
Initial Launch Setup
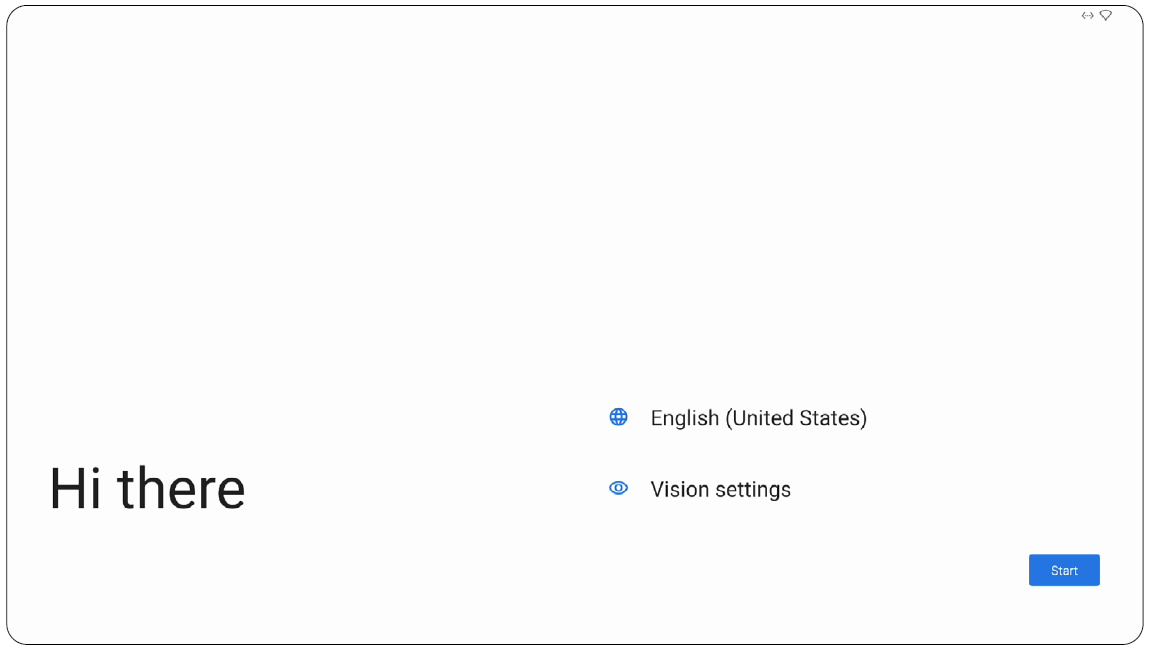
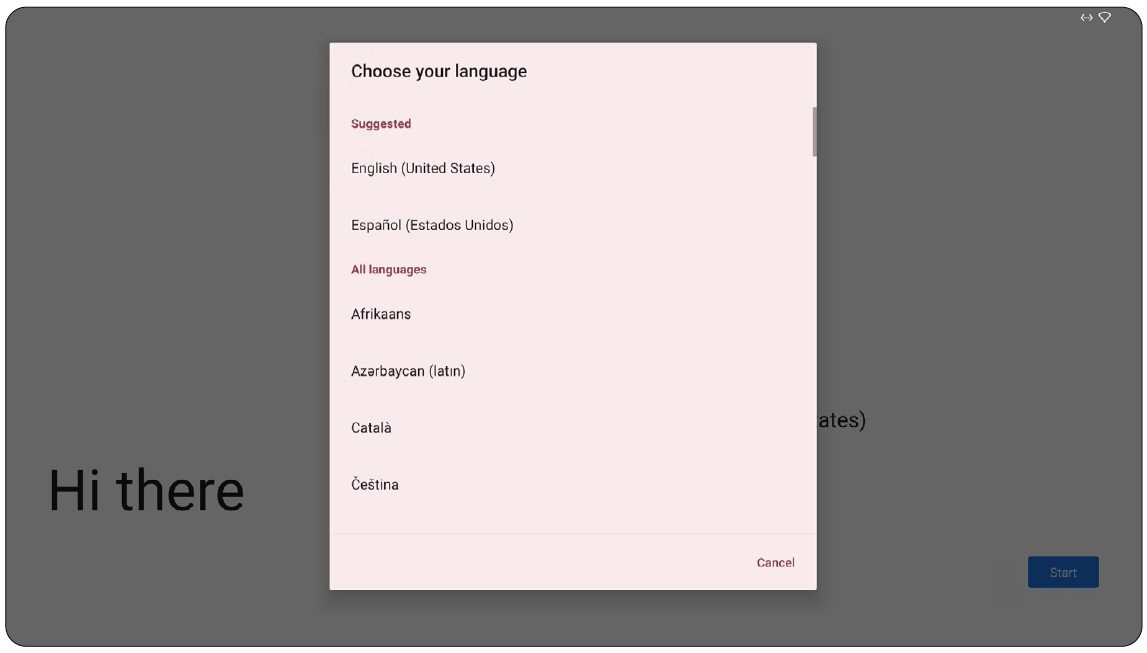
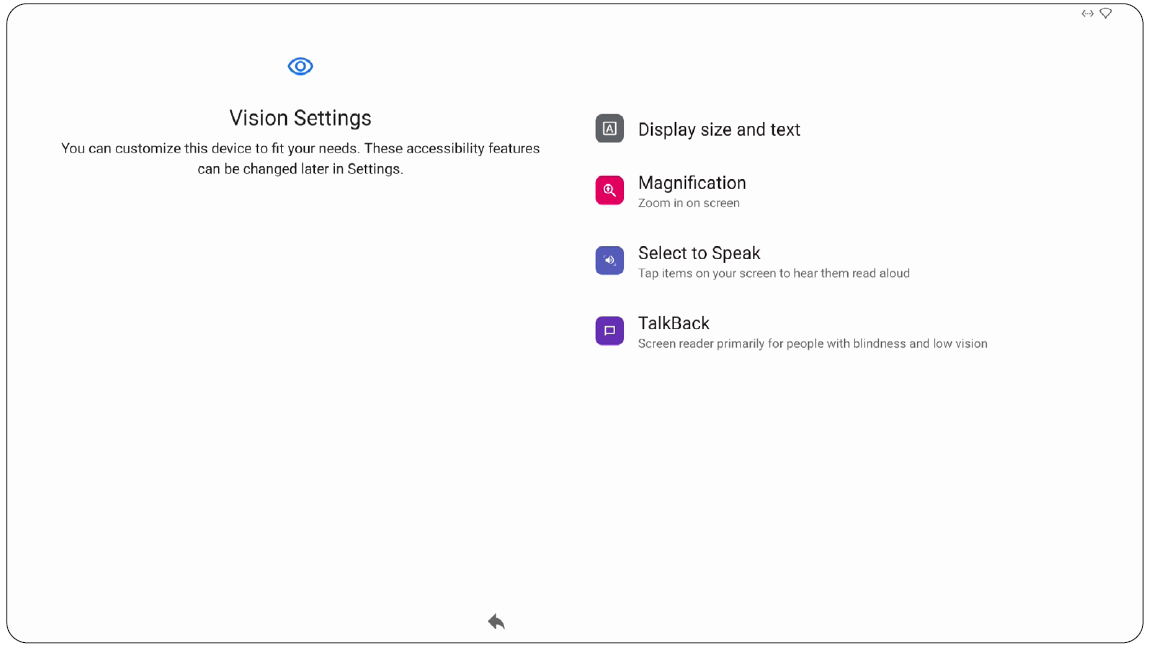
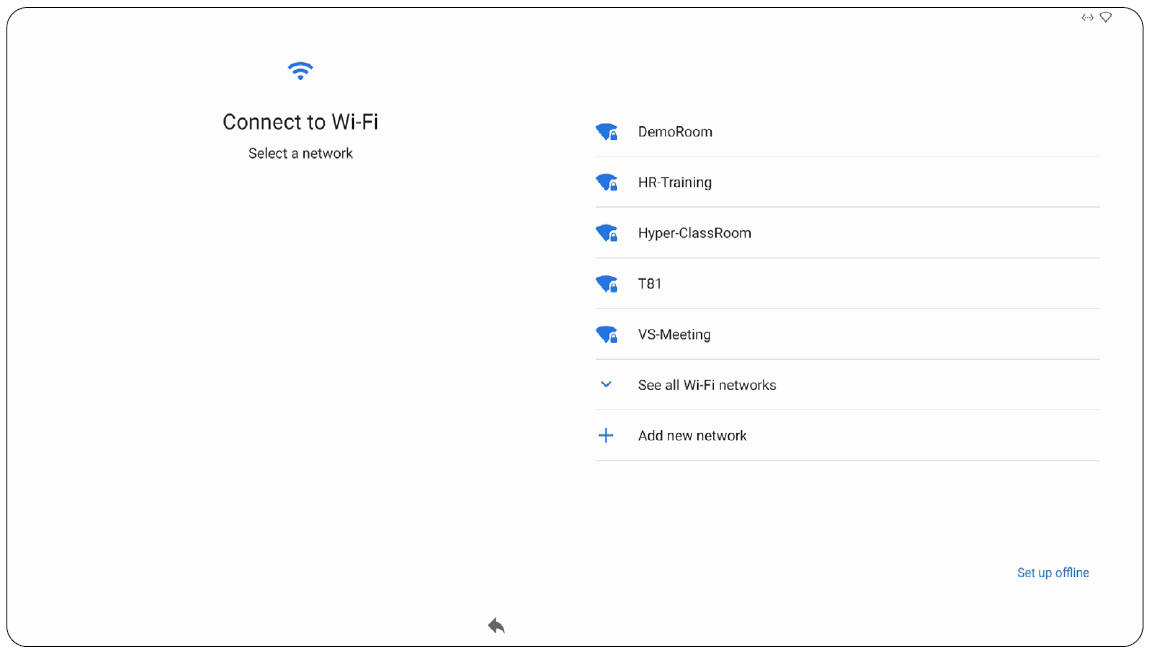
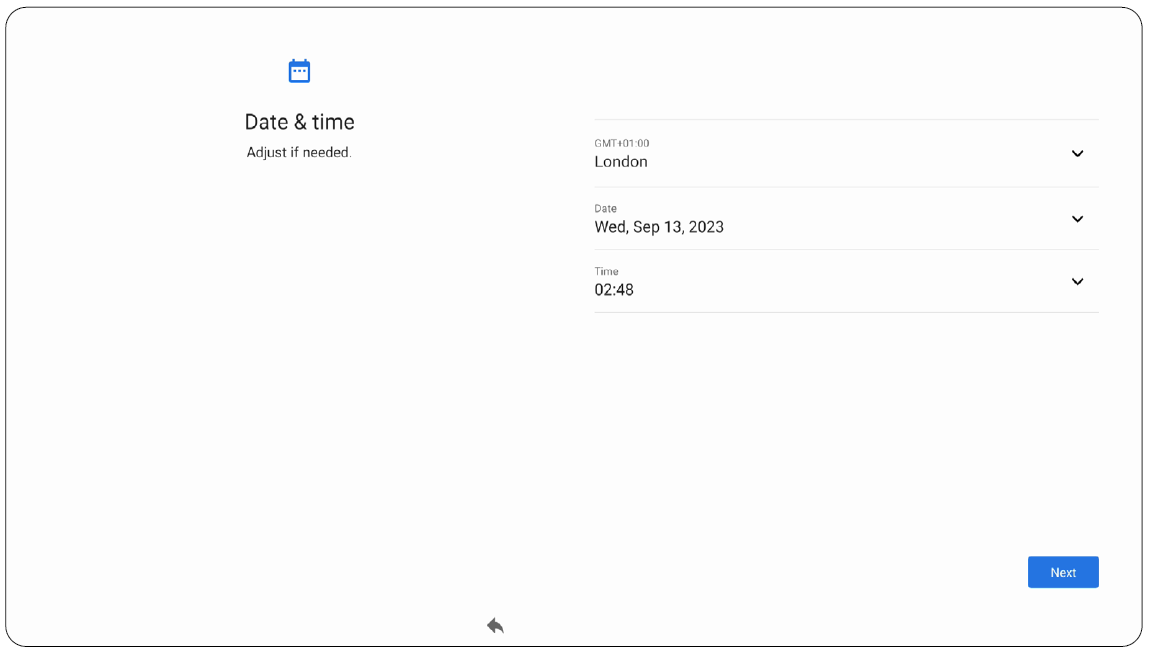
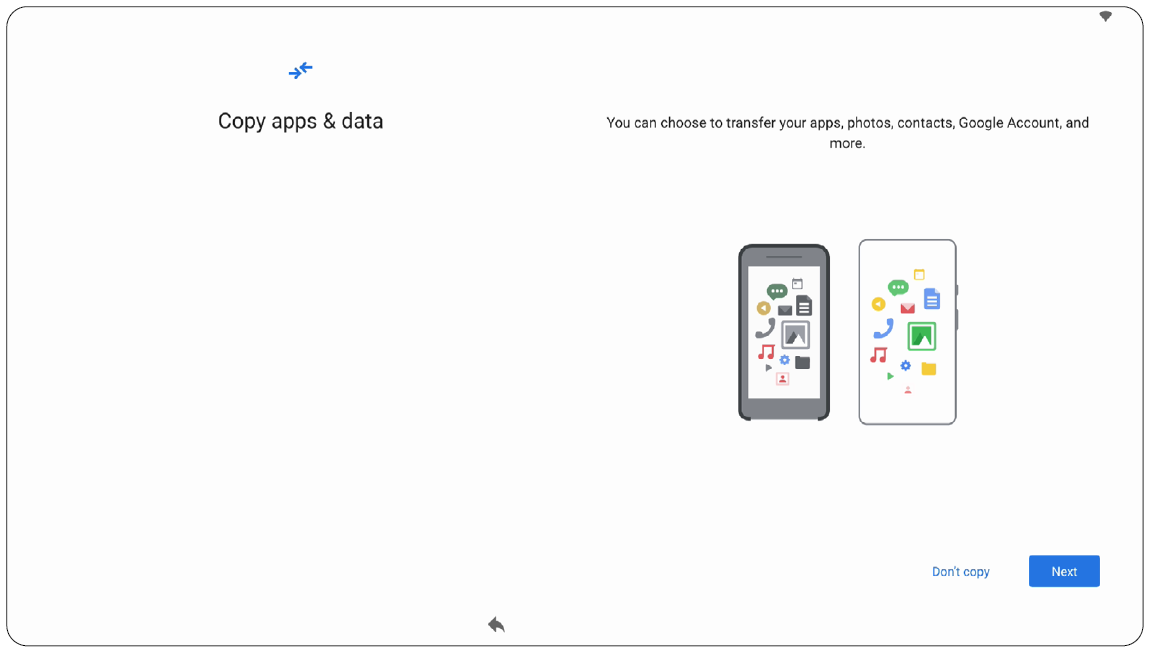
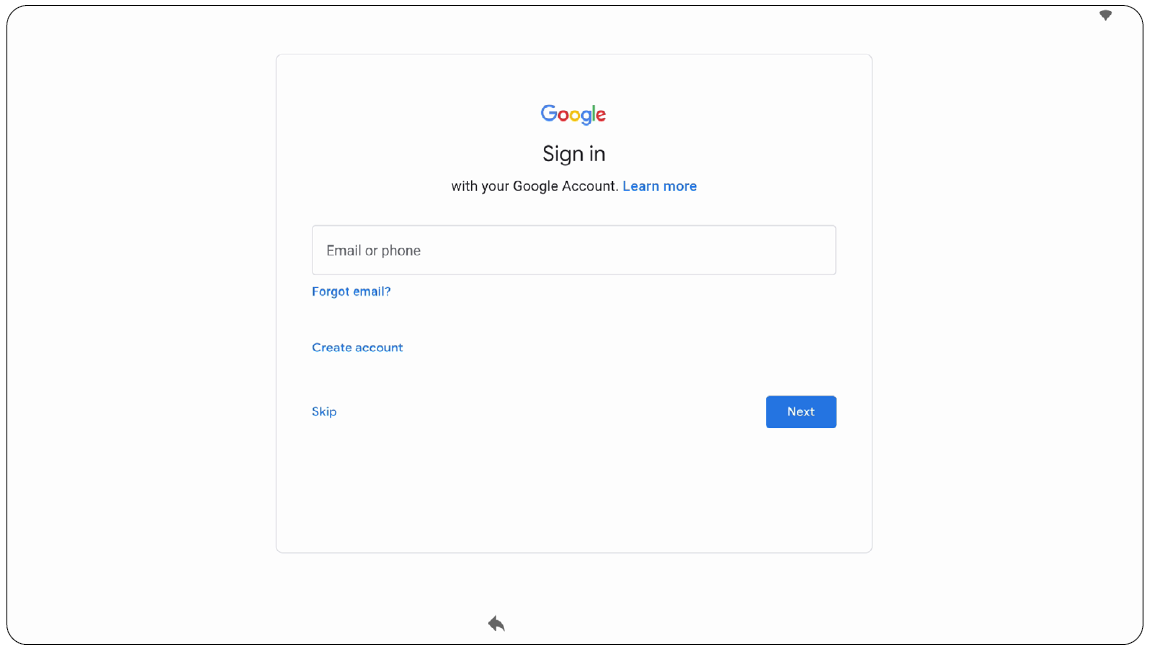
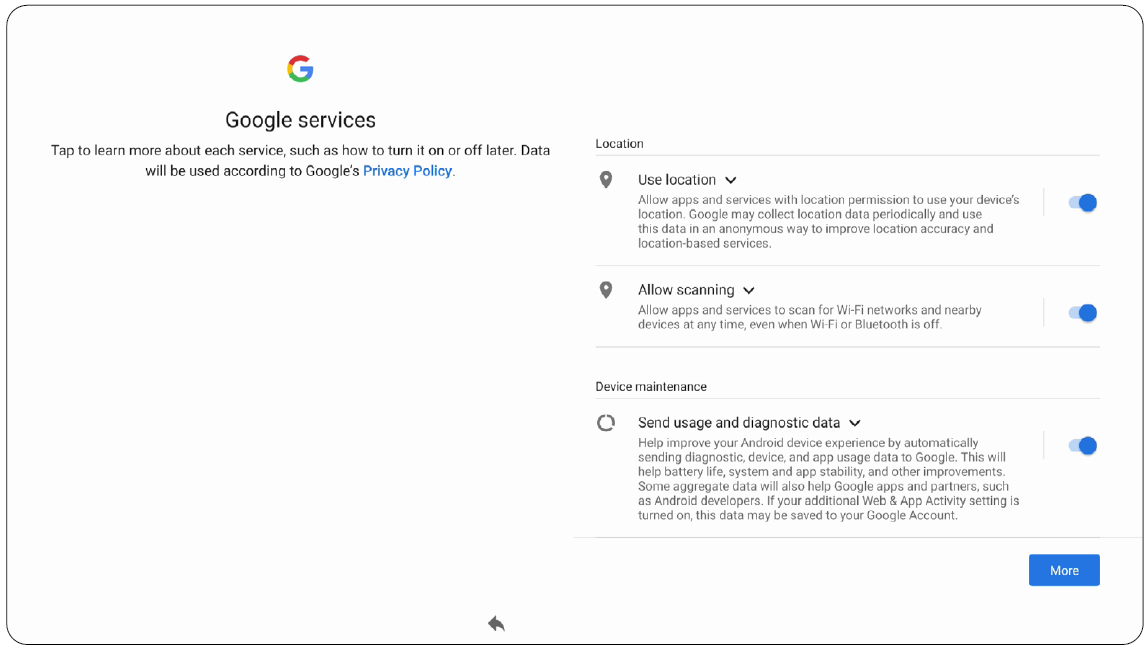
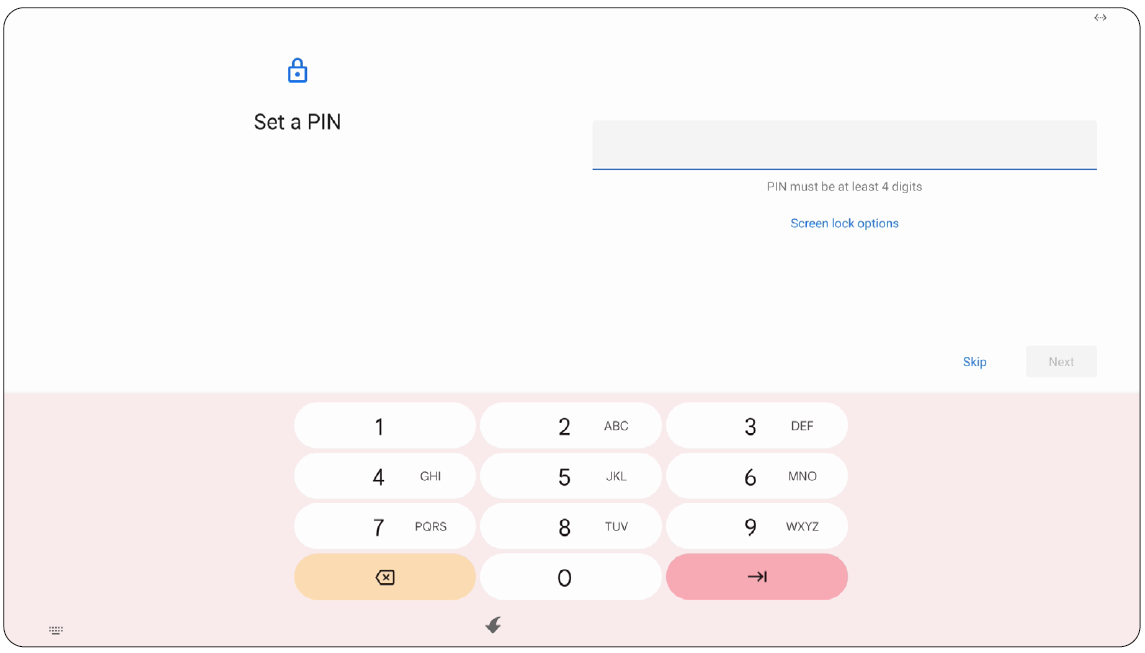
When you first turn ON your ViewBoard, an initial setup wizard will launch.
- Choose your preferred Language.
- Adjust accessibility features as needed.
- Setup and connect to a network.
- Set and adjust the Date and Time as needed.
- Copy your apps and data from another device to the ViewBoard or tap Don’t copy to continue without copying anything.
- Sign in with a Google account, or tap Skip to continue without signing in.
- Accept or decline the Google services.
- Set a PIN to setup a Screen lock, or tap Skip to continue without setting one.
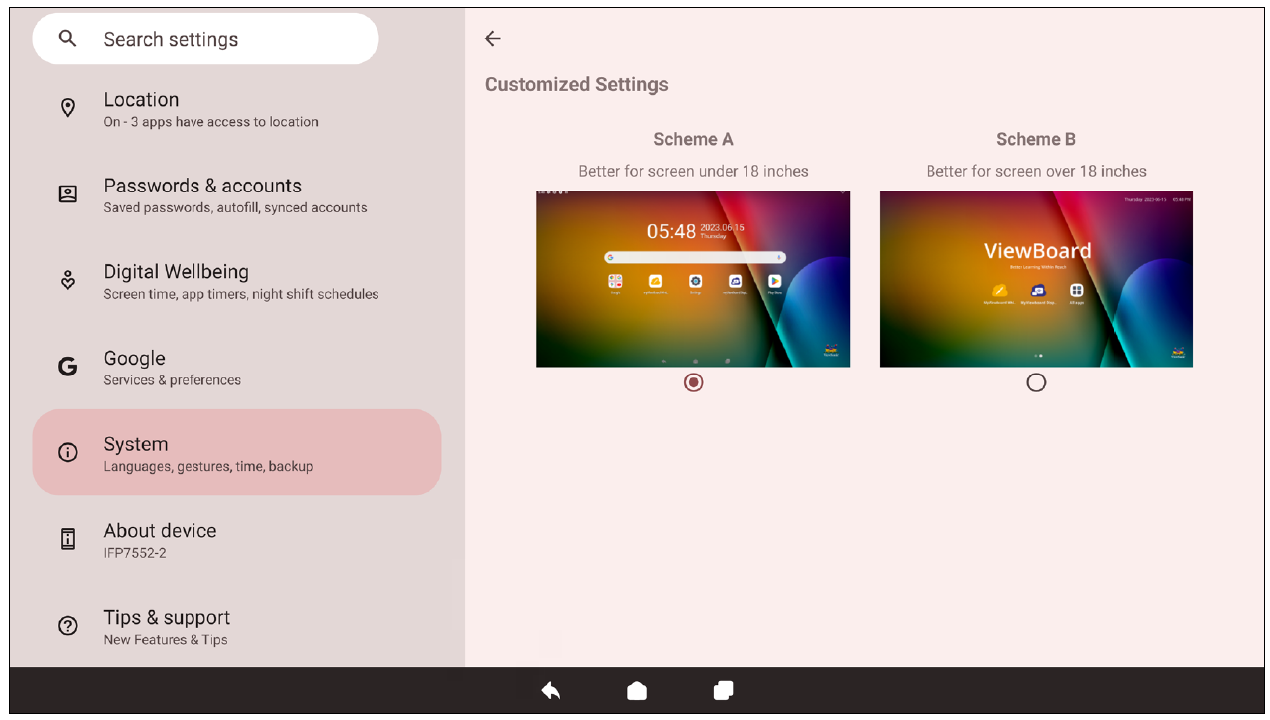
- Go to: Settings > System > Launcher Scheme
- Select either Scheme A or Scheme B.
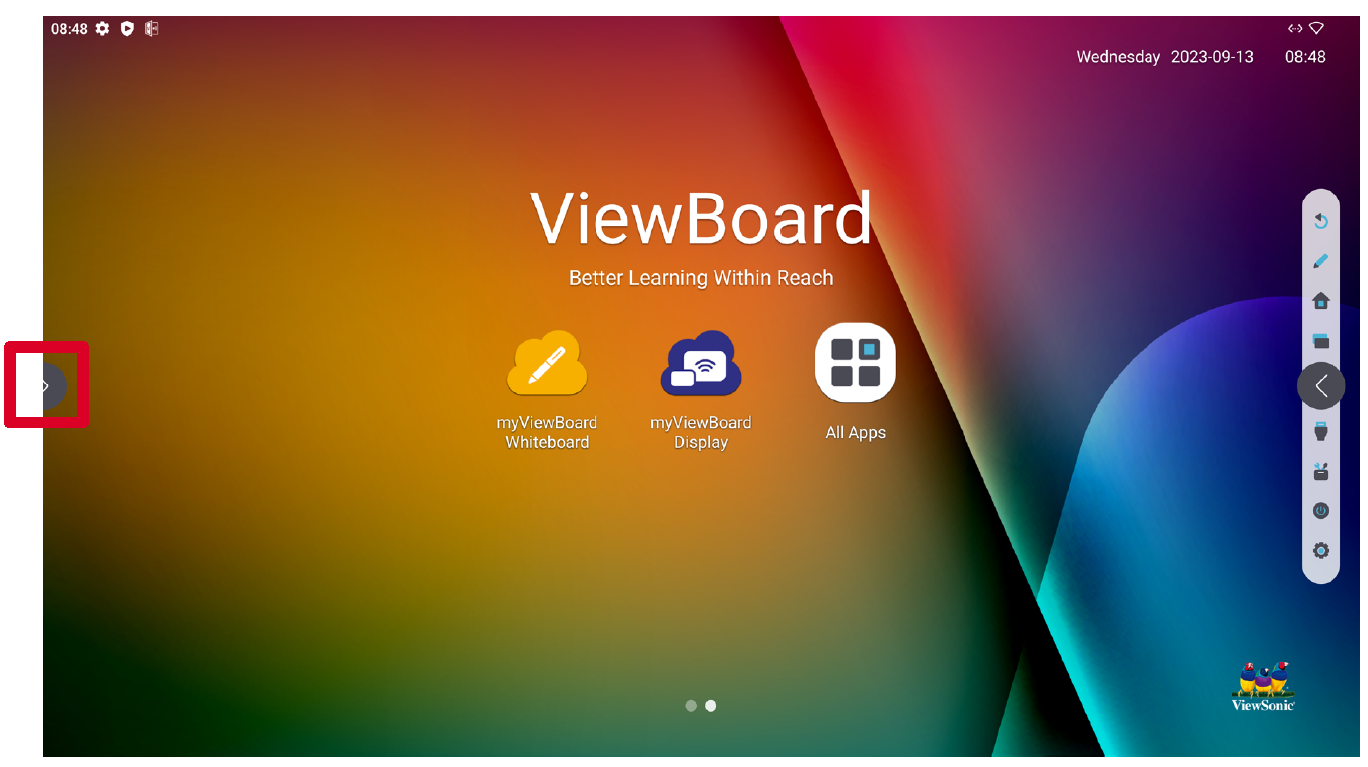
- Tap a Toolbar trigger icon.
- Tap on your desired application or tool.
- NOTE: Only for the ViewBoard OS source.
- NOTE: The following included application descriptions are not a comprehensive list and will vary by the user.
Home Screen (Launcher Scheme)
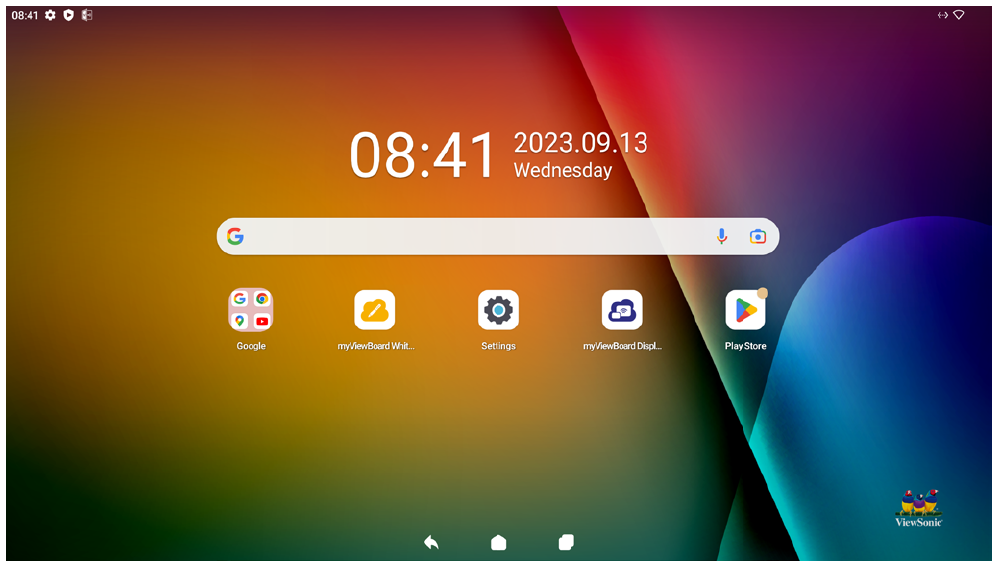
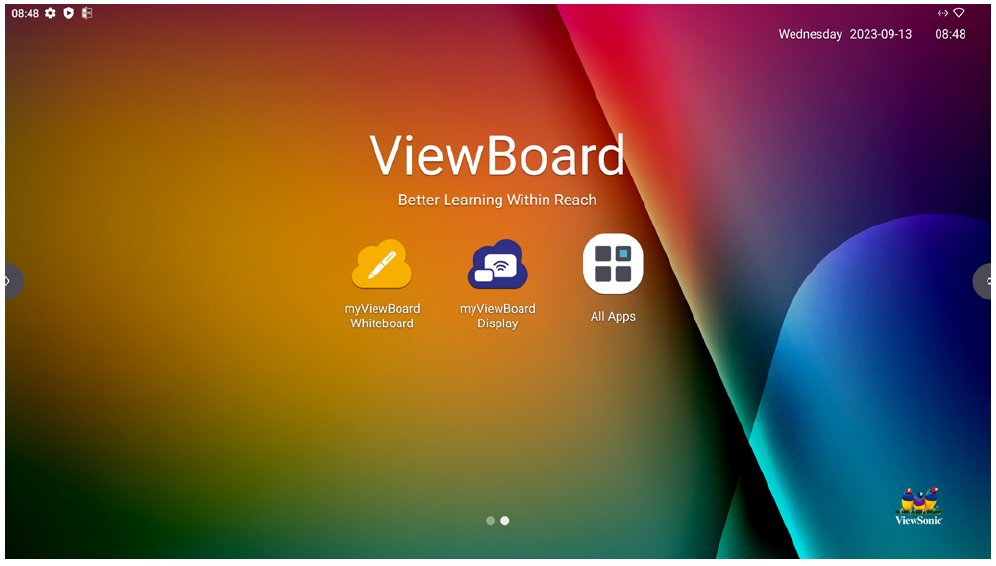
The IFP52-2 series’ Home Screen layout can be customized by selecting from Scheme A and Scheme B.
| Scheme A | Scheme B |
To change the scheme:
Toolbar
The Toolbar is where applications and tools can be found. Trigger icons are on the edge of the screen for quick access.
To launch an application or tool:
Toolbar Icons
| Icon | Description |
|---|---|
| Return to the previous operation screen.
| |
| Annotate the overlay of any input source with a pen or brush. | |
| Return to the Home Screen of the ViewBoard OS source. | |
| Display all embedded applications that are currently open. | |
| Switch to the HDMI In source. | |
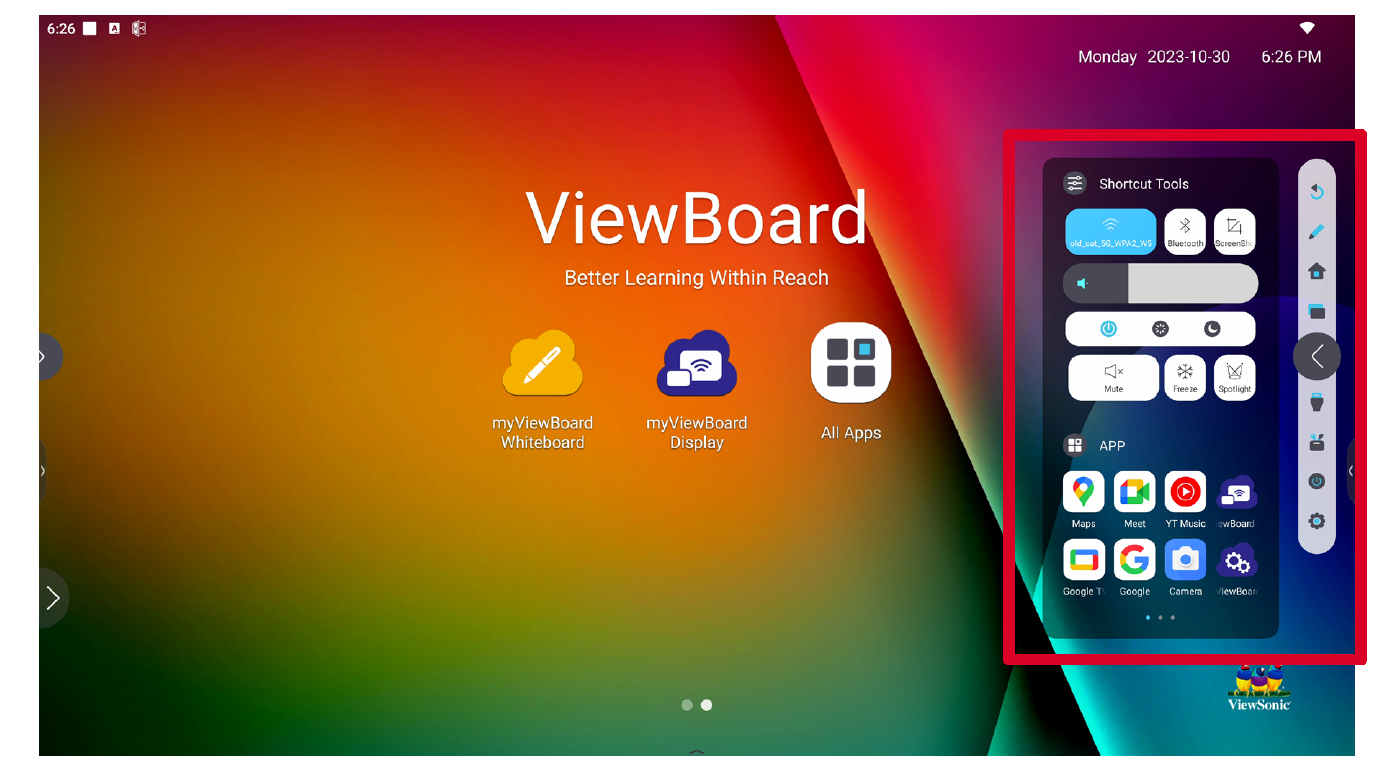
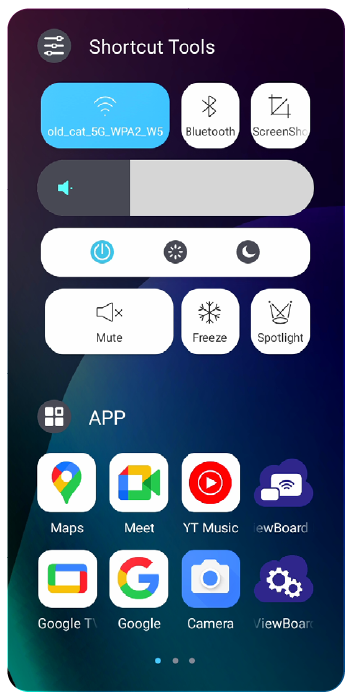
| Quickly view and adjust various frequently used tools, settings, and applications.
| |
| Access power options and settings. | |
| Access the System Settings. |
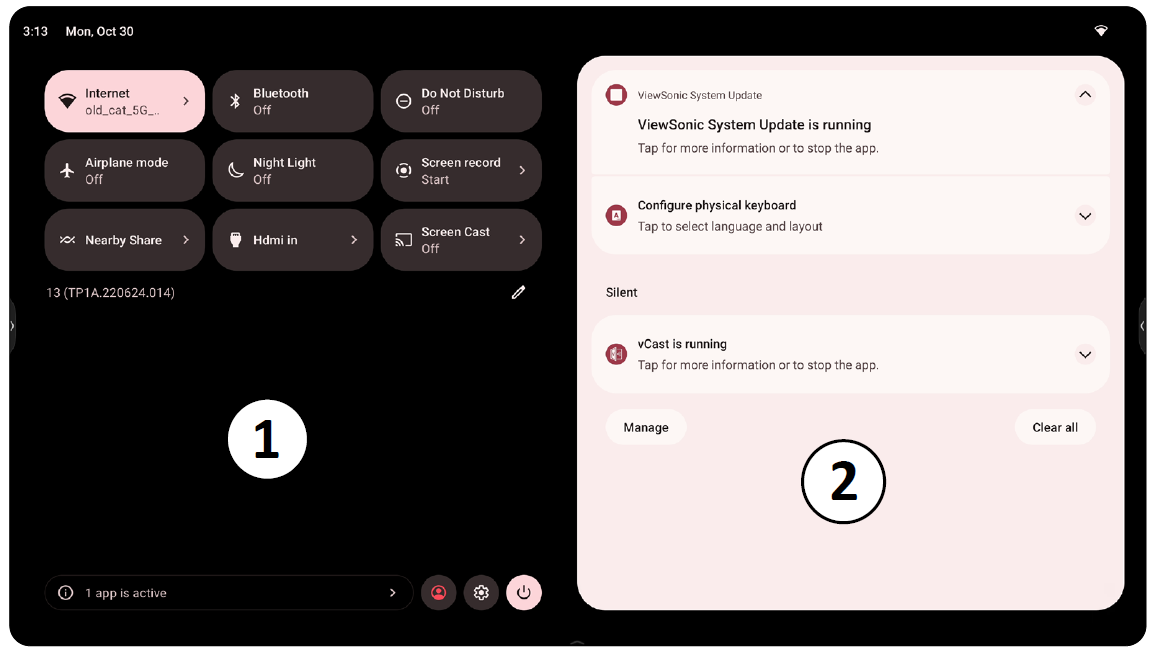
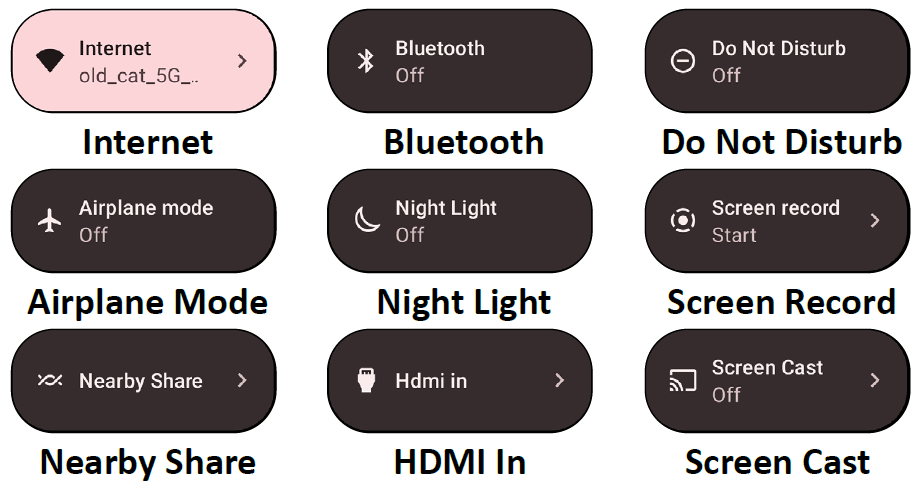
Control and Notification Panel
| Item | Description | |
|---|---|---|
| 1 | Control Panel | Access frequently used settings and tools.
|
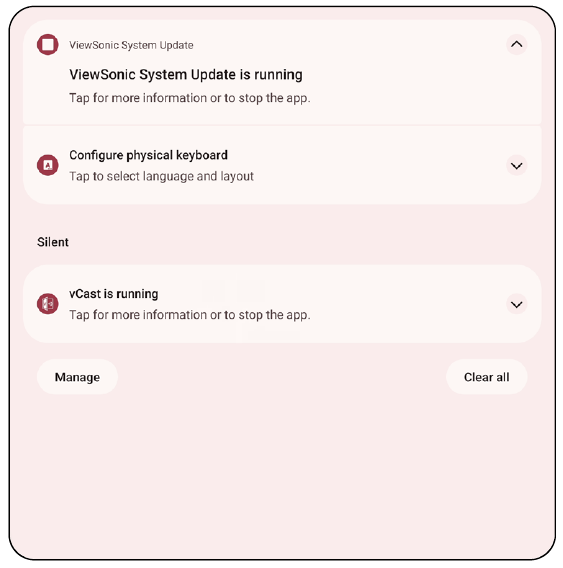
| 2 | Notification Panel | Receive and manage system and application notifications.
|
Applications
Much like any smart phone or tablet you can install several different applications from the installed Google Play Store.
Applications can be accessed from the Toolbar, directly from the Home Screen via shortcuts, or by selecting the All Apps icon (![]() ).
).
| Icon | Description |
|---|---|
| myViewBoard Display
Wirelessly mirror screens to a larger display. | |
| myViewBoard Manager
Remotely manage multiple installations of ViewSonic devices. | |
| myViewBoard Whiteboard
A digital whiteboarding application. | |
| Settings
Access the System Settings. | |
| vCast
Working with ViewBoard Cast software, receive vCastSender laptop screens (Windows/Mac/Chrome) and mobile (iOS/Android) users’ screens, photos, videos, annotations, and camera(s). |

