From ViewSonic User Guide Database
VB-CAM-201 Using the Camera
Configuring the Settings
General Operations
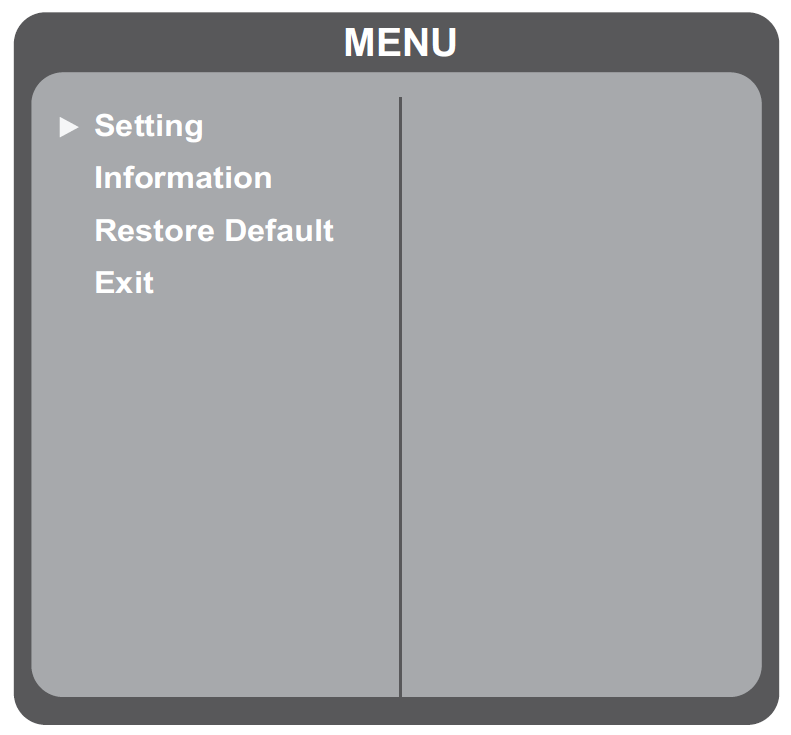
- Press the Menu button to display the On-Screen Display (OSD) Menu.
- Use the Directional buttons to navigate the menu, and press OK to enter the selected menu.
- Return to the previous menu by selecting “Return” and pressing the OK button.
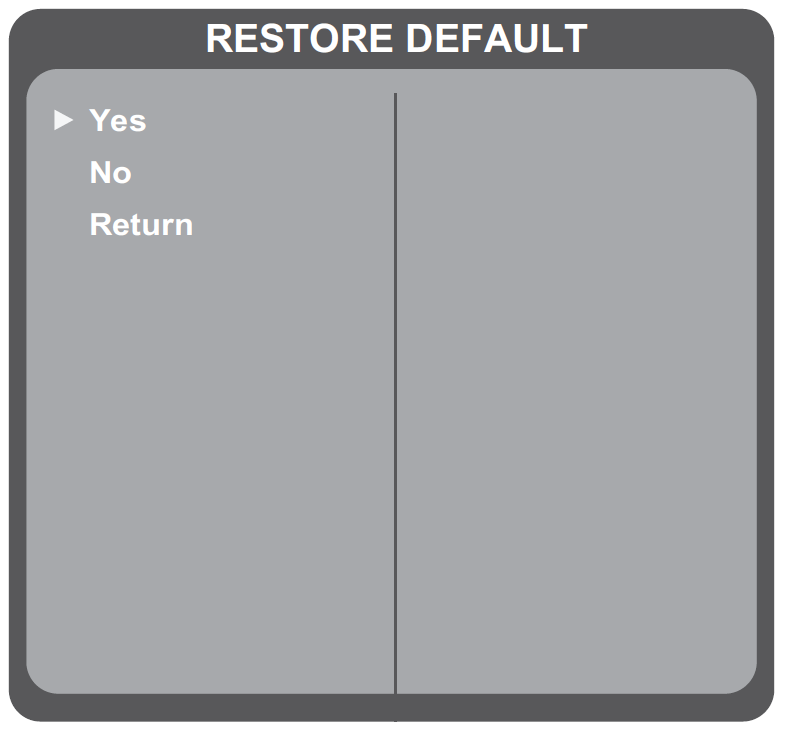
- To restore the menu settings to default, select “Restore Default” and press the OK button. Next, select “Yes” and press the OK button.
| Main Menu
|
Sub-menu
|
Menu Option
|
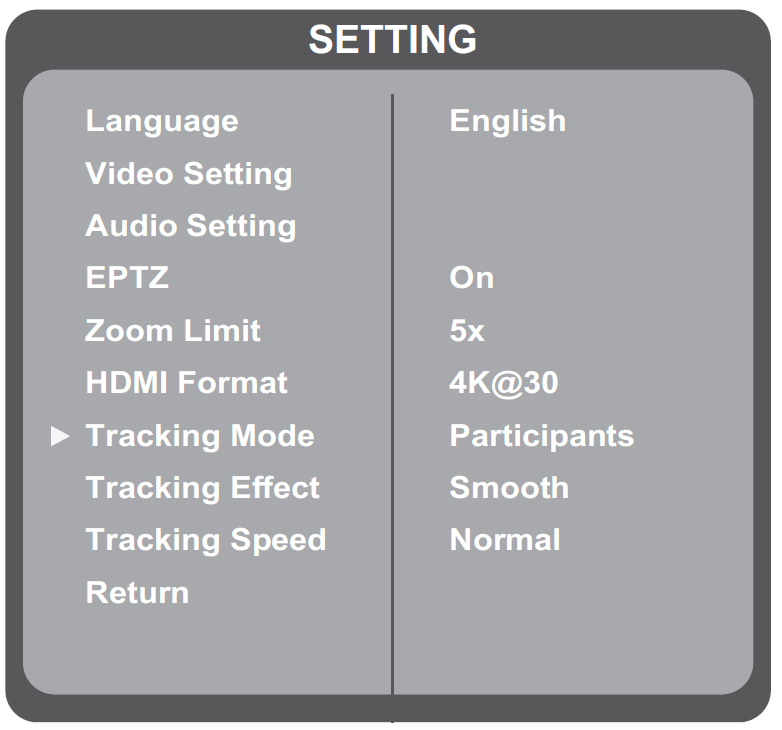
| Setting
|
Language
|
English
|
|
| 简体中文[1]
|
| 繁體中文[1]
|
| Français
|
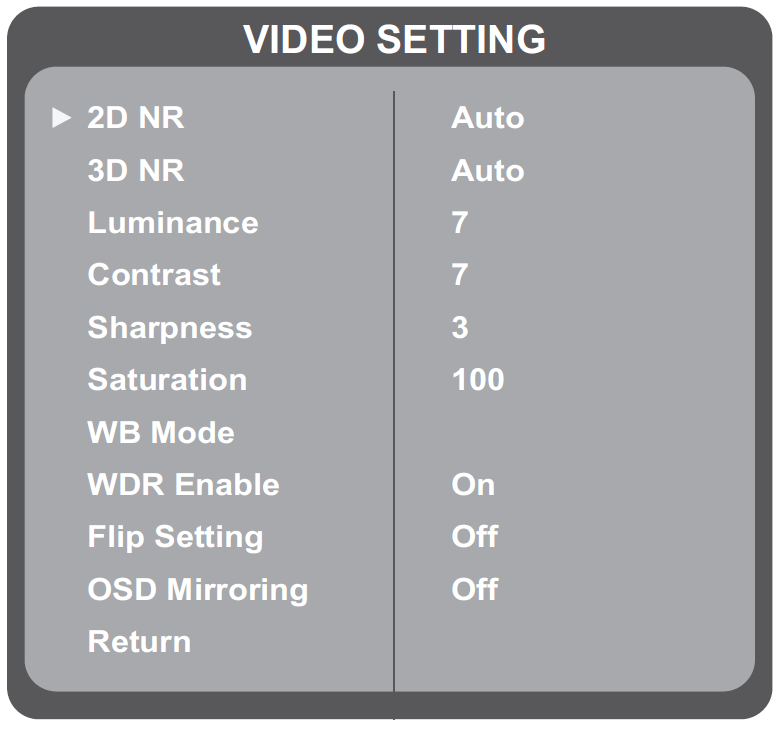
| Video Setting
|
2D NR
|
Auto
|
|
| Close
|
| (-/+, 1~5)
|
| 3D NR
|
Auto
|
| Close
|
| (-/+, 1~8)
|
| Luminance
|
(-/+, 0~14)
|
| Contrast
|
(-/+, 0~14)
|
| Sharpness
|
(-/+, 0~14)
|
| Saturation
|
(-/+, 60~200)
|
| WB Mode
|
WB Mode
|
Auto
|
| Indoor
|
| Outdoor
|
| One Push
|
| Manual
|
| R Gain
|
(-/+, 0~250)
|
| B Gain
|
(-/+, 0~250)
|
| Return
|
|
| WDR Enable
|
On
|
| Off
|
| Flip Setting
|
Flip-H
|
On
|
| Off
|
| Flip-V
|
On
|
| Off
|
| Return
|
|
| OSD Mirroring
|
On
|
| Off
|
| Return
|
|
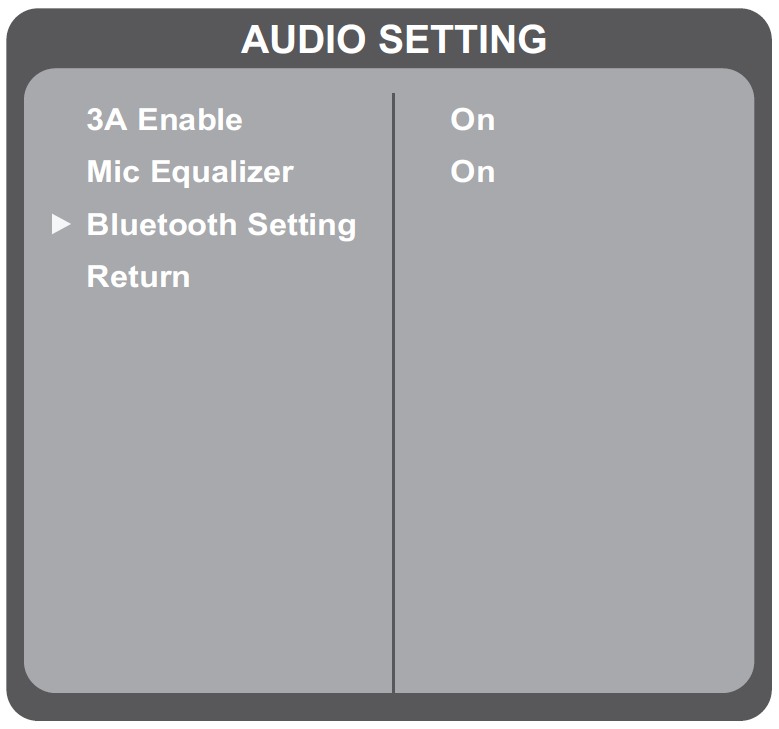
| Audio Setting
|
3A Enable
|
On
|
|
| Off
|
| Mic Equilizer
|
On
|
| Off
|
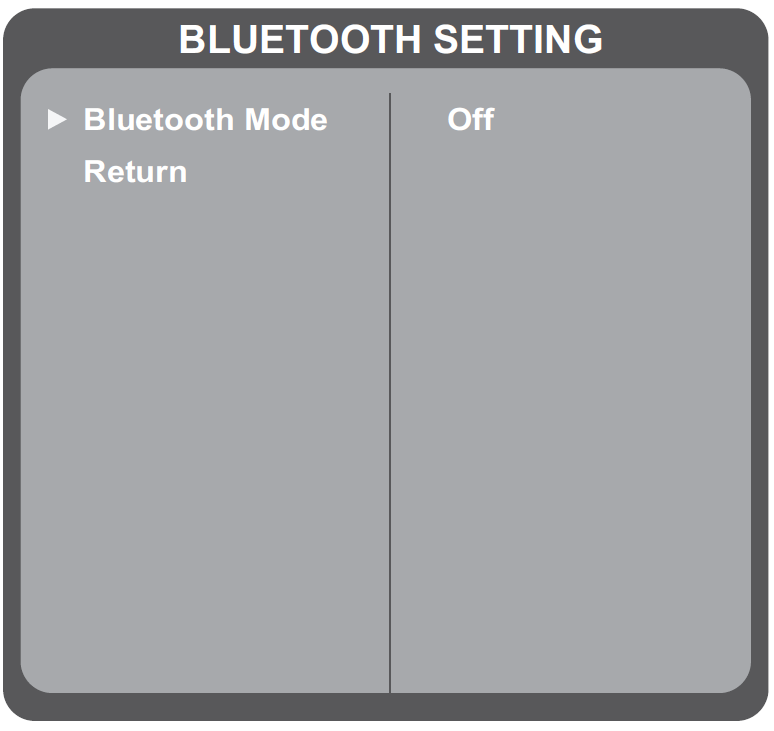
| Bluetooth Setting
|
Bluetooth Mode
|
| BT Host Mode
|
| Return
|
| Return
|
|
| EPTZ
|
On
|
|
| Off
|
| Zoom Limit[2]
|
1.5x
|
|
| 2x
|
| 3x
|
| 4x
|
| 5x
|
| HDMI Format[2]
|
4K@30
|
|
| 1080P30
|
| 1080P60
|
| 1080P50
|
| Tracking Mode[2]
|
Off
|
|
| Participants
|
| Speaker
|
| Tracking Effect[3]
|
Smooth
|
|
| Instantaneous
|
| Tracking Speed[3]
|
Normal
|
|
| Slow
|
| Fast
|
| Auto Split Mode[4]
|
On
|
|
| Off
|
| Split Mode[5]
|
Single
|
|
| Two
|
| Three
|
| Four
|
| Six
|
| Eight
|
| Voice Stimulus[4]
|
On
|
|
| Off
|
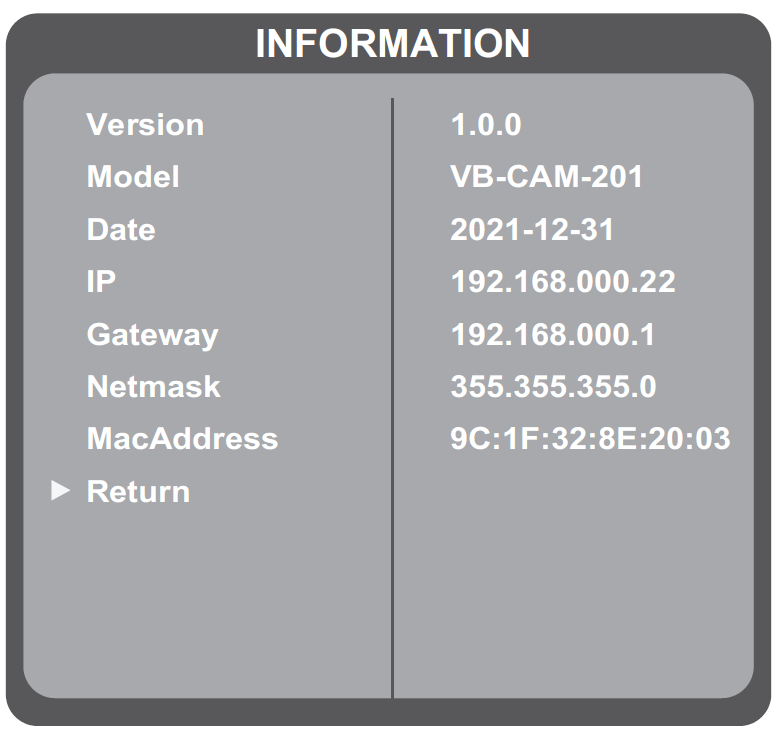
| Information
|
Version
|
|
| Model
|
| Date
|
| IP
|
| Gateway
|
| Netmask
|
| MacAddress
|
| Return
|
| Restore Default
|
Yes
|
|
| No
|
| Return
|
| Exit
|
|
|
- ↑ 1.0 1.1 The languages will be available after a software update; please check the software information.
- ↑ 2.0 2.1 2.2 Hidden when EPTZ is Off.
- ↑ 3.0 3.1 Hidden when EPTZ or Tracking Mode is Off.
- ↑ 4.0 4.1 Visible when EPTZ is On and Tracking Mode is “Live Mosaic View”.
- ↑ Visible when EPTZ is On, Tracking Mode is “Live Mosaic View”, and Auto Split is Off.
Live Mosaic View
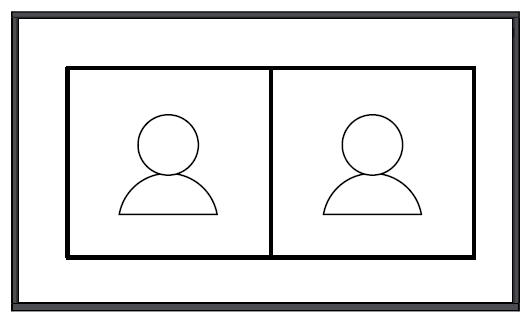
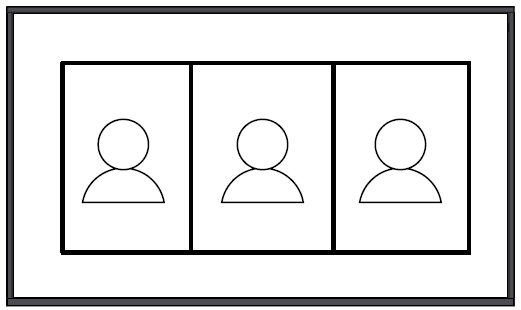
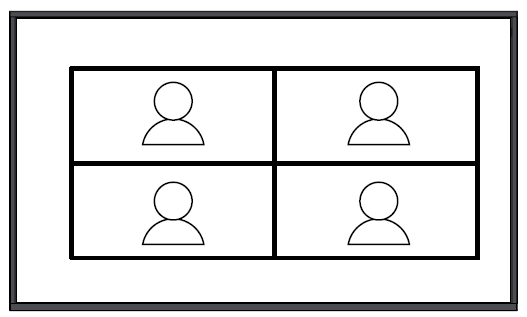
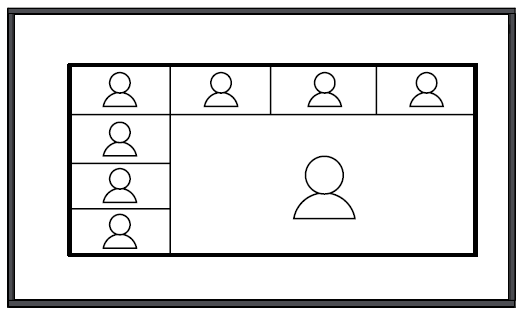
Automatically or manually split the screen into one to eight on-screen pictures. Live Mosaic View can be activated in one of two ways:
- Remote control - Long press the Participant Tracking button
- or
- OSD Menu - Setting > Tracking Mode > Live Mosaic View.
Auto Split Mode
| Menu Option
|
Description
|
| On
|
Automatically split the screen based on the detected participants.
|
| Off
|
Split the screen manually by using the “Split Mode Menu”.
|
Split Mode
| Menu Option
|
Description
|
| Single Picture
|
|
| Two Pictures
|
|
| Three Pictures
|
|
| Four Pictures
|
|
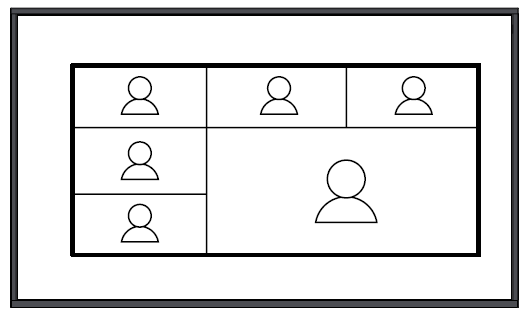
| Six Pictures
|
|
| Eight Pictures
|
|
Voice Stimulus
| Menu Option
|
Description
|
| On
|
The right-bottom frame in Six Pictures and Eight Pictures Split Mode will show the speaker.
|
| Off
|
The right-bottom frame in Six Pictures and Eight Pictures Split Mode will show a panoramic view of the room.
|

