LDP163-181 Using the Display
Power On/Off your LED Display
- Ensure the power cord is connected and plugged into a power outlet.
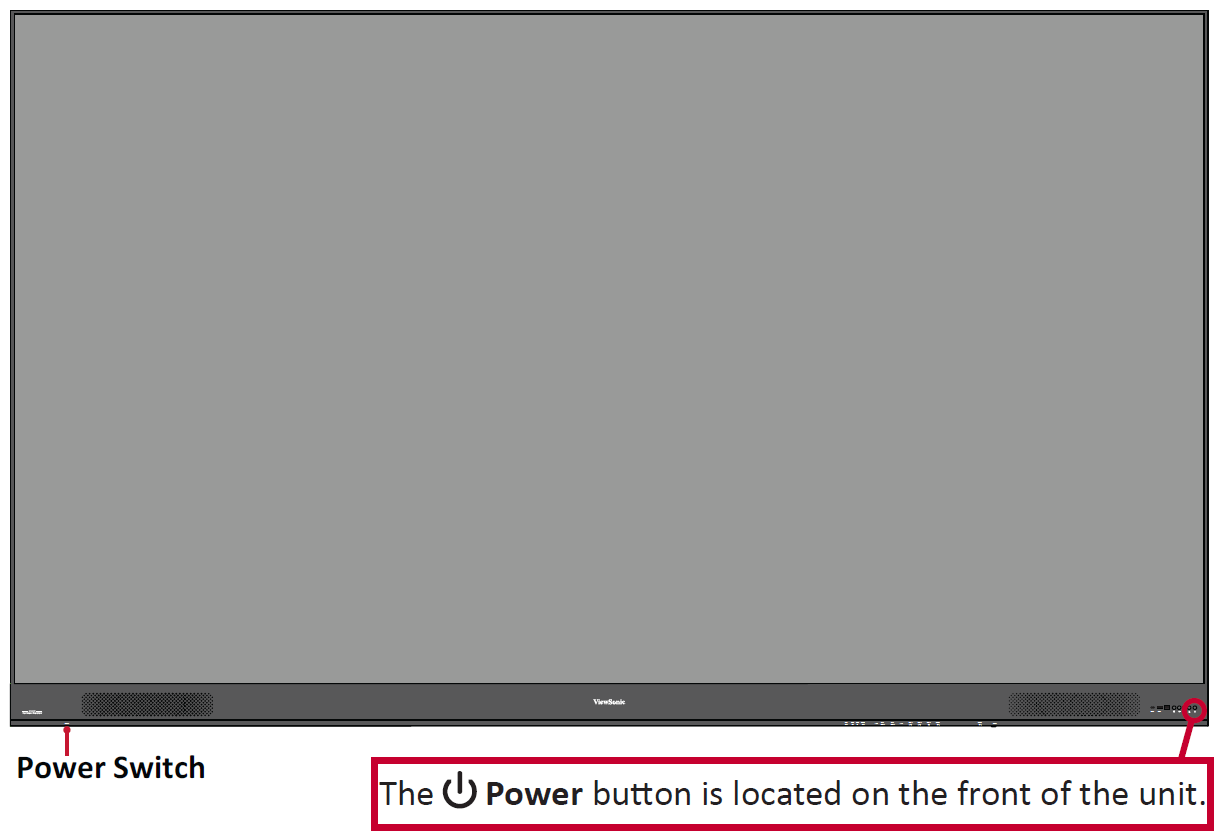
- Press the Power Switch to the ON position.
- Press the Power button to turn on the LED display.
- To turn the LED display off, press the Power button again.
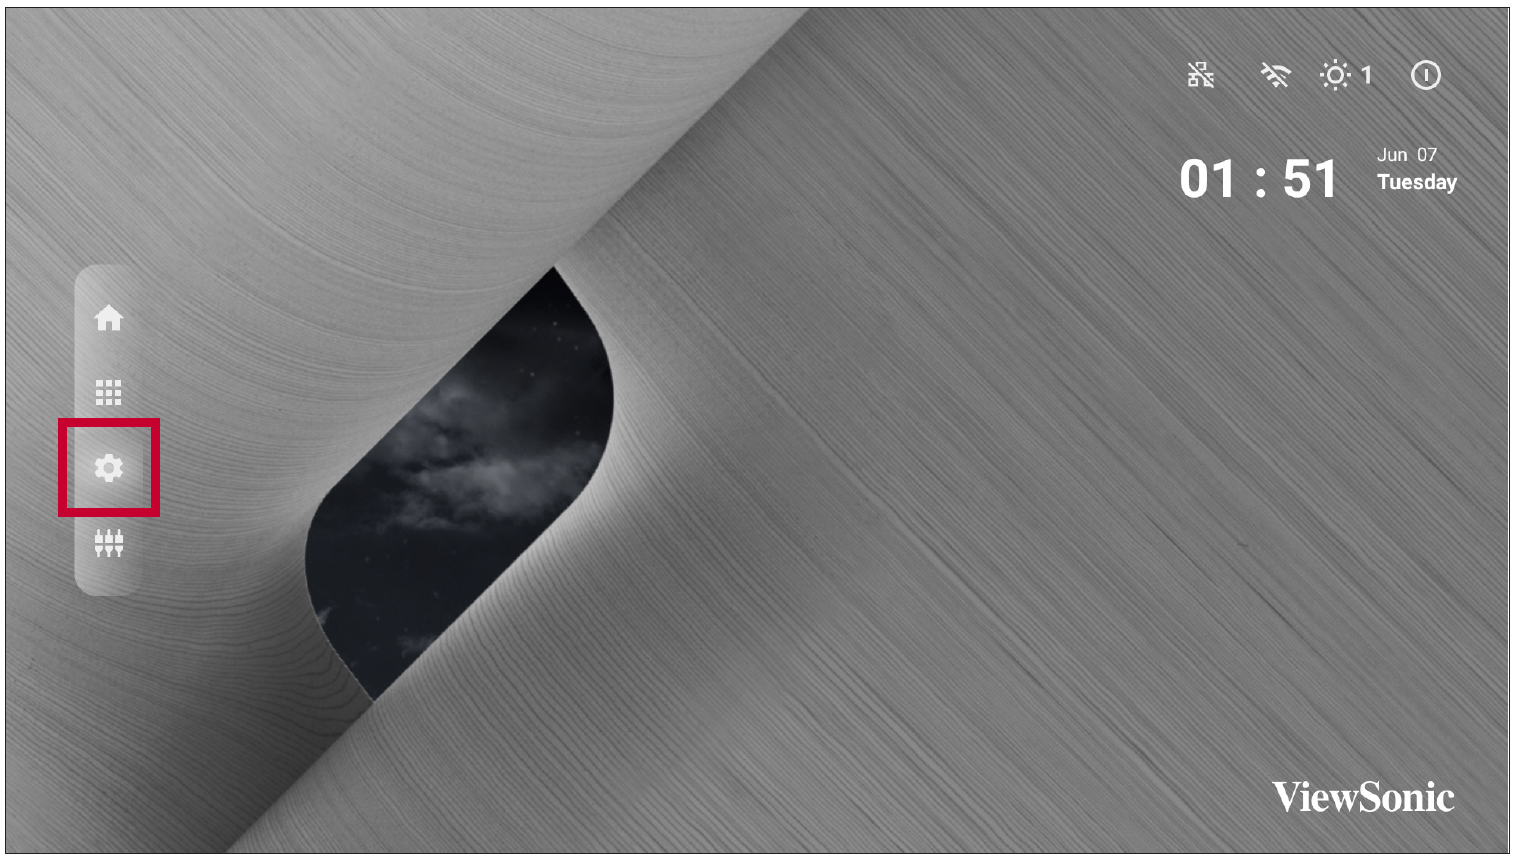
Home Screen
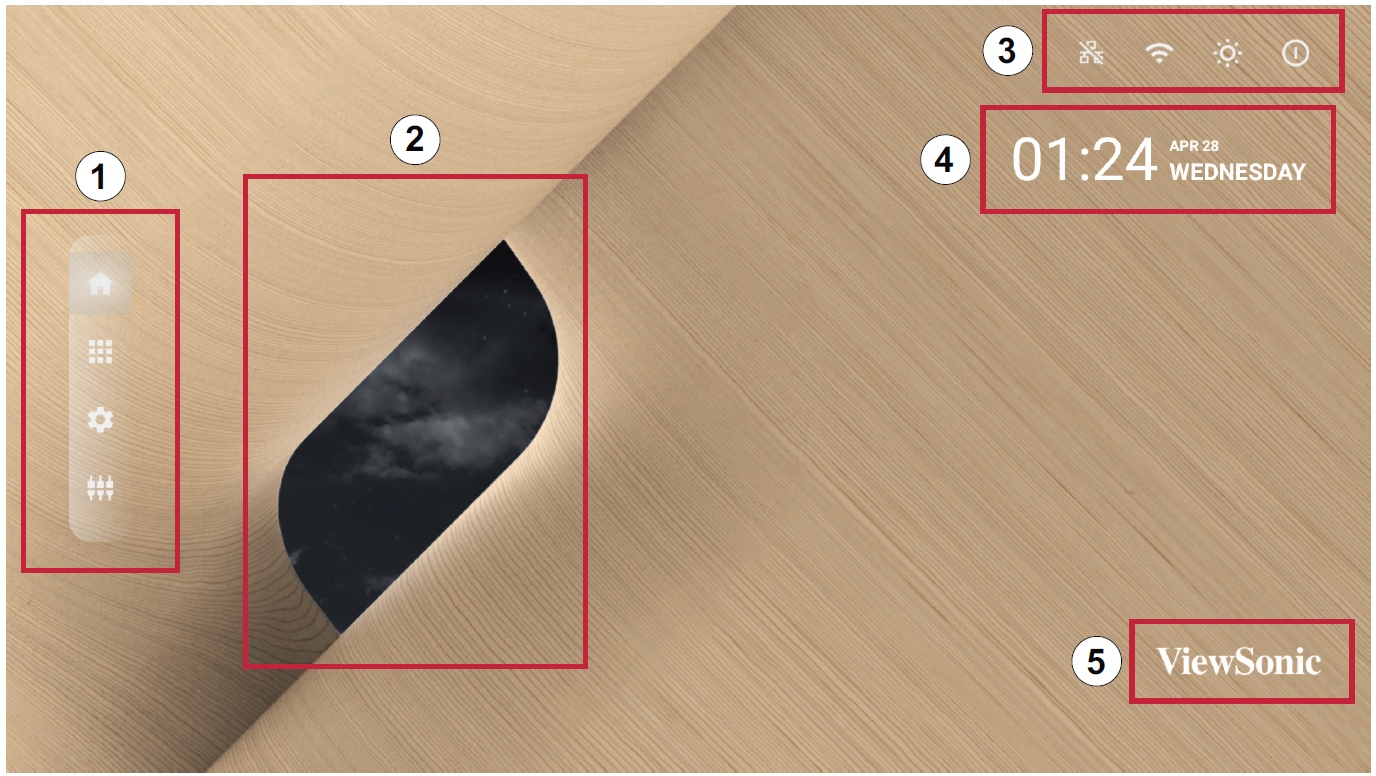
| Number | Item | Description |
|---|---|---|
| 1 | Main Menu | Access the Home Screen, APP Center, Settings, and Input Source. |
| 2 | Time of Day Indicator | The sky will change over the day between morning, noon, afternoon, and night. |
| 3 | Quick Access | Quick access to LAN, Wi-Fi, Brightness, and Power.
|
| 4 | Date & Time | Automatic time adjustment, time zone selection, and 24-hour format can all be adjusted. The Date & Time can also be hidden from the Home Screen under: Settings > Display > Launcher Settings |
| 5 | ViewSonic Logo | The logo can be hidden from the Home Screen under: Settings > Display > Launcher Settings |
Remote Control
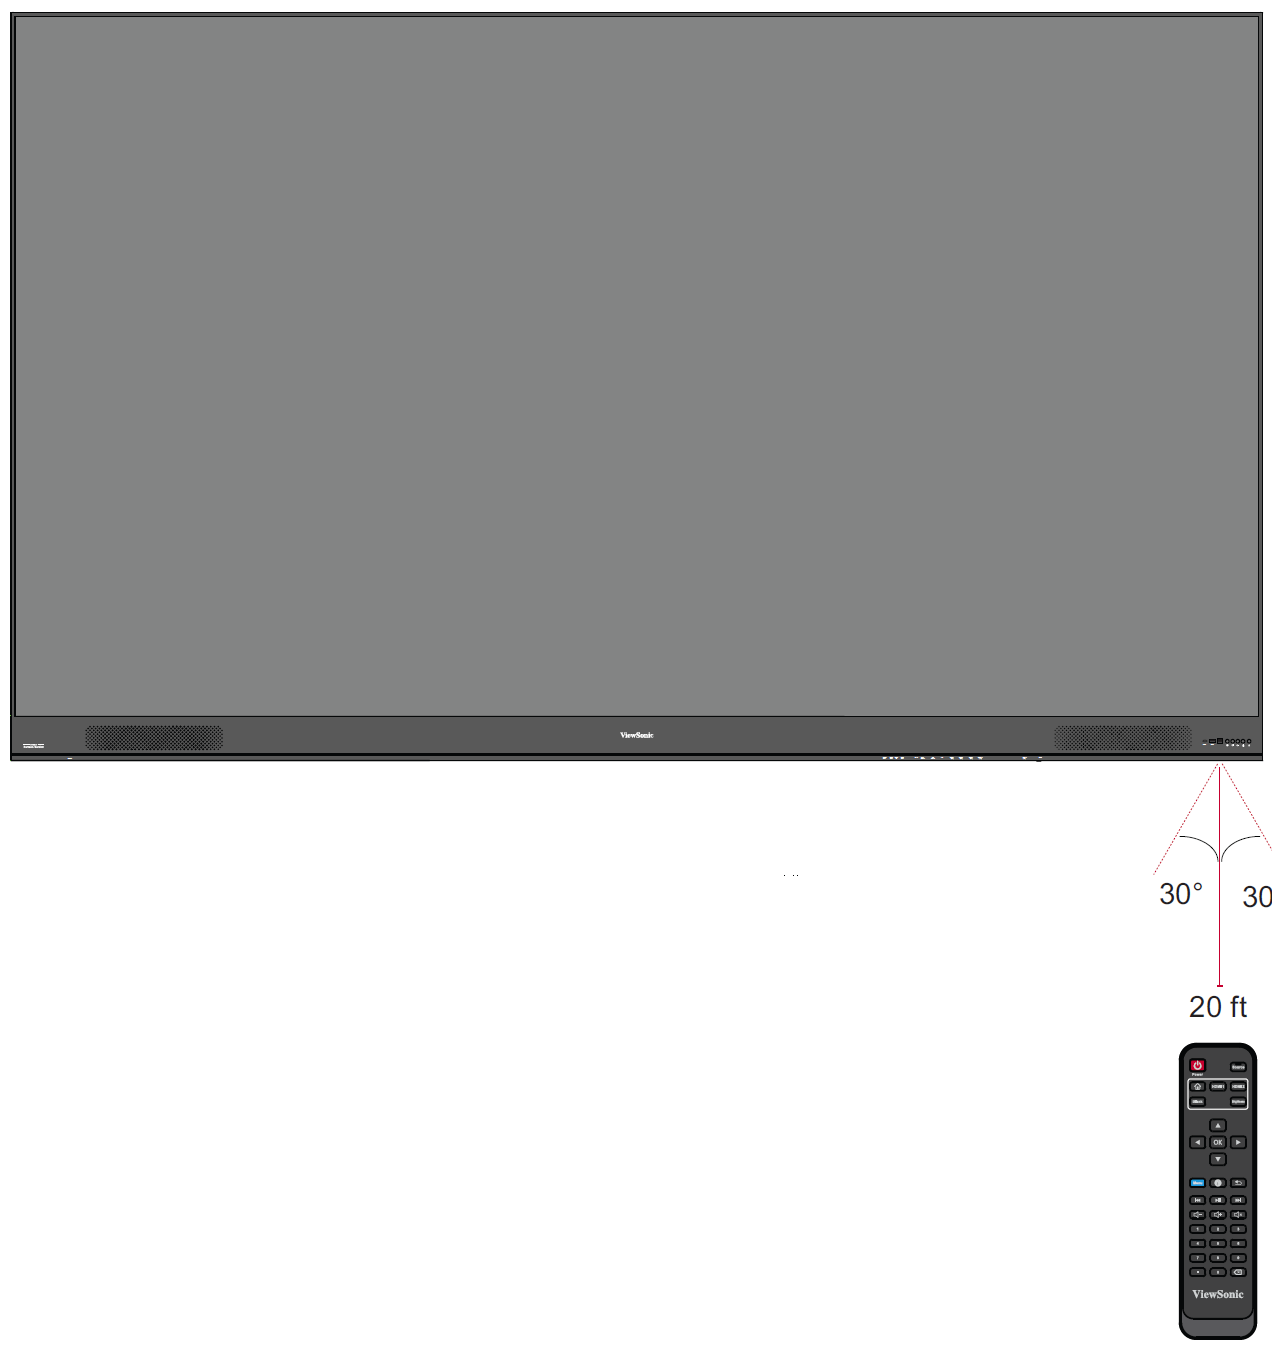
The remote control can be used to easily navigate the Home Screen. When using the remote control, ensure it is kept within the IR receiver range as shown below:
Keyboard and Mouse
When connected to the USB Type-A port of the display, a keyboard and mouse can also be used to navigate the Home Screen.
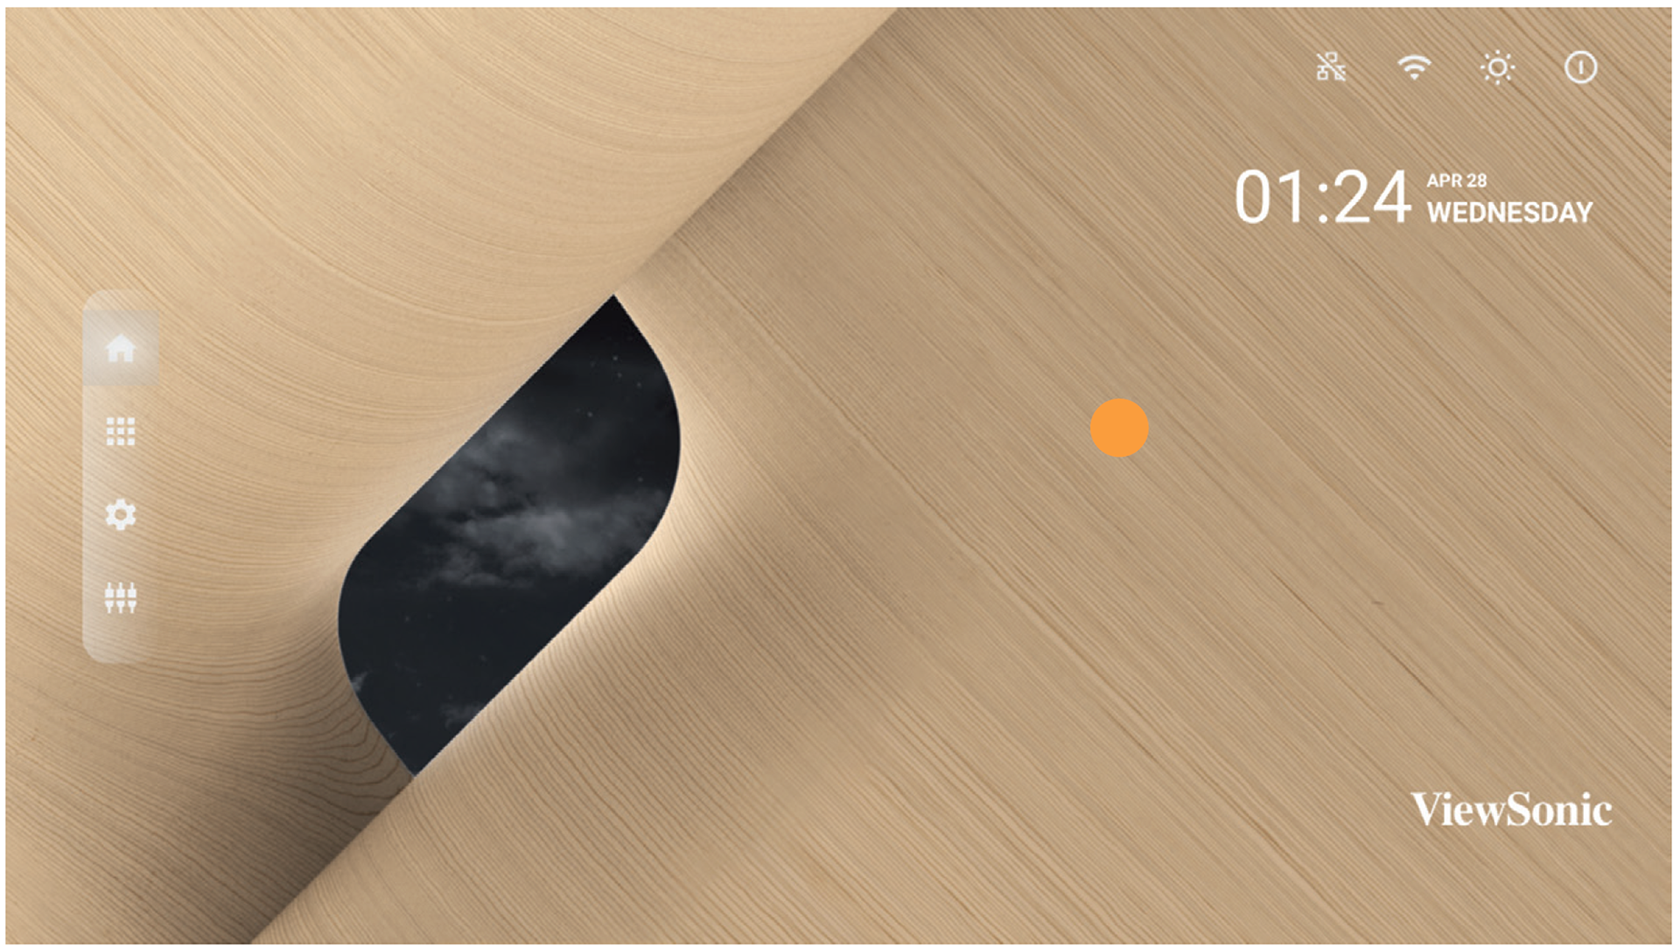
The mouse pointer will appear as an orange dot on the display when used:
- The left mouse button will confirm actions.
- The right mouse button will go back to the previous layer.
- Keyboard shortcuts and hot keys are also supported, including: audio adjustment, mute, and back to the Home Screen.
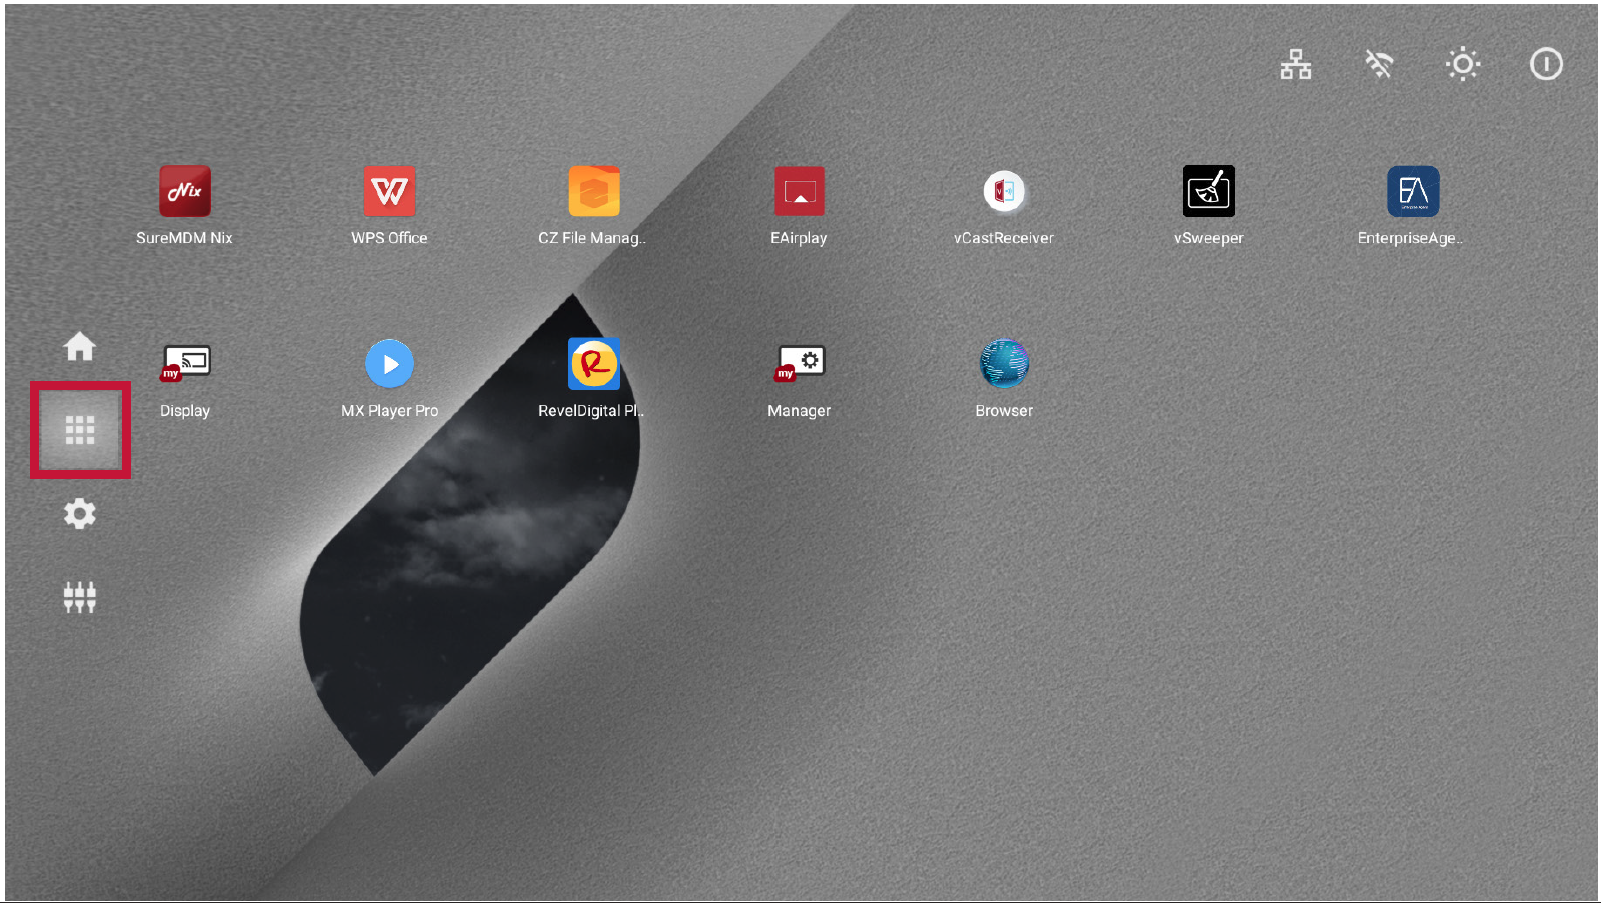
APP Center
- NOTE: Preloaded applications are subject to change without a notice.
| Icon | Name | Description |
|---|---|---|
| Browser | Web browser | |
| Display | Wirelessly mirror your desktop | |
| EAirplay | AirPlay mirroring | |
| EnterpriseAgent | Device management | |
| File Manager | File explorer | |
| Manager | Remote device management | |
| Revel Digital Signage | Manage digital signage | |
| Settings | View and adjust the display’s settings | |
| SureMDM Nix | Secure, monitor, and manage devices | |
| WPS Office | Create documents, spreadsheets, and presentations | |
| vCastReceiver | Receive casted content from devices | |
| vSweeper | Clear up storage space |
- NOTE: Preloaded applications are subject to change without notice.
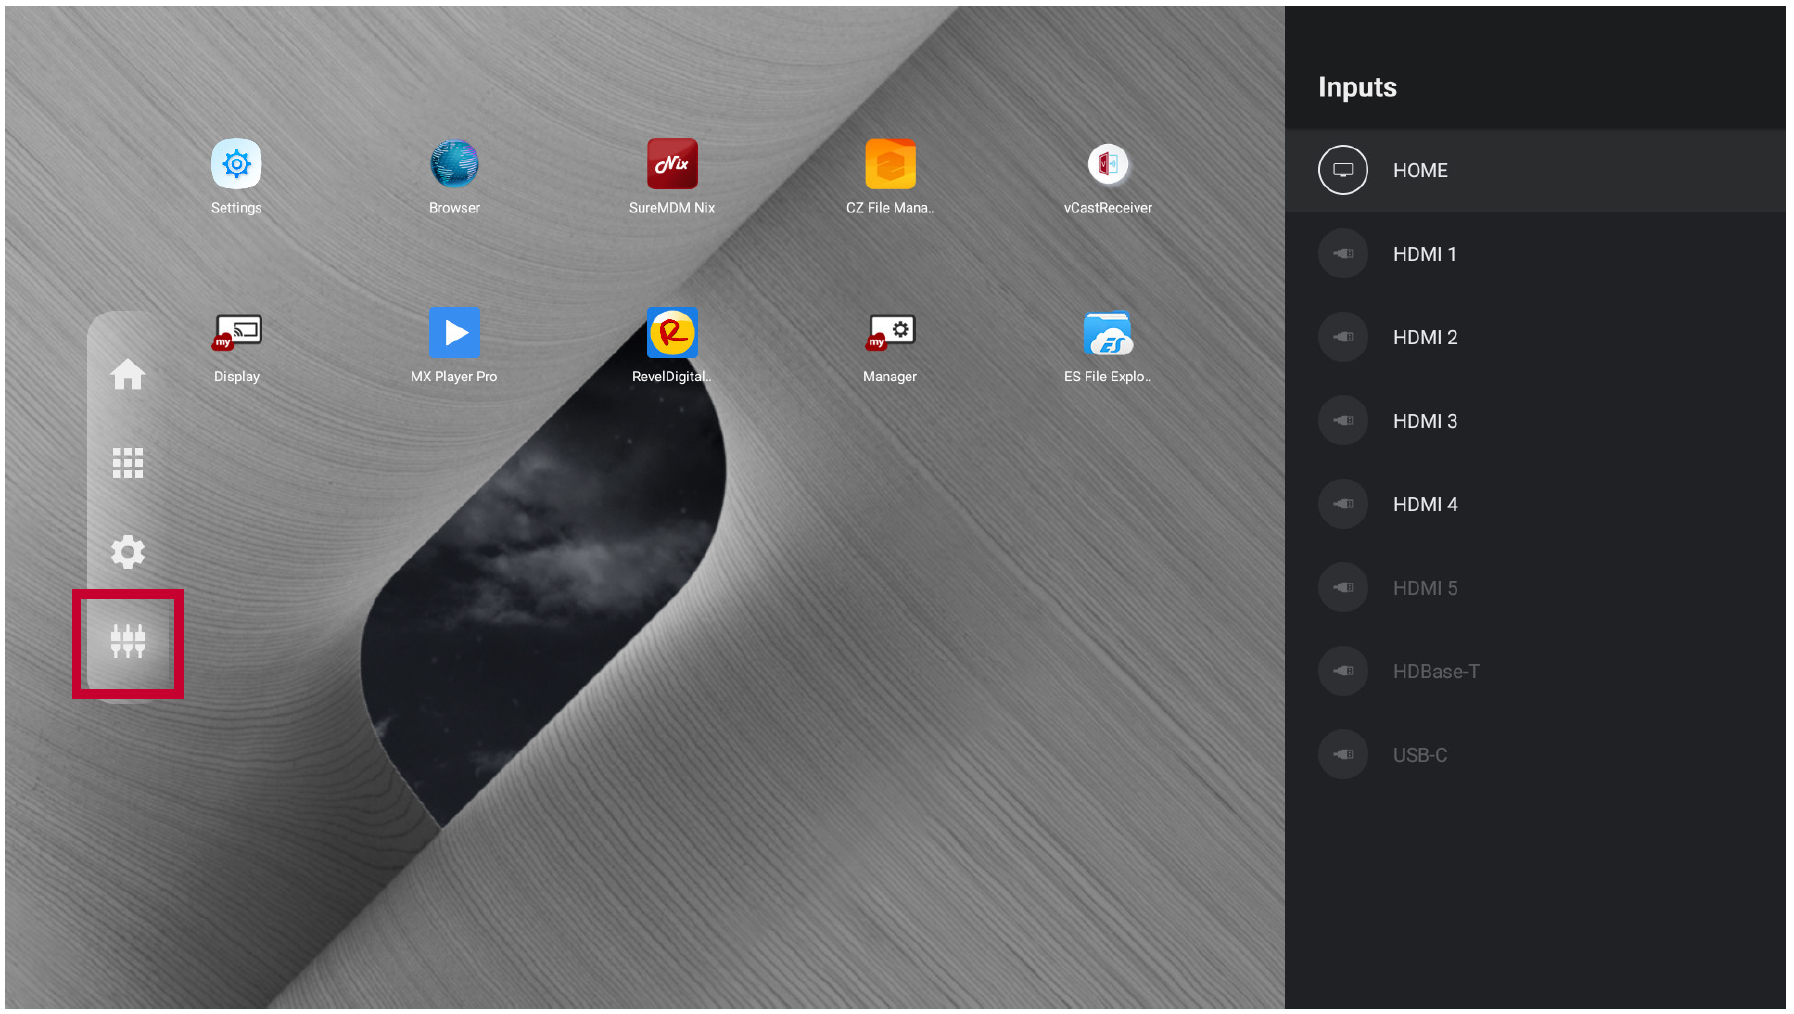
Input Source
The display supports eight input sources: Home, HDMI 1,HDMI 2, HDMI 3, HDMI 4, HDMI 5, HDBaseT, and USB C.
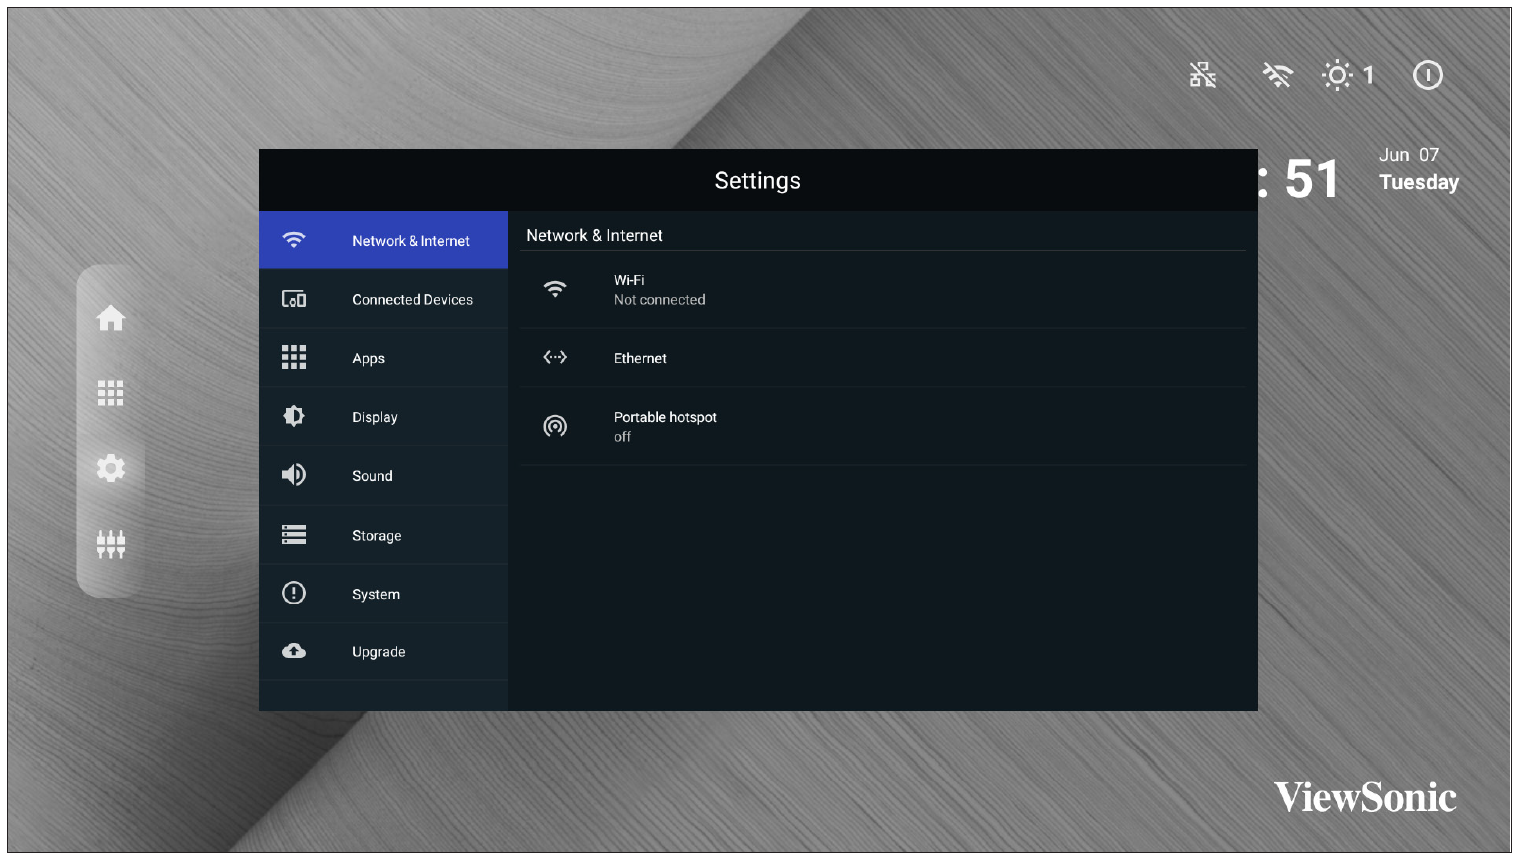
Settings
Adjust and view the display's settings.
| Menu | Description |
|---|---|
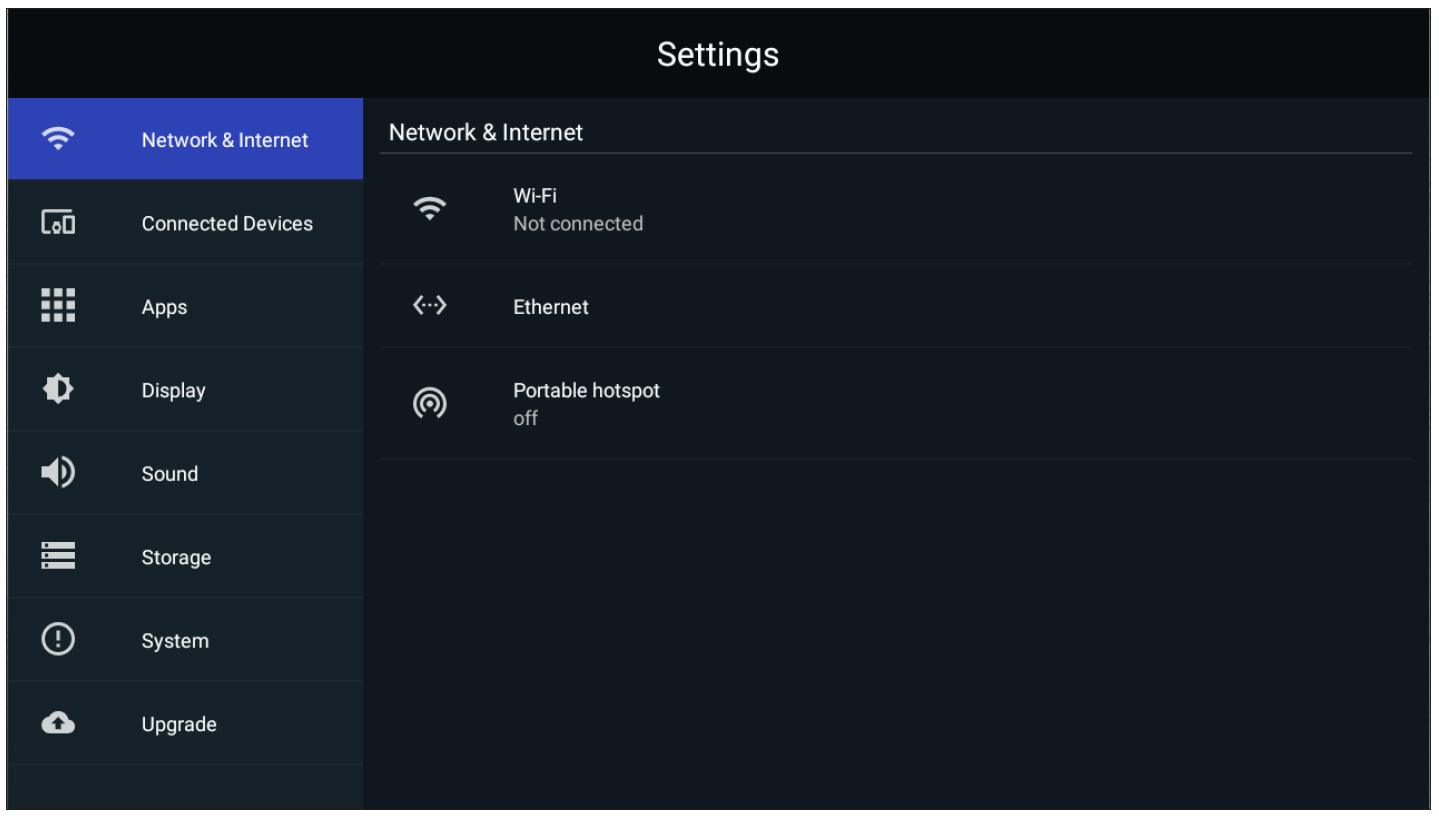
| Network & Internet | View and adjust Wi-Fi, Ethernet, and Potable Hotspot. |
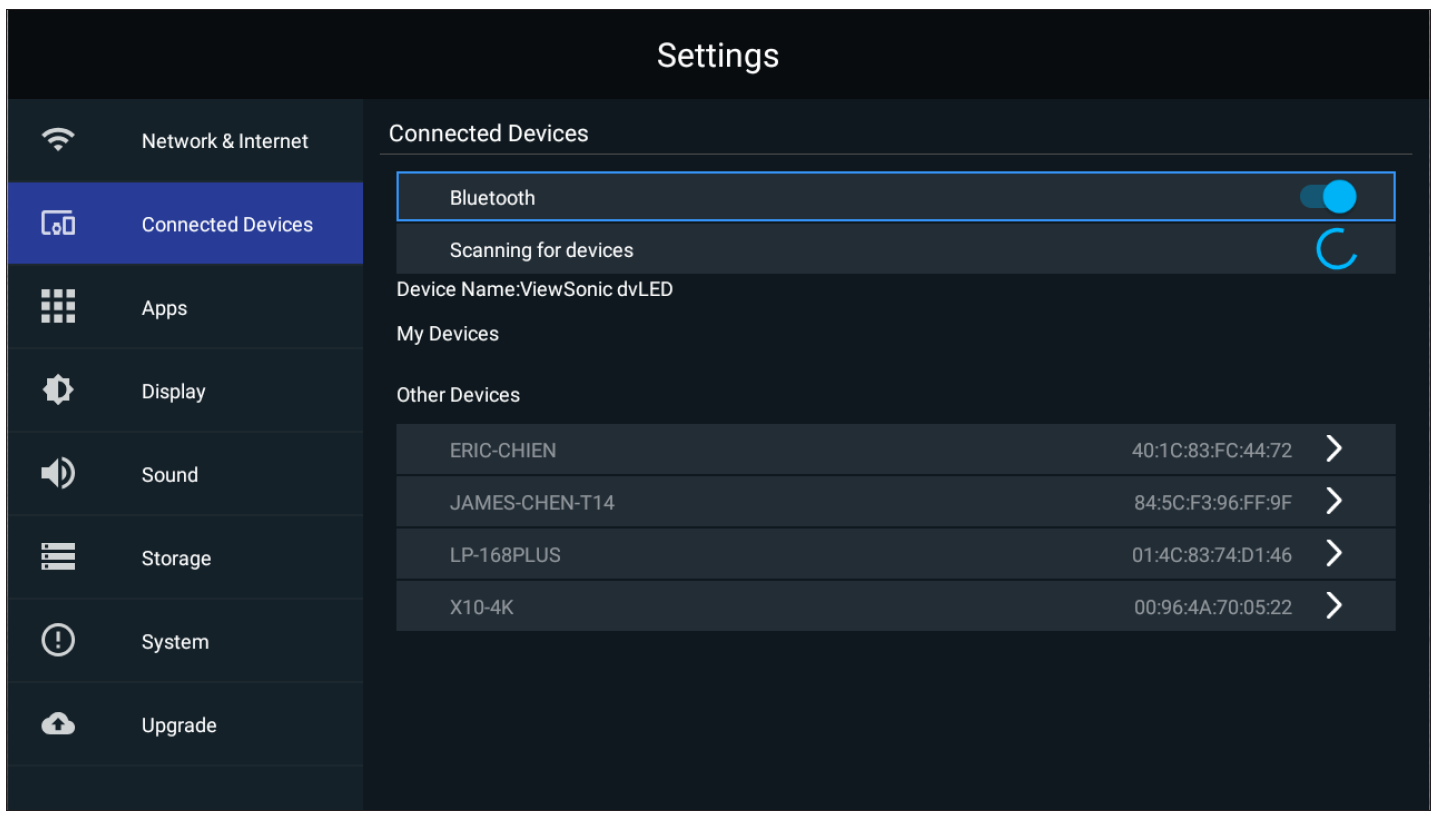
| Connected Devices | View and adjust Connected Devices. |
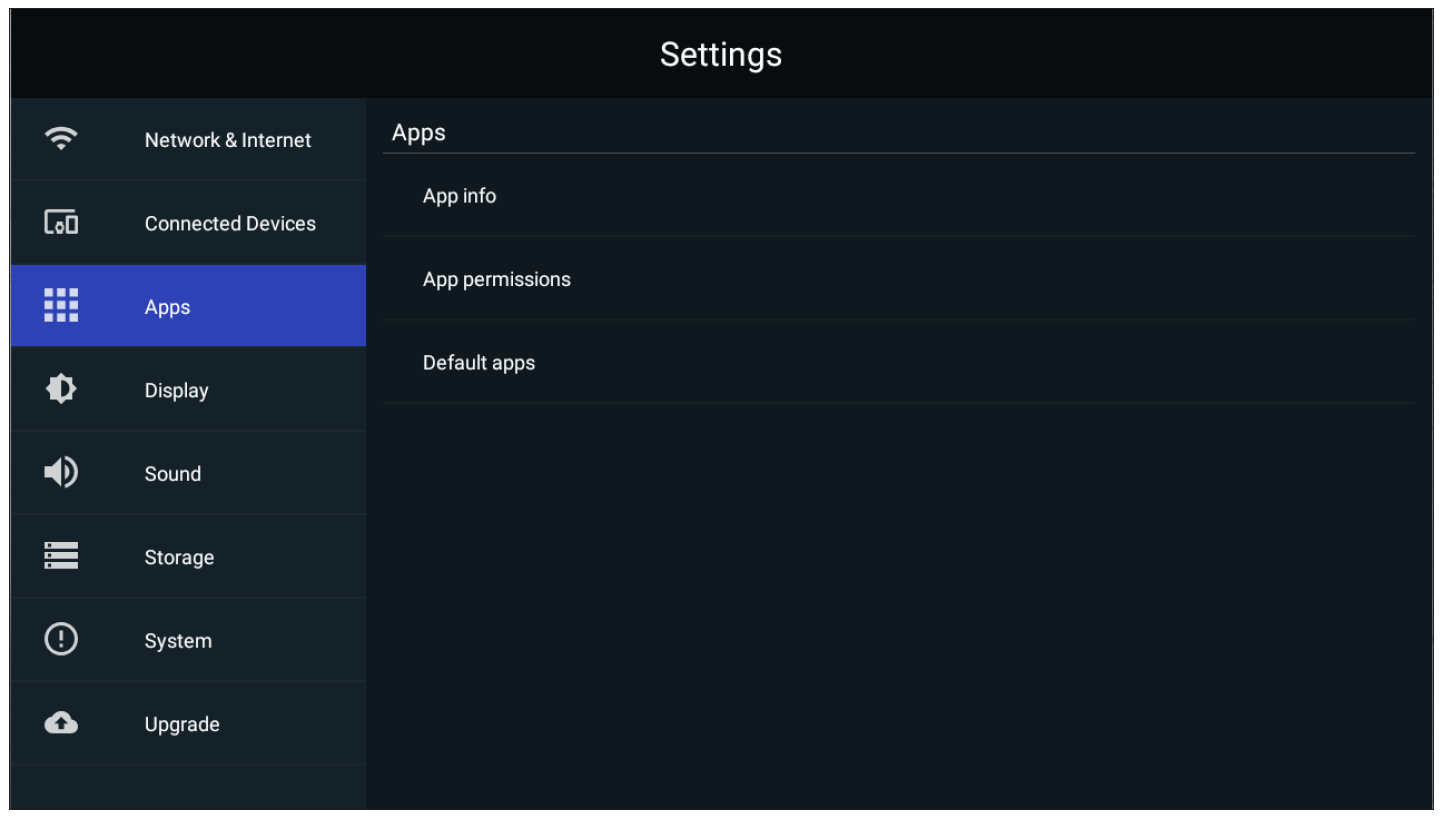
| Apps | View and adjust App Info., App Permissions, and Default Apps. |
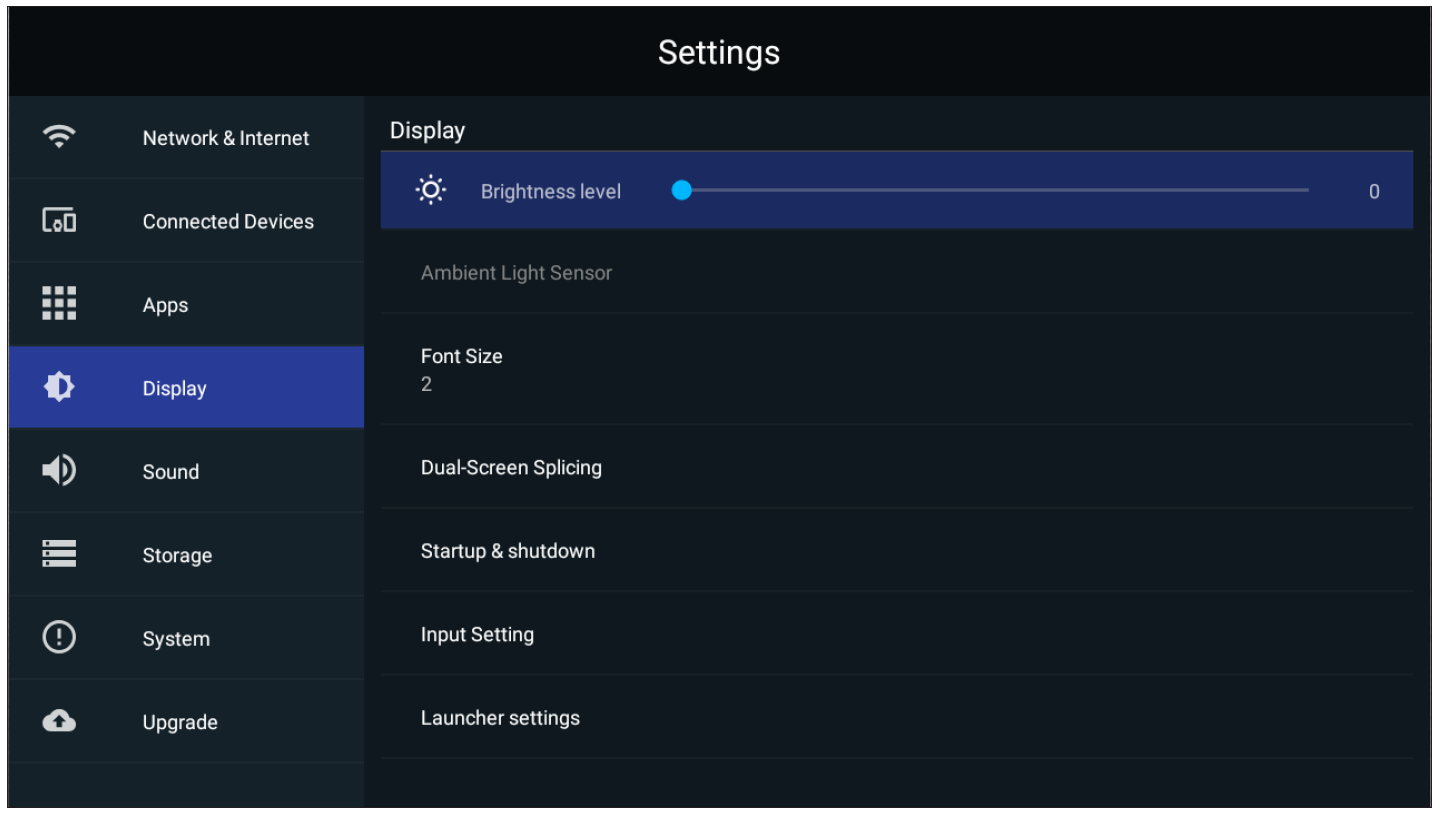
| Display | View and adjust Brightness Level, Ambient Light Sensor, Font Size, Startup & Shutdown, Input Setting, and Launcher Settings. |
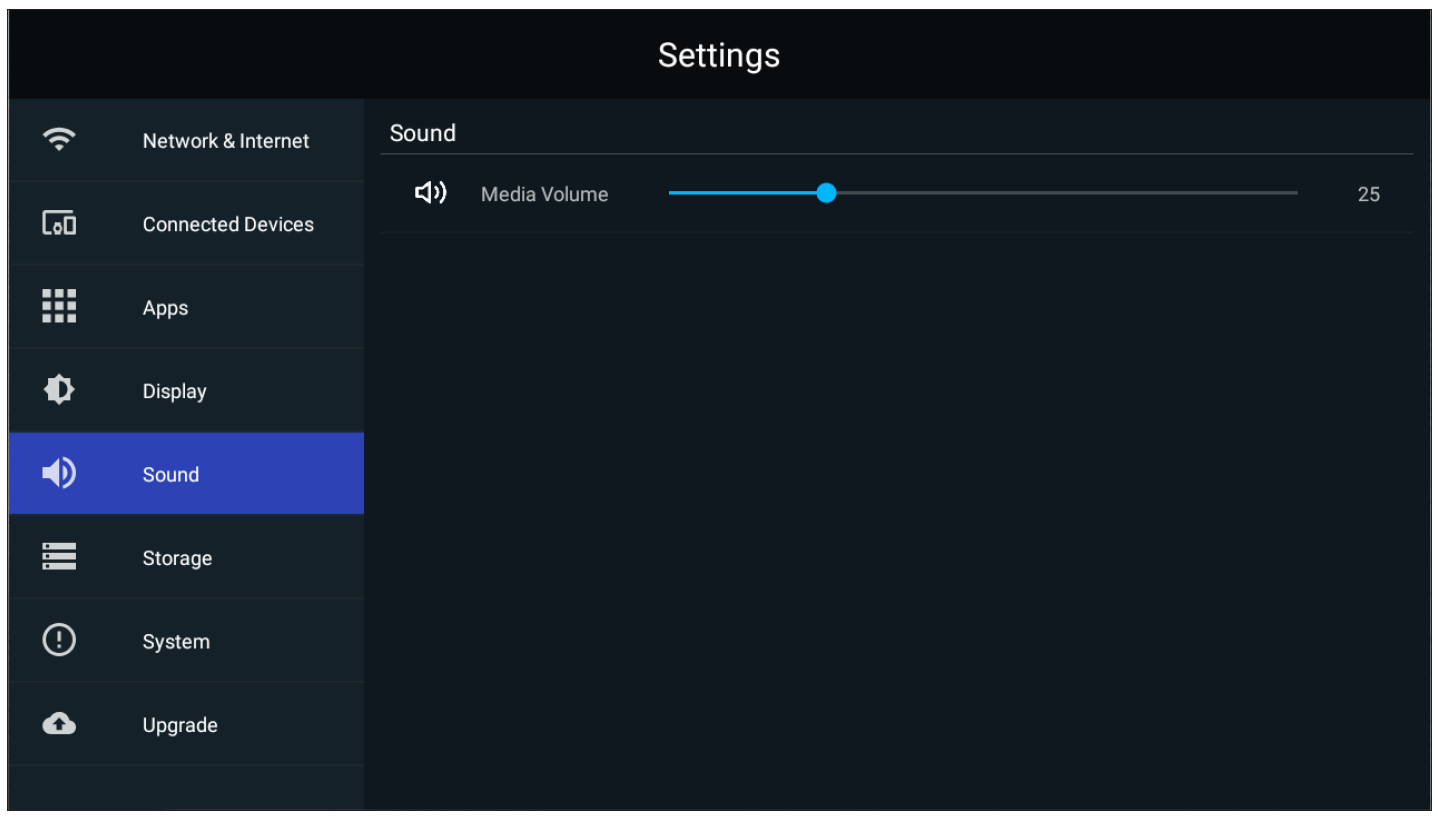
| Sound | View and adjust Media Volume. |
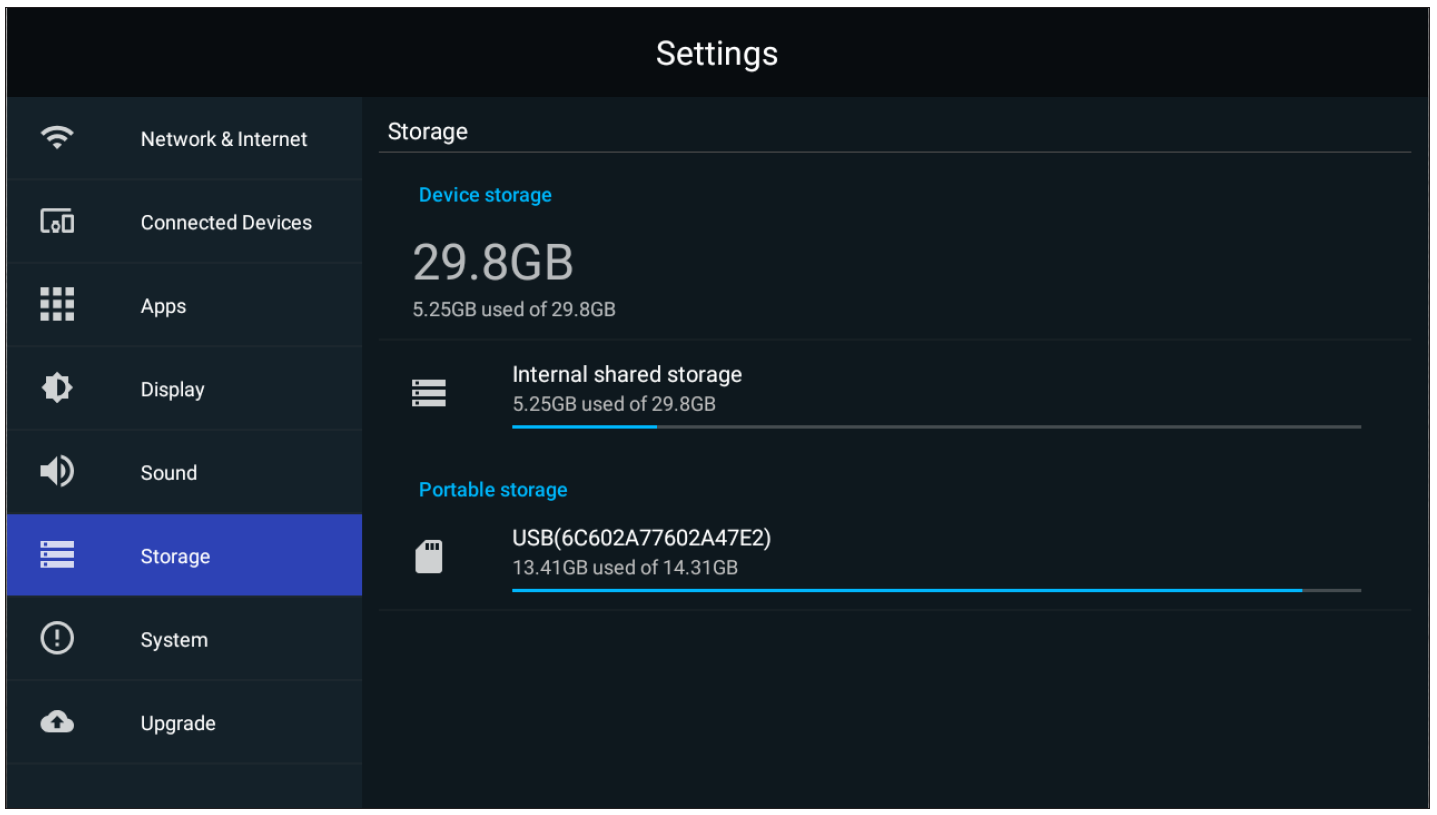
| Storage | View and adjust Device Storage. |
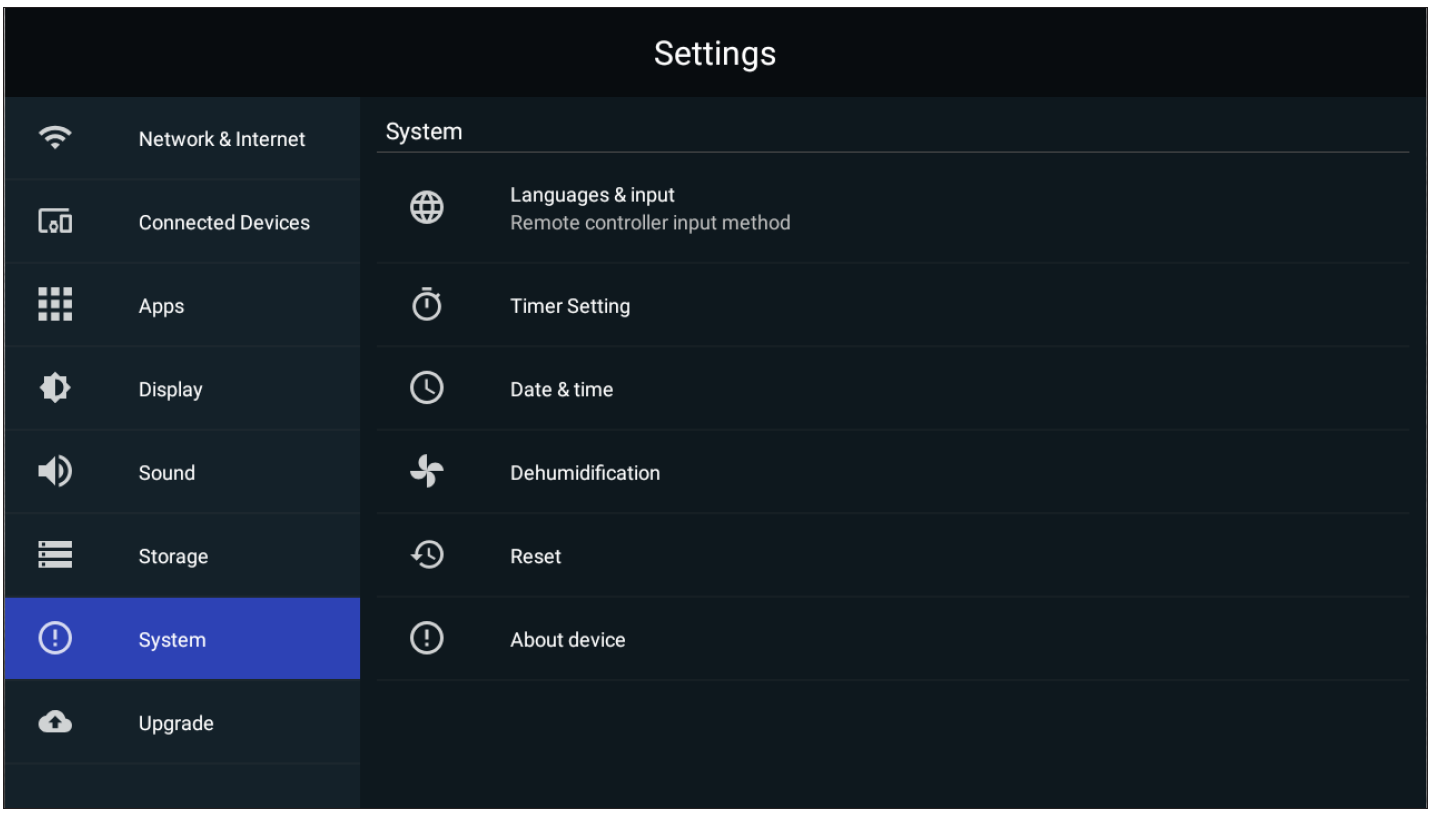
| System | View and adjust Languages & Input, Date & Time, Dehumidification, Reset, and About Device. |
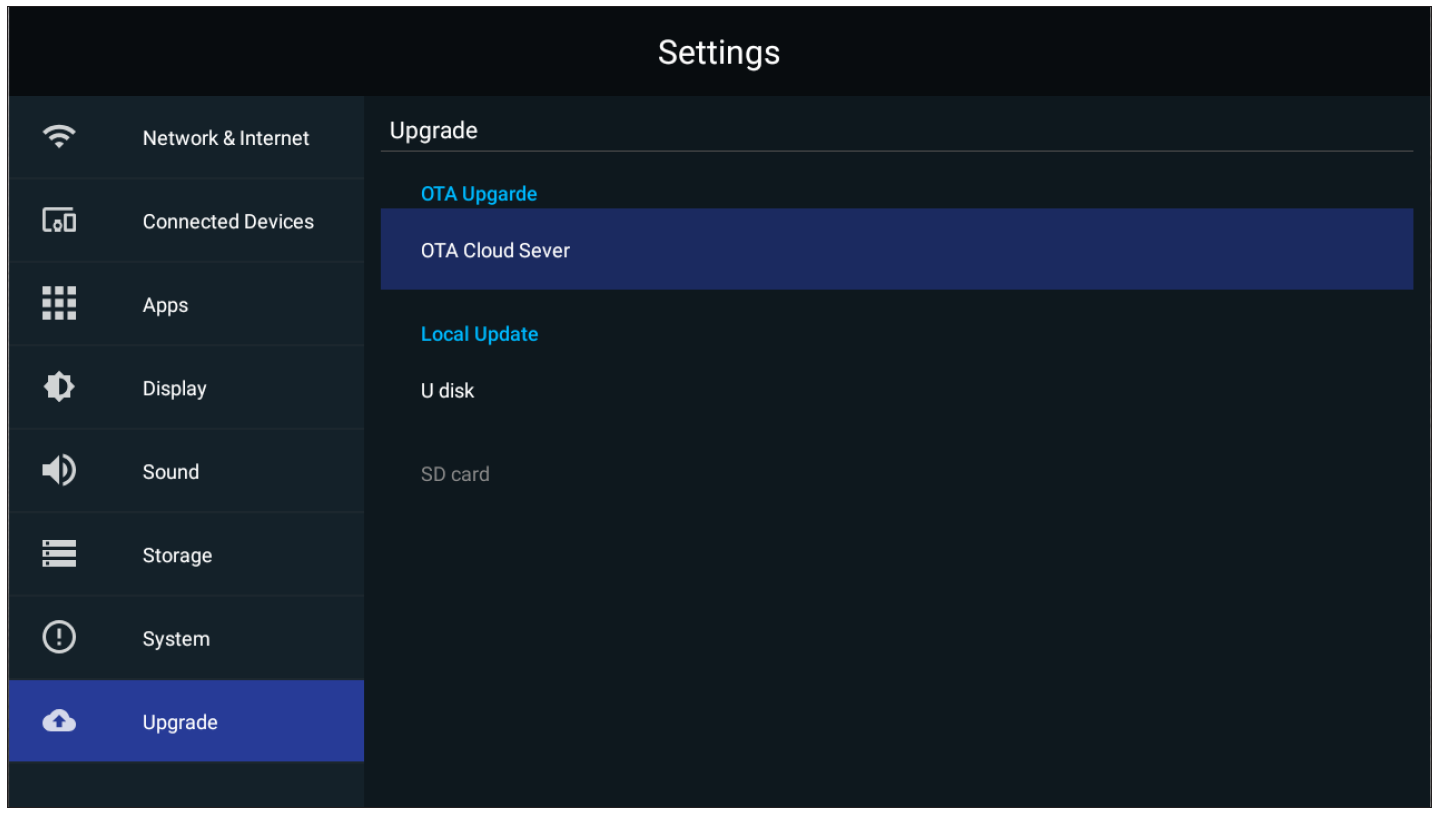
| Upgrade | View and adjust OTA Upgrade and Local Update. |
Settings Menu Tree
Network & Internet
| Sub-menu | Menu Option | ||
|---|---|---|---|
| Wi-Fi | Wi-Fi | On | |
| Off | |||
| Wi-Fi List | Add Network | ||
| Wi-Fi Preference | Open Network Notification | On | |
| Off | |||
| Keep Wi-Fi On During Sleep | |||
| Advanced | |||
| Ethernet | Ethernet IP Mode | DHCP | |
| STATIC | |||
| Ethernet Details | |||
| Portable Hotspot | Portable Wi-Fi Hotspot | On | |
| Off | |||
Connected Devices
| Sub-menu | Menu Option |
|---|---|
| Connected Devices | On |
| Off | |
| Device Name | ViewSonic DvLED |
Apps
| Sub-menu | Menu Option | |
|---|---|---|
| App Info. | Installed Apps | Disable |
| Force Stop | ||
| App Permissions | Calendar | |
| Location | ||
| Microphone | ||
| Storage | ||
| Default Apps | Browser | |
| Home | ||
Display
| Sub-menu | Menu Option | ||
|---|---|---|---|
| Brightness Level | (-/+, 1~8) | ||
| Ambient Light Sensor | On | ||
| Off | |||
| Font Size | (-/+, 1~4) | ||
| Dual-Screen Splicing | Enable | On | |
| Off | |||
| Startup & Shutdown | Splash Screen | Default | |
| ViewSonic | |||
| Black | |||
| Blue | |||
| Last Shutdown Channel | On | ||
| Off | |||
| Default Startup Channel | Home | ||
| HDMI 1 | |||
| HDMI 2 | |||
| HDMI 3 | |||
| HDMI 4 | |||
| HDMI 5 | |||
| USB C | |||
| HDBaseT | |||
| APP (Display) | |||
| APP (vCastReceiver) | |||
| Standby Mode | Hibernate | ||
| Sleep | |||
| Splash Screen | ViewSonic | ||
| Black | |||
| Blue | |||
| Input Setting | Input Alias | HDMI 1 | Display |
| Hide | |||
| HDMI 2 | Display | ||
| Hide | |||
| HDMI 3 | Display | ||
| Hide | |||
| HDMI 4 | Display | ||
| Hide | |||
| HDMI 5 | Display | ||
| Hide | |||
| USB C | Display | ||
| Hide | |||
| HDBaseT | Display | ||
| Hide | |||
| Signal Source Detect | Enable | ||
| Disable | |||
| Launcher Settings | ViewSonic Logo | On | |
| Off | |||
| Date & Time | On | ||
| Off | |||
| Theme | |||
| Other Display Settings | Custom Resolution | Width | |
| Height | |||
| Custom DPI | (-/+, 100~200) | ||
| Custom Wallpaper | |||
| Boot Logo Settings | |||
Sound
| Sub-menu | Menu Option | ||
|---|---|---|---|
| Media Volume | (-/+, 0~100) | ||
Storage
| Sub-menu | Menu Option | ||
|---|---|---|---|
| Device Storage | Internal Shared Storage | Storage Manager | On |
| Off | |||
| Photos & Videos | |||
| Music & Audio | |||
| Games | |||
| Movie & TV | |||
System
| Sub-menu | Menu Option | ||
|---|---|---|---|
| Language & Input | Languages | English | |
| French | |||
| Spanish | |||
| German | |||
| Russian | |||
| Dutch | |||
| 繁体中文 | |||
| 简体中文 | |||
| Turkish | |||
| Arabic | |||
| Virtual Keyboard | Remote Control Input Method | ||
| Manage Keyboards | |||
| Timer Setting | Shutdown Time | Repeat | Off |
| Once | |||
| Everyday | |||
| Time | |||
| Power On Time | Repeat | Off | |
| Once | |||
| Everyday | |||
| Time | |||
| Sleep Timer | Off/1/10/20/30/40/50/60/90/120 minute(s) | ||
| Power Saving | On | ||
| Off | |||
| Standby Mode | Hibernate | ||
| Sleep | |||
| Date & Time | Automatic Date & Time | On | |
| Off | |||
| Select Time Zone | |||
| Use 24-hour Format | |||
| Dehumidification | Settings | On | |
| Off | |||
| Automatic Reminders | On | ||
| Off | |||
| Begin Dehumidification Now | On | ||
| Off | |||
| Scheduled | On | ||
| Off | |||
| Reset | Network Settings Reset | ||
| Reset App Preferences | |||
| Factory Data Reset | |||
| About Device | Status | ||
| Legal Information | |||
| Model | |||
| Kernel Version | |||
| Build Number | |||
| Total Time | |||
Upgrade
| Sub-menu | Menu Option |
|---|---|
| OTA Upgrade | OTA Cloud Server |
| Local Update | sda1 |
| SDcard |
Network & Internet
| Sub-menu | Description |
|---|---|
| Wi-Fi |
|
| Ethernet | Select Ethernet to enable/disable Ethernet, review DNS, and IP mode. |
| Portable Hotspot | Enable/disable Portable Wi-Fi Hotspot under Portable Hotspot. |
Connected Devices
Enable/disable device connection, review connected devices, and search and connect to other devices.
Apps
| Sub-menu | Description |
|---|---|
| App Info. |
|
| App Permissions | Select App Permissions to manage various application permissions. |
| Default Apps | Select your default applications. |
Display
| Sub-menu | Description |
|---|---|
| Brightness Level | Adjust the brightness level by eight (8) levels. |
| Ambient Light Sensor | Detects ambient light and adjusts brightness levels automatically. |
| Font Size | Preview and adjust the font size on the display. |
| Dual-Screen Splicing | Enable Dual-Screen Splicing if installing two (2) DirectView LED Displays together. |
| Startup & Shutdown |
Startup Channel
Standby Mode
Splash Screen |
| Input Setting |
Input Alias Switch |
| Launcher Settings |
ViewSonic Logo |
| Other Display Settings | Adjust the Resolution, DPI, wallpaper and other display settings. |
Sound
| Sub-menu | Description |
|---|---|
| Media Volume | Adjust the volume level of the display. |
Storage
| Sub-menu | Description |
|---|---|
| Internal Shared Storage | Internal storage allocation. |
System
| Sub-menu | Description |
|---|---|
| Languages & Input |
Languages |
| Timer Setting |
Shutdown Time Repeat |
| Date & Time |
Automatic Date & Time |
| Dehumidification | Start and adjust dehumidification settings. |
| Reset |
Network Settings Reset |
| About Device | View information about the display. |
Upgrade
| Sub-menu | Description |
|---|---|
| OTA Upgrade |
Auto Update
|

