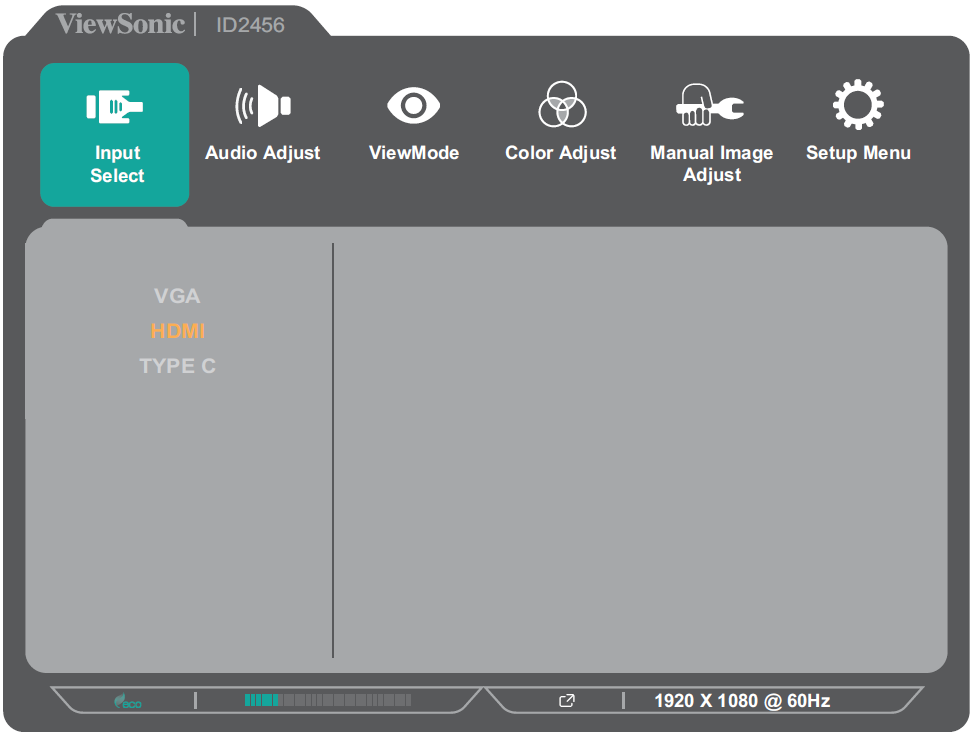
ID2456 On-Screen Display Menu Options
Input Select
Audio Adjust
| Menu Option | Description |
|---|---|
| Volume | Adjust the volume level. |
| Mute | Enable this option to temporarily turn off the sound. |
| Audio Input | Select the audio input source. |
ViewMode
| Menu Option | Description |
|---|---|
| Off | Disable the function. |
| Office | Select this option for office applications. |
| Movie | Select this option for watching movies. |
| MAC | Select this option when connecting to Mac computers. |
| Mono | Select this option for monochrome. |
| Game | Select this option for playing games. |
Color Adjust
| Menu Option | Description |
|---|---|
| Contrast/Brightness | Contrast
Adjust the degree of difference between the lightest and darkest parts of the picture and change the amount of black and white in the image. |
| Brightness
Adjust the background black levels of the screen image. | |
| Custom | Color Temperature
Select the color temperature setting.
|
| Color Space
Allows users to choose which color space they would like to use for monitor color output.
| |
| Color Range
The monitor can detect the input signal color range automatically. You can manually change the color range options to fit the correct color range if the colors are not displayed correctly.
|
Manual Image Adjust
| Menu Option | Description |
|---|---|
| Auto Image Adjust | Automatically adjust the screen image position. |
| Horizontal Size | Stretch or shorten the screen on its horizontal axis. |
| H./V. Position | Adjust the screen horizontally and/or vertically. |
| Fine Tune | Improve distorted image quality from an analog signal. |
| Sharpness | Adjust the picture quality. |
| Advanced DCR | Automatically detects the image signal and intelligently controls the backlight brightness and color to improve on the ability to make the black blacker in a dark scene, and make the white whiter in a bright environment. |
| Response Time | Adjusts the response time, creating smooth images without streaking, blurring, or ghosting. |
| Aspect Ratio | Select the aspect ratio of the monitor. |
| Overscan | Automatically enlarge the original picture horizontally and vertically to an equal aspect ratio that fills the screen. |
| Low Input Lag | Select the appropriate speed to decrease input to output latency. |
| Blue Light Filter | Adjusts the filter that blocks high-energy blue light for a more comfortable viewing experience. |
- NOTE: Some options are only available for analog input signals.
Setup Menu
| Menu Option | Description |
|---|---|
| Language Select | Select an available language for the OSD Menu. |
| Resolution Notice | Enable this option to allow the system to inform users that the current viewing resolution is not the correct native resolution. |
| Information | Display the monitor information. |
| OSD Timeout | Set the length of time the OSD Menu remains on screen. |
| OSD Background | Show/Hide the OSD background when the OSD Menu appears on the screen. |
| OSD Pivot | Set the OSD Menu orientation.
|
| Power Indicator | Set the Power Indicator On or Off. If the setting is set to On, the power indicator lights blue when the device is turned on. |
| Boot Up Screen | Enable this option to allow the monitor to automatically show the boot up screen. |
| Auto Power Off | Enable this option to allow the monitor to automatically turn off after a certain amount of time. |
| Sleep | Set the amount of idle time before the monitor enters Sleep mode. |
| ECO Mode | Choose between various modes, based on power consumption. |
| Touch Screen | Enable/Disable touch support. |
| Auto Detect | Automatically detect the input signal. |
| Memory Recall | Resets all settings to their default values. |

