CDE7512 Using the Display: Difference between revisions
From ViewSonic Documentation
Created page with "<noinclude> {{Sticky_Menu_Commercial_Display |1=CDE7512_Introduction |2=CDE7512_Remote_Control |3=CDE7512_Connecting_Devices |4=CDE7512_Using_the_Display |5=CDE7512_General_Se..." |
|||
| Line 16: | Line 16: | ||
=Power On/Off your Display= | =Power On/Off your Display= | ||
<ol><li>Ensure the power cord is connected, plugged into a power outlet, and the power switch is in the “On” position.</li> | <ol><li>Ensure the power cord is connected, plugged into a power outlet, and the power switch is in the “On” position.</li> | ||
<div class="res-img">[[File: | <div class="res-img">[[File:CDE7512-2_Power_Switch.png|500px]]</div> | ||
:'''NOTE:''' The AC IN socket is located at the rear, and the Power Switch is located underneath the display. | :'''NOTE:''' The AC IN socket is located at the rear, and the Power Switch is located underneath the display. | ||
<li>Press the '''Power''' button to turn on the display.</li> | <li>Press the '''Power''' button to turn on the display.</li> | ||
Latest revision as of 06:39, 2 August 2023
Power On/Off your Display
- Ensure the power cord is connected, plugged into a power outlet, and the power switch is in the “On” position.
- NOTE: The AC IN socket is located at the rear, and the Power Switch is located underneath the display.
- Press the Power button to turn on the display.
- To turn the display off, press and hold the Power button.

Initial Launch Setup
When you first turn on your display, an initial setup wizard will launch.
-
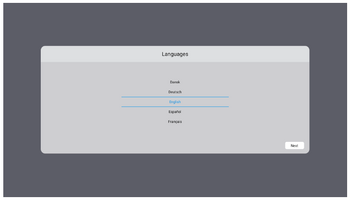 Language Select
 -
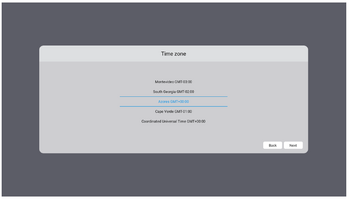 Time Zone
 -
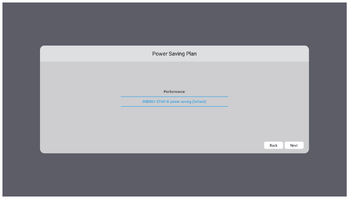 Power Saving Mode
 -
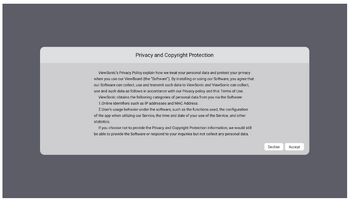 Privacy and Copyright Protection


- Select your Language.
- Select your Time Zone.
- Select your Power Saving Mode.
- Accept/Decline the Privacy and Copyright Protection Agreement.
Home Screen
From the Home Screen all the installed applications can be accessed.

- NOTE: Press the Home button on the remote control at any time to return to the Home Screen.