
GD1330 Pen Input Area Mapping
From ViewSonic Documentation
Pen Input Area
To set the proper pen input area,
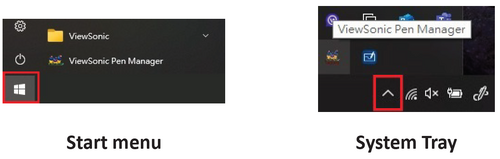
- Open Pen Display Manager either from the Start menu, by going to: Start > Pen Display Manager, or selecting the Pen Display Manager icon from the System Tray.
- Select the Mapping tab.
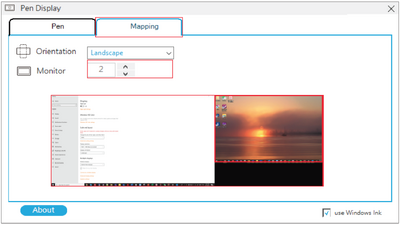
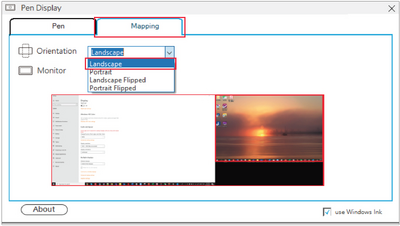
- Select the preferred Orientation, and the Monitor that will be mapped to the pen inputs.
- Select the Pen tab to adjust Tip Feel and check the Current Pressure.
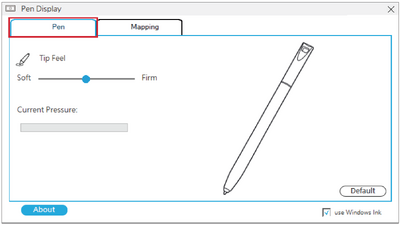


- NOTE: Tip Feel alters how much actual pressure it takes to achieve maximum pressure.
- Soft - requires less actual pressure to see a difference in pen pressure levels.
- Firm - more force is needed to see changes in pen pressure.