ViewBoard Cast Button Pairing
From ViewSonic Documentation
Pairing
Windows PC and MacBook Pairing


- Plug-in the ViewBoard® Cast Button into your Windows PC or MacBook to pair.
- For VB-WPS-001: Please plug-in to the USB Type C port (Figure 1).
- For VB-WPS-003: Please plug-in to both the HDMI out and USB Type A ports (Figure 2).
- If it is the first time to pair the ViewBoard® Cast Button with your Windows PC, please double click “ViewBoard Cast.exe” in: PC > CD Drive > ViewBoard Cast.
- NOTE: If running on a MacBook, please enter the user password to access the application installation permission.
- For PC, with the application installed, ViewBoard® Cast will launch automatically after the ViewBoard® Cast Button is plugged into the PC.
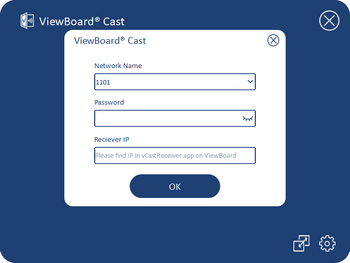
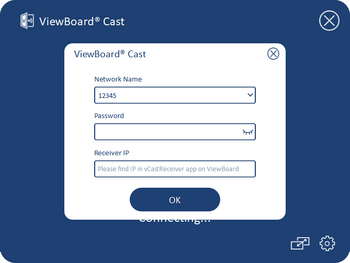
- The pairing dialogue box will pop up on your PC. Please enter the Network Name, Password, and the vCastReceiver IP address shown on the IFP/CDE device home screen.
- Click OK to complete the pairing of the ViewBoard® Cast Button and the IFP/CDE device.
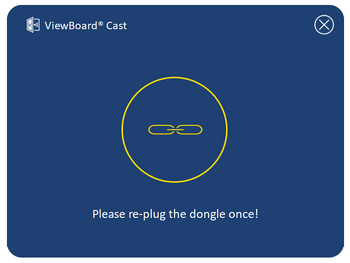
- Remove the ViewBoard® Cast Button and then plug it in again to start sharing
- If the ViewBoard® Cast Button has been paired, and you would like to pair it with another IFP/CDE device, please click the “Pairing-Switch Button” at the bottom right corner.
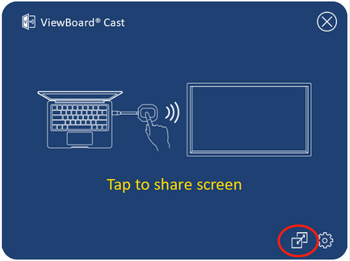
- Re-enter the network information to re-pair the ViewBoard® Cast Button.
- After the ViewBoard® Cast Button is re-paired, please remove it and plug it in again to start sharing.


