LX700-4K RGB Using the Projector
Turnin the Projector On
- Make sure the projector’s power cord is properly connected to a power outlet.
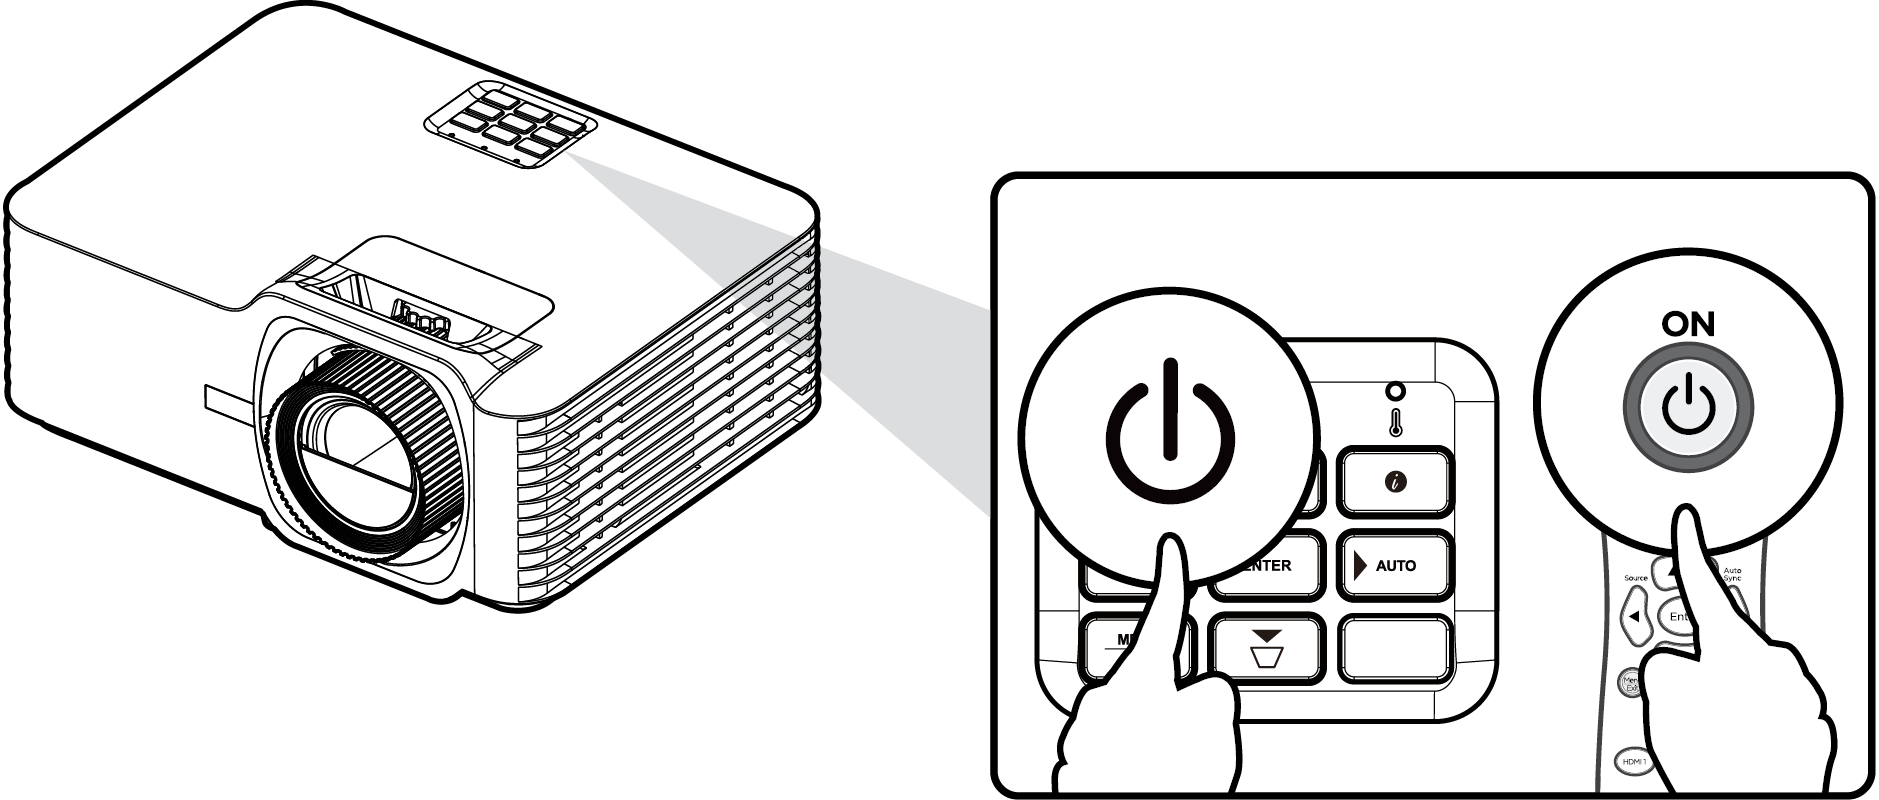
- Press the Power button on the projector or remote control to turn on the projector.
- Note:
- The Power Indicator Light will be flashing blue during startup.
- The first time the projector is turned on, you will be prompted to select the preferred language and projection orientation.
Selecting an Input Source
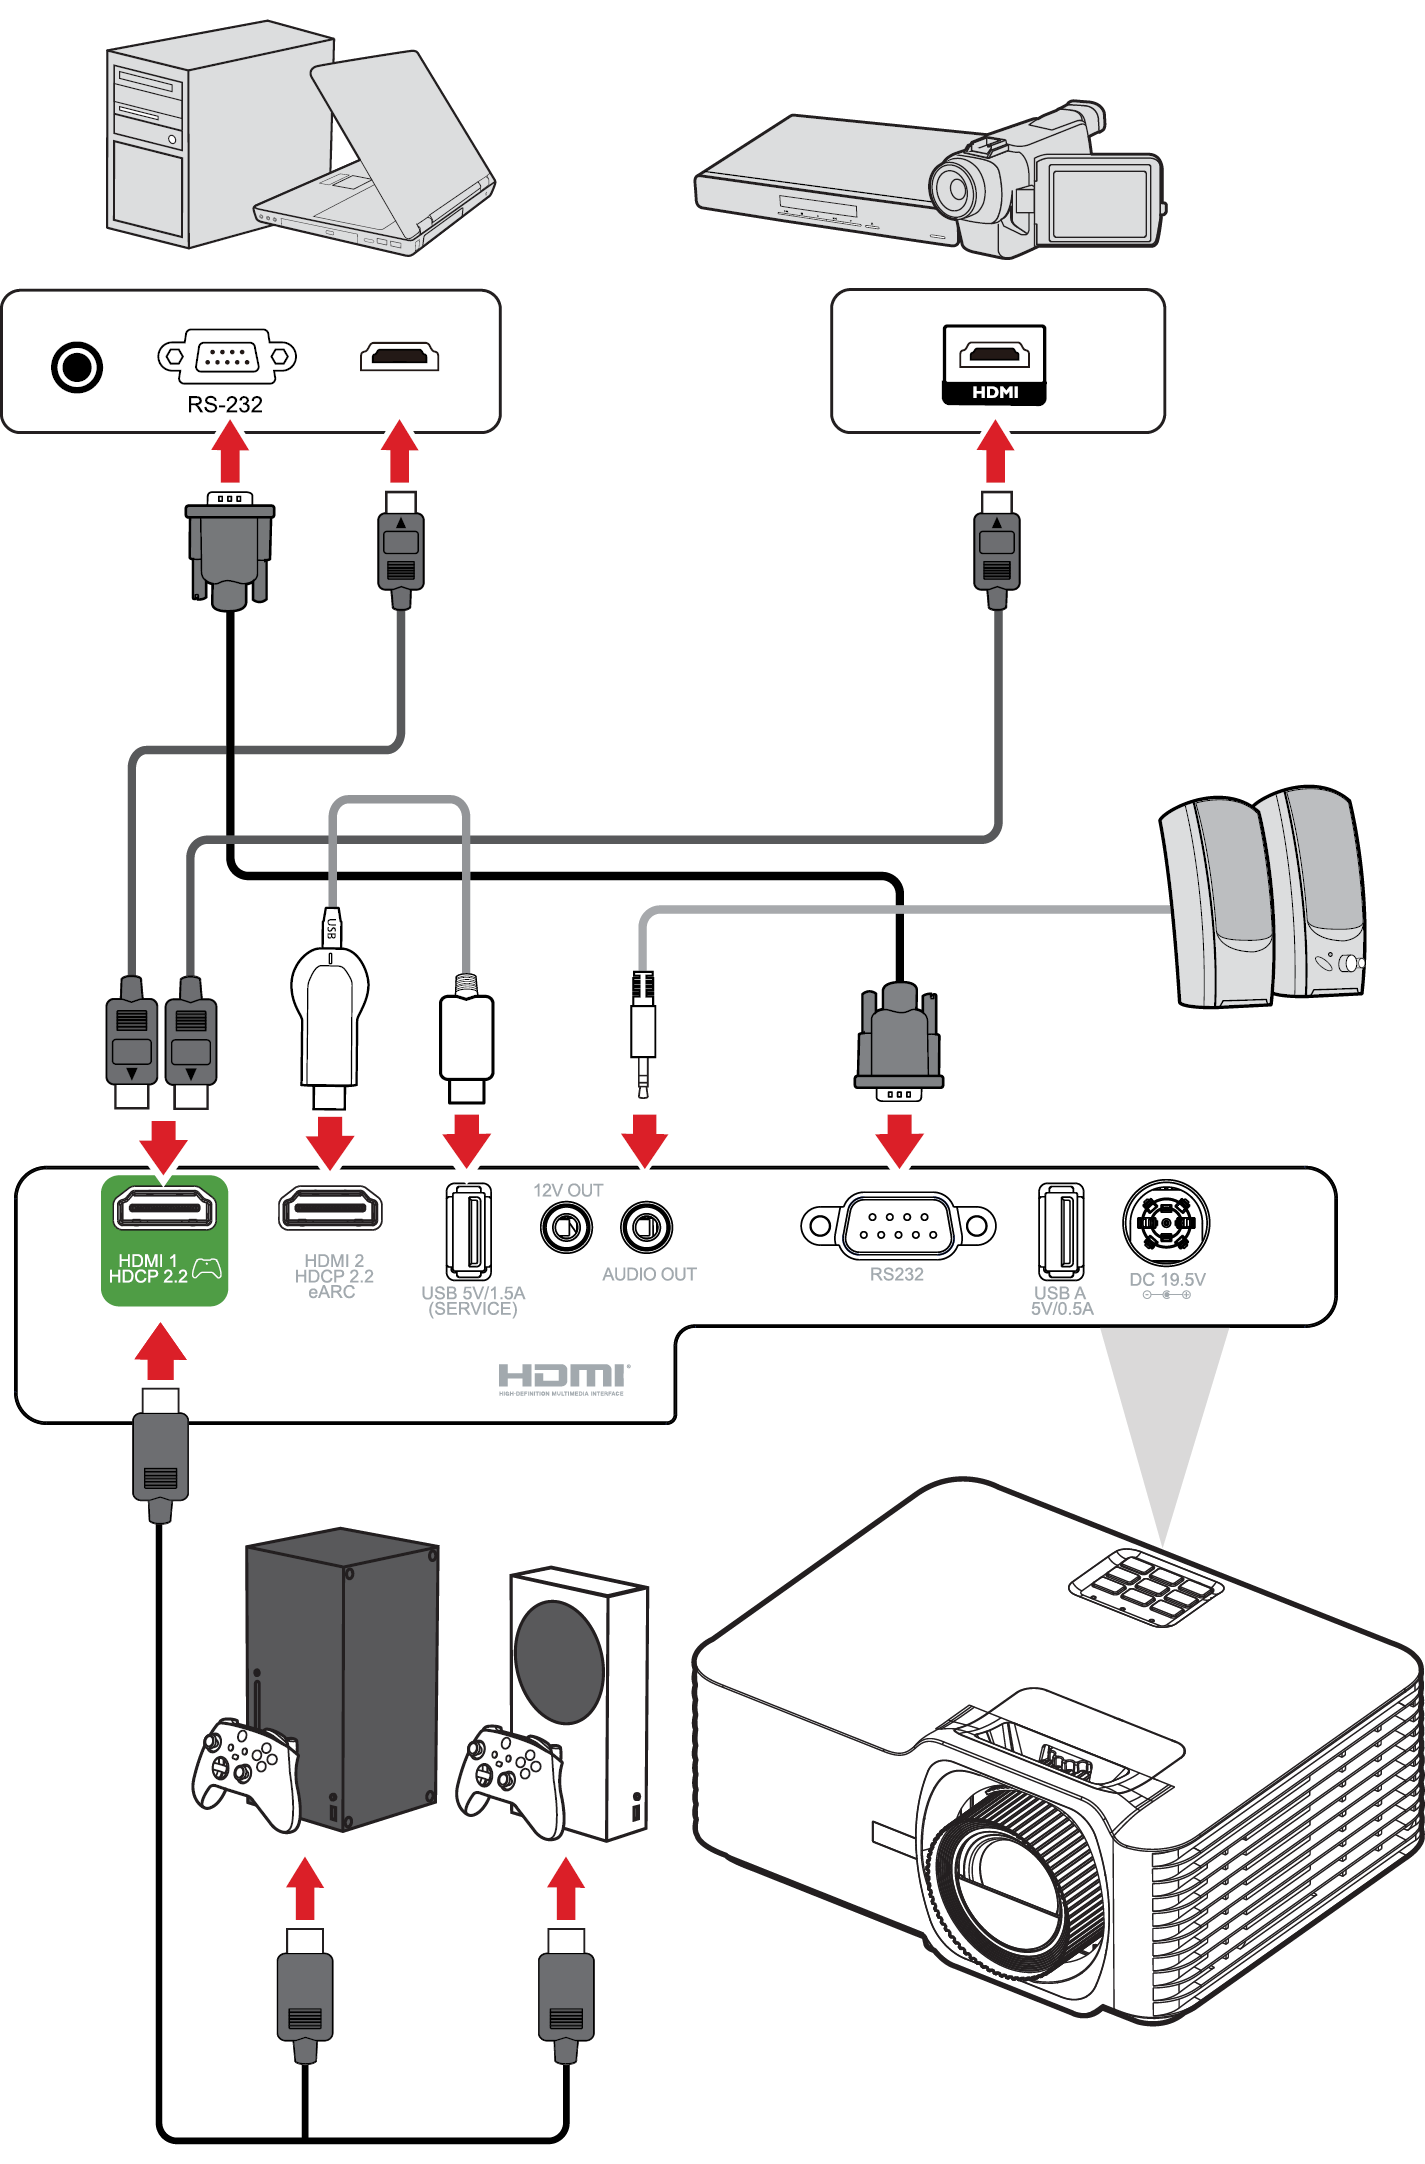
The projector can be connected to multiple devices at the same time. However, it can only display one full screen at a time.
When Auto Source is on, the projector will automatically search for input sources. If multiple sources are connected, press the Source button on the projector or remote control to select the desired input.
- Note: Ensure the connected sources are also turned on.
Adjusting the Projected Image
Adjusting the Projector’s Height and Projection Angle
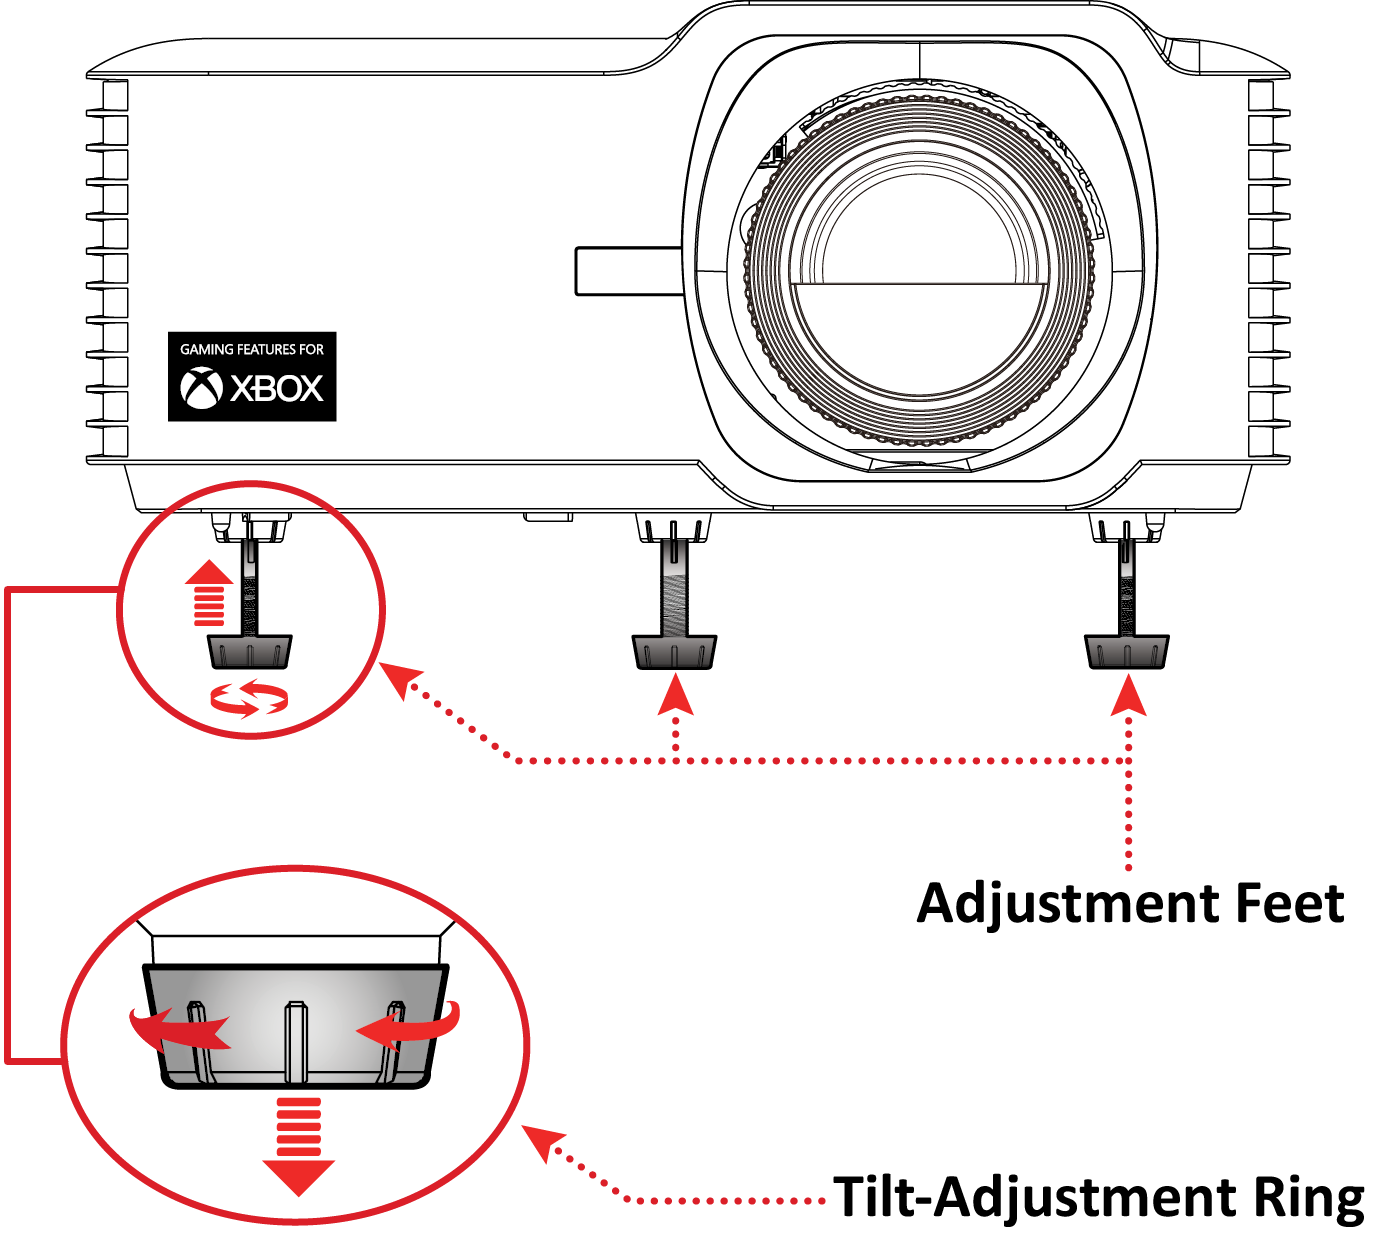
The projector is equipped with three adjustment feet. Adjusting the feet will change the projector’s height and the vertical projection angle.
Adjusting the Focus, Keystone, Lens Shift, and Zoom
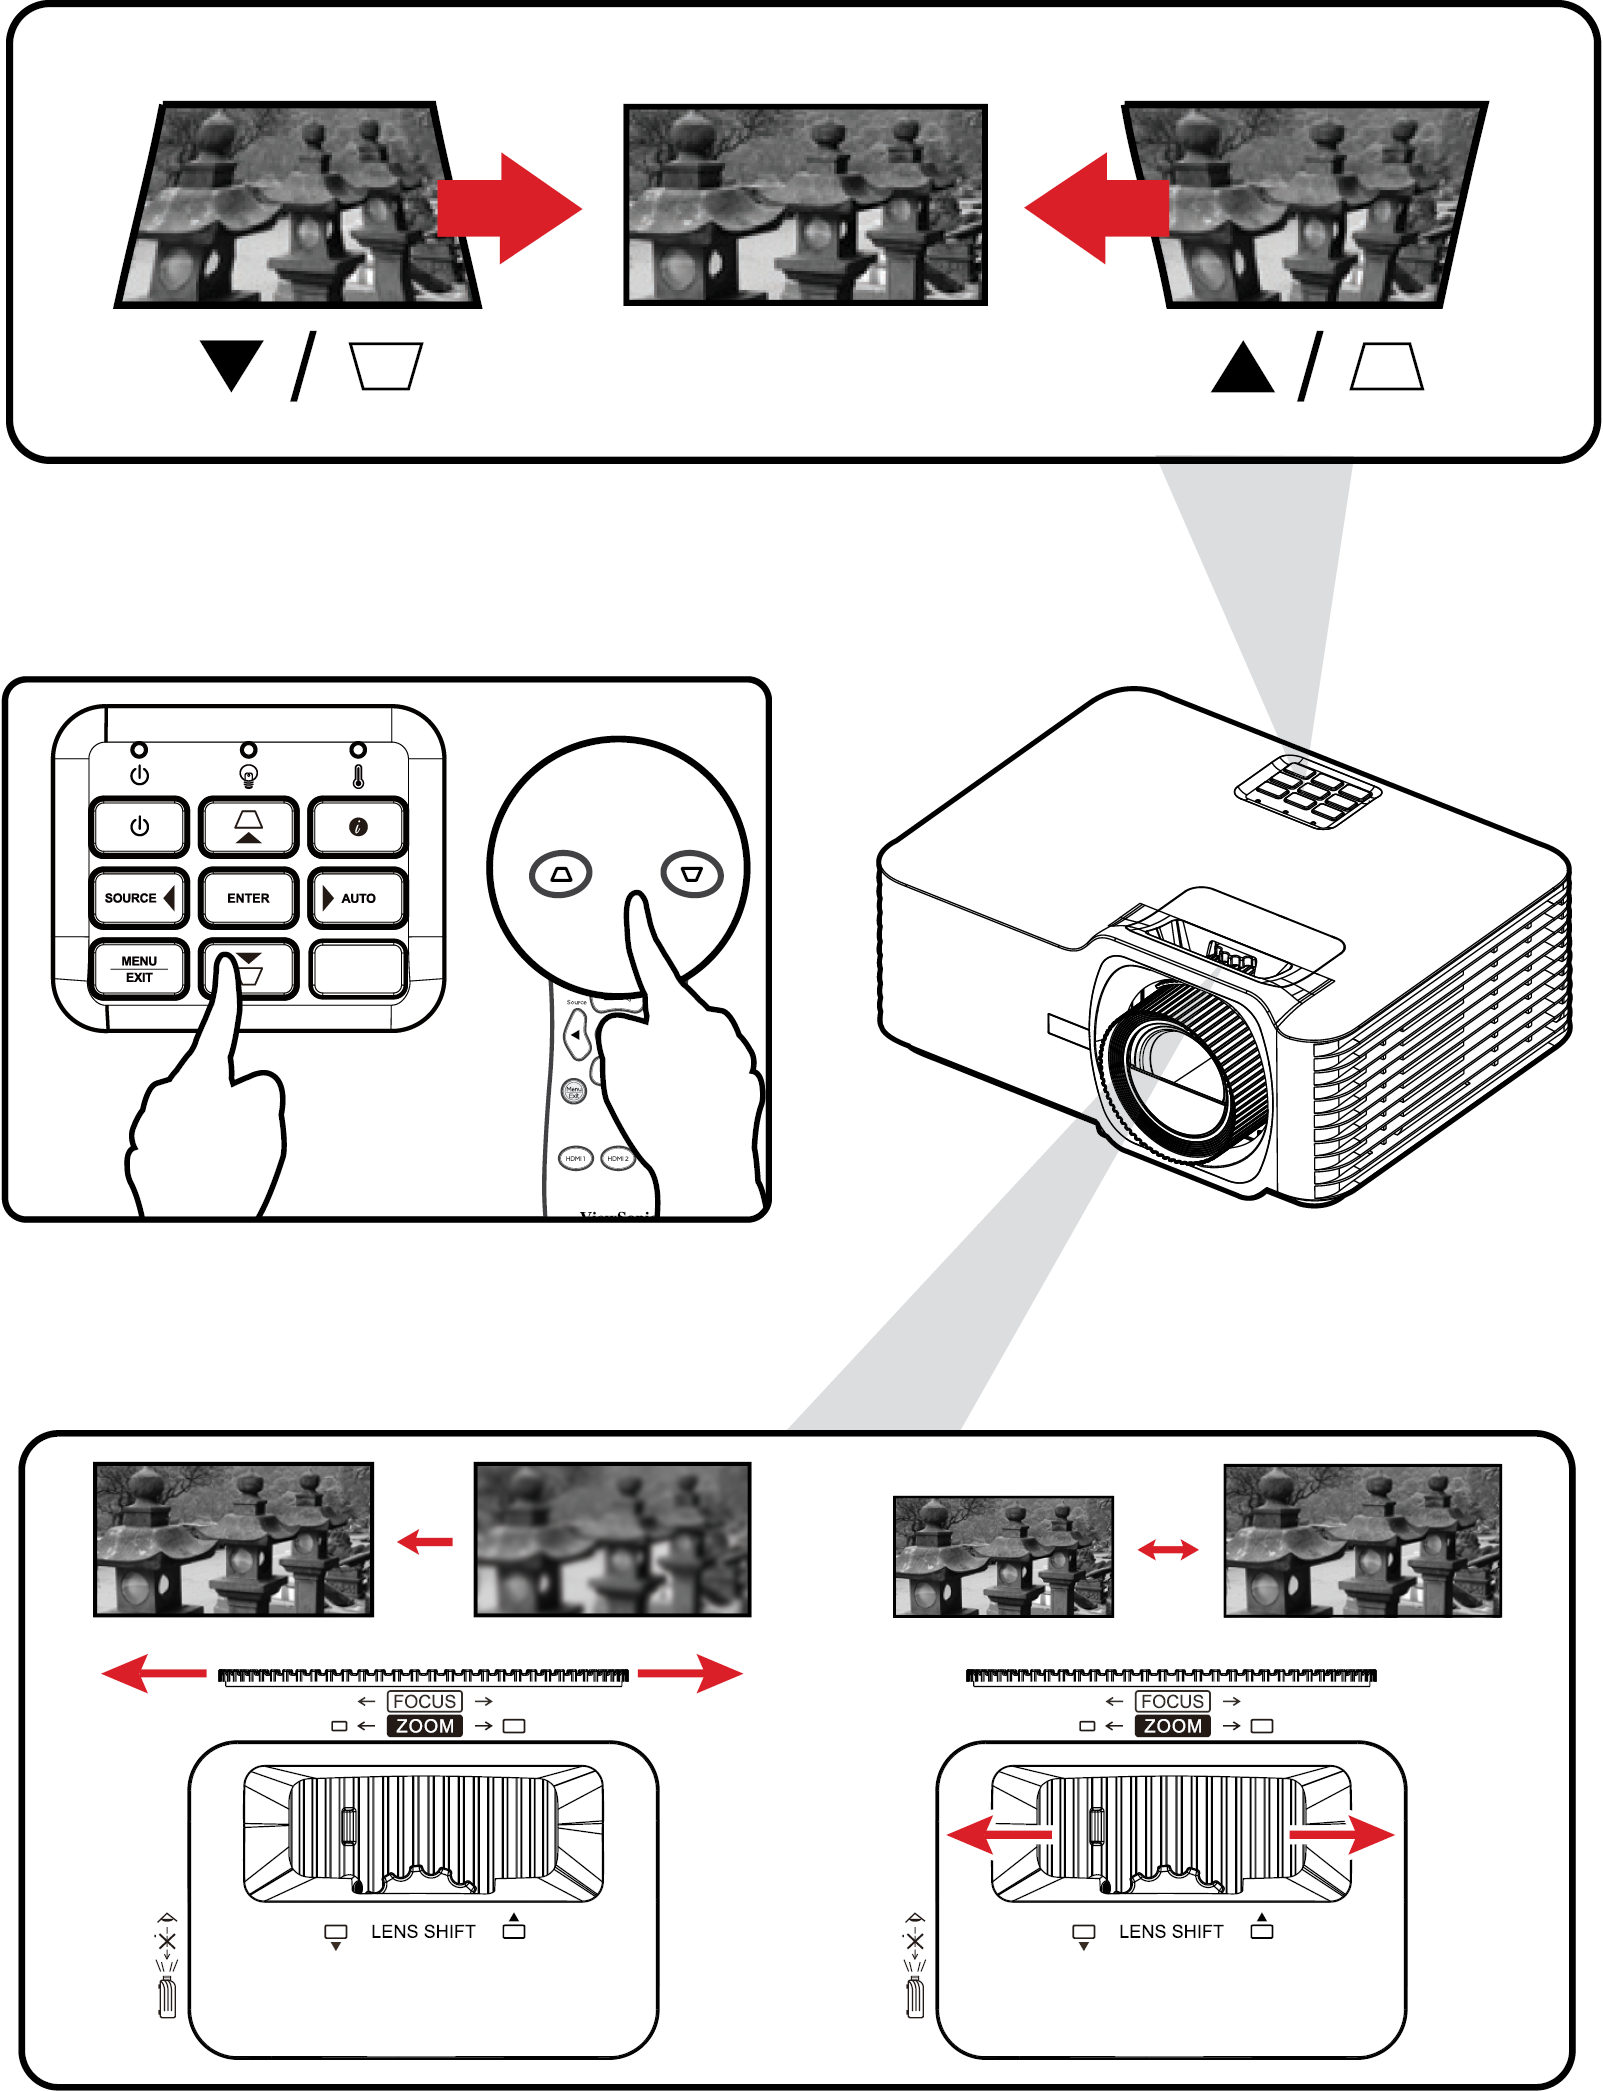
You can improve and adjust the clarity and position of the image by adjusting the Focus Ring, Keystone Keys, Lens Shift dial or Zoom Ring.
Shutting Down the Projector
- Press the Power button on the projector or remote control and a “power off message” will appear.
- Press the Power button again to confirm and shut down the projector.
- The Power Indicator Light will turn solid red, and the projector enters standby mode.


