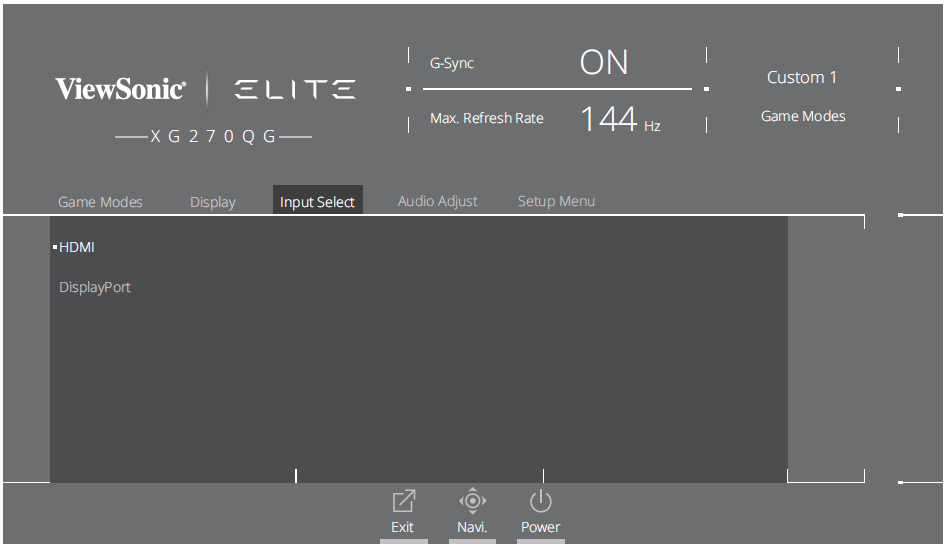
XG270QG On-Screen Display Menu Options
Game Modes
| Menu Option | Description |
|---|---|
| Standard | Select this option for general use. |
| Custom 1/2 | Two customizable “Custom” settings are available to help match individual preferences and adapt to every type of game on the market. |
| FPS | Ideal for First-Person Shooter games. |
| Battle Royale | Tuned for Battle Royale games. |
| MOBA | Select this option for Multiplayer Online Battle Arena games. |
| Console | Color accuracy focus for console use. |
| Movie | Ideal setting for watching movies. |
| Web | Ideal setting for surfing the web. |
Display
| Menu Option | Description |
|---|---|
| OverClocking | When “On” overclock the monitor’s 144Hz refresh rate; up to 165Hz. |
| Contrast | Adjusts the difference between the image background (black level) and the foreground (white level). |
| Brightness | Adjusts background black levels of the screen image. |
| Saturation | Adjusts the color depth of each color (red, green, blue, cyan, magenta, and yellow). |
| 6-Axis Color | Adjust the color depth of each color. |
| Color Temperature | Select the color temperature setting.
|
| Input Range | The monitor can detect the input signal color range automatically. You can manually change the input range options to fit the correct color range if the colors are not displayed correctly.
|
| Gamma | Allows users to manually adjust the brightness level of the monitor’s grayscale levels. |
| Scaling Mode | Adjust the aspect ratio of the monitor. |
Input Select
Audio Adjust
| Menu Option | Description |
|---|---|
| Volume | Adjust the volume level. |
| Mute | Enable to disable the sound. |
Setup Menu
| Menu Option | Description |
|---|---|
| Language Select | Select an available language for the OSD Menu. |
| Resolution Notice | Enable this option to allow the system to inform users that the current viewing resolution is not the correct native resolution. |
| Information | Display the monitor information. |
| Quick Access | Select which options to have present in the Quick Access Menu. |
| Crosshair | Aim more clearly and quickly during FPS games with the on-screen overlay. |
| Elite RGB | This setting controls the RGB lighting on the back of the monitor and under the bezel in order to enhance your RGB experience. When switched on, or after being reset, the default ‘Rainbow Wave’ will activate.
In addition, the RGB lights are also synced with several key partners. Downloading their software will give you the power to manipulate your RGB capabilities even further. If you would like to leverage partnered software see the advanced setup below. Partner Software RGB Setup
You can also check out our RGB software setup tutorials online at https://www.viewsonic.com/elite/rgb/.
|
| OSD Timeout | In addition, the RGB lights are also synced with several key partners. Downloading their software will give you the power to manipulate your RGB capabilities even further. |
| OSD Background | If you would like to leverage partnered software see the advanced setup below. |
| Power Indicator | Set the Power Indicator On or Off. If the setting is set to On, the power indicator lights blue when the device is turned on. |
| Standby Charger | When activated, the USB will continue to supply power even when the monitor is in standby mode. |
| Sleep | Set the amount of idle time before the monitor enters Sleep mode. |
| Deep Sleep | A more aggressive Eco mode for HDMI/DisplayPort inputs. |
| ECO Mode | Choose between various modes, based on power consumption. |
| Memory Recall | Resets all settings to their default values. |

