PJ-WPD-700 Using the Device
Starting and Stopping Casting
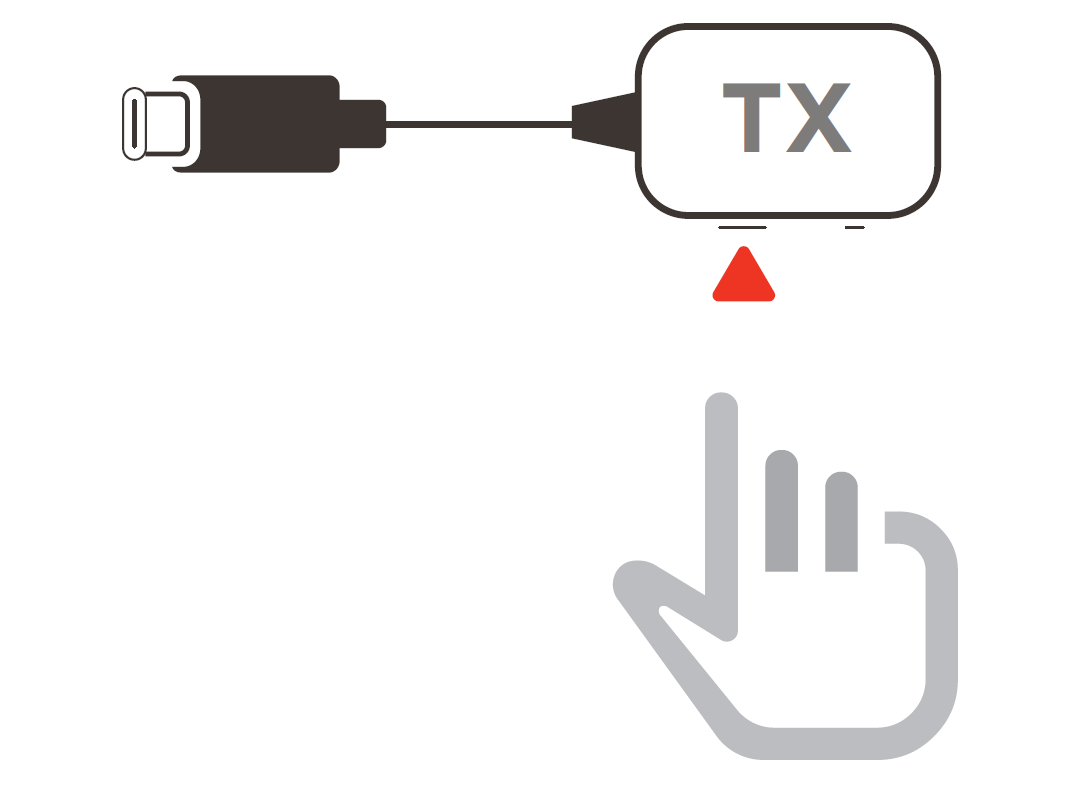
Once the Receiver and Transmitter are connected, casting will start automatically from the casting device (e.g., laptop). However, casting can be stopped and restarted by pressing the Pair Button on the Transmitter at any time.
NOTE:
- Casting is supported for all laptops, including those running Windows and macOS, as well as Android and Apple devices with DP Alt output.
- Duplicate and Extend mode for Windows/macOS systems are supported.
- To reset to default settings, press the Reset Button for five (5) seconds.
- Genuine HDCP (High-bandwidth Digital Content Protection) for DRM (Digital Rights Management) streaming is supported.
Device Updates
Enable the Receiver's SSID and PSK
- Connect the Receiver’s HDMI Output to an HDMI port of the projector.
- NOTE: Ensure the projector is also turned ON.
- Plug the Receiver’s USB A Input into the USB A port of the projector that can provide 5V/0.5A power.
- On the Receiver’s HDMI Output, use a paper clip or SIM-eject tool to press and hold the Reset button for approximately two (2) seconds until the projected image displays the SSID and PSK of the Receiver, then release the Reset button.
Connecting the Receiver to a Network
- Turn on the Wi-Fi settings page on your phone or computer.
- Connect to the SSID of the Receiver and enter the PSK displayed on the projected image to complete the connection.
- Open an internet browser on your phone or computer and enter 192.168.203.1. in the address bar.
- Enter the settings page, turn ON internet settings, and connect the Receiver to the network.
Updating via Web Settings
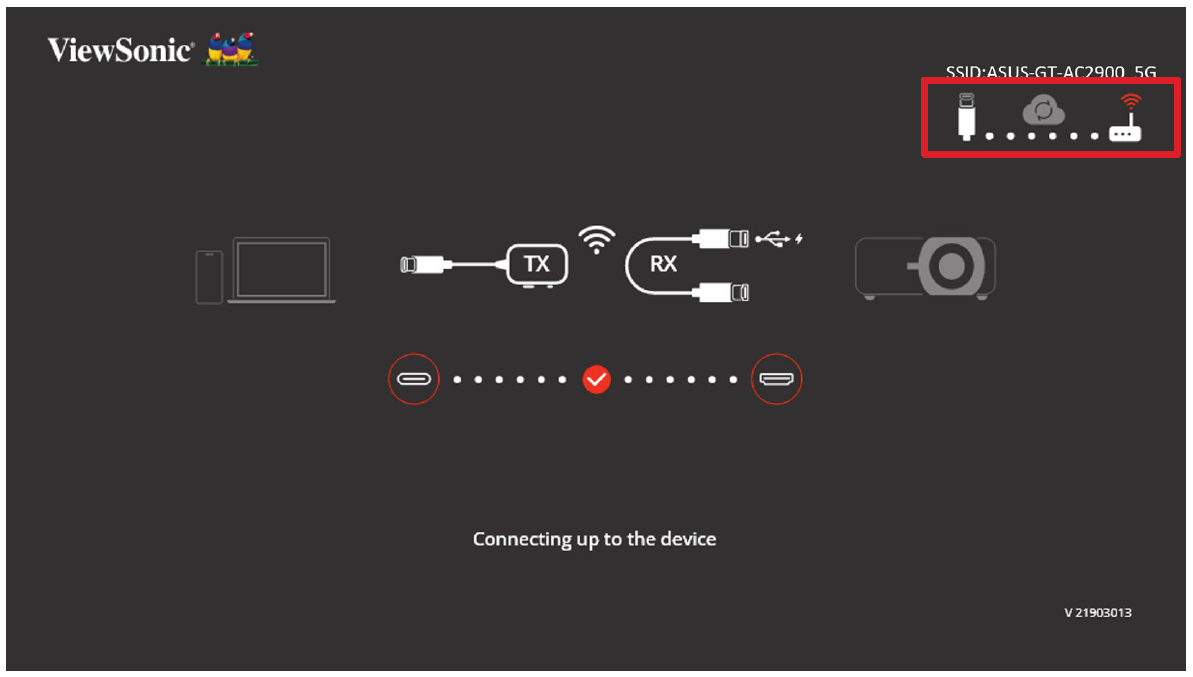
- Check the icons at the top right of the projected image and verify that the Receiver is connected to the Internet network.
- After connecting the Receiver to the network, return to the settings page and select “Upgrade”.
- The system will check the current firmware version of the Receiver. If there is a newer version, select “Agree” to update.
- During the firmware upgrade, please ensure that the power remains on and that the device stays connected to the internet.
- NOTE: If the Transmitter does not connect, the “Upgrade for transmitter” function cannot be selected.


