PD1233 PD1233T Making Connections
Installing Drivers and Software
System Requirements:
Operating system: Windows 7, 10, 11, or later; Linux Ubuntu; Chrome OS by request.
PC I/O: USB 2.0/above
Before connecting and using the pen display, it is necessary to install the below software. The software can be downloaded at:
PD1233 – Driver and Software Download
DisplayLink Driver
Open the DisplayLink installation file and install the driver.
- NOTE: DisplayLink Driver can be installed through Windows Update when connected to the Internet.
Pen Display Driver
ViewSonic Pen Manager can be used to map the active area and adjust the feel of the pen.
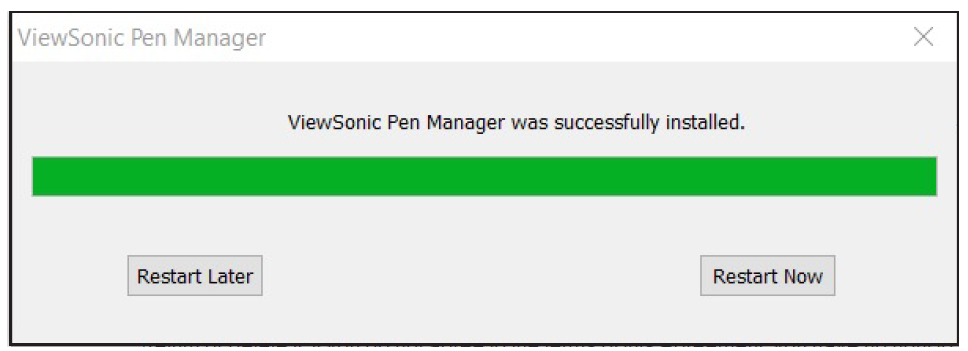
- Open the ViewSign Console installation file and install the driver (ViewSonic Pen Manager).
- Restart the computer after the installation completes.
-
- NOTE: For further ViewSign Console information, please visit: Pen Display Software - ViewSonic Pen Display Software
-
Connecting the Pen Display
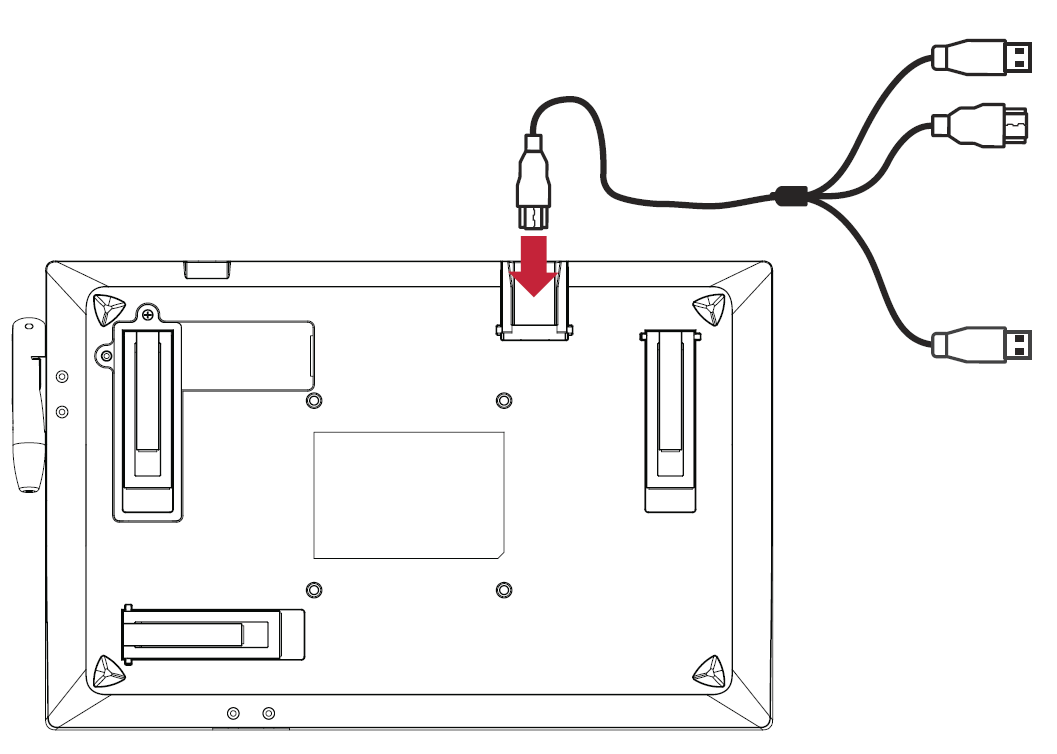
- Turn the device over so the bottom side is facing up.
- Connect the Mini HDMI end of the Mini HDMI 3 in 1 cable to the Mini HDMI Port of the device.
- Connect the Main USB A cable and HDMI cable to the PC. The Secondary USB A cable can be connected to a fully powered USB port on the computer, or to an AC outlet using the supplied power adapter.
- NOTE: When connecting the USB cable directly to the computer, the screen of the tablet may flicker if the computer power is insufficient. In this case, please connect the Secondary USB A cable (shown in red) to the power adapter and plug the adapter into an AC outlet to ensure that there is enough power for the pen display.


