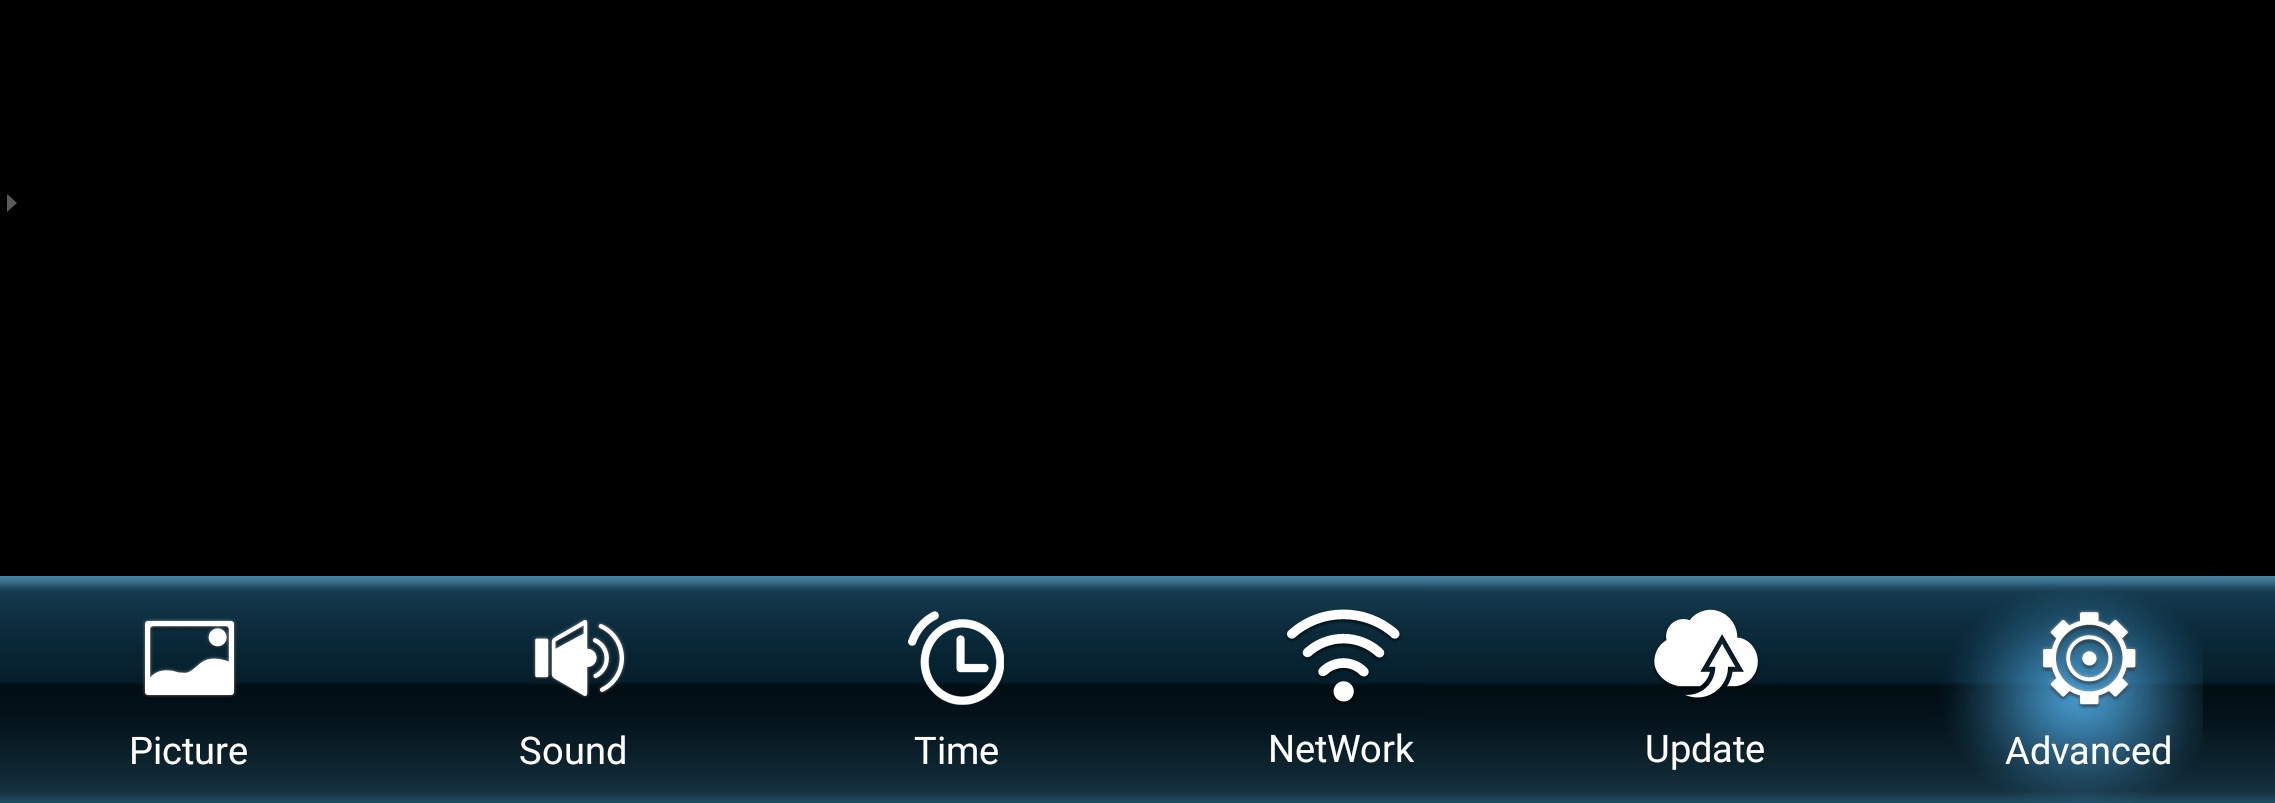
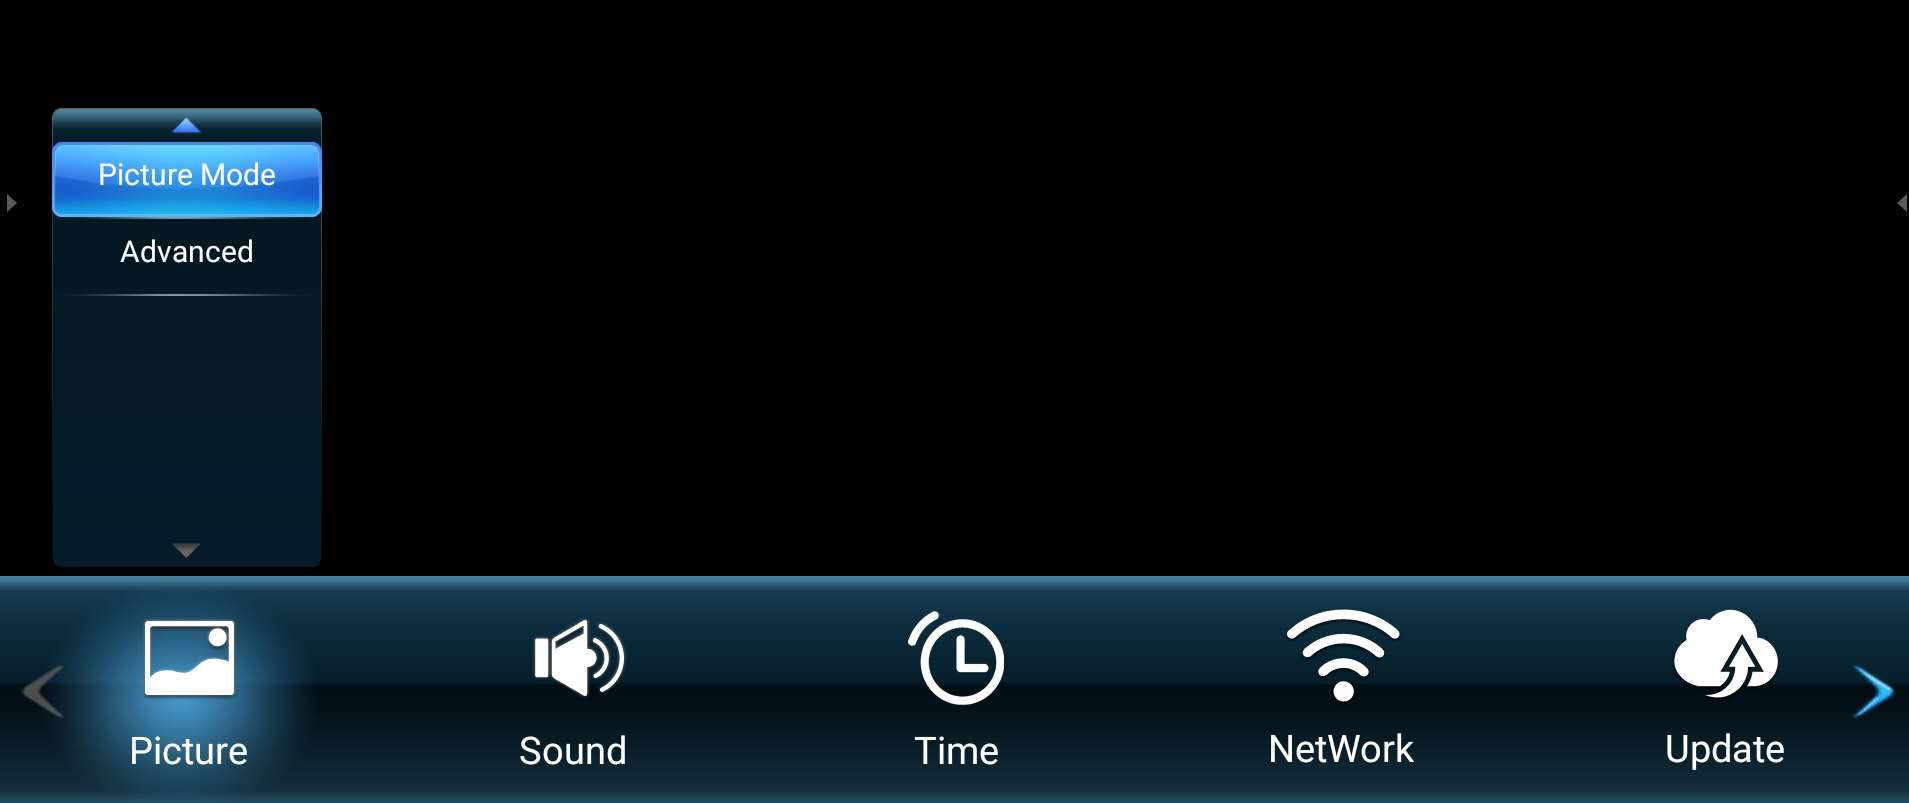
LDM135-151 On-Screen Display Menu
On-Screen Display (OSD) Menu Operation
Use the On-Screen Display (OSD) Menu to adjust various settings.
- NOTE: The OSD Menu is only available when there is an input source, e.g. HDMI.
To open and operate the OSD Menu:
- Press the MENU button on the remote control.
- Press ▼/▲/◄/► on the remote control to select menu items or adjust values.
- Press OK to confirm your selection.
- Press the RETURN button to go back to the previous menu level.
- Press the MENU button to exit the OSD Menu.
On-Screen Display (OSD) Menu Tree
Picture
| Sub-menu | Menu Option | |
|---|---|---|
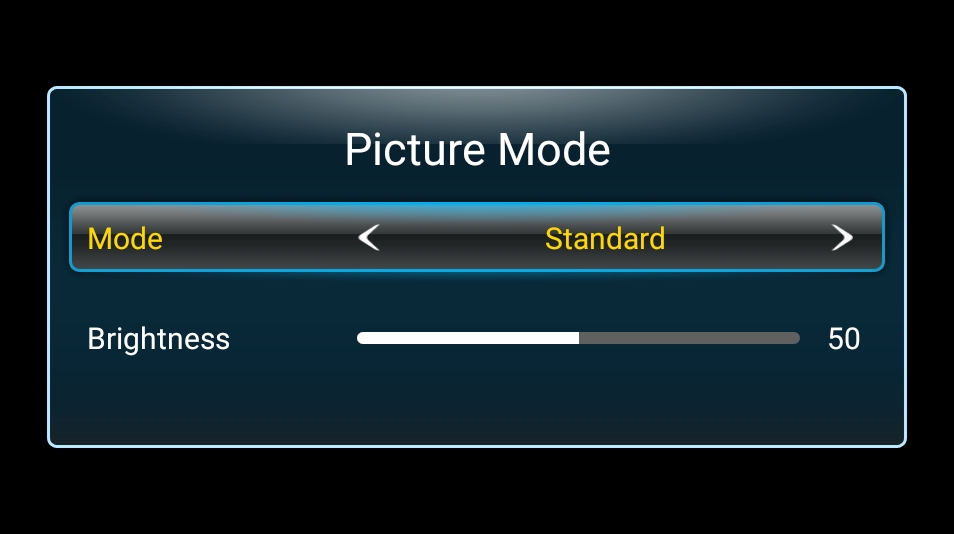
| Picture Mode | Mode | Standard |
| Vivid | ||
| Soft | ||
| User | ||
| Brightness | (-/+, 0~100) | |
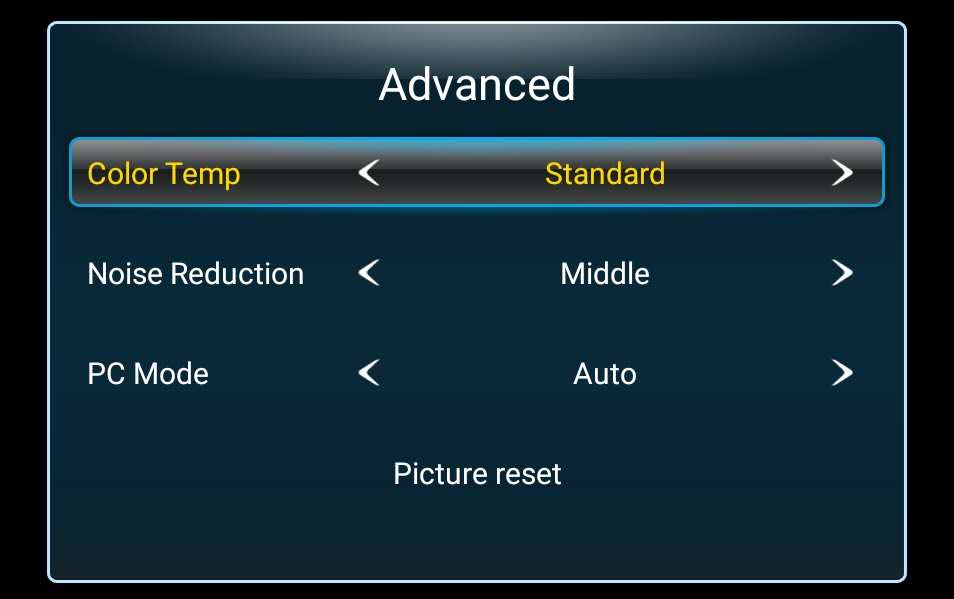
| Advanced | Color Temp | Standard |
| Cool | ||
| Warm | ||
| Noise Reduction | Off | |
| Low | ||
| Middle | ||
| High | ||
| PC Mode | PC | |
| Video | ||
| Auto | ||
| Picture Reset | ||
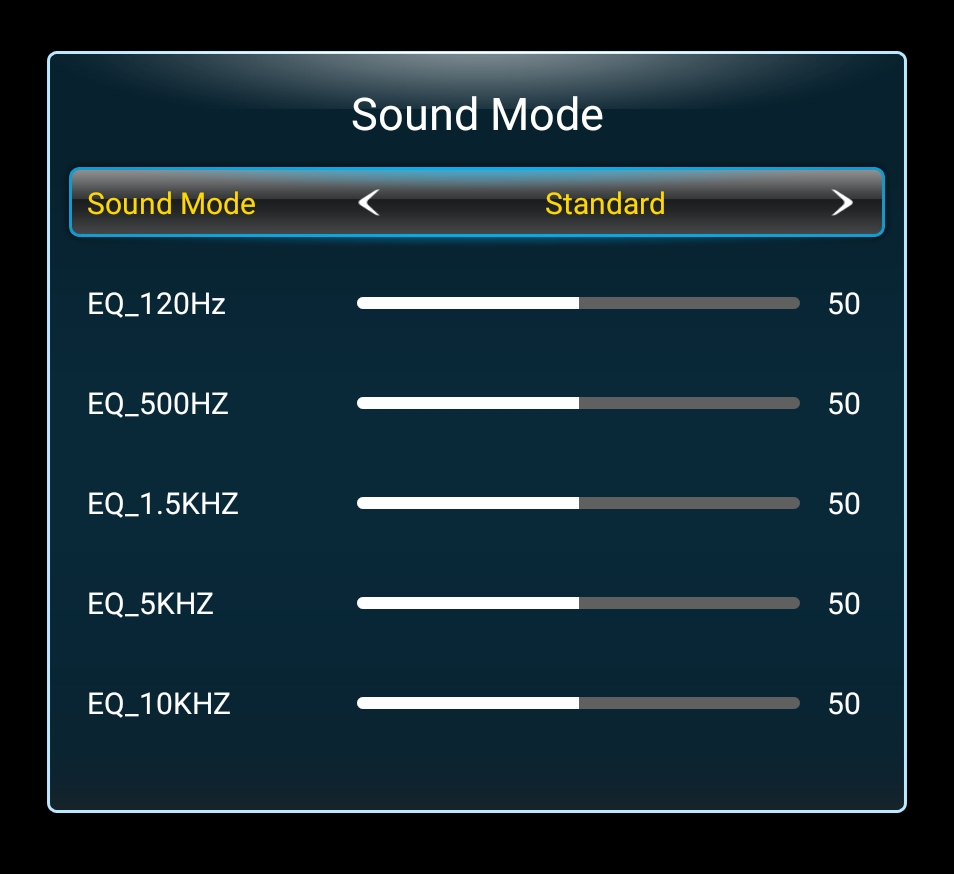
Sound
| Sub-menu | Menu Option | |
|---|---|---|
| Sound Mode | Sound Mode | Standard |
| News | ||
| Music | ||
| Movie | ||
| Sports | ||
| User | ||
| EQ_120Hz | (-/+, 0~100) | |
| EQ_500Hz | (-/+, 0~100) | |
| EQ_1.5KHz | (-/+, 0~100) | |
| EQ_5KHz | (-/+, 0~100) | |
| EQ_10KHz | (-/+, 0~100) | |
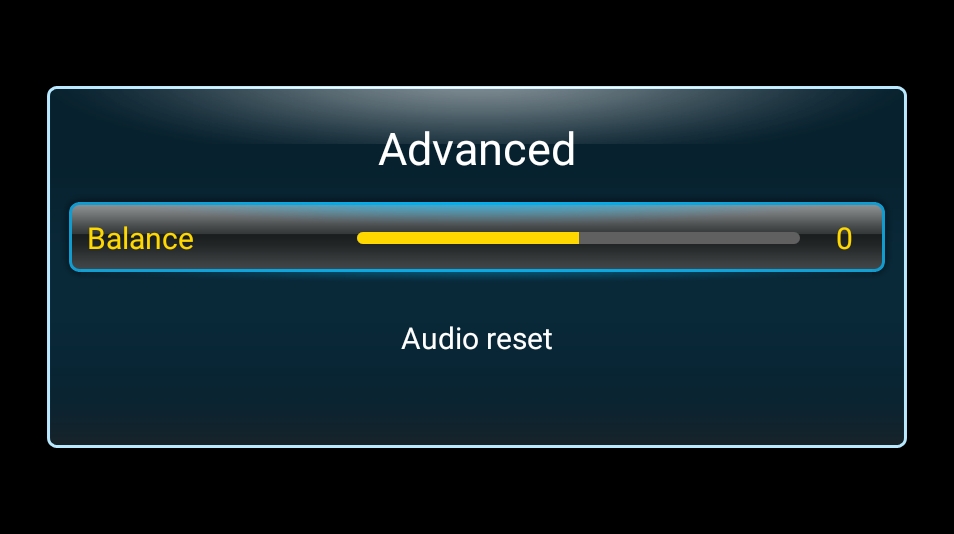
| Advanced | Balance | (-/+, -50~50) |
| Audio Reset | ||
Time
| Sub-menu | Menu Option | ||
|---|---|---|---|
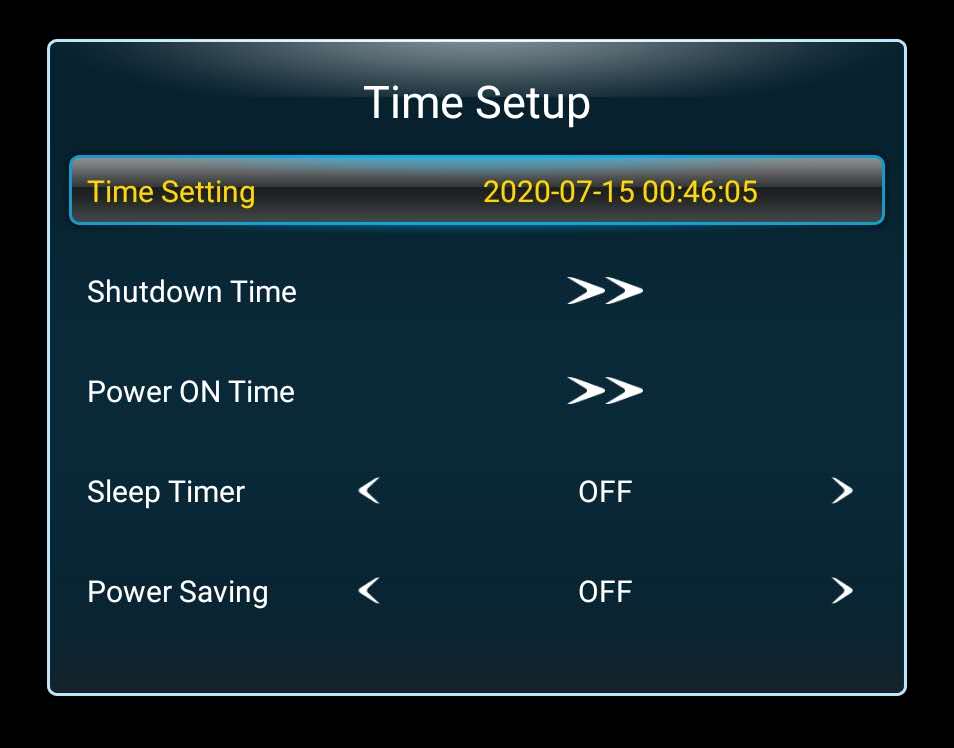
| Time Setup | Time Setting | Date Picker | |
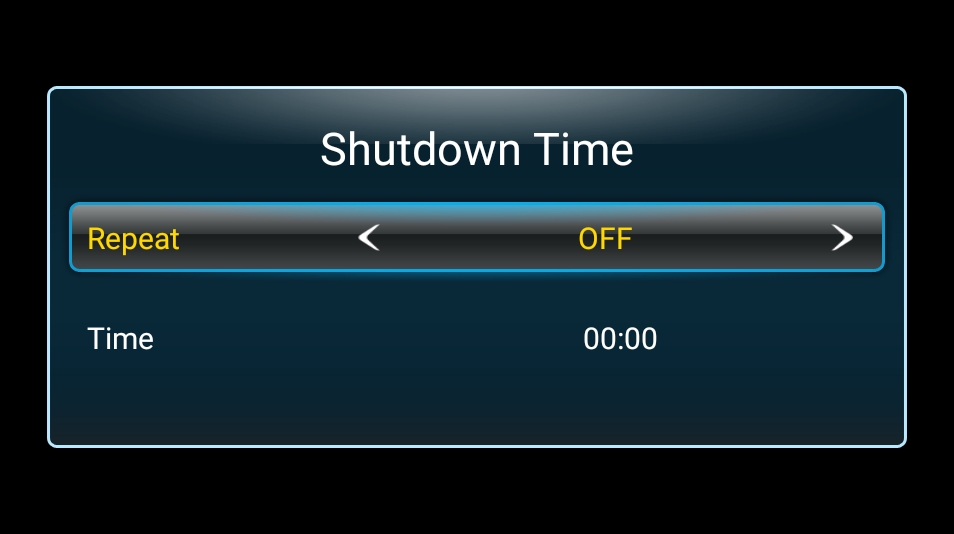
| Shutdown Time | Repeat | Off | |
| Once | |||
| Every day | |||
| Work day | |||
| Time | |||
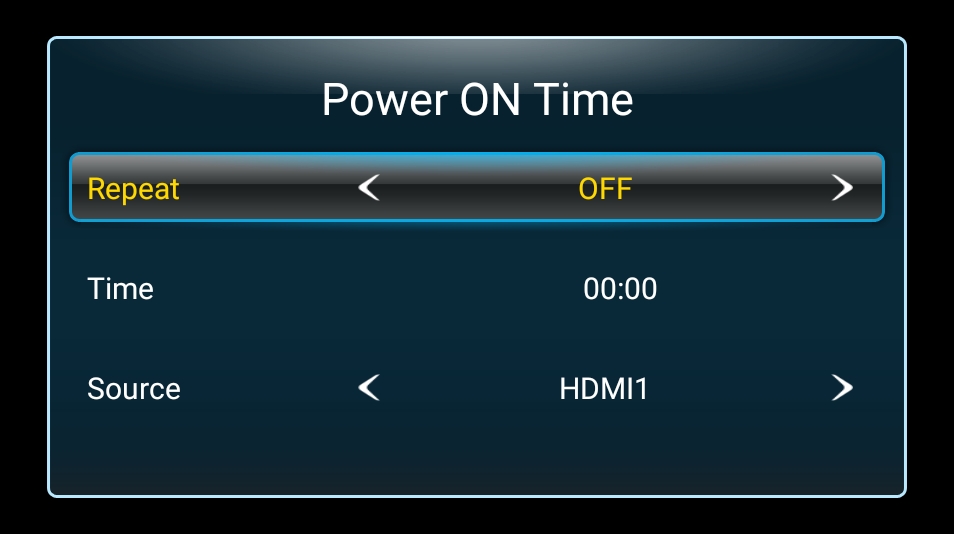
| Power ON Time | Repeat | Off | |
| Once | |||
| Every day | |||
| Work day | |||
| Time | |||
| Source | HDMI 1 | ||
| HDMI 2 | |||
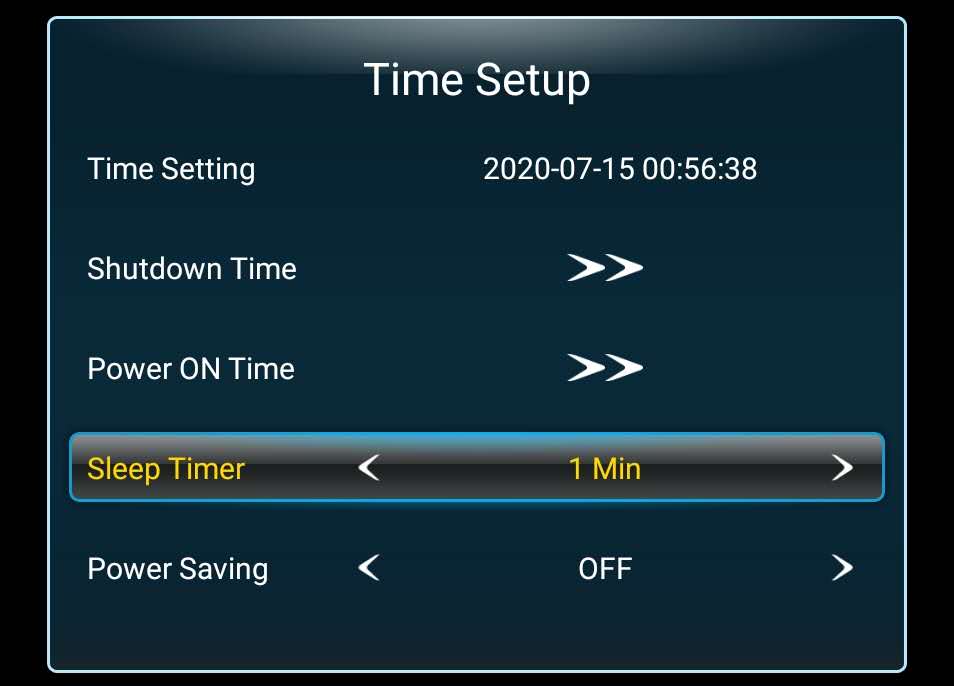
| Sleep Timer | Off/1/10/20/30/60/90/120/180/240 min | ||
| Power Saving | Off/1/3/5/10 min | ||
| Time Sync | Network Time | ||
| Off | |||
| Time Zone | Shanghai | Ulaanbaatar | |
| Calcutta | Damascus | ||
| Harare | Sydney | ||
| Karachi | Paris | ||
| Brazzaville | Rome | ||
| Beirut | London | ||
| Jerusalem | Dubai | ||
| Tehran | Tokyo | ||
| Baghdad | US-PT | ||
NetWork
| Sub-menu | Menu Option | |
|---|---|---|
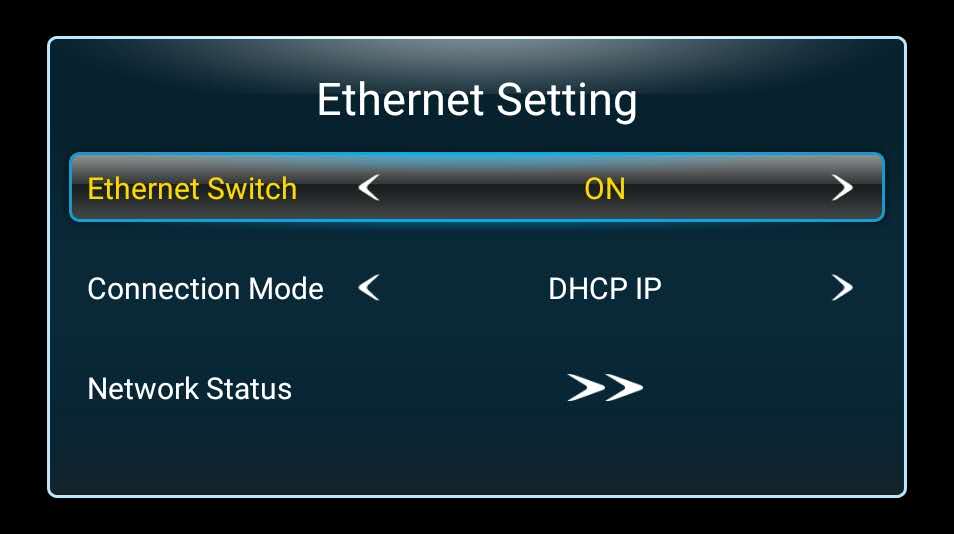
| Ethernet Setting | Ethernet Switch | Off |
| On | ||
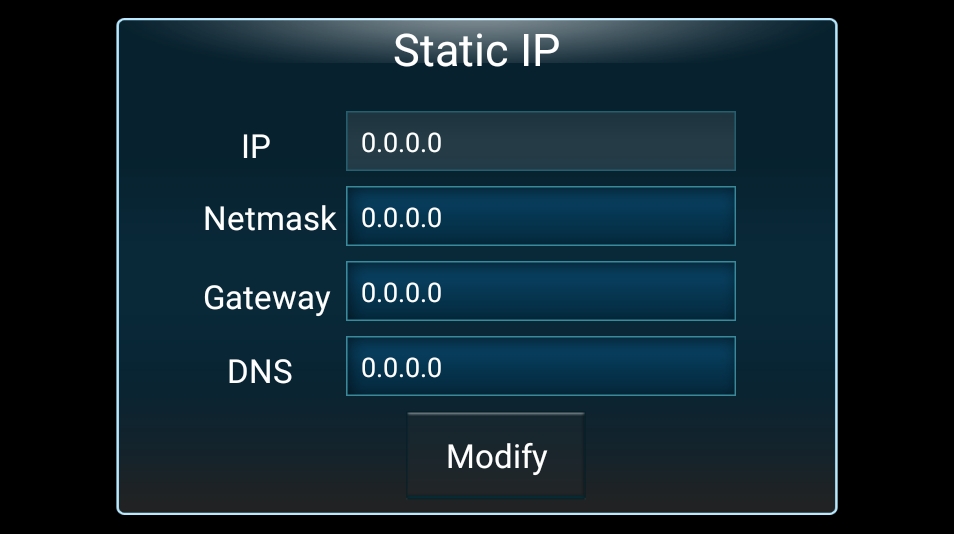
| Connection Mode | DHCP IP | |
| Static IP | ||
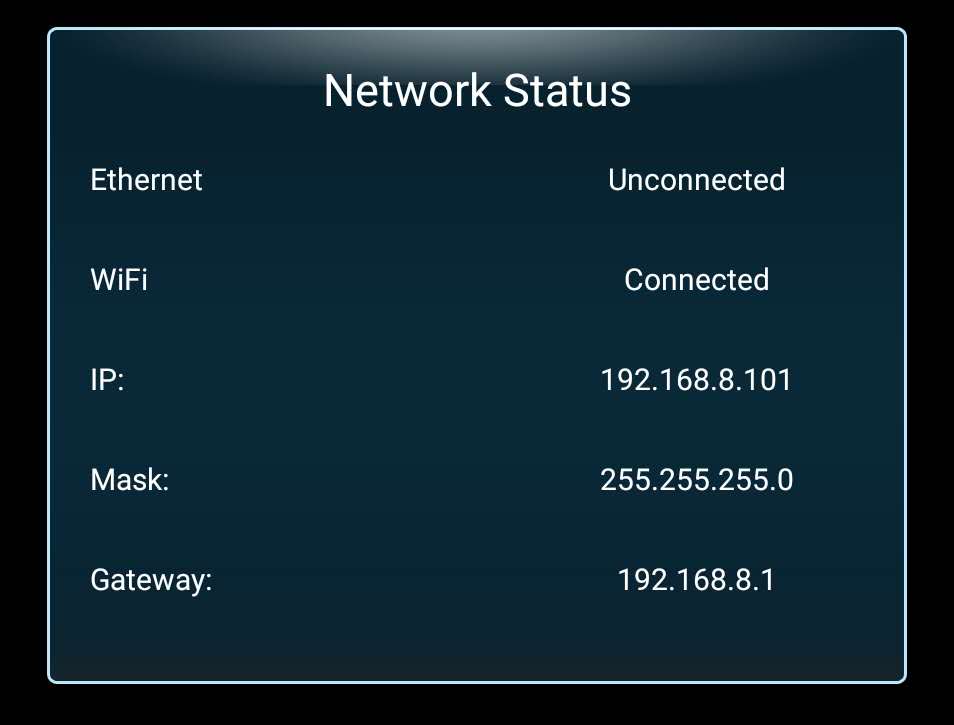
| Network Status | ||
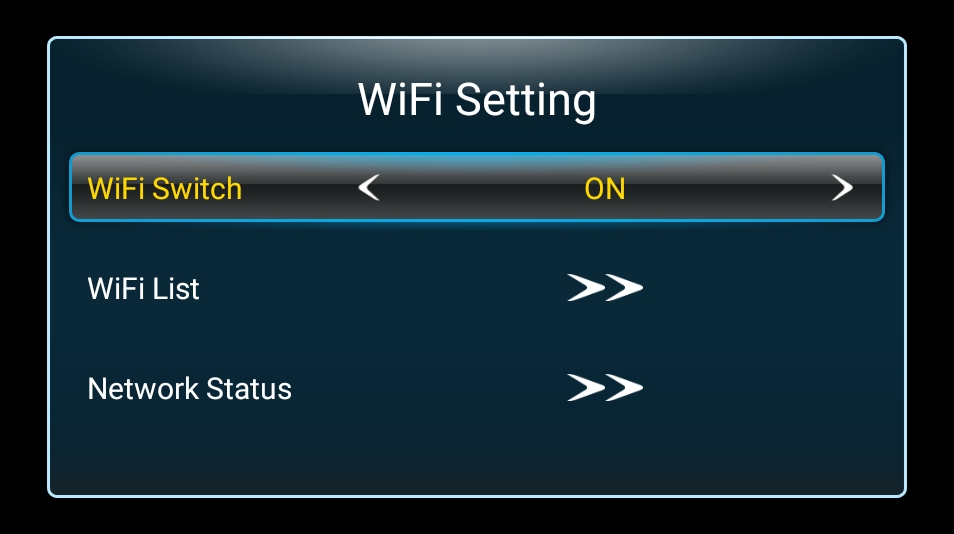
| WiFi Setting | WiFi Switch | Off |
| On | ||
| WiFi List | Scan WiFi List | |
| Add WiFi network | ||
| Network Status | ||
Update
| Sub-menu | Menu Option | |
|---|---|---|
| Local Update | SD Card | |
Advanced
| Sub-menu | Menu Option | |
|---|---|---|
| Language | Menu Language | English |
| Français | ||
| Español | ||
| Deutsch | ||
| Русский | ||
| Dutch | ||
| 繁體中文 | ||
| 简体中文 | ||
| Turkish | ||
| Arabic | ||
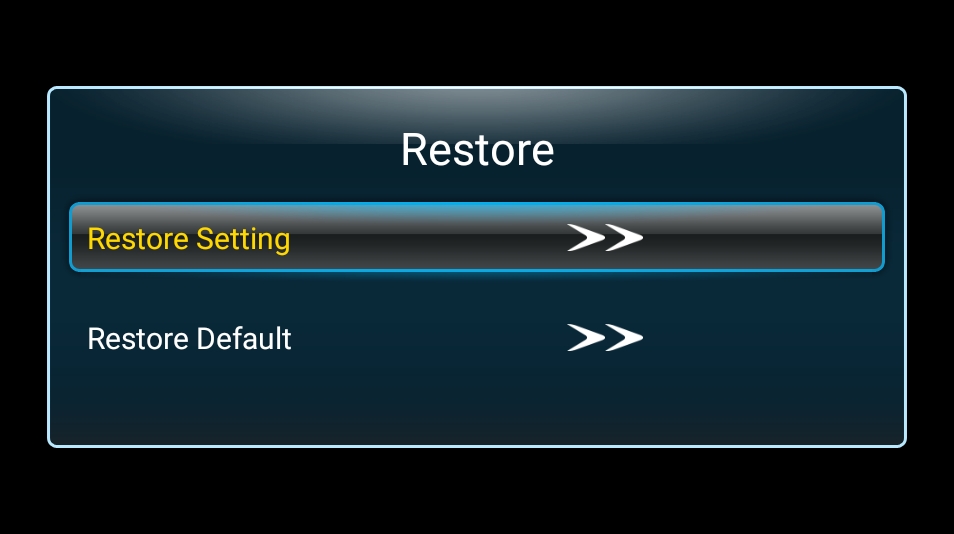
| Restore | Restore Setting | |
| Restore Default | ||
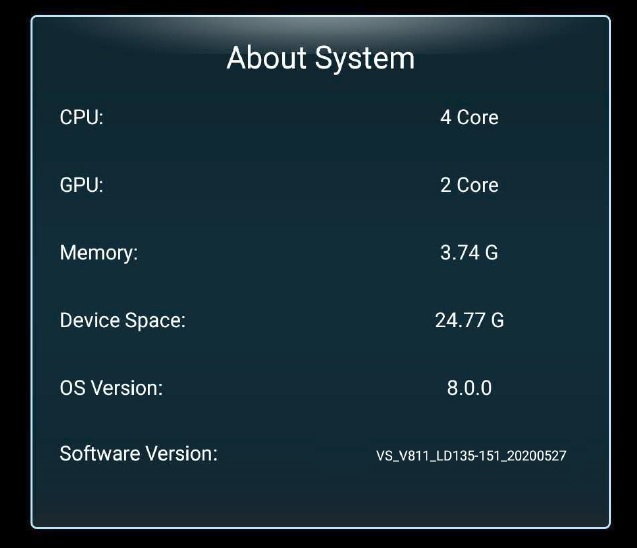
| About System | CPU | |
| GPU | ||
| Memory | ||
| Device Space | ||
| OS Version | ||
| Software Version | ||
On-Screen Display (OSD) Menu Options
Picture
- Press MENU on the remote control to display the OSD Menu.
- Then press OK or use ▼/▲/◄/► on the remote control to select the Picture menu.
- Press ▼/▲ to select the menu option. Then press OK to display its sub-menu, or press ◄/► to adjust/select the setting.
- NOTE: Some sub-menu options may have another sub-menu layer.
| Menu Option | Description |
|---|---|
| Picture Mode | Standard Vivid Soft User Brightness |
| Advanced | Color Temp
Noise Reduction PC Mode
Picture Reset |
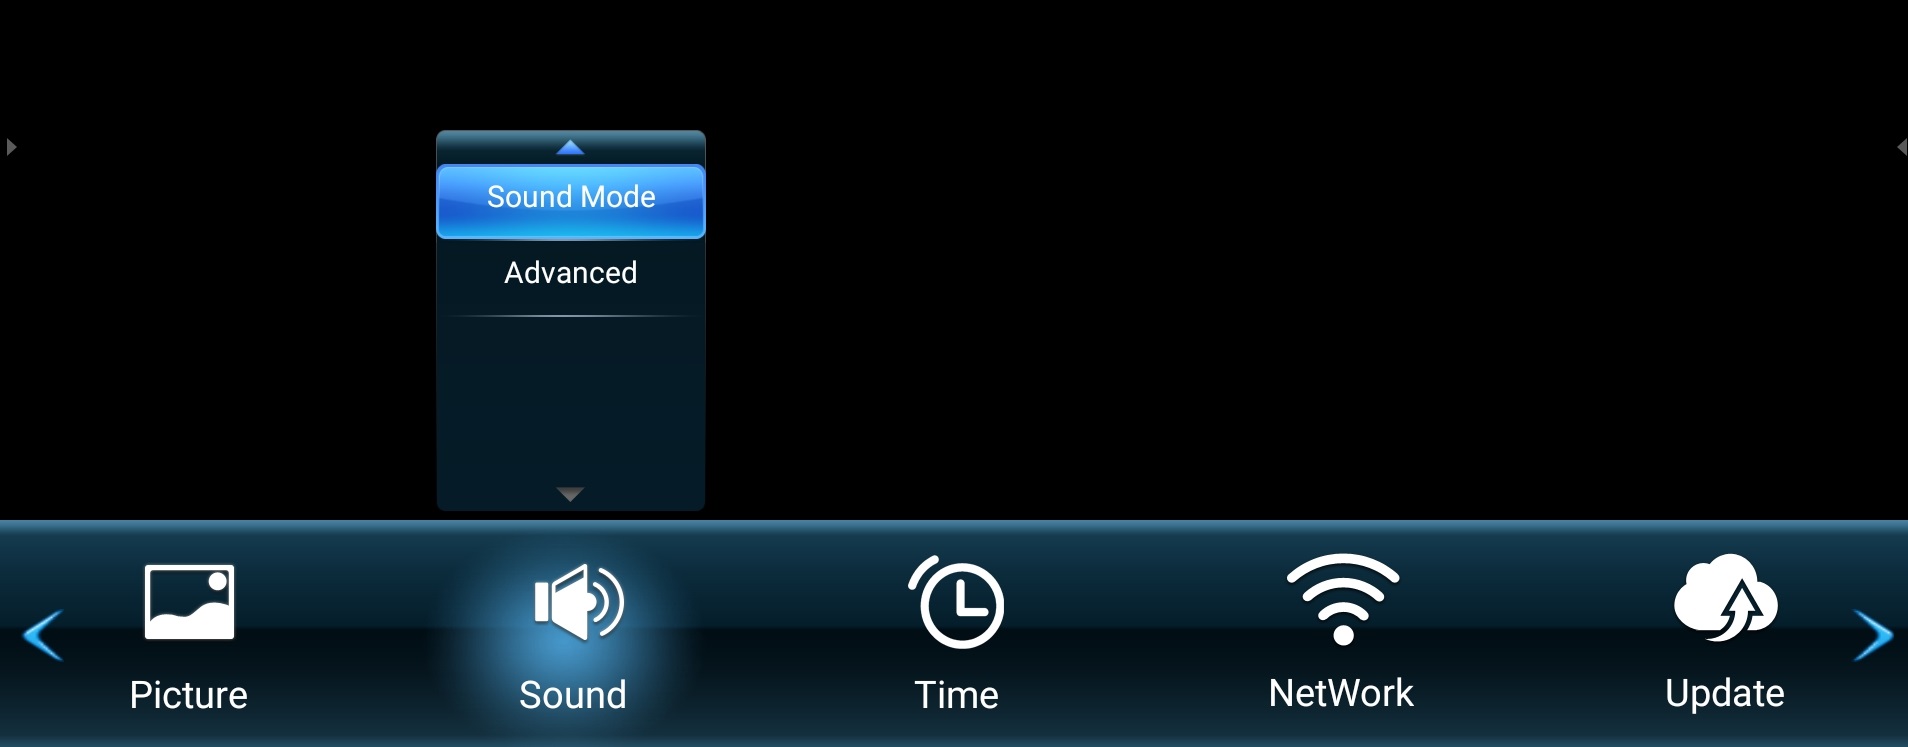
Sound
- Press MENU on the remote control to display the OSD Menu.
- Then press OK or use ▼/▲/◄/► on the remote control to select the Sound menu.
- Press ▼/▲ to select the menu option. Then press OK to display its sub-menu, or press ◄/► to adjust/select the setting.
- NOTE: Some sub-menu options may have another sub-menu layer.
| Menu Option | Description |
|---|---|
| Sound Mode | Standard News Music Movie Sports User |
| Advanced | Balance Audio Reset |
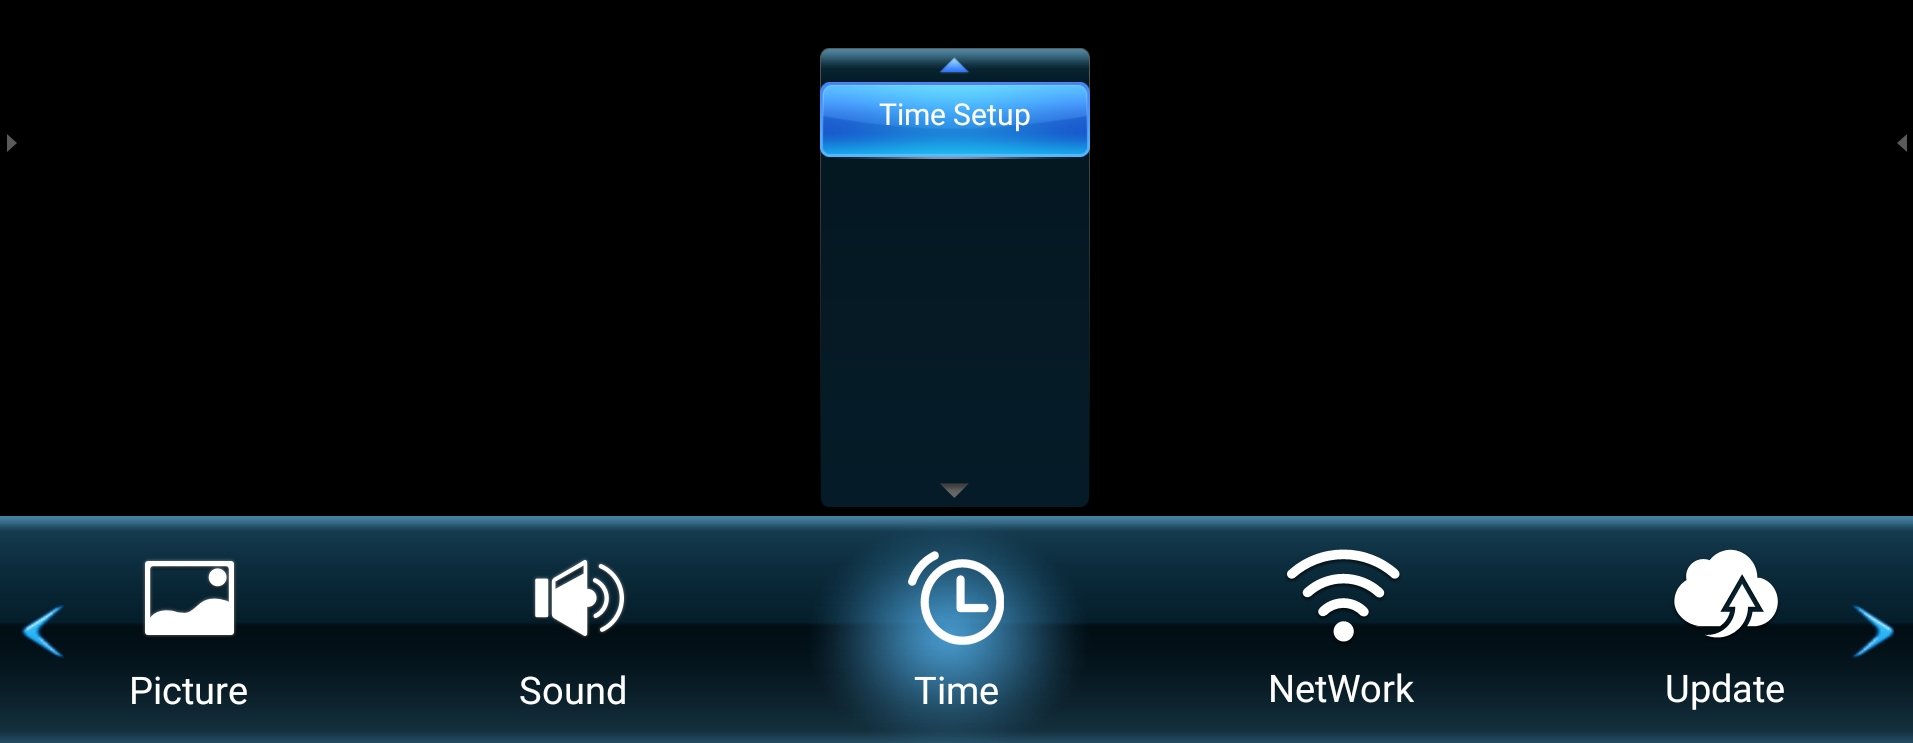
Time
- Press MENU on the remote control to display the OSD Menu.
- Then press OK or use ▼/▲/◄/► on the remote control to select the Time menu.
- Press ▼/▲ to select the menu option. Then press OK to display its sub-menu, or press ◄/► to adjust/select the setting.
- NOTE: Some sub-menu options may have another sub-menu layer.
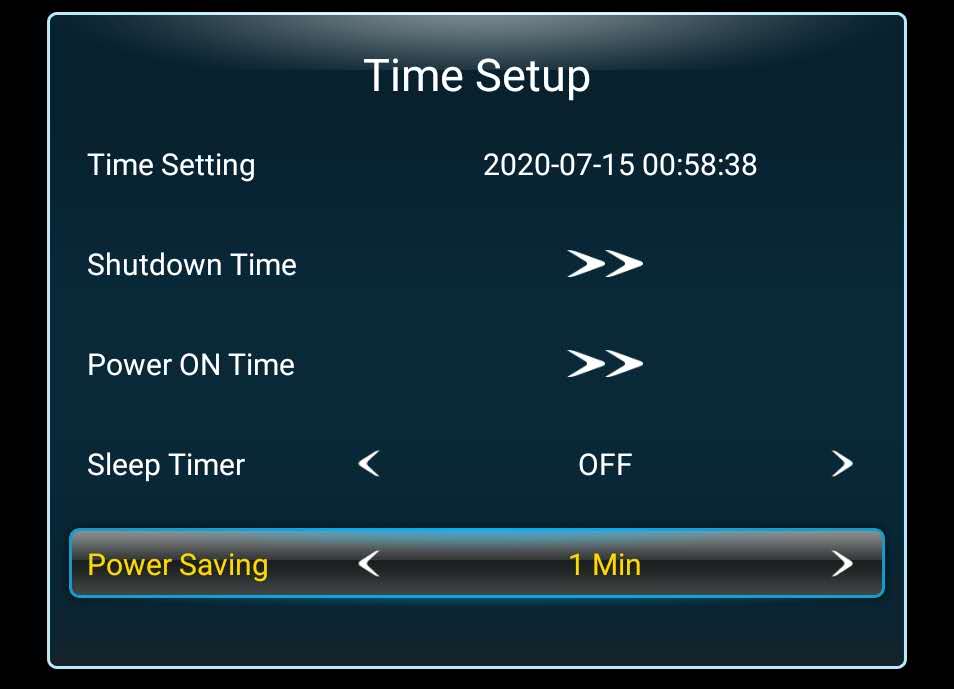
| Menu Option | Description |
|---|---|
| Time Setting | Set the time and date. |
| Shutdown Time | Schedule a shutdown time and frequency. |
| Power ON Time | Schedule a power on time and frequency, and tie to the input source. |
| Sleep Timer | Set a specific time for the display to enter stand-by mode. |
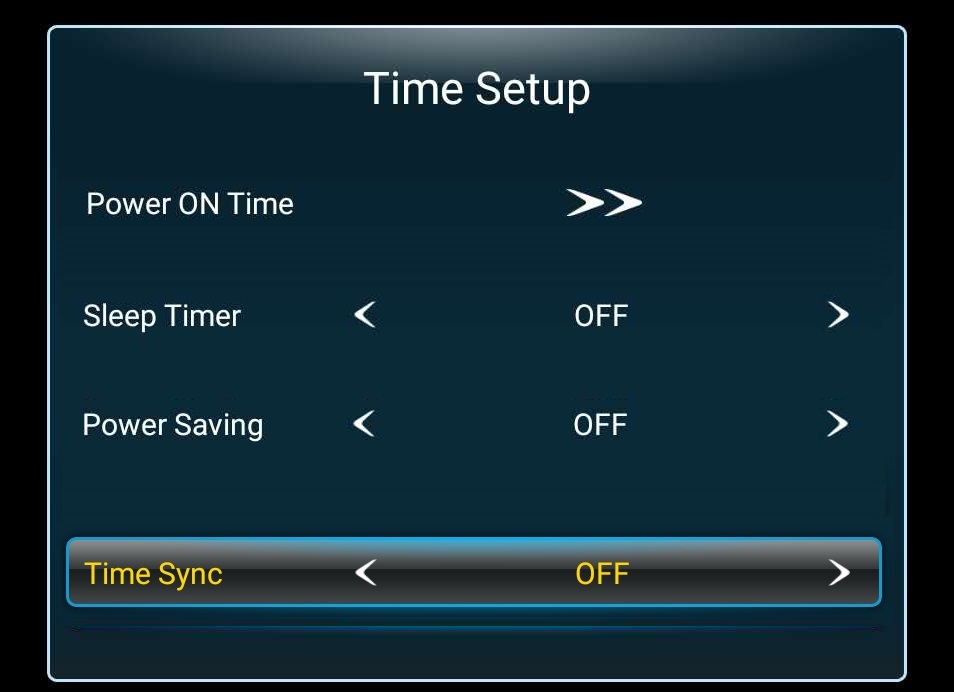
| Power Saving | Set a specific time for the display to enter stand-by mode after no input source is detected. |
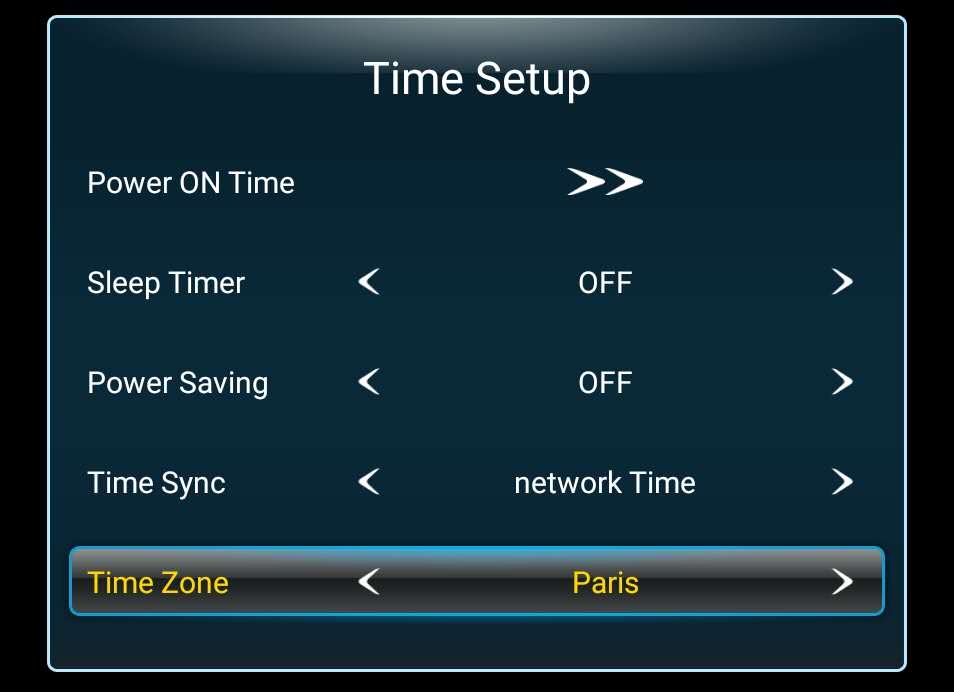
| Time Sync | Toggle network synchronization On or Off. |
| Time Zone | Select the appropriate time zone for your area. |
NetWork
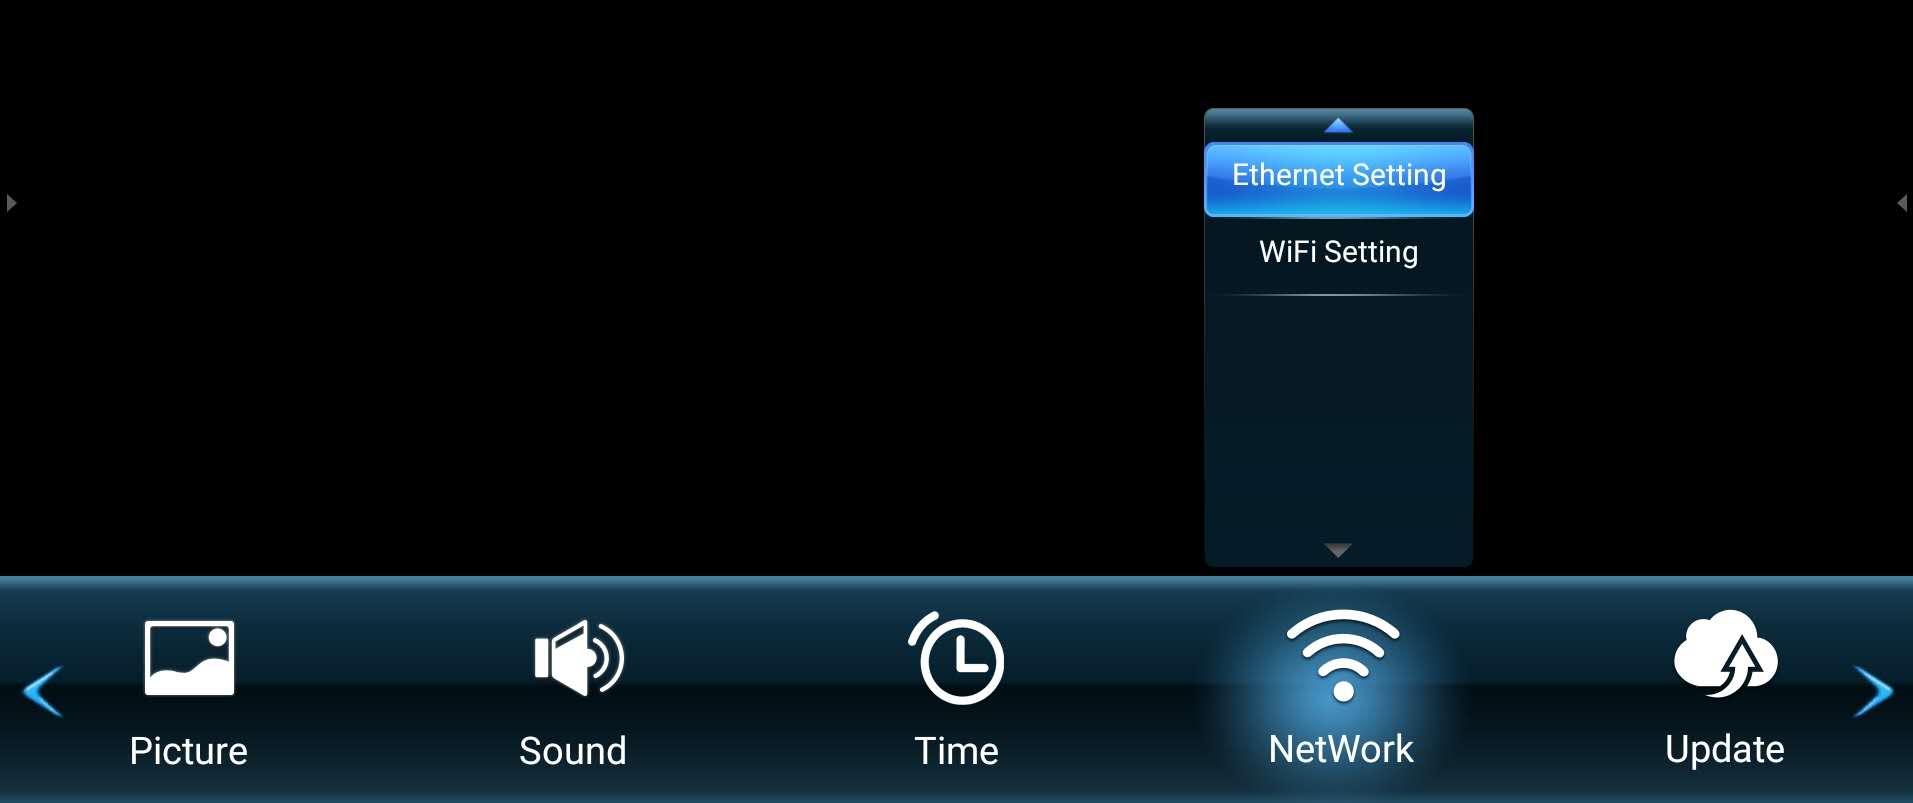
- Press MENU on the remote control to display the OSD Menu.
- Then press OK or use ▼/▲/◄/► on the remote control to select the NetWork menu.
- Press ▼/▲ to select the menu option. Then press OK to display its sub-menu, or press ◄/► to adjust/select the setting.
- NOTE: Some sub-menu options may have another sub-menu layer.
| Menu Option | Description |
|---|---|
| Ethernet Setting | Ethernet Switch Connection Mode
Network Status |
| WiFi Setting | WiFi Switch WiFi List View the network connection status. |
Update
- Press MENU on the remote control to display the OSD Menu.
- Then press OK or use ▼/▲/◄/► on the remote control to select the Update menu.
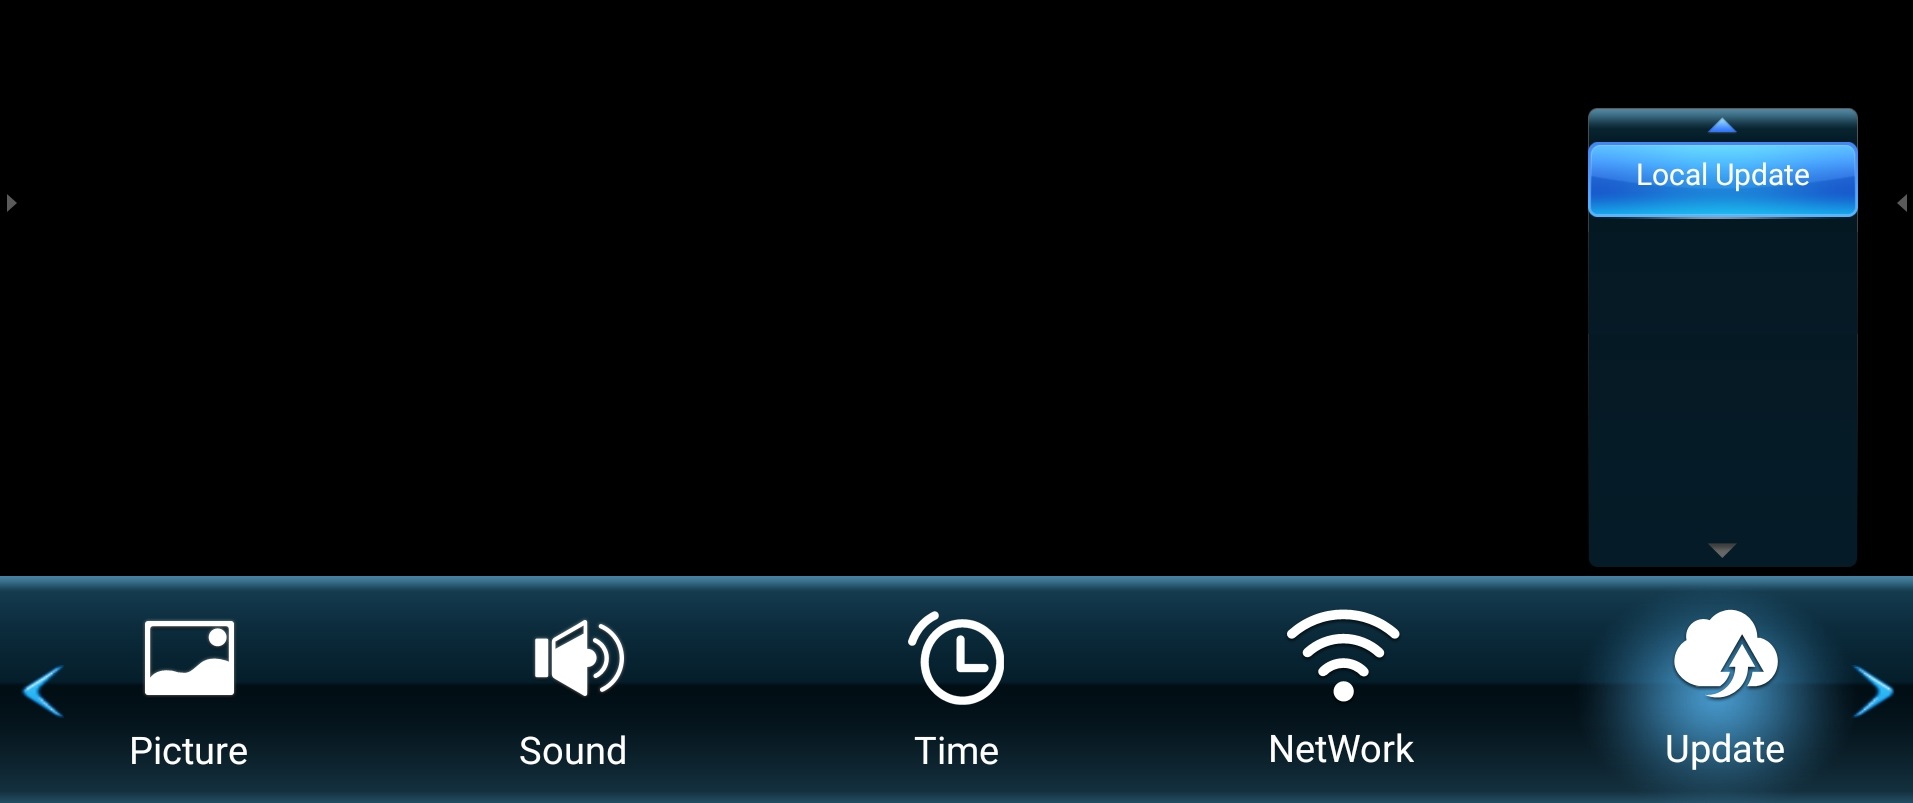
- Press ▼/▲ to select the menu option. Then press OK to display its sub-men.
| Menu Option | Description |
|---|---|
| Local Update | Update the display by using the update file on an SD Card or USB flash drive. |
Advanced
- Press MENU on the remote control to display the OSD Menu.
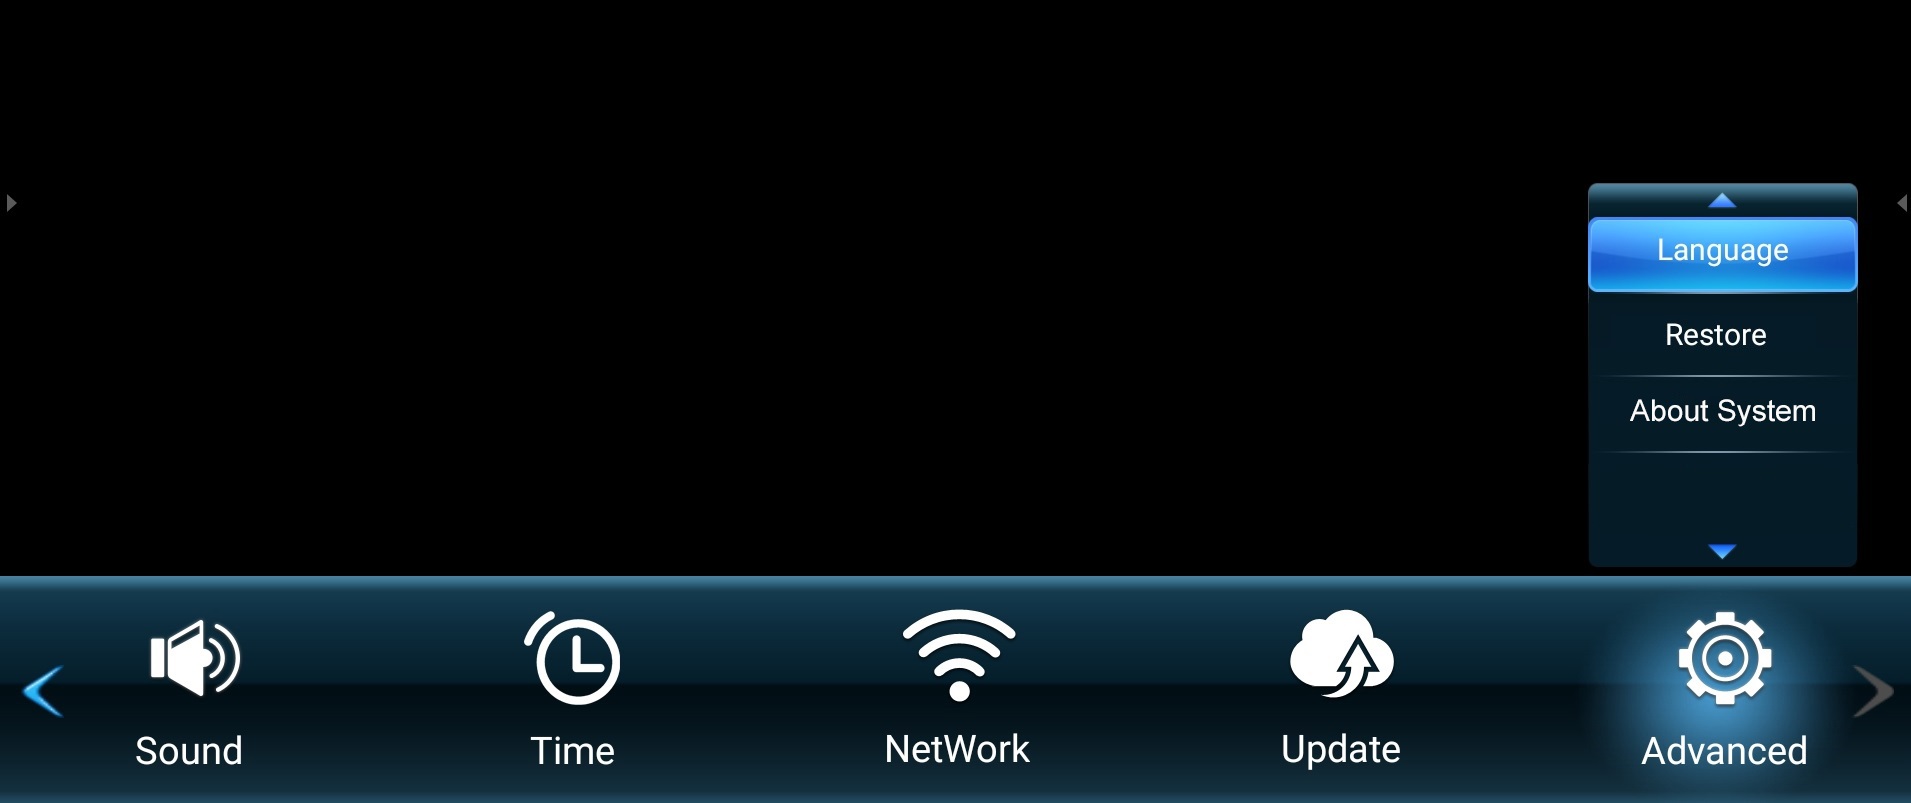
- Then press OK or use ▼/▲/◄/► on the remote control to select the Advanced menu.
- Press ▼/▲ to select the menu option. Then press OK to display its sub-menu, or press ◄/► to adjust/select the setting.
- NOTE: Some sub-menu options may have another sub-menu layer.
| Menu Option | Description |
|---|---|
| Language | Menu Language |
| Restore | Restore Setting Restore Default
|
| About System | View system information such as: CPU core count, GPU core count, Memory used, Storage Space remaining, OS version, and Software version. |

