IFP6533 Introduction
From ViewSonic Documentation
Package Contents
- NOTE: The power cord and video cables included in your package may vary depending on your country. Please contact your local reseller for more information.
|
 |
Wall Mount Kit Specifications (VESA)
Please follow the instructions in the wall mount installation guide to install your wall mount or mobile mount bracket. If attaching to other building materials, please contact your nearest dealer.

| Model | VESA Spec. (A x B) |
Standard Screw (C x D) |
Quantity |
|---|---|---|---|
| IFP6533 - 65” | 600 x 400 mm | M8 x 25 mm | 4 |
Important:
- Do not use screws that are longer than the standard dimension, as they may cause damage to the inside of the display.
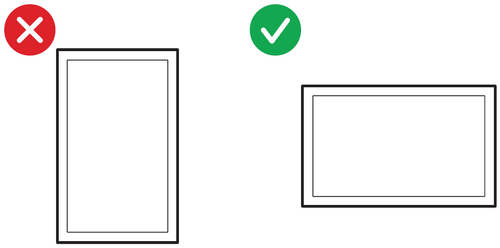
- Only mount the display in landscape orientation. Never mount in a portrait orientation.
Product Overview
Front Panel

Rear Panel

Control Panel and Front I/O

| Number | Description |
|---|---|
| 1 |
|
| 2 | Remote control receiver |
| 3 | Ambient Light Sensor |
| 4 |
|
| 5 |
|
| 6 | Touch signal output to external PC
|
| 7 |
|
I/O Panel

| Number | Port | Description |
|---|---|---|
| 1 | RS-232 |
|
| 2 | LAN |
|
| 3 | USB Type A |
|
| 4 | TOUCH 2 | Touch signal output to external PC
|
| 5 | HDMI 2/3 |
|
| 6 | HDMI OUT | Extend content out to another display device |
| 7 | SPDIF | SPDIF output |
| 8 | AUDIO OUT | Audio out to an external speaker |
| 9 | AUDIO IN | External PC audio input |
| 10 | VGA | External PC image input |
| 11 | Power Switch | Turn ON/OFF AC power supply |
| 12 | AC IN | AC power input |