VG275 On-Screen Display Menu
From ViewSonic Documentation
General Operation

- Press the 2/3/4/5 key to display the Quick Menu. Then press the 4 key to display the On-Screen Display (OSD) Menu.
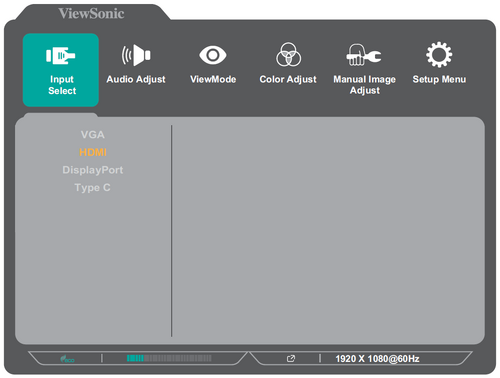
- Press the 1 (ViewMode) or 2 key to select the main menu. Then press the 3 key to enter the selected menu.
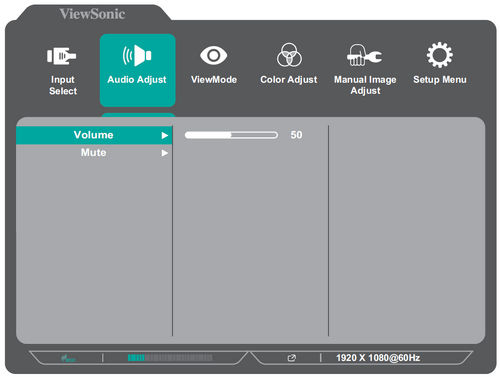
- Press the 1 (ViewMode) or 2 key to select the desired menu option. Then press the 3 key to enter the sub-menu.
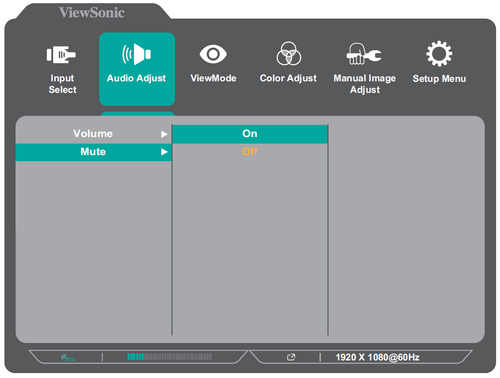
- Press the 1 (ViewMode) or 2 key to adjust/select the setting. Then press the 3 key to confirm.
- NOTE: Certain menu option adjustments do not require the user to press the 3 key to confirm the selection. Follow the key guide that appears on the bottom of the screen to select the option or make adjustments.
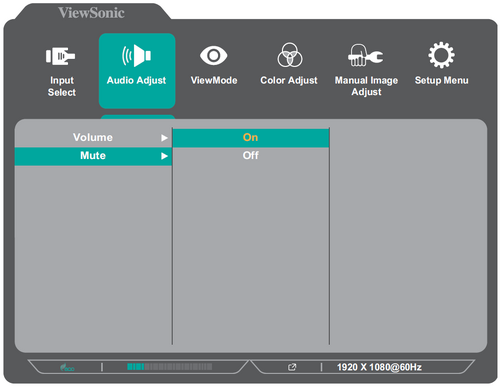
- Press the 4 key to return to the previous menu.


- NOTE: To exit the OSD Menu, press the 4 key until the OSD Menu disappears.