PD0511 Pen Input Area Mapping: Difference between revisions
From ViewSonic Documentation
No edit summary |
|||
| Line 1: | Line 1: | ||
<noinclude> | <noinclude> | ||
{{ | {{Sticky_Menu_Pen_Display_No_Adj | ||
|1=PD0511_Introduction | |1=PD0511_Introduction | ||
|2=PD0511_Making_Connections | |2=PD0511_Making_Connections | ||
|3= | |3=PD0511_Using_the_Display | ||
|4= | |4=PD0511_Setting_the_Display_Area | ||
|5= | |5=PD0511_Pen_Input_Area_Mapping | ||
|6= | |6=PD0511_Specifications | ||
|7 | |7=PD0511_Regulatory_and_Service_Information | ||
}} | }} | ||
</noinclude> | </noinclude> | ||
Revision as of 07:57, 13 September 2021
Pen Input Area
To set the proper pen input area,
- Open Pen Display Manager either by going to: Start > Pen Display Manager or selecting the Pen Display Manager icon from the System Tray.
Additionally, the driver can also be accessed from ViewSign Console - either the widget or by right-clicking the ViewSign Console icon in the system tray and selecting Pen Display Driver. 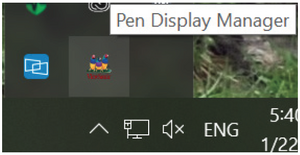
- Select the Mapping tab.
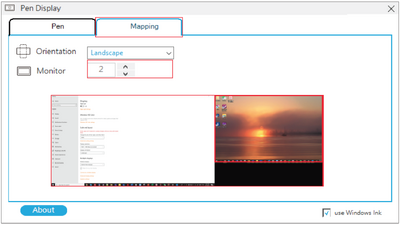
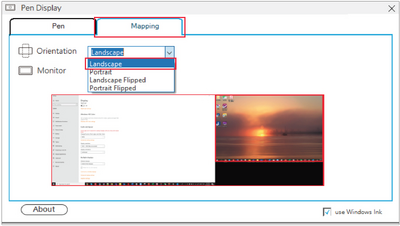
- Select the correct Orientation, and the correct display.
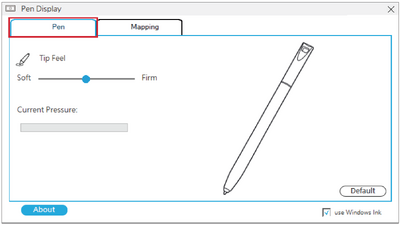
- Further adjustments can be made by selecting the Pen tab.