MPC310-W31-TU Using the Device: Difference between revisions
// via Wikitext Extension for VSCode |
// via Wikitext Extension for VSCode |
||
| Line 83: | Line 83: | ||
{| class="wikitable" style="text-align:center; width:60%; background-color:#ffffff;" | {| class="wikitable" style="text-align:center; width:60%; background-color:#ffffff;" | ||
|- | |- | ||
! style="font-weight:bold; background-color:#DB0025; color:#ffffff;"| | ! style="font-weight:bold; background-color:#DB0025; color:#ffffff;"| Icon | ||
! style="font-weight:bold; background-color:#DB0025; color:#ffffff;"| Description | ! style="font-weight:bold; background-color:#DB0025; color:#ffffff;"| Description | ||
|- | |- | ||
| | |<div class="res-img">[[File:MRC1010-TN Icon Meet Now.png|50px|alt=Meet Now icon]]</div> | ||
| style="text-align:left;" |Decrease screen brightness. | | style="text-align:left;" |Decrease screen brightness. | ||
|- | |- | ||
| | |<div class="res-img">[[File:MRC1010-TN Icon Call.png|50px|alt=Call icon]]</div> | ||
| style="text-align:left;" | Increase screen brightness. | | style="text-align:left;" | Increase screen brightness. | ||
|- | |- | ||
| | |<div class="res-img">[[File:M1_mini_Plus_Icon_VolumeDown.png|50px|Volumne - Icon]]</div> | ||
| style="text-align:left;" | Decrease the volume. | | style="text-align:left;" | Decrease the volume. | ||
|- | |- | ||
| | |<div class="res-img">[[File:M1_mini_Plus_Icon_VolumeUp.png|50px|Volume + Icon]]</div> | ||
|style="text-align:left;" | Increase the volume. | |style="text-align:left;" | Increase the volume. | ||
|- | |- | ||
| | |<div class="res-img">[[File:Icon_Touch_Screen.png|50px|Touch Screen Icon]]</div> | ||
|style="text-align:left;" | Disable/Enable the touch screen. | |style="text-align:left;" | Disable/Enable the touch screen. | ||
|- | |- | ||
| | |<div class="res-img">[[File:Icon_Control_Panel_Menu.png|50px|IFP55G1 Menu Icon]]</div> | ||
| style="text-align:left;" | Launch the Menu system. | | style="text-align:left;" | Launch the Menu system. | ||
|- | |- | ||
| | |<div class="res-img">[[File:Icon_Power_BK.png|50px|IFP55G1 Menu Icon]]</div> | ||
|style="text-align:left;" | | |style="text-align:left;" | | ||
|- | |- | ||
|} | |} | ||
==PIR Sensor Setup== | ==PIR Sensor Setup== | ||
<ol> | <ol> | ||
Revision as of 07:00, 18 July 2024
Prerequisites
Required License for Microsoft Teams Rooms (MTR)
You will need a Microsoft Teams Rooms license to set up your MTR Room System. To learn more about the required licenses, refer to the Microsoft Teams documentation: "Microsoft Teams Rooms licenses"
Required Resource Account for Microsoft Teams Rooms
To set up your Microsoft Teams Rooms system, you will also need a Microsoft Teams Rooms account. For information on setting up this account, refer to the Microsoft Teams documentation: "Create and configure resource accounts for rooms and shared Teams device"
MTR Setup Wizard
-
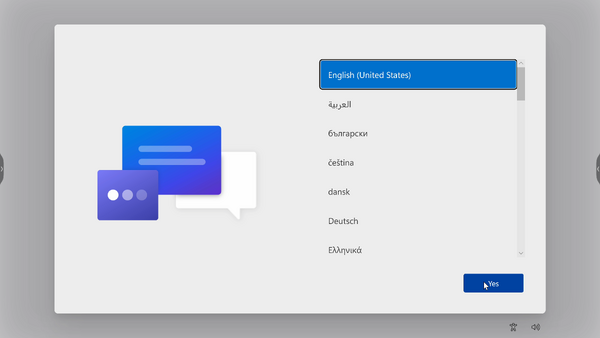
Select language.
-
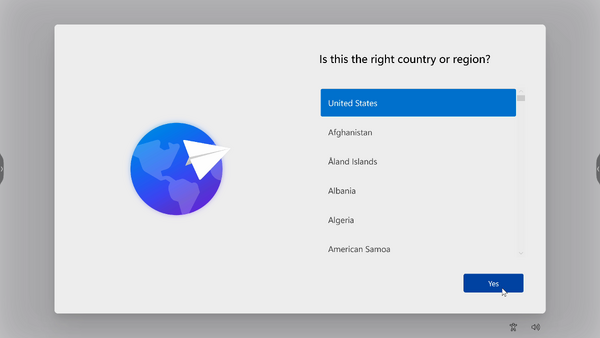
Select country or region.
-
Select keyboard layout.

-
Add a second keyboard layout.

-
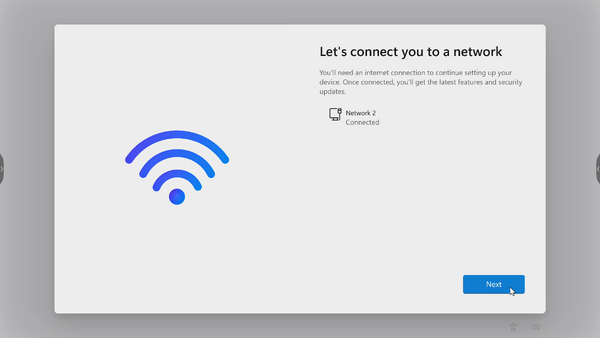
Connect to a network.
-
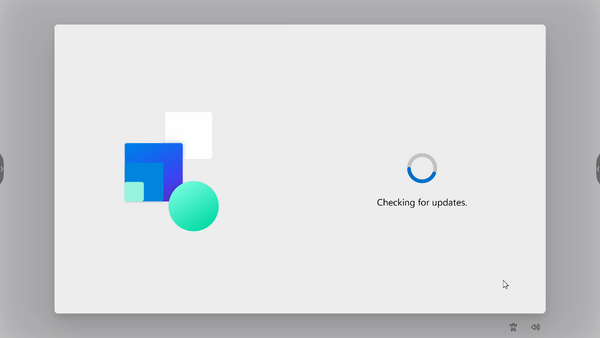
Check for any updates and finish setting up.


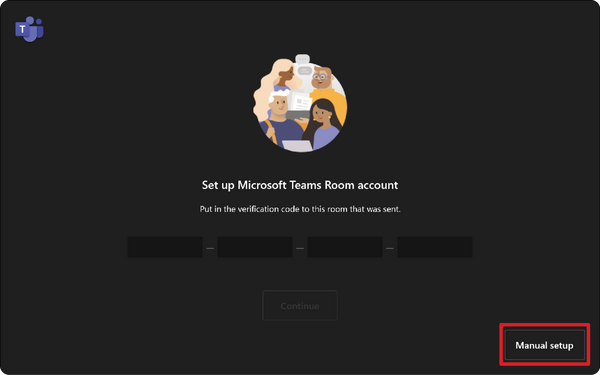
MTR Account Setup
-
To setup a Microsoft Teams Rooms account, review the End user agreement and select Accept.

-
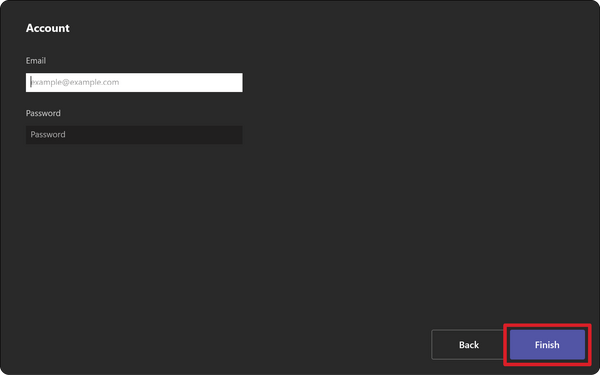
Select Manual setup.
-
Enter the account email and password, then select Finish.


Touch Console
Home Screen

| Icon | Description |
|---|---|
| Decrease screen brightness. | |
| Increase screen brightness. | |
| Decrease the volume. | |
| Increase the volume. | |
| Disable/Enable the touch screen. | |
| Launch the Menu system. | |
