
PD0711 Making Connections: Difference between revisions
From ViewSonic Documentation
| Line 40: | Line 40: | ||
<div class="res-img">[[File:PD0711_Connection_2.png|300px]]</div> | <div class="res-img">[[File:PD0711_Connection_2.png|300px]]</div> | ||
<li>Connect the Main USB A cable to the computer. The Secondary USB A cable can be connected to a fully powered USB port on the computer.</li> | <li>Connect the Main USB A cable to the computer. The Secondary USB A cable can be connected to a fully powered USB port on the computer.</li> | ||
<div class="res-img">[[File:PD0711_Connection_3.png| | <div class="res-img">[[File:PD0711_Connection_3.png|500px]]</div></ol> | ||
Revision as of 06:23, 8 November 2021
Installing Drivers and Software
System Requirements:
Operating system: Windows XP/7/8/10 (32/64 bit)
PC I/O: USB 2.0/above
Before connecting and using the pen display, it is necessary to install the below
drivers and software. The drivers and software can be downloaded at:
http://www.viewsonicglobal.com/q/PD0711

DisplayLink Driver
Open the DisplayLink installation file and install the driver.


- NOTE: DisplayLink Driver can be installed through Windows Update.
Pen Display Driver
Pen Display Manager can be used to map the active area and adjust the feel of the pen.
- Open the ViewSign Console installation file and install the driver.
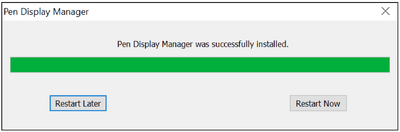
- After the installation completes, you will need to restart the computer.
- NOTE: For further ViewSign Console information, please visit: https://manuals.viewsonic.com/ViewSign_Software

Connecting the Pen Display
- Turn the device over so the bottom side is facing up.
- Plug the USB Type A end of the USB cable into the USB Port on the device.
- Connect the Main USB A cable to the computer. The Secondary USB A cable can be connected to a fully powered USB port on the computer.


