CDE9830 On-Screen Display Menu
On-Screen Display (OSD) Menu
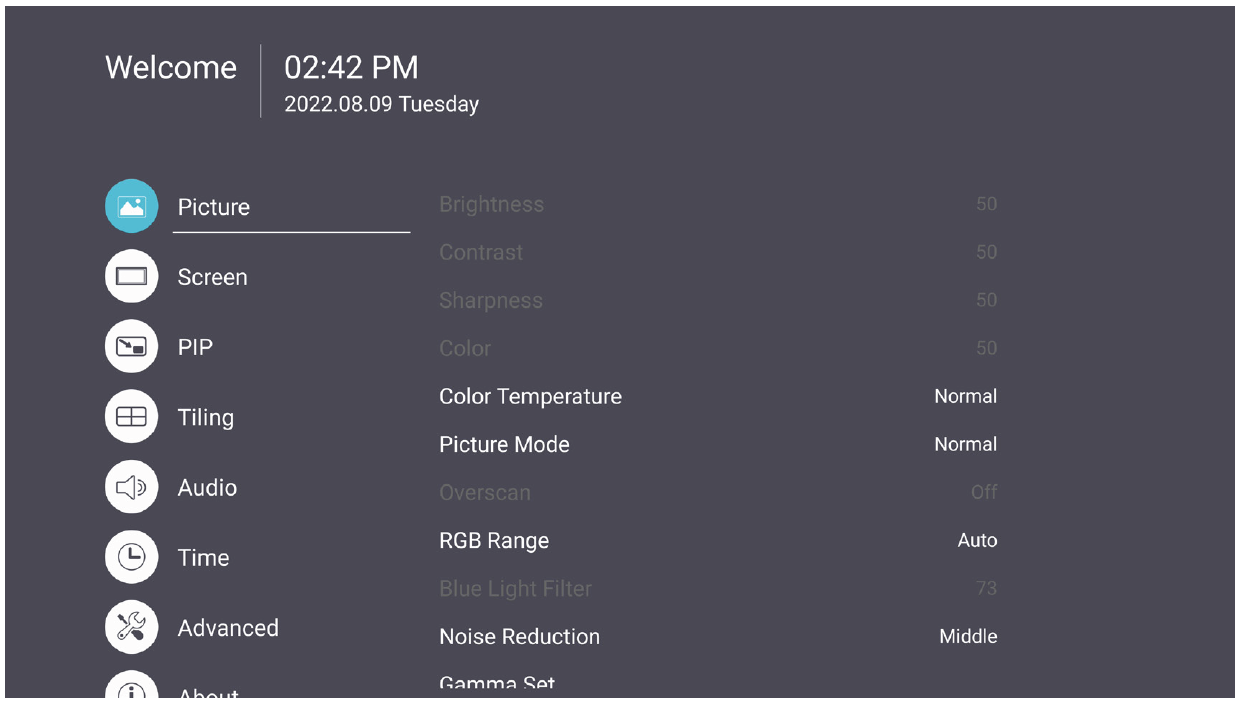
Access Picture, Screen, Audio, Time, Advanced, and About settings.
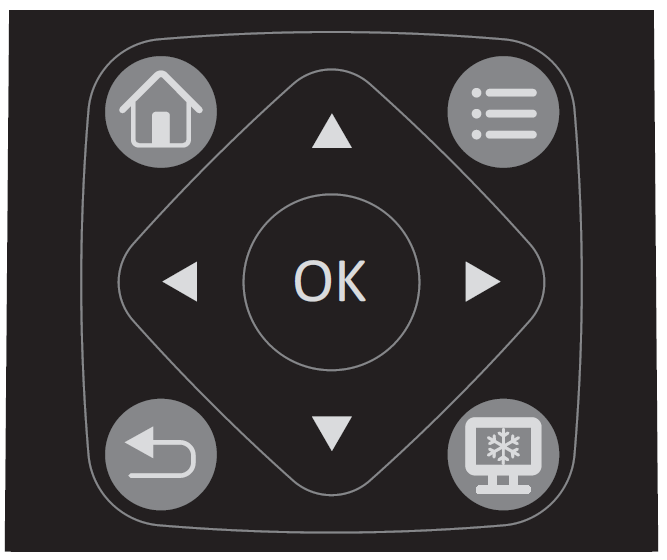
- On the remote control, press the Settings button to display the OSD Menu.
- Use the directional buttons, ▼/▲/◄/► , to select menu items and adjust values.
- Press the Back button to go back to the previous menu.
- Press the Settings button again to exit the OSD Menu.
On-Screen Display (OSD) Menu Tree
| Main Menu | Sub-menu |
|---|---|
| Picture | Brightness |
| Contrast | |
| Sharpness | |
| Tint | |
| Color | |
| Noise Reduction | |
| Color Temperature | |
| Picture Mode | |
| Overscan | |
| RGB Range | |
| Blue Light Filter | |
| Picture Reset | |
| Screen | Zoom Mode |
| Screen Reset | |
| PIP | Sub Mode |
| PIP Size | |
| PIP Position | |
| PIP Source | |
| PIP Audio | |
| PIP Reset | |
| Tiling | Enable |
| H Monitors | |
| V Monitors | |
| Position | |
| Frame Comp. | |
| Audio | Balance |
| Treble | |
| Bass | |
| Volume | |
| Mute | |
| Volume Control | |
| SPDIF Sync | |
| SPDIF Volume (Line Out) | |
| Audio Reset | |
| Time | Off Time |
| Date and Time | |
| Schedule | |
| Slide Show Interval | |
| OSD Turn Off | |
| OSD Information | |
| Time Reset | |
| Advanced | Panel Saving |
| Power Save | |
| Power LED Light | |
| Boot on Source | |
| Boot on Logo | |
| Auto Signal Detection | |
| No Signal Standby | |
| HDMI with One Wire | |
| HDMI EDID | |
| USB Cloning | |
| USB Auto Play | |
| Switch On State | |
| WOL | |
| Monitor ID | |
| Language | |
| Factory Reset | |
| Advanced Reset | |
| About | Heat Status |
| Display Information |
Picture
| Item | Description |
|---|---|
| Brightness | Adjust the background black levels of the screen image. |
| Contrast | Adjust the degree of difference between the lightest and darkest parts of the picture and change the amount of black and white in the image. |
| Sharpness | Adjust the picture quality. |
| Tint | Adjust the lightness or darkness of the color shade. |
| Color | Adjust the amount of color present. |
| Noise Reduction | Reduce image noise and distortion. |
| Color Temperature | Adjust the color temperature. |
| Picture Mode | Select a predefined picture setting. |
| Overscan | Automatically enlarge the original picture horizontally and vertically to an equal aspect ratio that fills the screen. |
| RGB Range | Manually change the color format options to fit the correct color format range if the colors are not displayed correctly. |
| Blue Light Filter | Adjusts the filter that blocks high-energy blue light for a more comfortable viewing experience. |
| Picture Reset | Reset all Picture menu settings to default. |
Low Blue Light Filter and Eye Health
Calculating Breaks
When viewing screens for extended periods, it is recommended to take periodic breaks from viewing. Short breaks of at least 10 minutes are recommended after one (1) hour of continuous viewing.
Taking shorter, more frequent breaks are generally more beneficial than longer, less frequent breaks.
Focus Fatigue (20-20-20 Rule)
To reduce the risk of eye fatigue by constantly looking at the screen, look away from the screen at least every 20 minutes and gaze at a distant object (at least 20 feet away) for at least 20 seconds.
Looking at Distant Objects
While taking breaks, users can further reduce eye strain and dryness by focusing on objects that are further away from them for 10-15 seconds, then gaze at something up close for 10-15 seconds. Repeat this up to 10 times. This exercise reduces the risk of your eyes’ focusing ability to “lock up” after prolonged computer work.
Eye and Neck Exercises
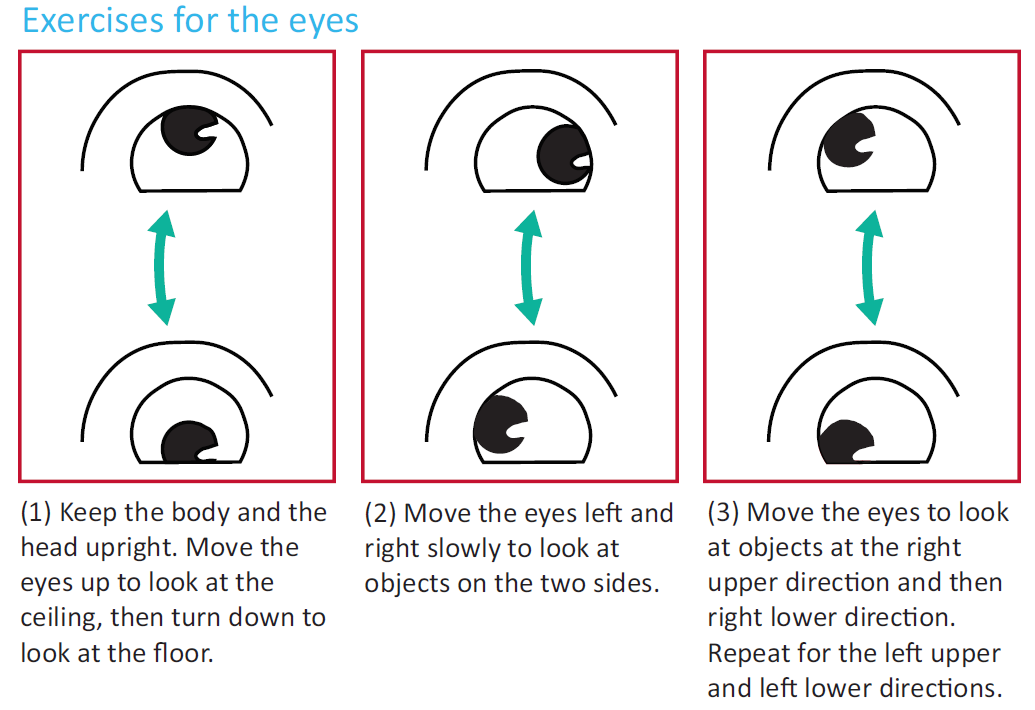
Eye Exercises
Eye exercises can help minimize eye strain. Slowly roll your eyes to the left, right, up, and down. Repeat as many times as needed.
Neck Exercises
Neck exercises can also help minimize eye strain. Relax your arms and let them hang at your sides, bend forward slightly to stretch the neck, turn your head to the right and to the left. Repeat as many times as needed.
Flicker-Free The CDE30 series uses DC-adjustable backlighting, which does not produce a visible or invisible flicker within the 0~3000 Hz range and therefore can reduce eye fatigue.
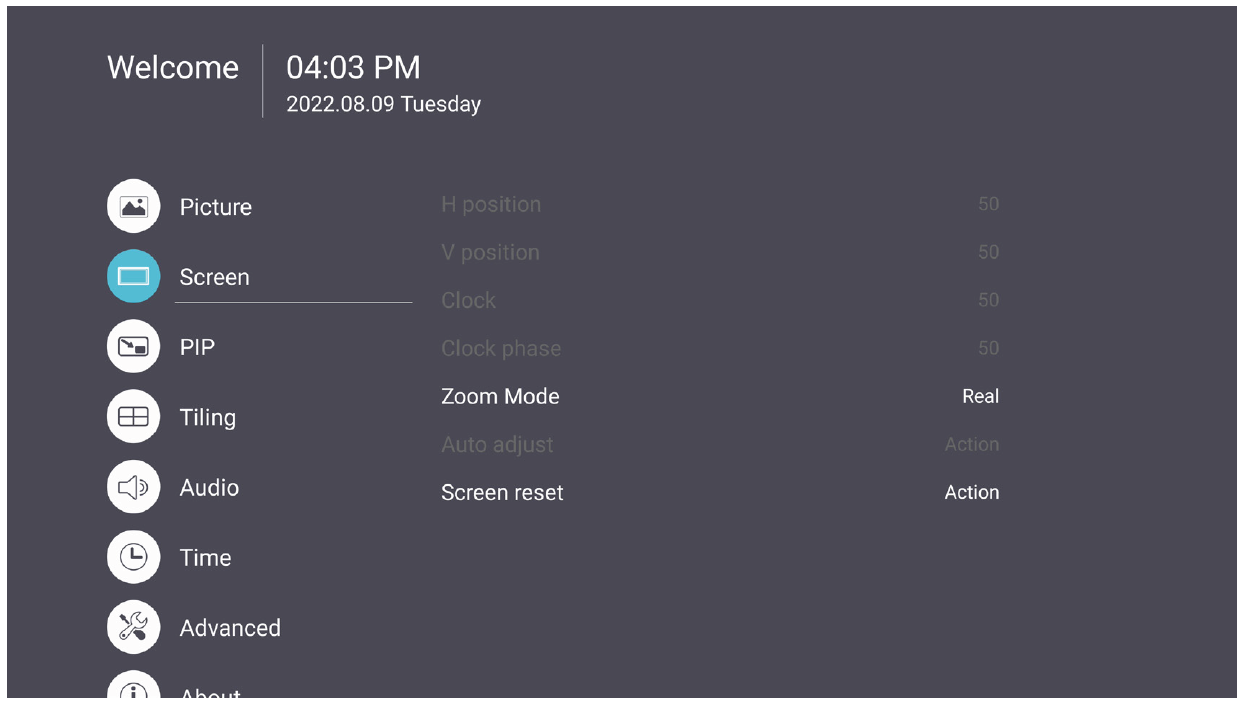
Screen
| Item | Description |
|---|---|
| Zoom Mode | Dynamically stretch and scale the image output to a different aspect than that of the image input signal. Full |
| Screen Reset | Reset all Screen menu settings to default. |
| PIP[1] |
Sub Mode
PIP Reset |
| Tiling |
Enable |
- ↑ PIP only works between an Android application (browser, media player, vCast) and an external source. It does not work with HDMI 1 and HDMI 2.
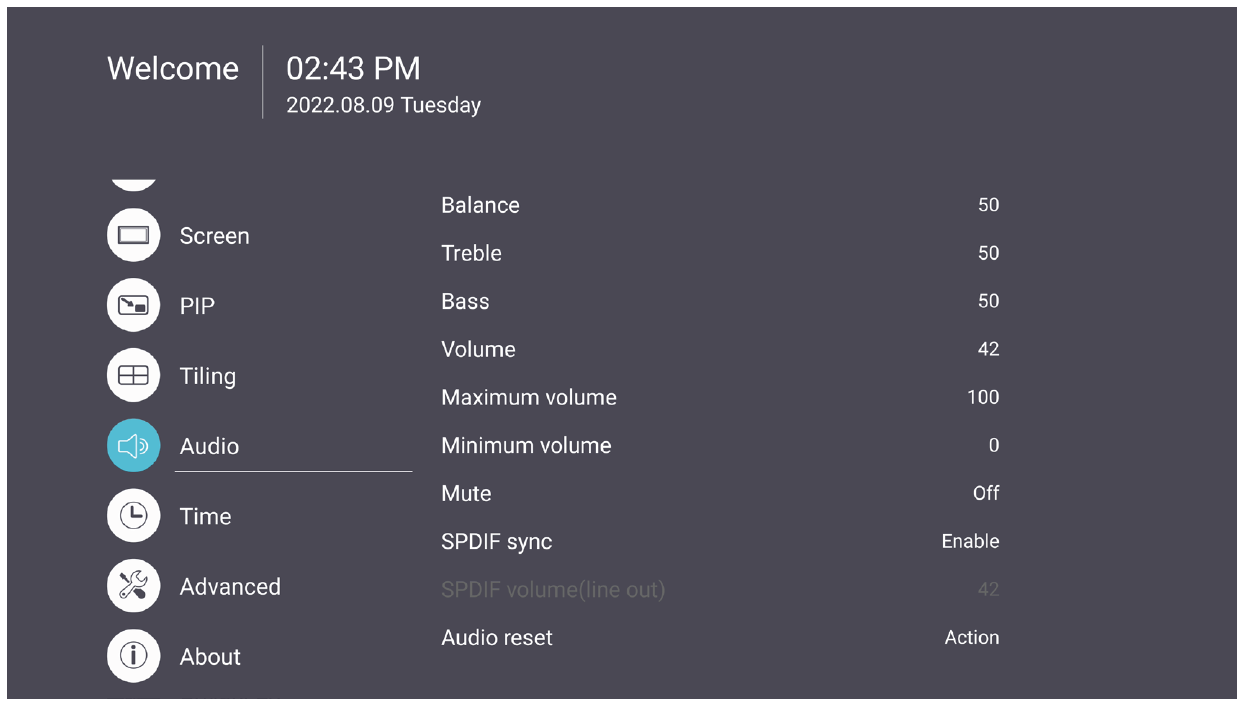
Audio
| Item | Description |
|---|---|
| Balance | Adjust the left/right speaker balance. |
| Treble | Increase/decrease the treble level (higher-pitched sounds). |
| Bass | Increase/decrease the bass level (lower-pitched sounds). |
| Volume | Increase/decrease the display’s volume level. |
| Mute | Mute the volume. |
| Volume Control | Select audio source from internal speaker or Audio Out port. |
| SPDIF Sync | Sync Audio Out volume with the display’s speakers. |
| SPDIF Volume (Line Out) | Increase/decrease the Audio Out volume. |
| Audio Reset | Reset all Audio menu settings to default. |
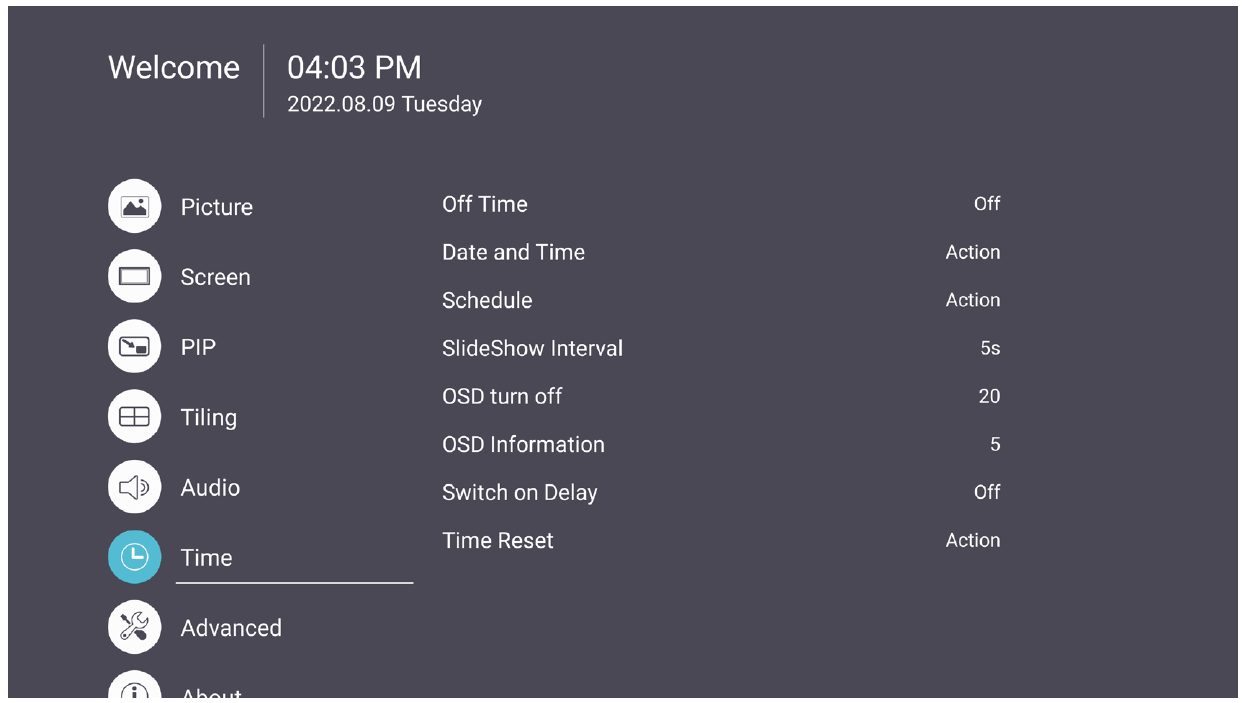
Time
| Item | Description |
|---|---|
| Off Time | Set the auto power off time. |
| Date and Time | Adjust the date and time of the display. |
| Schedule | Set up to seven (7) different time intervals for the display to be active. |
| Slide Show Interval | Set the photo slide show interval for USB auto play. |
| OSD Turn Off | Set the time period the OSD Menu stays on the screen. |
| OSD Information | Set the time period the OSD information will be displayed in the upper left corner of the display. |
| Time Reset | Reset all Time menu settings to default. |
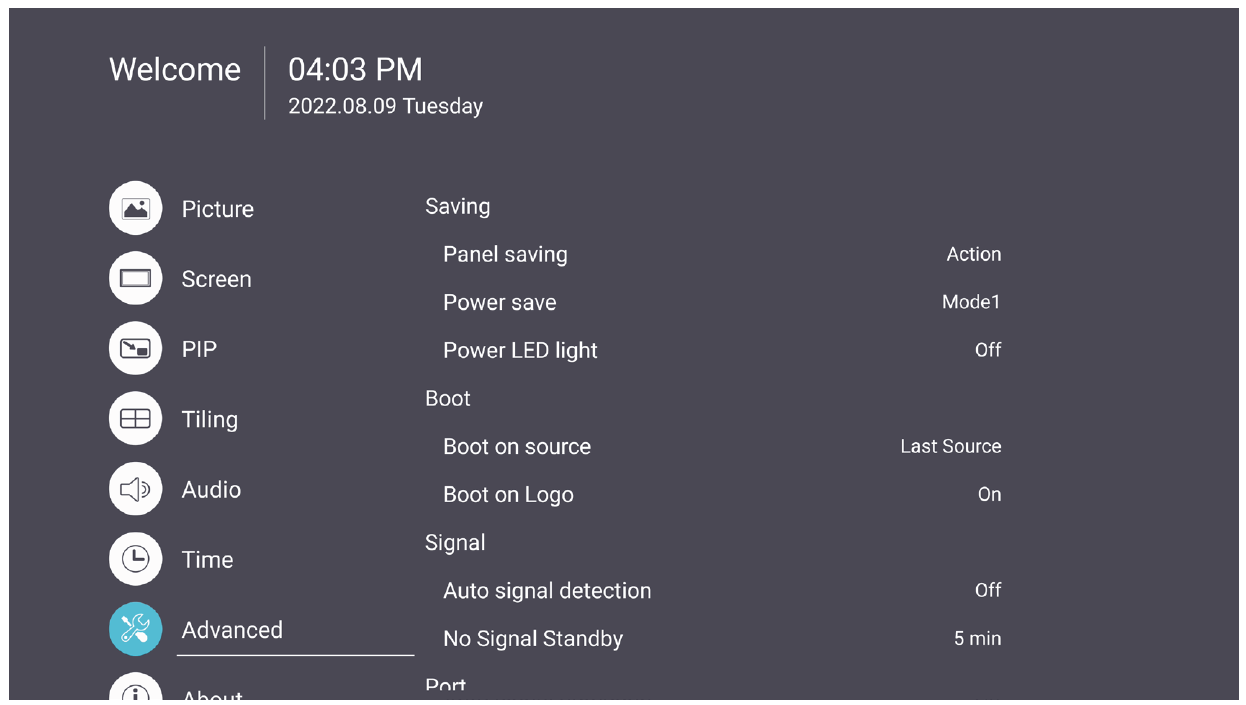
Advanced
| Item | Description |
|---|---|
| Panel Saving | Reduces the risk of Image Burn-in when enabled. |
| Power Save | Reduce power consumption. Mode 1 |
| Power LED Light | Turn On/Off the Power LED indicator. |
| Boot On Source | Select the input source after boot up. |
| Boot On Logo | Enable/Disable a logo when the display is turned on. Off |
| Auto Signal Detection | Let the display detect and display available input sources automatically. |
| No Signal Standby | Set the time period to enter Standby Mode when there is no signal. |
| HDMI with One Wire | Enable/Disable CEC (Consumer Electronics Control). CEC synchronizes power on/off operation via HDMI connection. That is, if a device that also supports CEC is connected to the HDMI input of the display, when the display’s power is turned off, the power of the connected device will also be turned off automatically. When the power of the connected device is turned on, the display’s power will be turned on automatically. |
| HDMI EDID Version | Select HDMI EDID version: EDID 1.4, EDID 2.0, Auto. |
| USB Cloning | Save the OSD Menu configuration to the USB storage. |
| USB Auto Play | If set to ON, the display will copy media files from the external USB storage to the display’s internal storage then play the media files automatically. |
| Switch On State | Select the display status for the next time the power cord is connected to a power outlet. Power Off |
| WOL | Enable/Disable the Wake on LAN (WOL) feature. |
| Monitor ID | Assign a number to remote control the display by RS-232.
|
| Language | Select OSD Menu language. |
| Factory Reset | Reset all OSD Menu settings to default. |
| Advanced Reset | Reset all Advanced menu settings to default. |
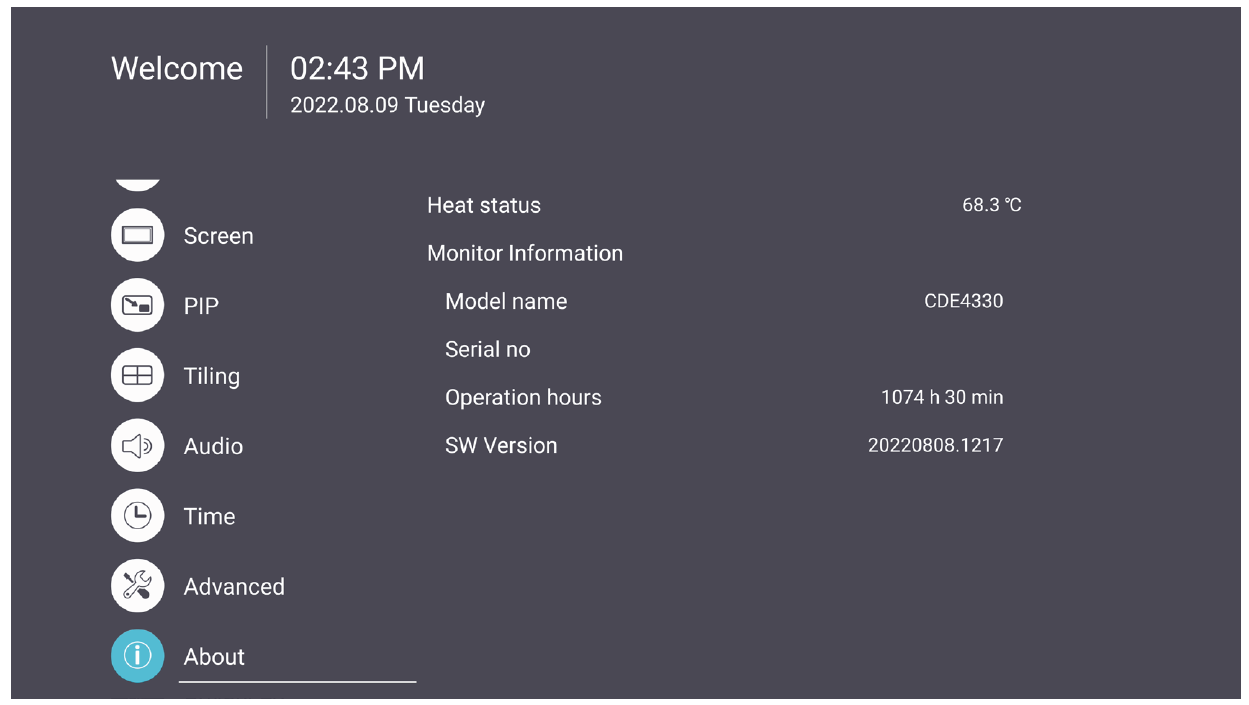
About
| Item | Description |
|---|---|
| Heat Status | Check the temperature of the display. |
| Display Information | See information about the display: Model Name, Serial No., Operation Hours, and Software Version. |

