ViewSign Professional User Guide
Sign a Document
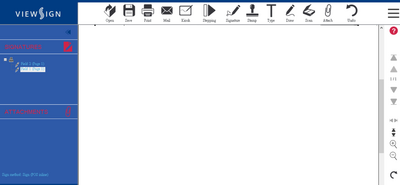
Step 1: Start the Client Application

- Open the client application on your device.
- Choose the required signing method. Either sign with your mouse, mobile device or signature pad.
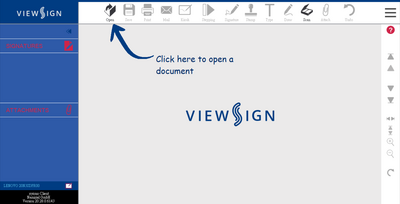
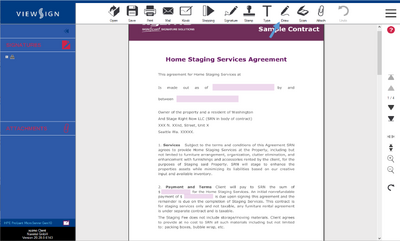
Step 2: Open a Document

- Open a document locally. The application supports PDF files only.

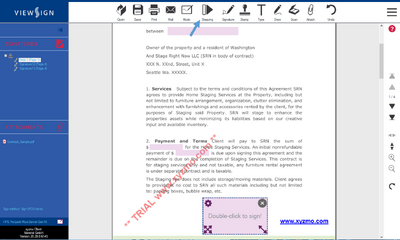
Step 3: Add a Signature Field

- If the system does not auto detect any signature fields you can add them by yourself.
- Use the Signature tool to place a new signature field anywhere onto the document.
Step 4: Start the Signing Process
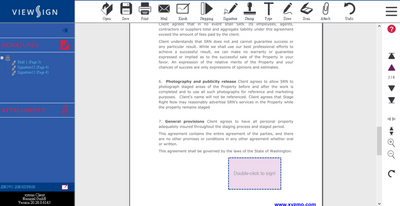
- Open the signing task with a double click.

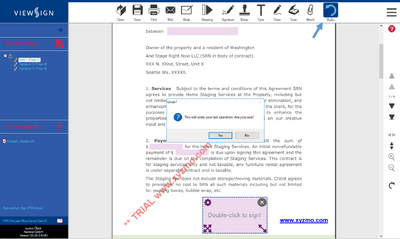
Step 5: Sign the Document

- Sign the document with the device you have chosen at the beginning.

Stamp a Document
Step 1: Start the Client Application

- Open the client application on your device.
- Choose the required signing method. Either sign with your mouse, mobile device or signature pad.
Step 2: Open a Document
- Open a document locally. The application supports PDF files only.

Step 3: Add a Stamp Tag
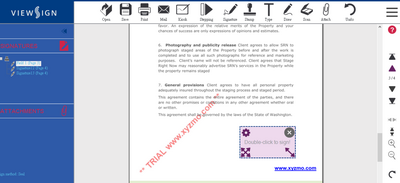
- Use the Stamp tool to place a stamp tag anywhere onto the document.

Step 4: Start the Signing Process

- Open the signing task with a double click.

Step 5: Sign with a Stamp
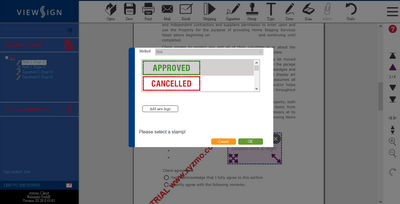
- Use one of the default stamps or add a new one by clicking Add New Logo.

Save, Send, and Print a Document
Step 1: Save a Document

- Click on the Save tool to open the Save As dialog.
- Browse the desired directory and type in a file name. Click Save to save the document.
Step 2: Send your Document via Email

- Click on the Email tool to send an email to any recipiant.
- A new message opens in your standard email client with the signed document attached.
Step 3: Print a Document

- Click on the Print tool to start the printing process.
- A print dialog pops up, where you can select the desired printer.
Add an Attachment
Step 1: Start the Attach Tool

- Click on the Attach tool to open the browse dialog.

Step 2: Open a File from Storage

- Choose the file you want to attach to the document and click Open.

Step 3: Add Different Types of Attachments

- In the attachment dialog you can replace the chosen document again through using the Open button.
- Choose whether you want to add the file as an additional page or as an attached file.
Step 4: Attach a Document Through Scanning

- Use the Scan tool to open the scan dialog.

Step 5: Attach a Scan

- In the dialog select the source to scan/snapshot from. Choose whether you want to add the file as additional page, as an attached file or as new PDF.

Step 6: View the Attachments

- The file is either attached as an additional page at the end of the current document or if it is an attached file, you can view it in the left side bar.

Use Additional Features: Text, Draw, Stepping, Undo
Step 1: Add Text to the Document

- Click on the Text tool to add a text annotation to the document. Type in your text.
- Place it in position and resize it by clicking the diagonal arrow icons. Leave annotation mode by clicking any button.
Step 2: Activate the Drawing Tool
- Click on the Draw tool to start the draw mode.

Step 3: Draw

- From the menu choose the color and define the width of your drawing stencil.
- Draw using your mouse in a freehand mode within the document. To exit this mode click another function.
Step 4: Work with the Stepping Tool
- Click on the Stepping tool to start the first signing task automatically. The stepping tool allows you to step through all signature dialogs.

Step 5: Use the Previous Action
- By pressing the Undo button, a pop-up appears that allows you to confirm the undo of the last action.

Add Date to Signing Dialog
Step 1: Find All Additional Functionalities
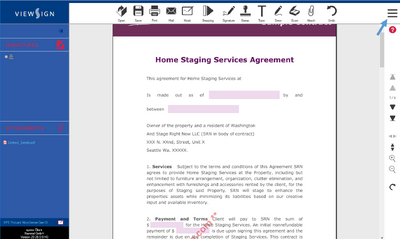
- Open the menu by clicking the Menu button on the top right.

Step 2: Get to the Date Functionality

- From the drop-down menu choose the Options entry.

Step 3: Specify the Date Format

- The options dialog will appear. Under the section General chose the date format from the drop-down box.
- If you want the time to be shown in UTC (Coordinated Universal Time), mark the UTC checkbox.
Step 4: Activate the Date Functionality

- Under the section Details activate the Show time check-box and save all the settings by clicking OK.

Step 5: Display the Time and Date
- Finish the signing task and view the date and time at the bottom left corner of the signature field.

Protect a Document with a Password
Step 1: Find All Additional Functionalities

- Open the menu by clicking the Menu button on the top right.

Step 2: Get to the Password Protection Function

- From the drop-down menu choose the entry Set PDF password.

Step 3: Set a Password

- In the pop-up enter your password twice. Click OK to set the password.

Edit the Options
Step 1: Find All Additional Functionalities

- Open the menu by clicking the Menu button on the top right.
Step 2: Get to the Options

- From the drop-down menu choose the Options entry.
Step 3: Adjust General Settings

- Select the system language from the drop-down and define the format of the date and time underneath.
- To choose a default signing/sealing certificate click the ... icon. To deselect a chosen certificate click the X icon.
Step 4: Adjust the Appearance of the Signature

- In the Signature section you can customize your signature settings.
- Set the resolution, language, color, font and thickness. Define the thickness and size of the signature field.
Step 5: Add Details to the Signature Dialog

- In the Details section you can add optional details to the signature dialog.
- Choose whether signer, time, reason and location are shown in the signature.
Configure a License
Step 1: Find the License Input Field

- Open the menu by clicking the Menu button on the top right.
Step 2: Get to the License Input Field

- From the drop-down menu choose the entry Configure license.
Step 3: Configure the License

- In the pop-up enter your license voucher and click Redeem Voucher. If you have not bought a license yet, click Shop to order one. Click OK to configure your license.
Contact our Support
Step 1: Find All Additional Functionalities

- Open the menu by clicking the Menu button on the top right.
Step 2: Get to the Support Function

- From the drop-down menu choose the entry Contact support.

Step 3: Contact our Support Team
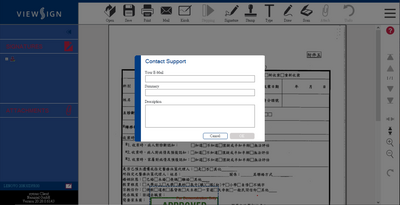
- In the pop-up enter your email address, add a short summary and describe your issue. Click OK to post your request to our support team.
