VPCF5-2A
Introduction
Product Overview
| Number | Item | Description |
|---|---|---|
| 1 | Antenna | Wi-Fi antenna interface. |
| 2 | Security Lock | Anti-theft security lock. |
| 3 | USB 3.1 | USB 3.1 port. |
| 4 | LAN | Standard RJ45 (10M/100M/1G) internet connection port. |
| 5 | USB 2.0 | USB 2.0 port. |
| 6 | RESET | Reset button. |
| 7 | Power Button | Turn the slot-in PC on or off. |
| 8 | Status LED | Status indicator light (Green). |
Off
| ||
On
| ||
| 9 | Power LED | Power indicator light (Red). |
Off
| ||
On
| ||
| 10 | LINE-OUT | Audio out for connected headphones or speakers. |
| 11 | DP | Extend content out to another display device. |
| 12 | HDMI | Extend content out to another display device. |
| 13 | USB Type C | USB Type C input (Data only; 5V/0.9A charging) |
Initial Setup
- Remove the slot-in PC cover of the display.
- Using the handle of the VPCF5-2A, carefully insert it into the PC slot of the display.
- Secure the VPCF5-2A to the display with the two included screws.
- Note:
- Please note that the antennas must be installed on the VPCF5-2A.
- Please pay attention to the installation direction of the VPCF5-2A, with the vents facing outwards to avoid damage.
- The VPC products do not support hot swapping. When removing or installing the device, turn off the power supply for both the display and VPC product first.
Network Connection
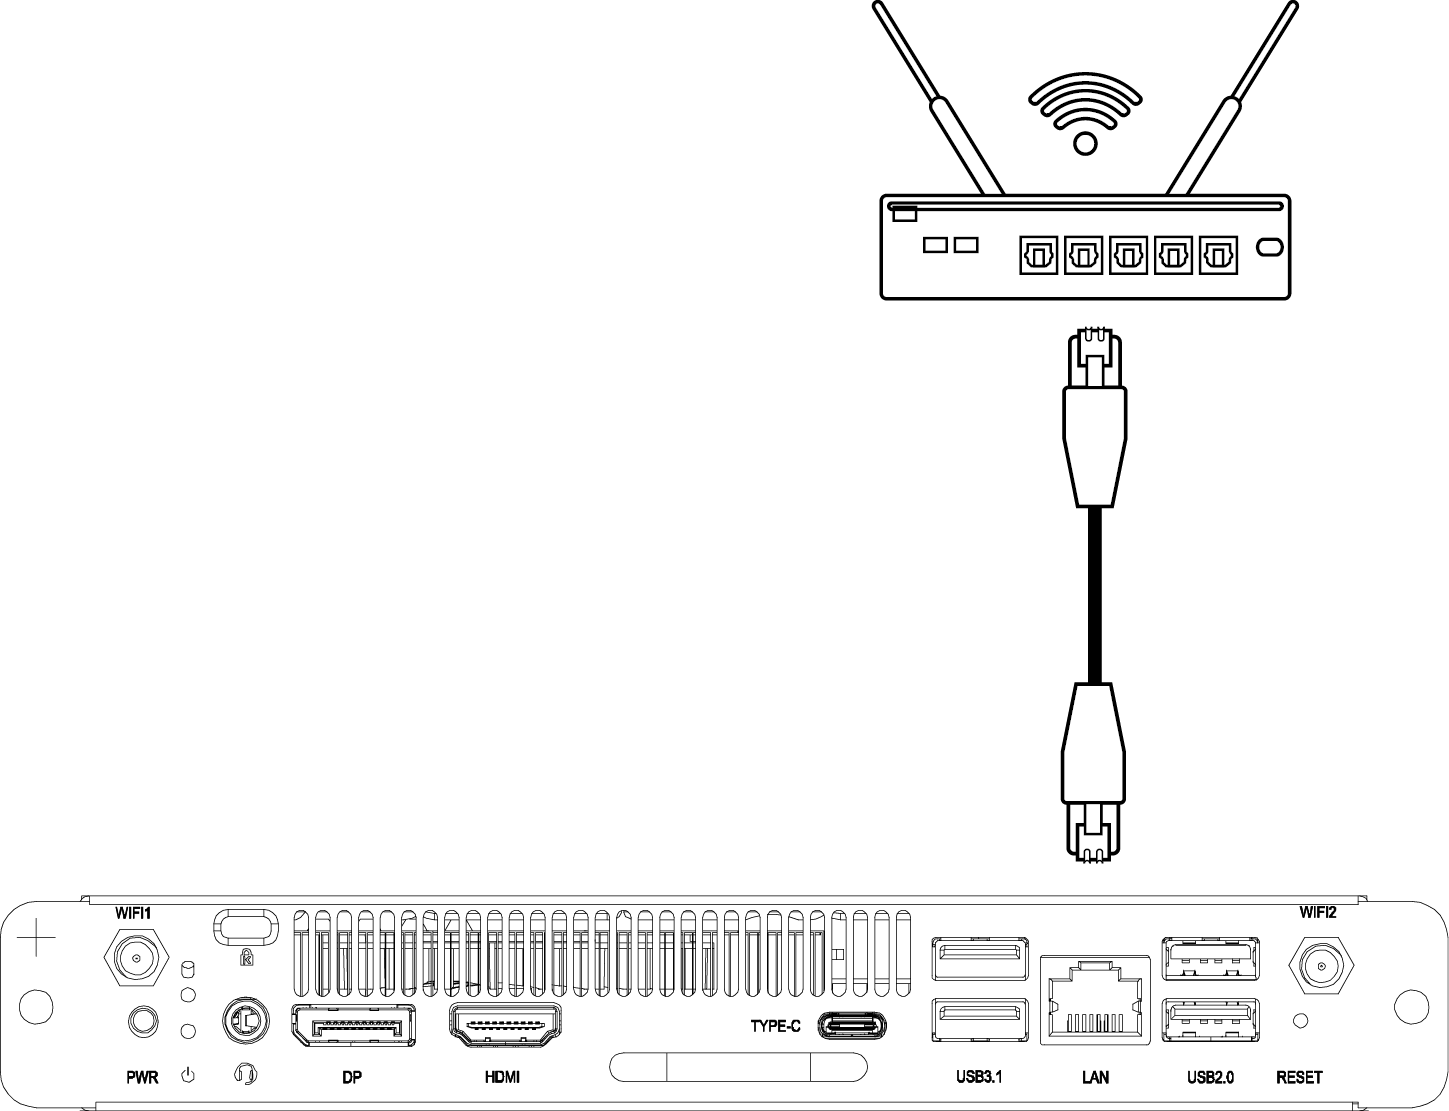
To connect to the Internet or a network, connect one end of a RJ45 cable to the LAN port of the VPCF5-2A, then connect the other end to your network.
USB Connection
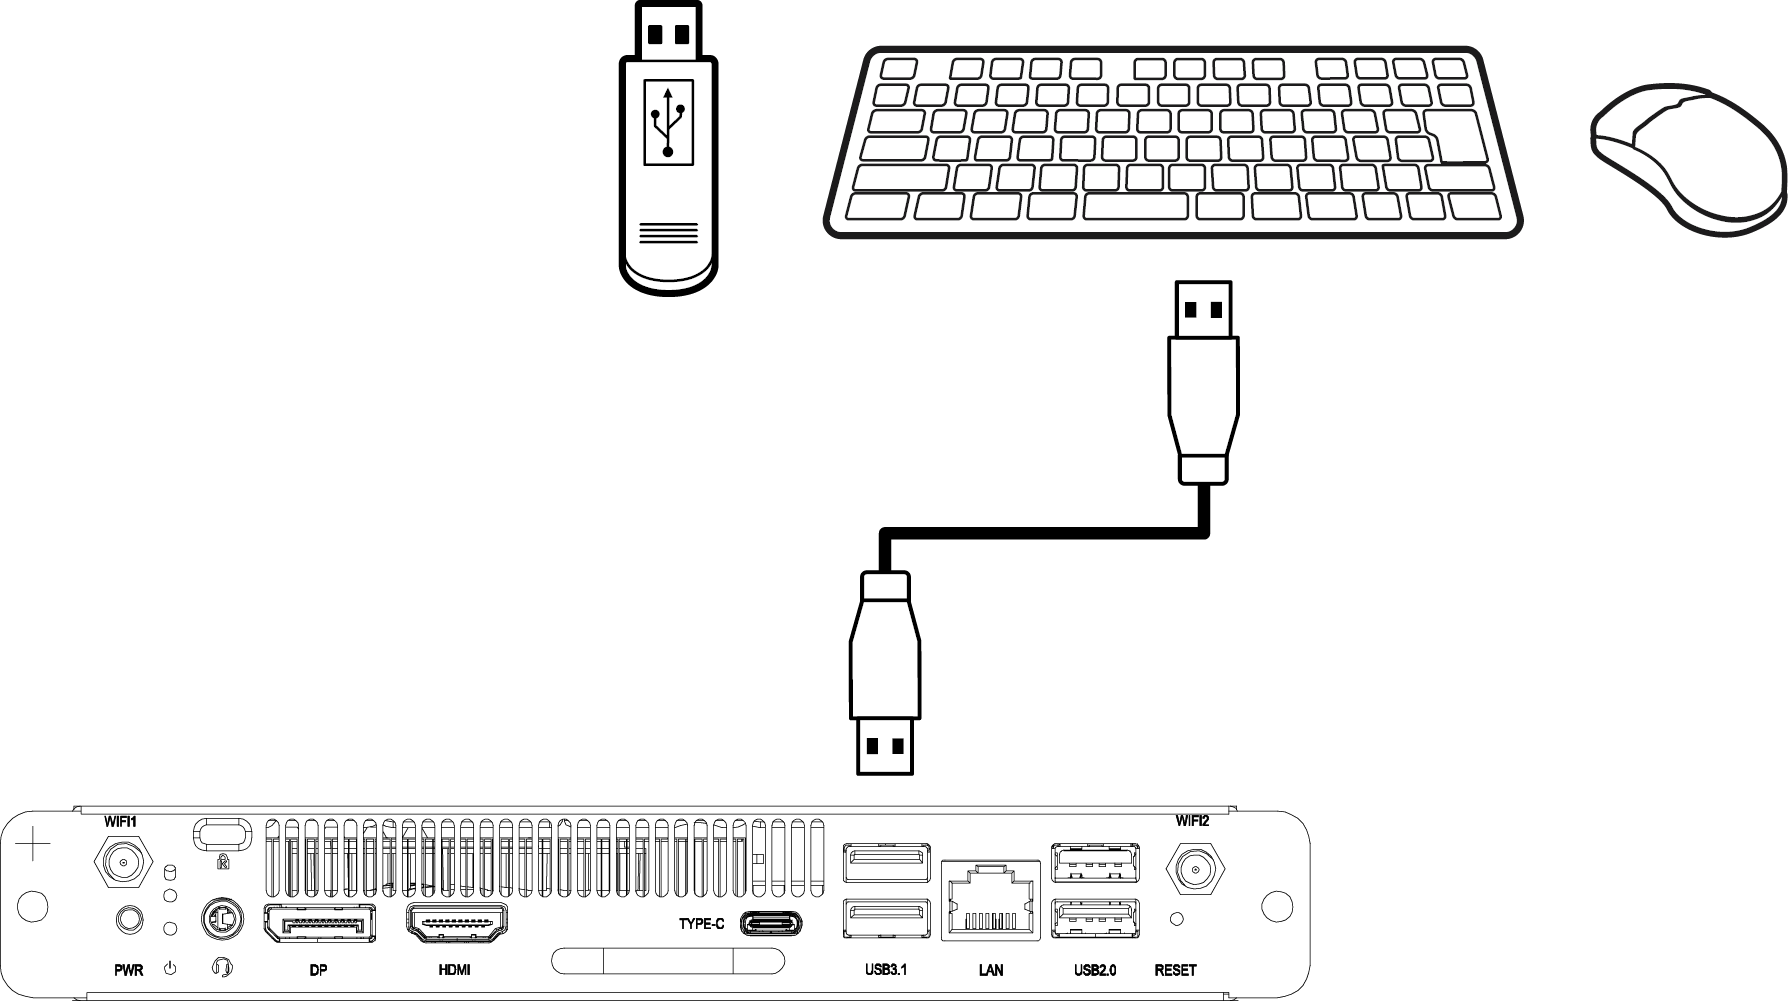
USB peripherals such as keyboards, mice, storage devices, etc. can be connected to the VPCF5-2A’s USB ports.
Using the Device
Selecting an Input Source
IFP Series
To select an input source:
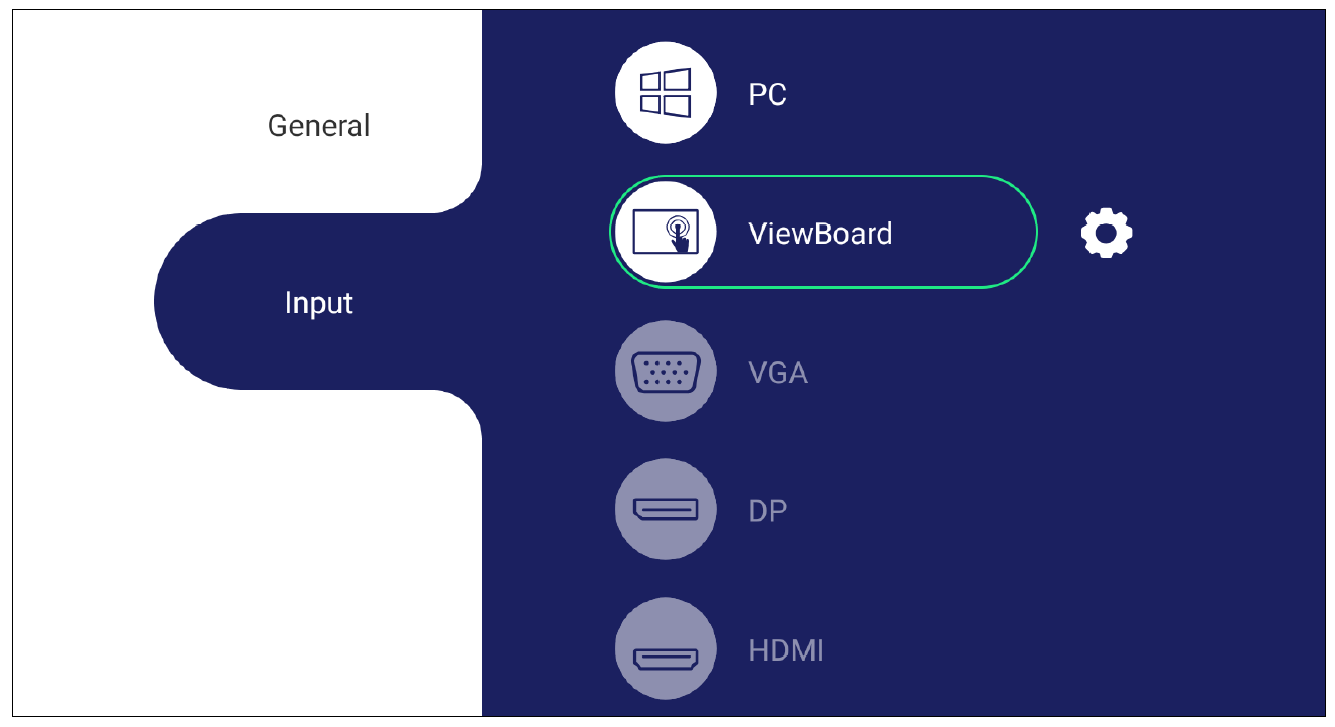
- Press INPUTon the remote control, press the setting button on the front panel, or press the Settings icon from the toolbar to display the Input Settings menu.
- Press ▼/▲/◄/► on the remote control to select the PC source.
- Press OK/ENTER on the remote control, or touch the input source directly.
- Press EPG/BACK on the remote control, or touch a blank area outside of the menu to exit.
- Note: The above image is for reference only and is subject to change without notice.
CDE Series
To select an input source:
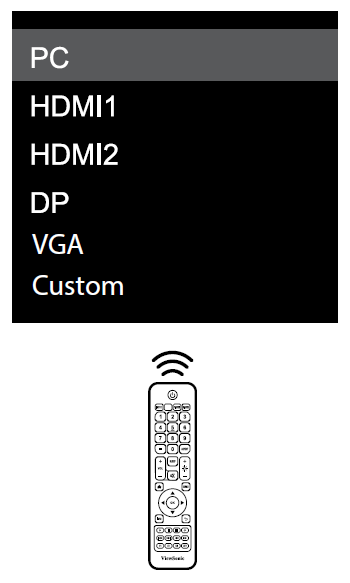
- Press INPUT on the remote control.
- Press ▼/▲ on the remote control to select the PC source.
- Press OK/ENTER on the remote control.
- Press EPG/BACK on the remote control to exit.
- Note: The above image is for reference only and is subject to change without notice.
Appendix
Specifications
| Category | Item | Specifications |
|---|---|---|
| I/O | Ports | 1 x HDMI (Max: 3840 x 2160 @ 60 Hz) 1 x HDMI (Max: 7680 x 4320 @ 30 Hz) 1 x RJ45 (LAN) (10M/100M/1G) 2 x USB 2.0 (5V/0.5A) 2 x USB 3.1 (5V/0.9A) 1 x USB Type (Data only, no PD support, 5V/900mA) |
| Physical | Dimensions | 180 x 120 x 30 mm |
| 7.09" x 4.72" x 1.18" | ||
| Weight | 0.75 kg | |
| 1.65 lb | ||
| Operating Conditions | Altitude | < 5000 m |
| < 16,404.2 ft | ||
| Relative Humidity | 10% ~ 90% (non-condensing) | |
| Temperature | -5°C ~ 45°C | |
| 23°F ~ 113°F | ||
| Storage Conditions | Altitude | < 5000 m |
| < 16,404.2 ft | ||
| Relative Humidity | 10% ~ 90% (non-condensing) | |
| Temperature | -20°C ~ 70°C | |
| -4°F ~ 158°F | ||
| Power | Voltage | 12~19V DC |
| Consumption | 90W (Maximum) | |
| Wi-Fi Module | Form Factor | Wi-Fi 6 (IEEE 802.11 a/b/g/n/ac/ax Wi-Fi 2T/2R+) |
| Bluetooth 5.2 (V2.1/4.2/5.2 USB2.0/3.0 Module) | ||
| Frequency Range and Output Power (Max.) | BT
Wi-Fi
|


