Using vDisplayManager
Menu Layout and Features - VP Series
Tags
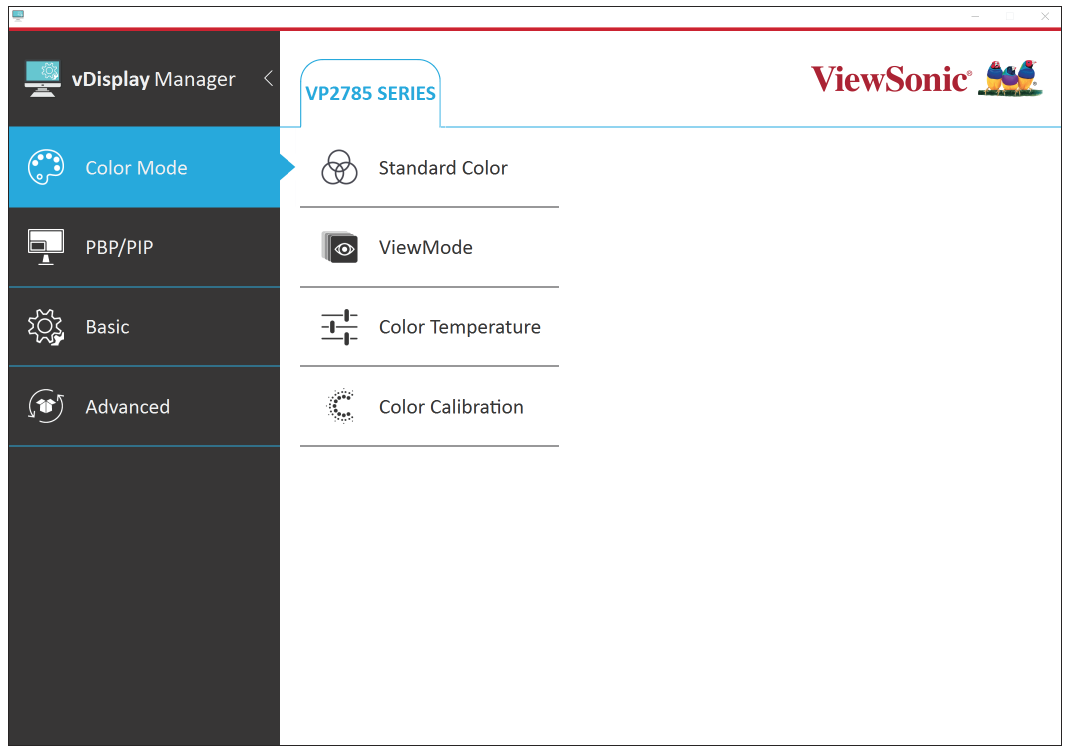
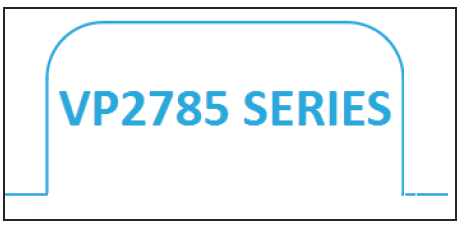
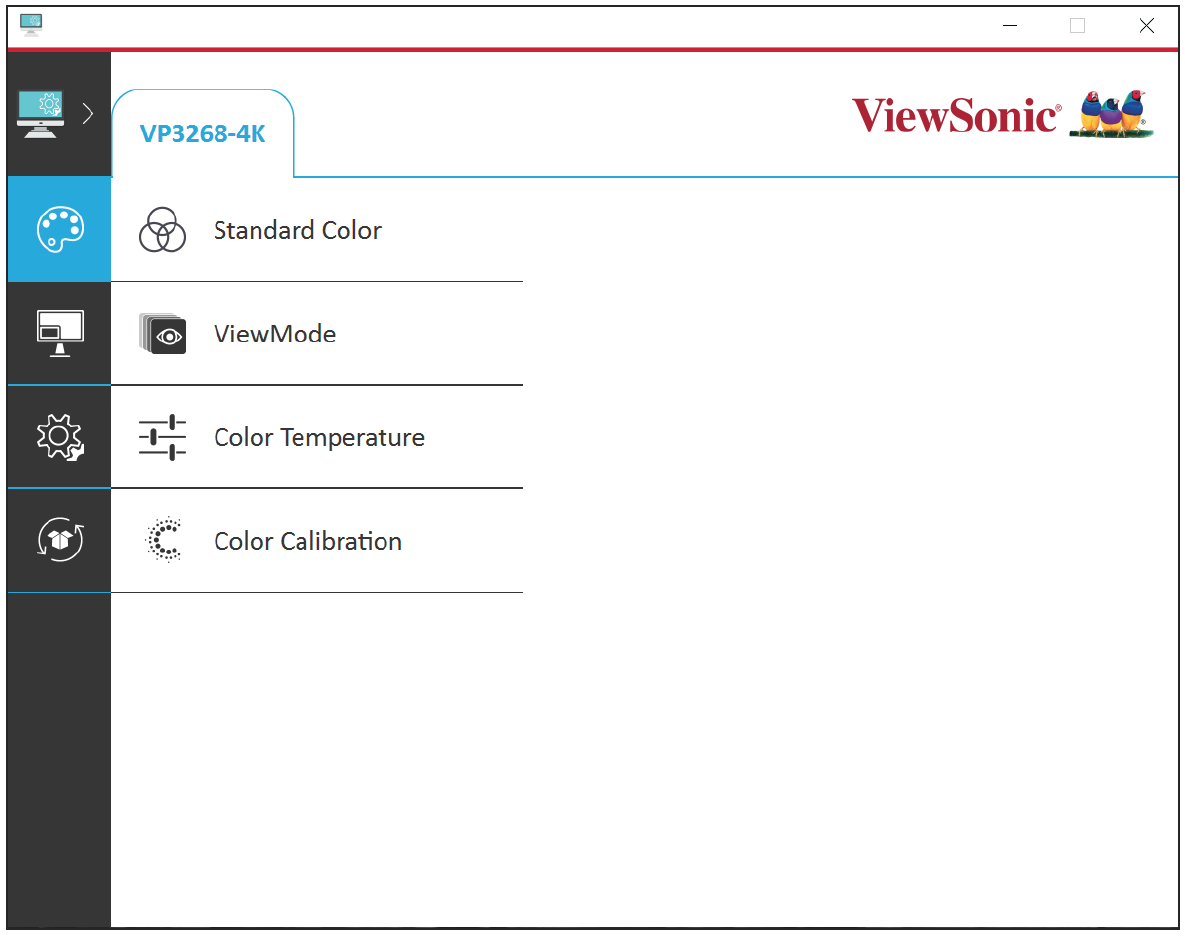
At the top of each menu screen a Tag will be displayed, one for every monitor connected.
- NOTE: Up to four (4) monitors can be connected and tagged, however, this is dependent on your computer’s graphics card capability.
Sidebar Menu
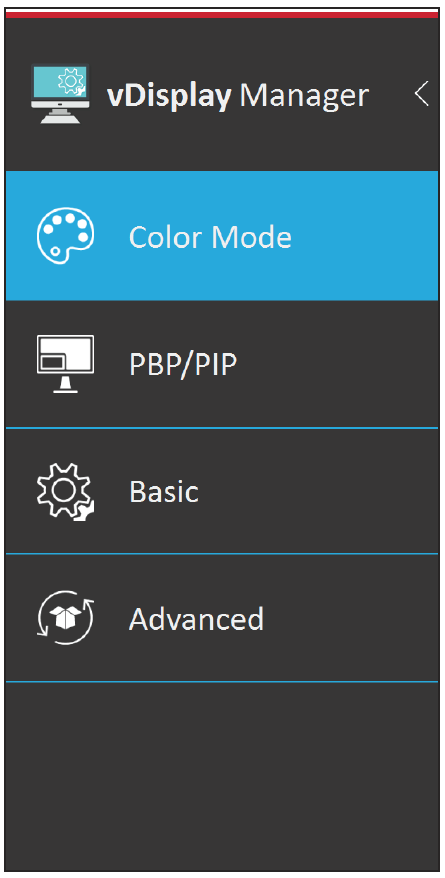
On the left side are the sub-menus:
| Sub-menu | Options | |
|---|---|---|
| Color Mode |
| |
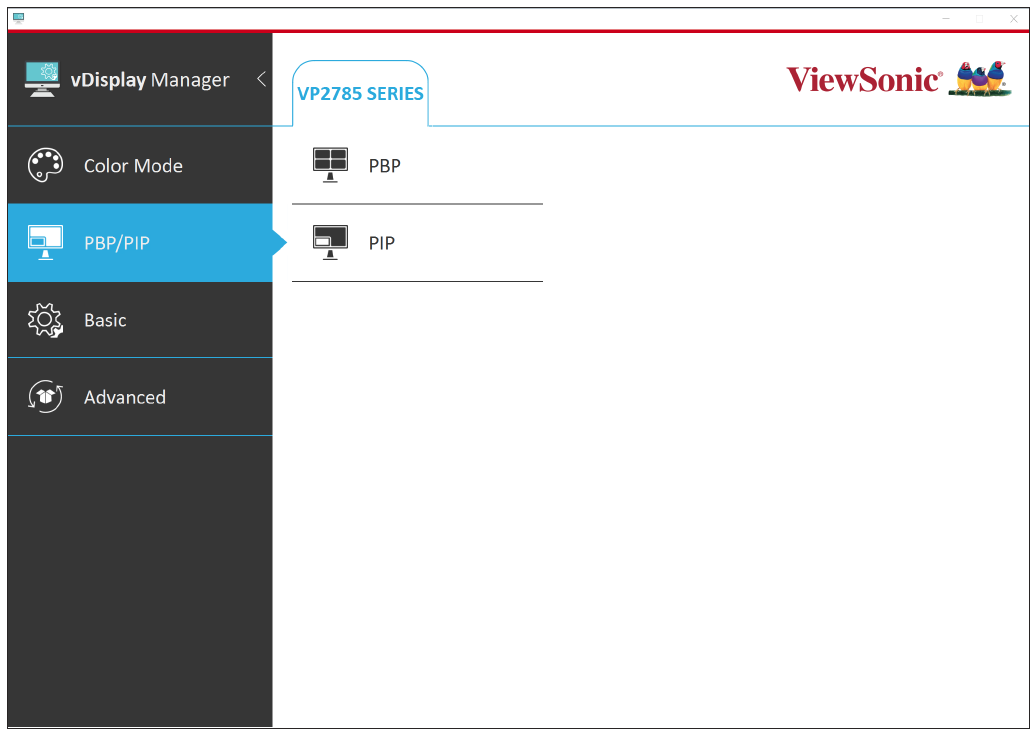
| PBP/PIP |
| |
| Basic Settings |
| |
| Advanced Settings |
|
More settings can be adjusted via the sub-menus: Color Mode, PBP/PIP, Basic Settings, and Advanced Settings.
Color Mode
| Menu Option | Description |
|---|---|
| Standard Color |
sRGB Adobe RGB EBU SMPTE-C REC 709 DICOM SIM DCI-P3 |
| ViewMode |
Standard Movie Game: FPS 1/Game: FPS 2 Game: RTS Game: MOBA Web Text MAC Designer: CAD/CAM Designer: Animation Designer: Video Edit Photographer: Retro Photographer: Photo Photographer: Landscape Photographer: Portrait Photographer: Monochrome |
| Color Temperature |
Panel Default Bluish Cool Native Warm User |
| Color Calibration |
Color Calibration: CAL 1 Color Calibration: CAL 2 Color Calibration: CAL 3 |
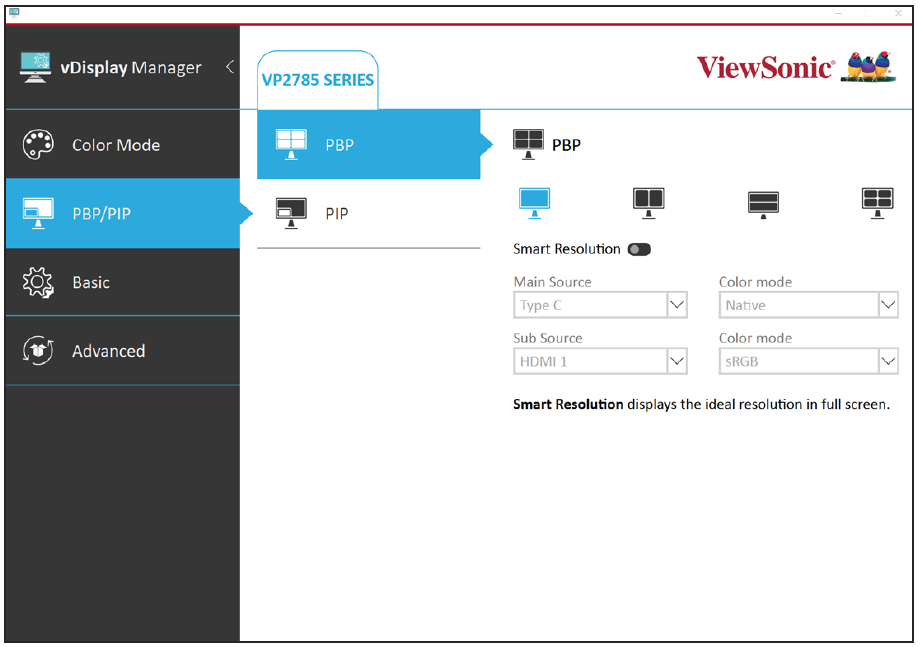
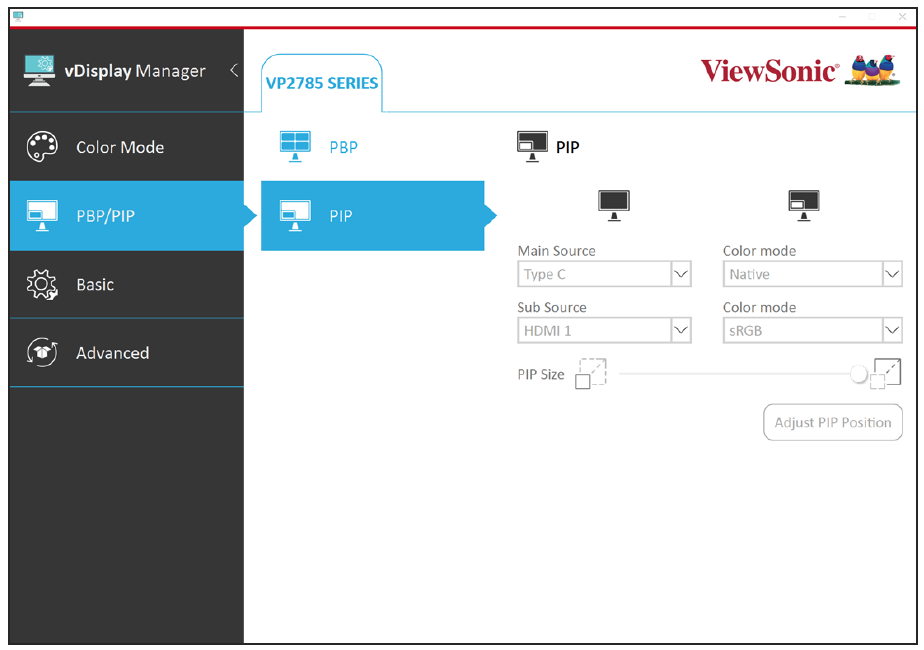
PBP/PIP (Picture-by-Picture/Picture-in-Picture)
| Menu Option | Description |
|---|---|
| PBP (Picture-by-Picture) |
Adjust layout preference, select input sources, set color modes, and turn on Smart Resolution to set your PBP screen with its ideal resolution at full screen. |
- NOTE: Please note how many screens can be supported:
| Screen Division | Model Support |
|---|---|
| 4 screens |
|
| 2 screens |
|
| Menu Option | Description |
|---|---|
| PIP (Picture-in-Picture) |
Adjust layout and size preference, select input sources, set color modes, and adjust the PIP screen size with the sliding bar. |
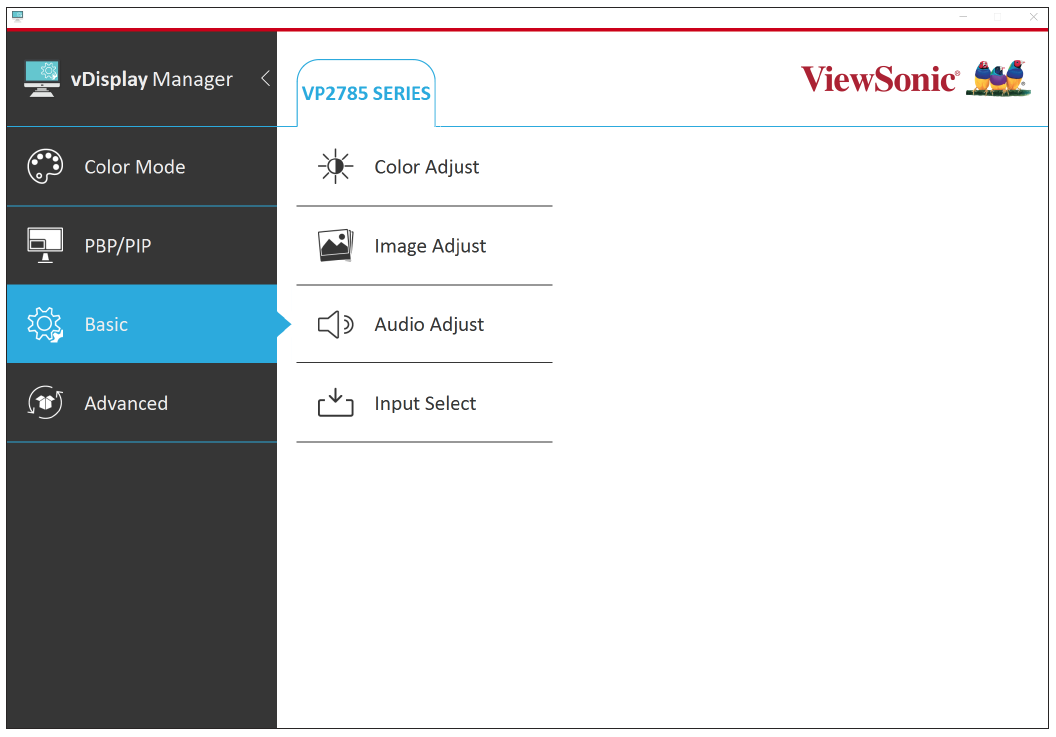
Basic Settings
| Menu Option | Description |
|---|---|
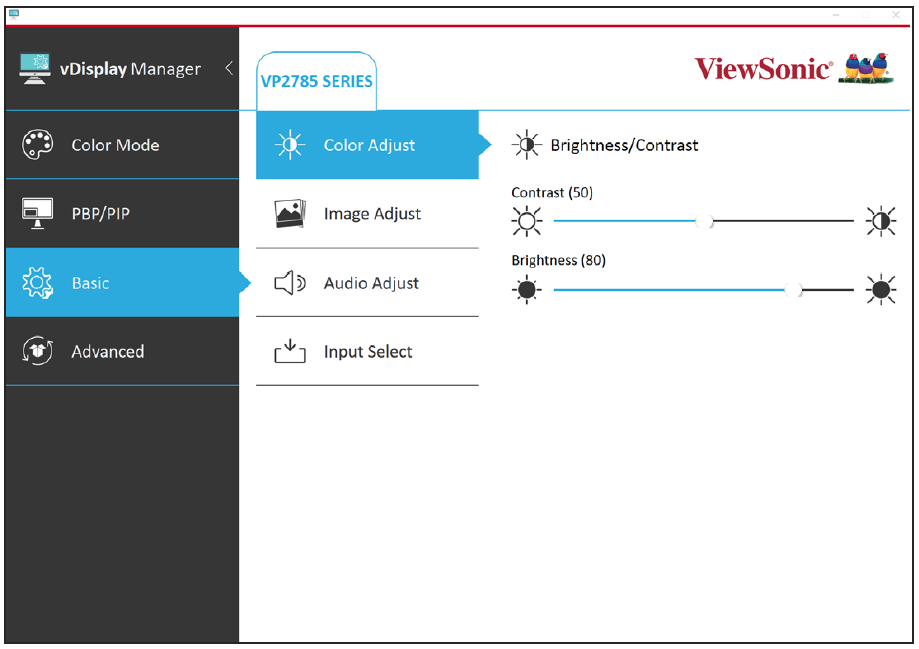
| Color Adjust | Adjust Brightness and Contrast. |
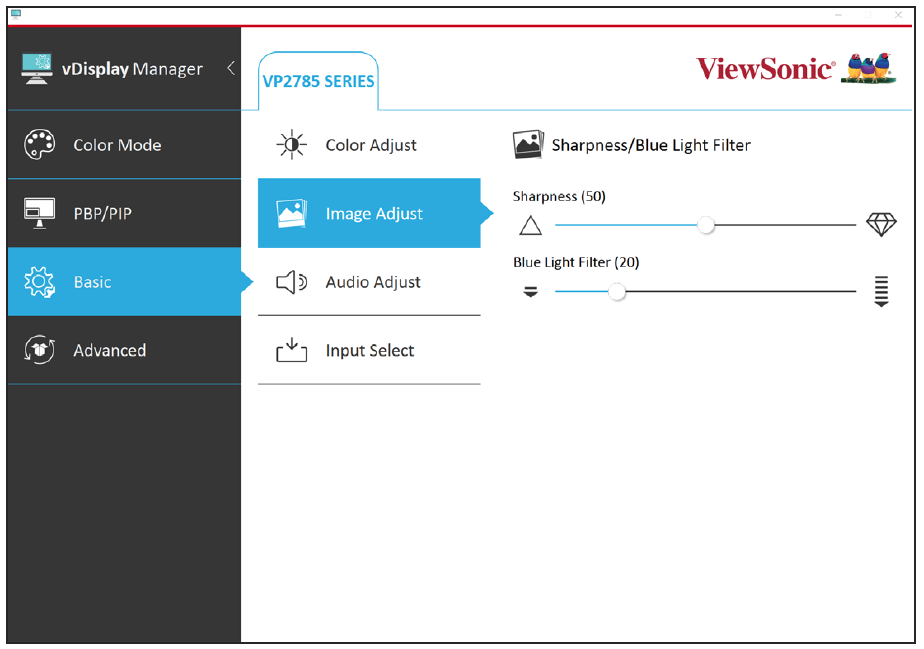
| Image Adjust | Adjust Sharpness and Blue Light Filter. |
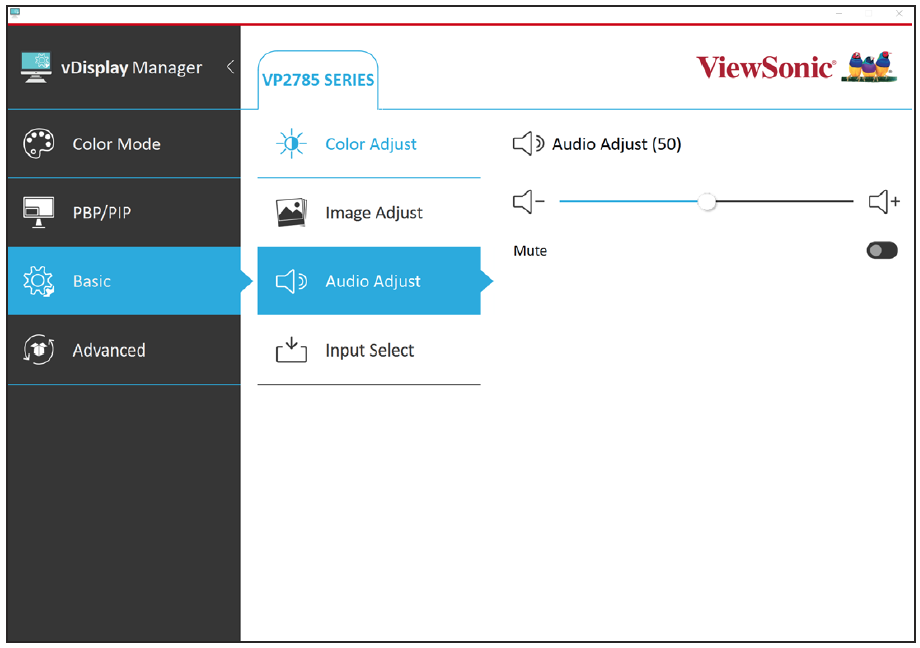
| Audio Adjust | Increase, decrease, or mute the volume. |
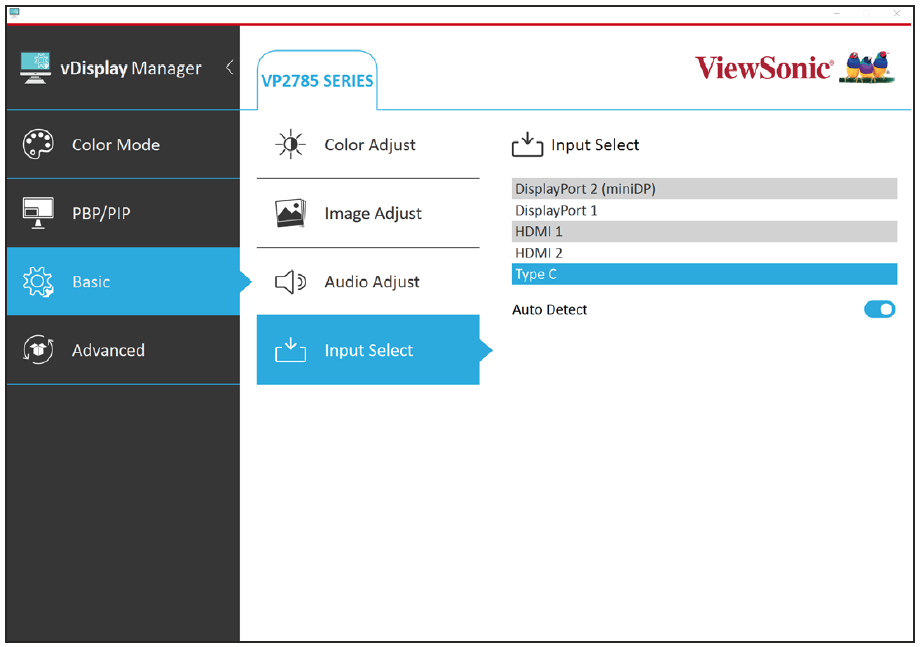
| Input Select | Toggles between the various input options that are available for the monitor. “Auto Detect” can also be toggled On/Off. |
Advanced Settings
| Menu Option | Description |
|---|---|
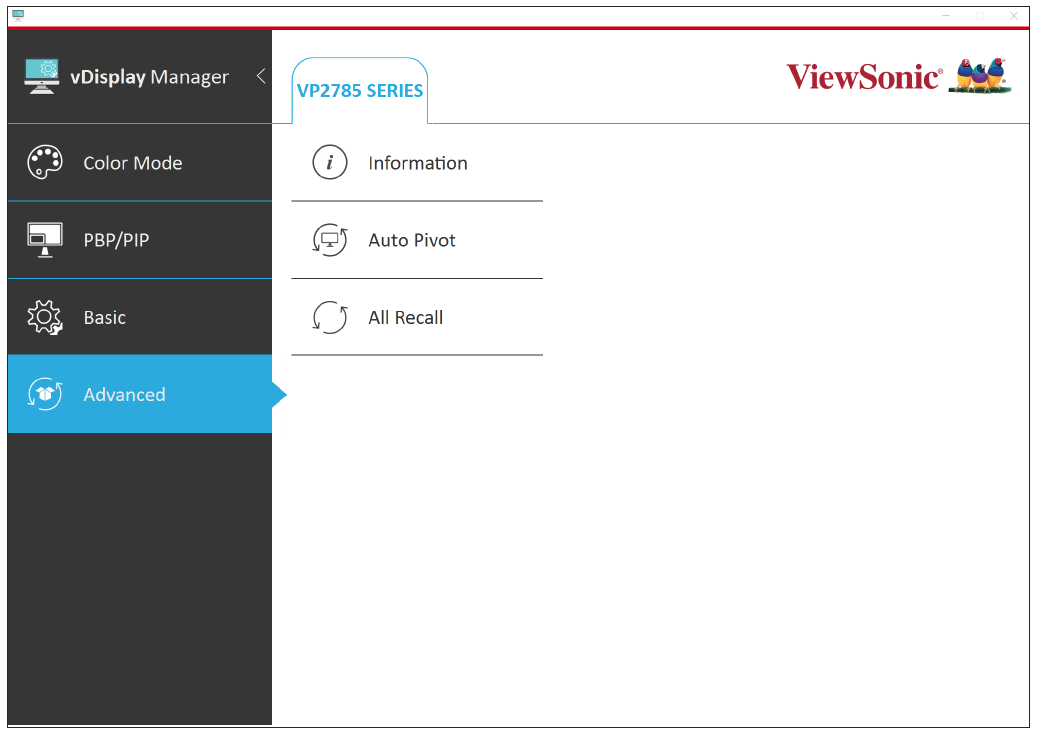
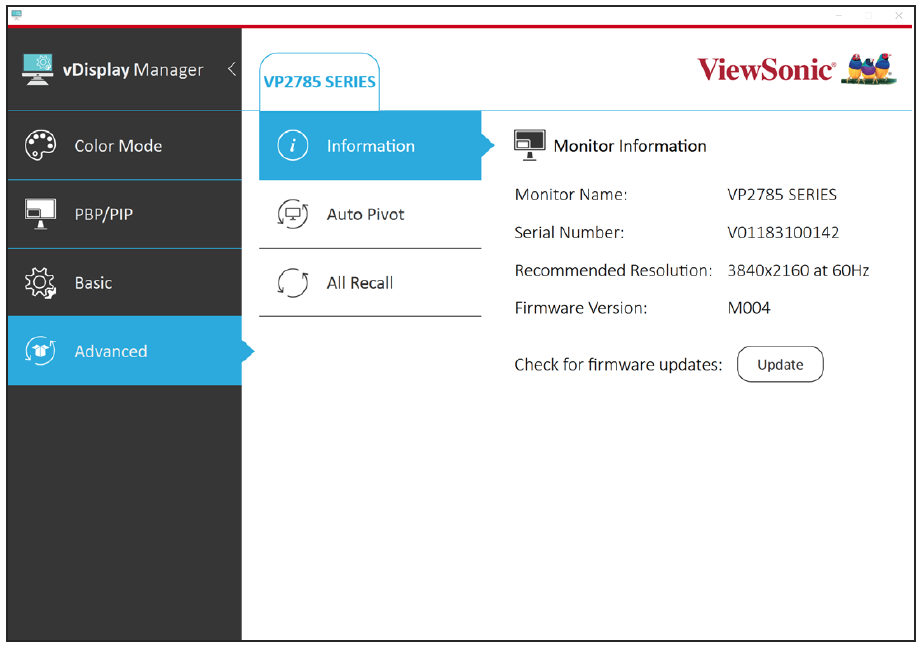
| Information | Displays the Resolution, Timing mode, Model Name, Serial Number, Firmware Version, and an option to check for Firmware updates. |
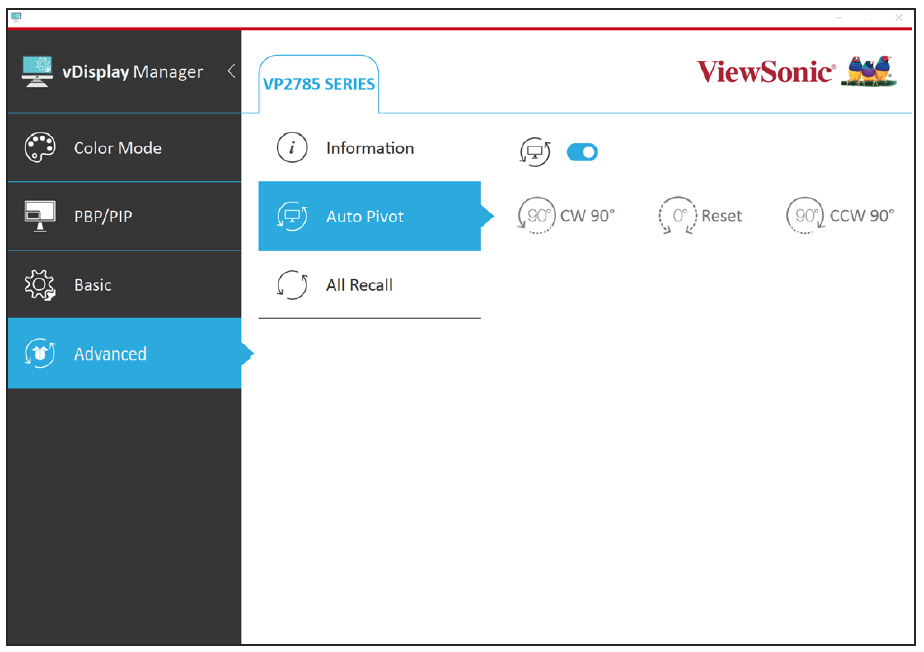
| Auto Pivot | Toggle On/Off and rotate the screen. |
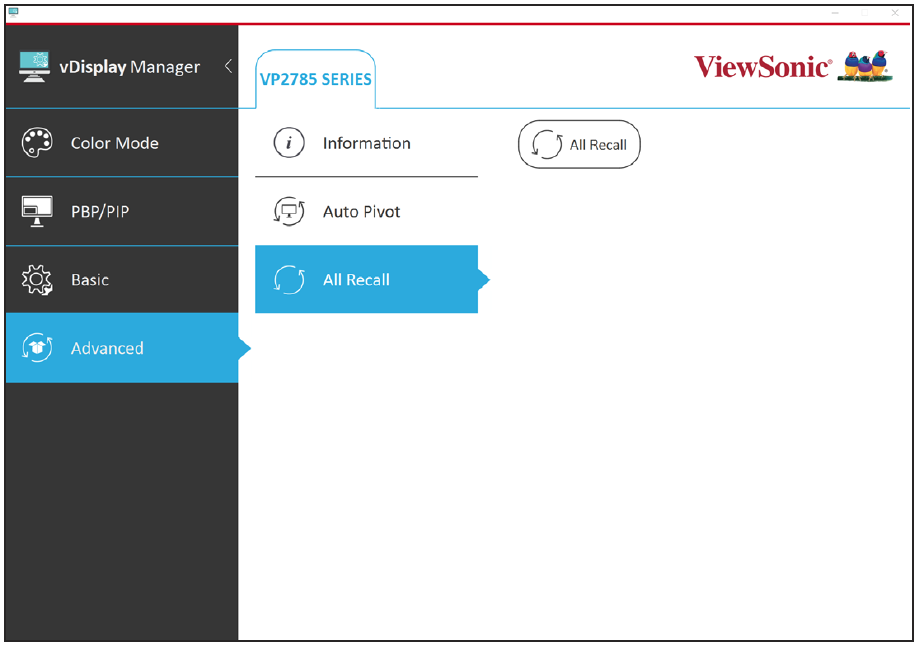
| All Recall | Resets all the settings to default. |
ViewSonic® Homepage Link
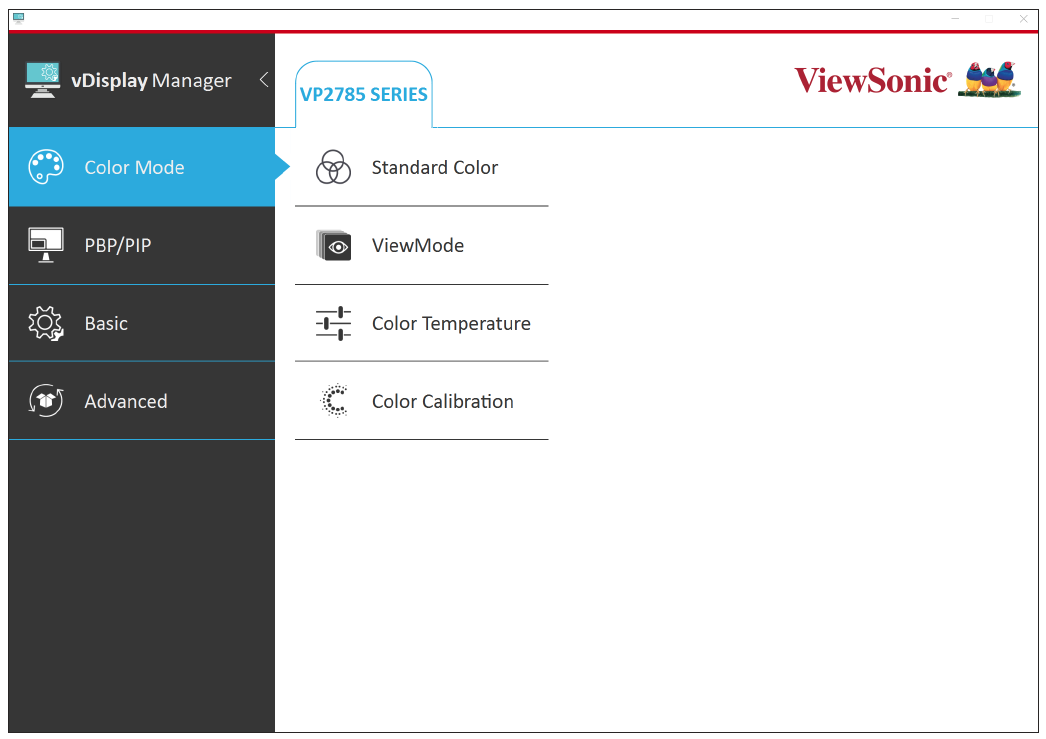
In the top-right corner, a link to the ViewSonic® home page is placed for convenience.
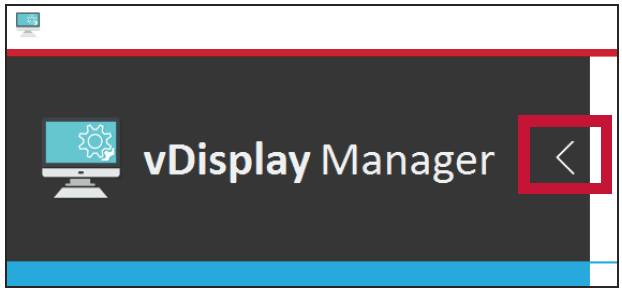
In addition to the standard view of the Main Menu, the Sidebar Menu can also be minimized by selecting the tab as shown below:
Menu Layout and Features - VG Series
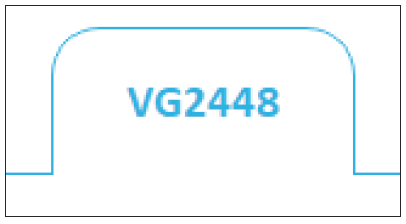
Tags
At the top of each menu screen a Tag will be displayed, one for every monitor connected.
- NOTE: Up to four (4) monitors can be connected and tagged, however, this is dependent on your computer’s graphics card capability.
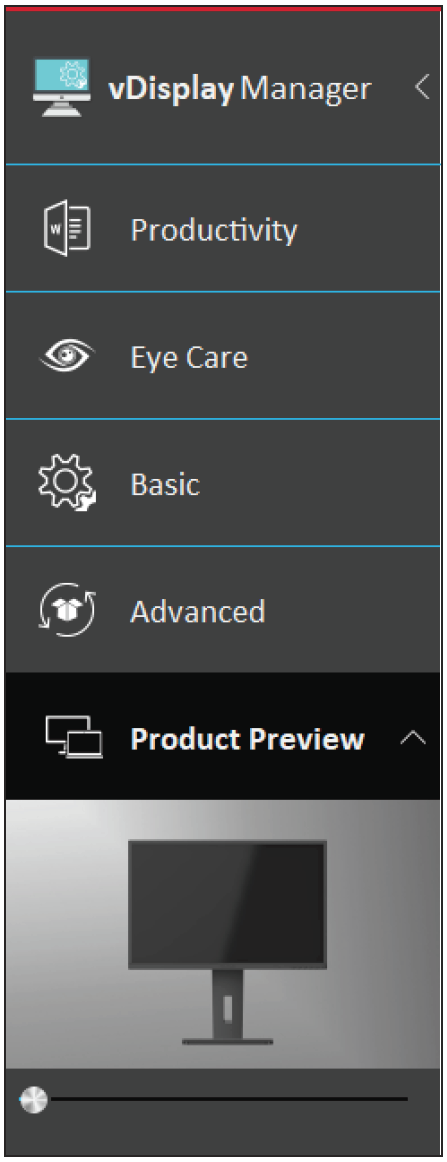
Sidebar Menu
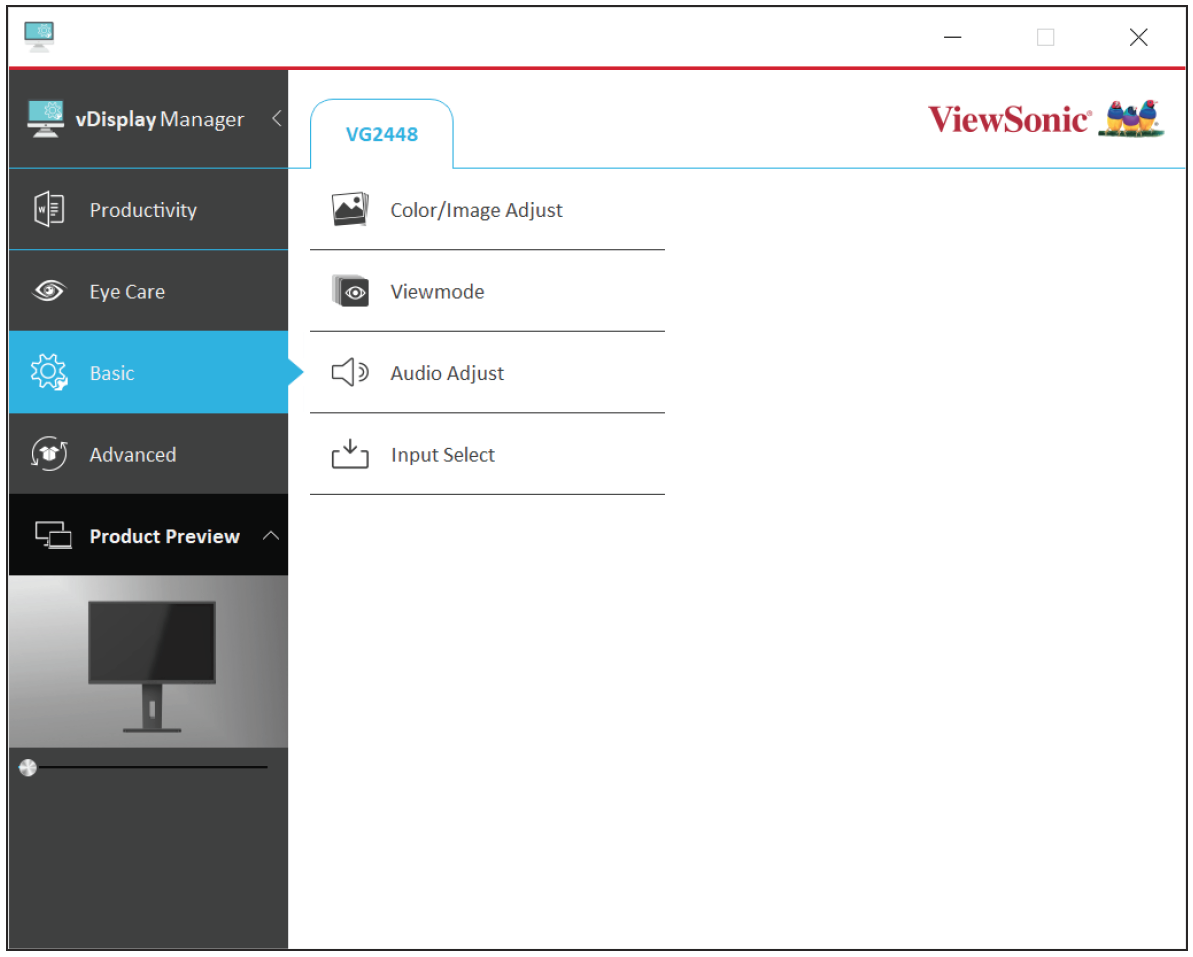
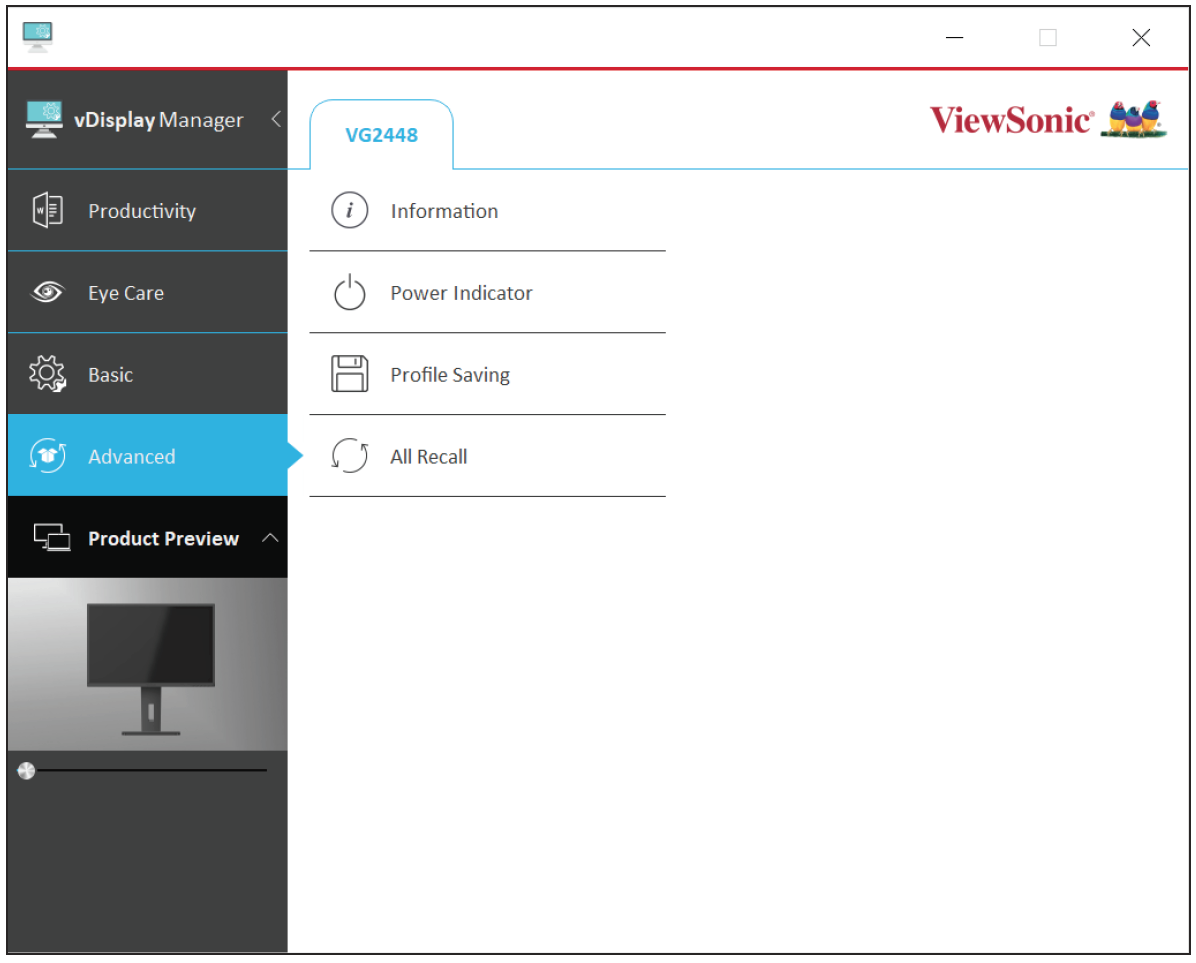
On the left side are the sub-menus:
| Sub-menu | Options | |
|---|---|---|
| Productivity |
| |
| Eye Care |
| |
| Basic Settings |
| |
| Advanced Settings |
|
More settings can be adjusted via the sub-menus: Productivity, Eye Care, Basic Settings, and Advanced Settings.
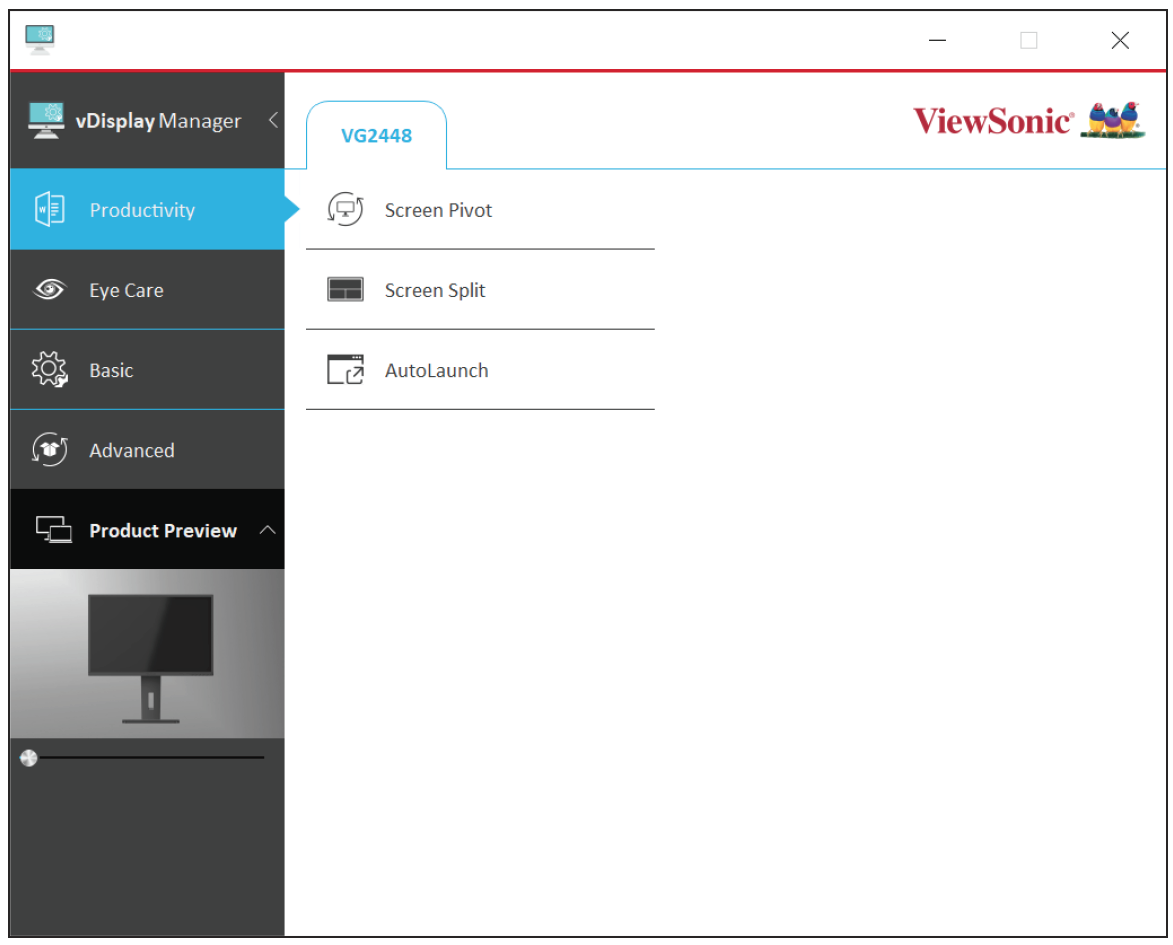
Productivity Menu
| Menu Option | Description |
|---|---|
| Screen Pivot | Pivot the screen -90°, +90°, or 0°. |
| Screen Split | Divide the screen into several windows for better productivity. |
| AutoLaunch | Automatically launch several windows in a set pattern with certain applications already open. |
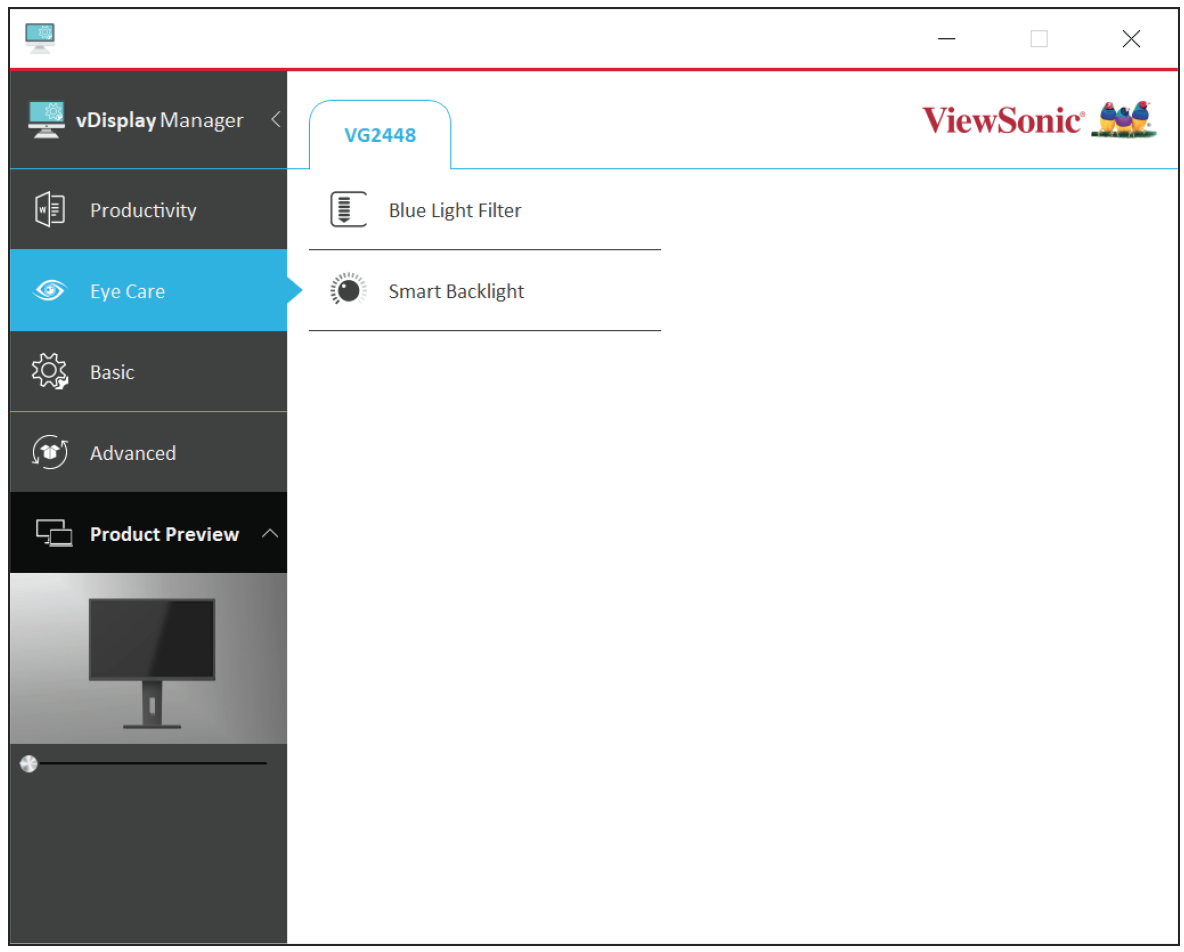
Eye Care Menu
| Menu Option | Description |
|---|---|
| Blue Light Filter | Adjusts the filter that blocks high-energy blue light for a more comfortable viewing experience. |
| Smart Backlight | Set your preferred brightness and contrast for different parts of the day. |
Basic Settings
| Menu Option | Description |
|---|---|
| Color/Image Adjust | Adjust Contrast, Brightness, and/or Sharpness. |
| ViewMode | Select one of the many preset viewing settings. |
| Audio Adjust | Increase, decrease, or mute the volume. |
| Input Select | Toggles between the various input options that are available for the monitor. “Auto Detect” can also be toggled On/Off. |
Advanced Settings
| Menu Option | Description |
|---|---|
| Information | Displays the Resolution, Timing mode, Model Name, Serial Number, Firmware Version, and an option to check for Firmware updates. |
| Power Indicator | Toggle the Power Indicator Light On/Off. |
| Profile Saving | Save preferred settings. |
| All Recall | Resets all the settings to default. |
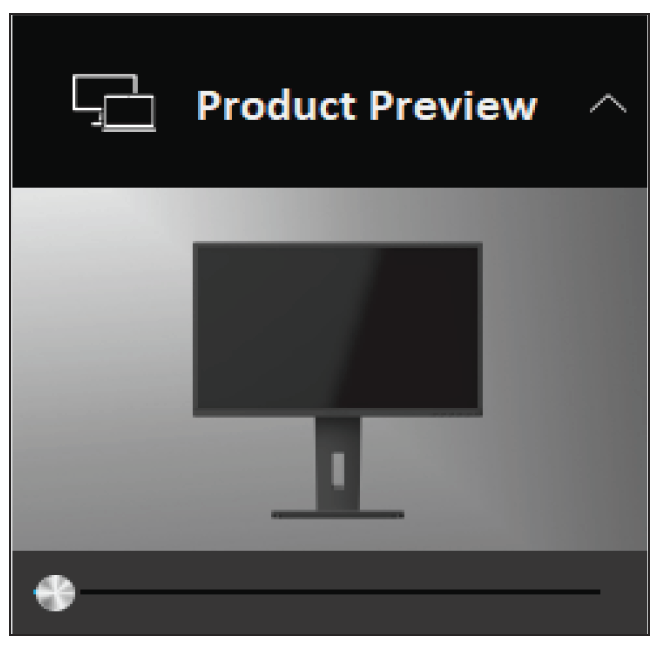
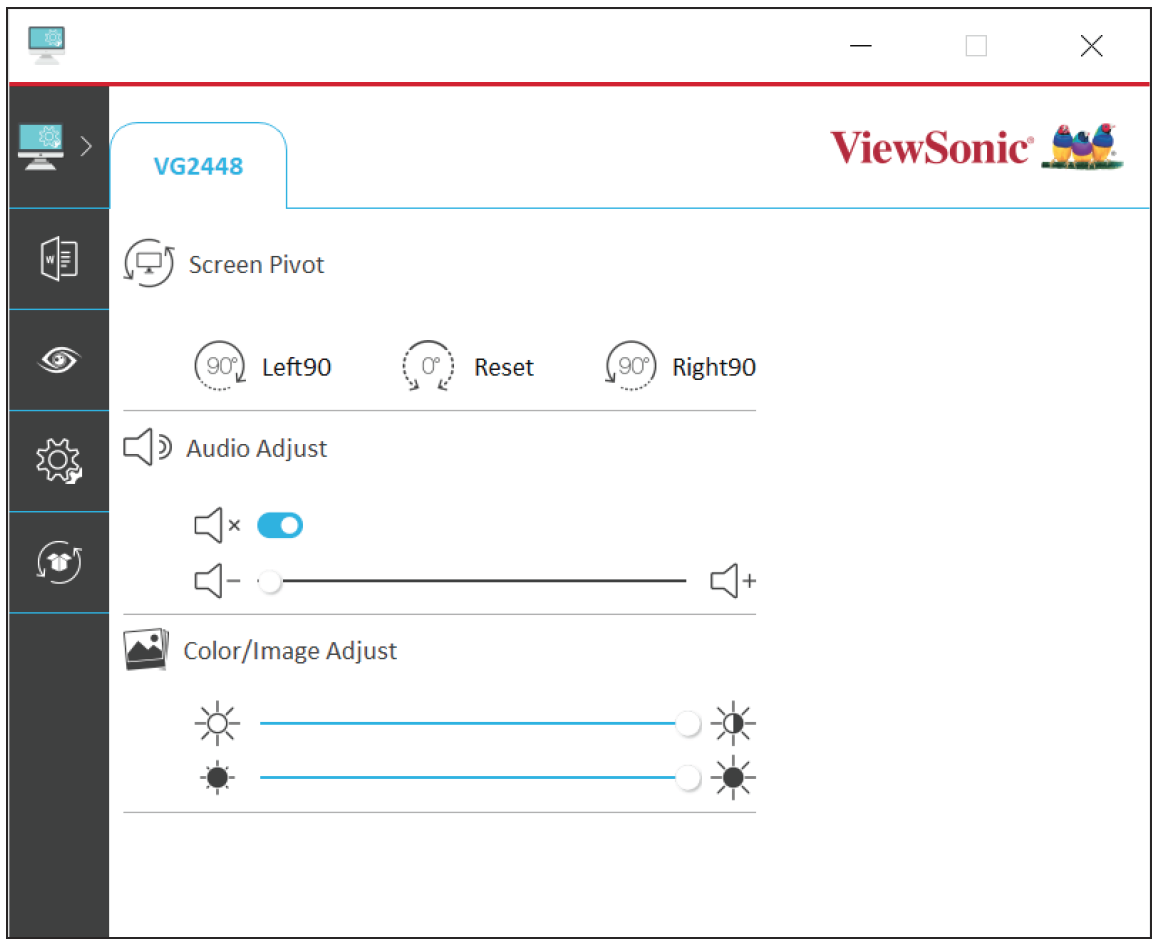
Product Preview A 360° degree view of the selected monitor will be shown here. This sub-menu can be minimized as well.
Adjustable Settings
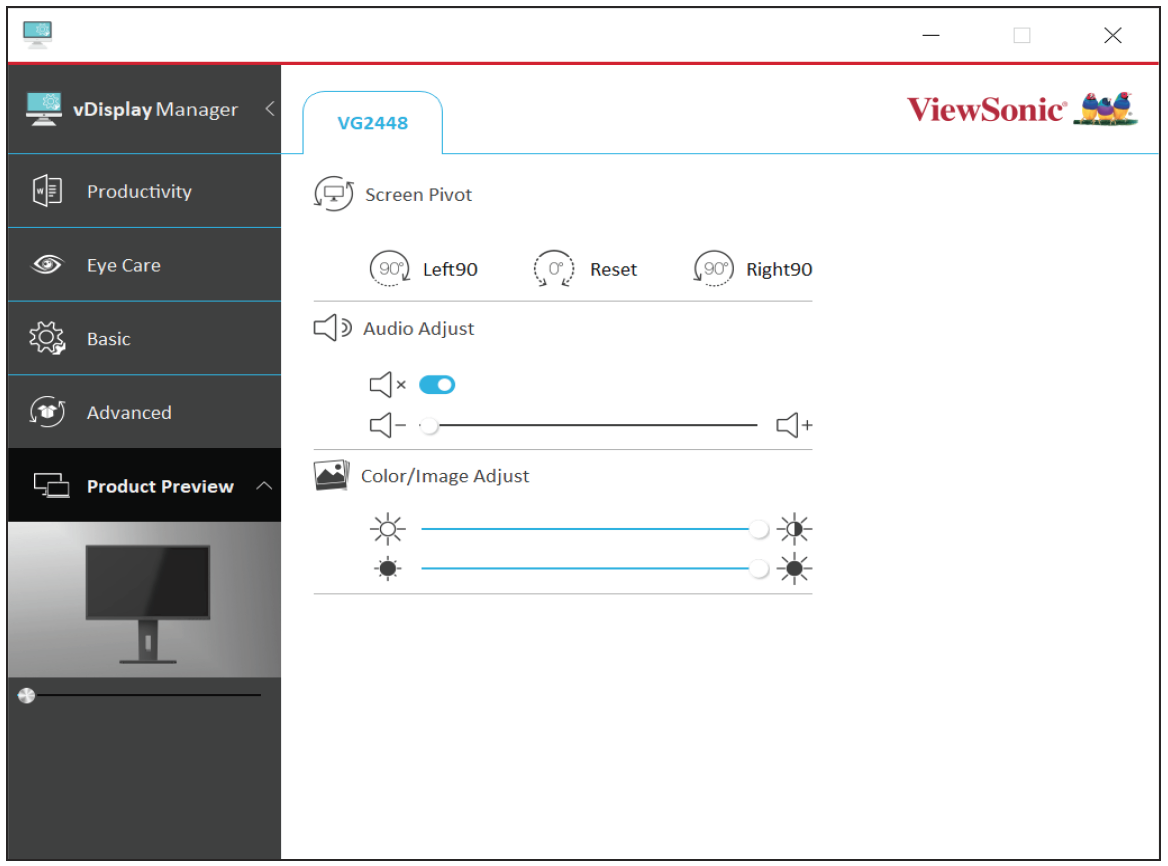
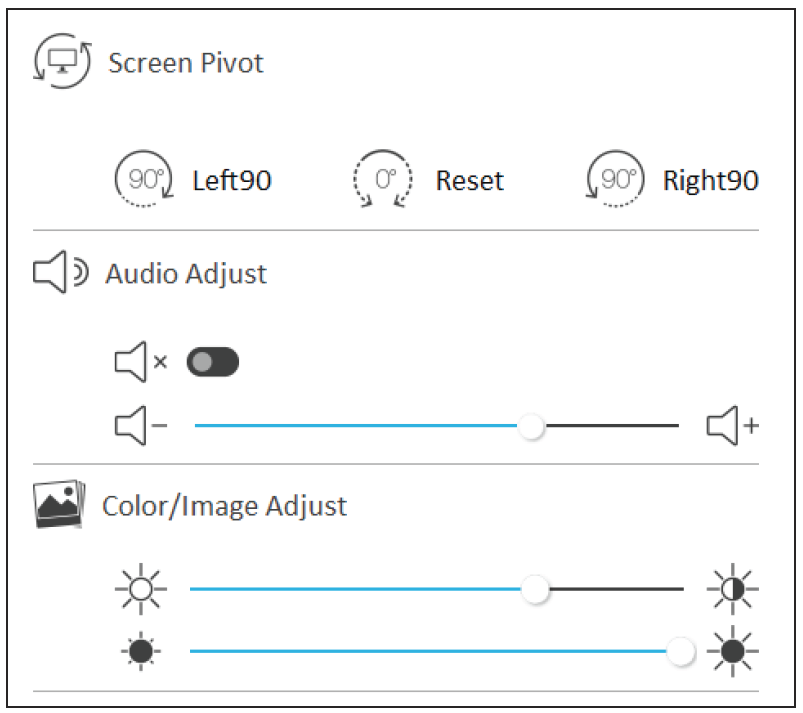
The Main Menu has several common settings that can be quickly adjusted.
| Menu Option | Description |
|---|---|
| Screen Pivot | Pivot the screen -90°, +90°, or 0°. |
| Audio Adjust | Increase, decrease, or mute the volume. |
| Color/Image Adjust | Adjust the brightness and/or contrast. |
ViewSonic® Homepage Link
In the top-right corner, a link to the ViewSonic® home page is placed for convenience.
In addition to the standard view of the Main Menu, the Sidebar Menu can also be minimized by selecting the tab as shown below:

