Using ColorPro Integrate
Start Page
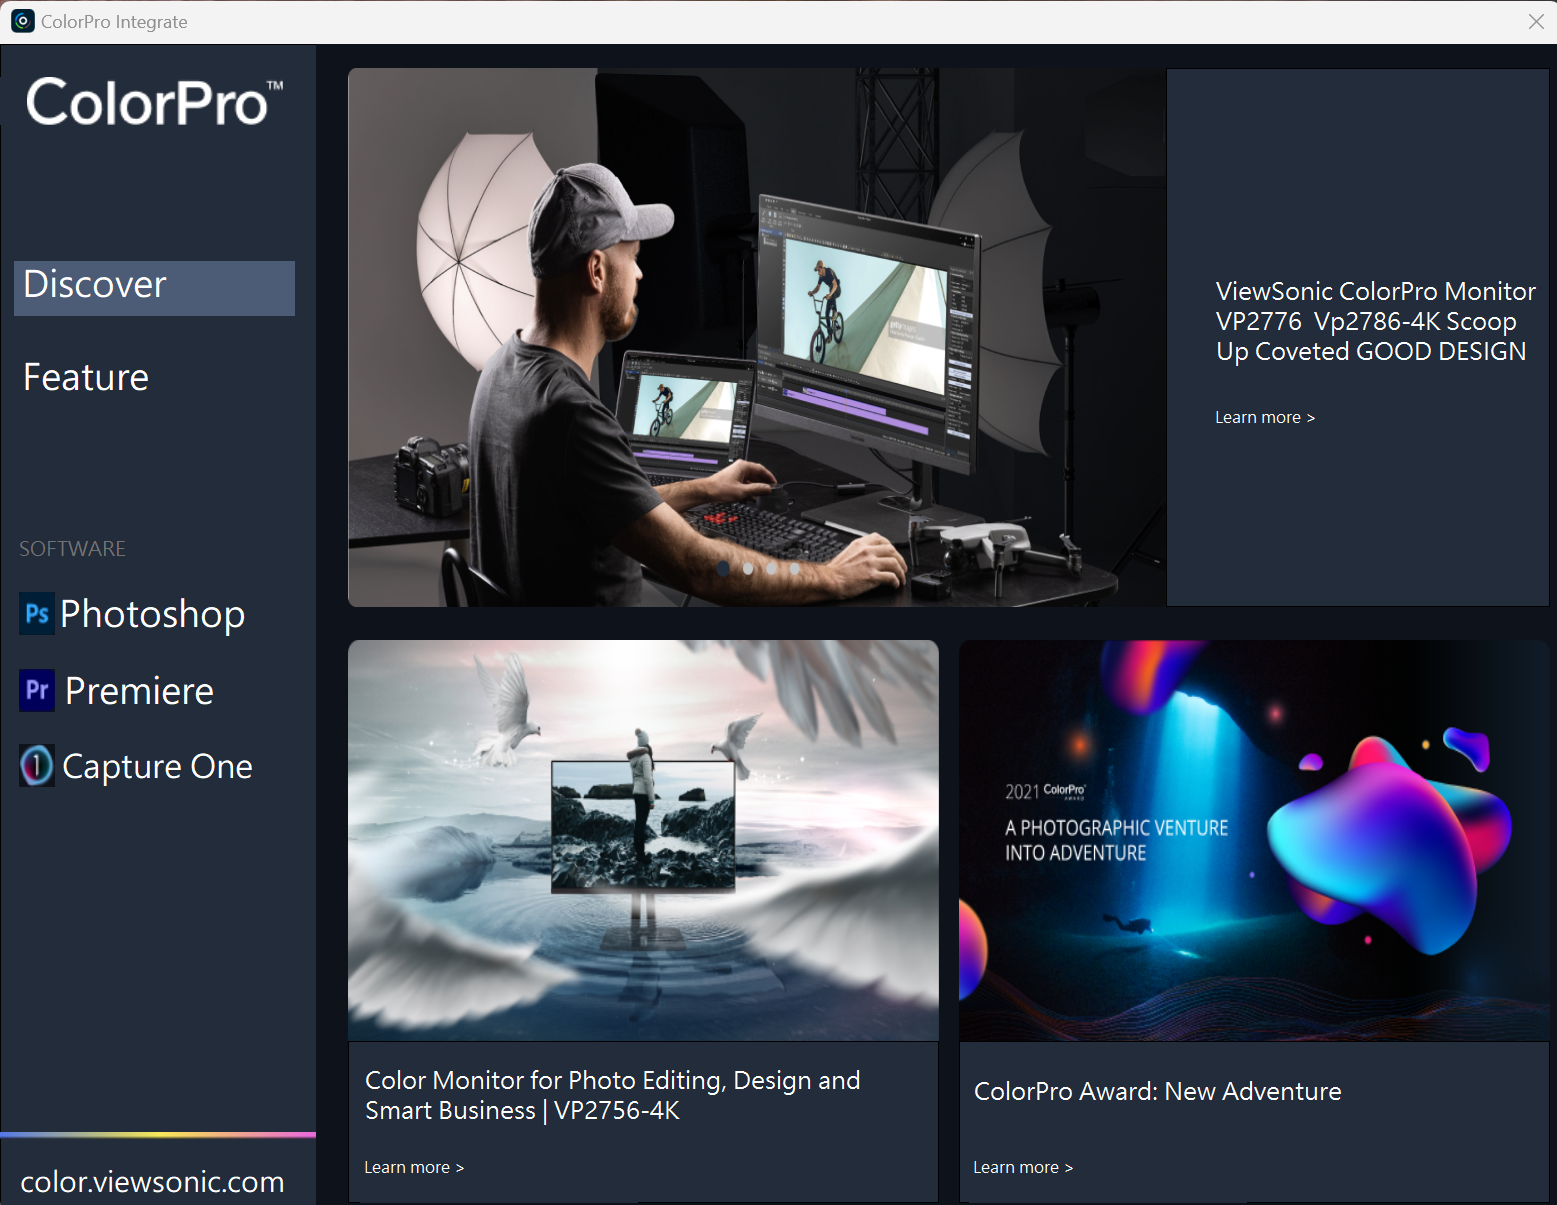
The Start Page will open when the application is initially launched.
Discover
Find the latest news and highlights from ColorPro™.
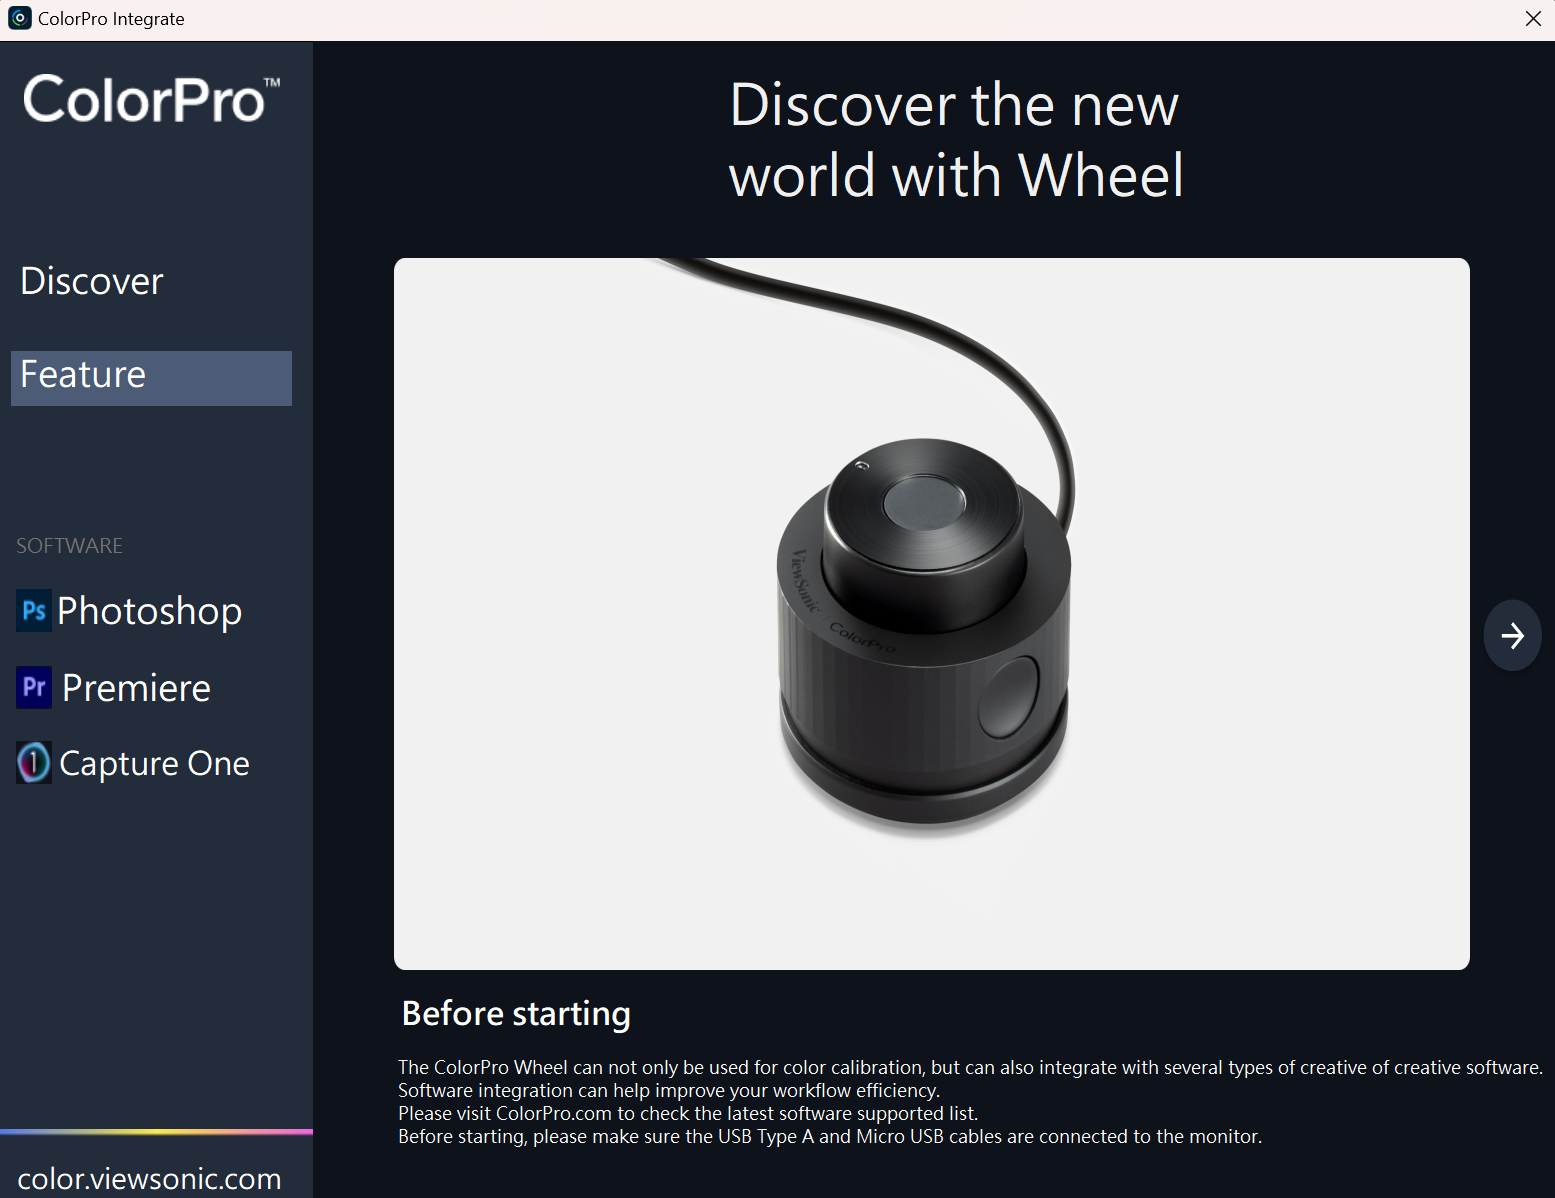
Feature
Follow the on-screen directions to ensure the ColorPro™ Wheel is connected and used correctly.
Before Starting
The ColorPro™ Wheel cannot only be used for color calibration, but can also integrate with several types of creative software. Software integration can help improve your workflow efficiency.
Please visit ColorPro.com to check the latest software supported list. Also, before starting, please make sure the USB Type A and Micro USB cables are connected to the monitor.
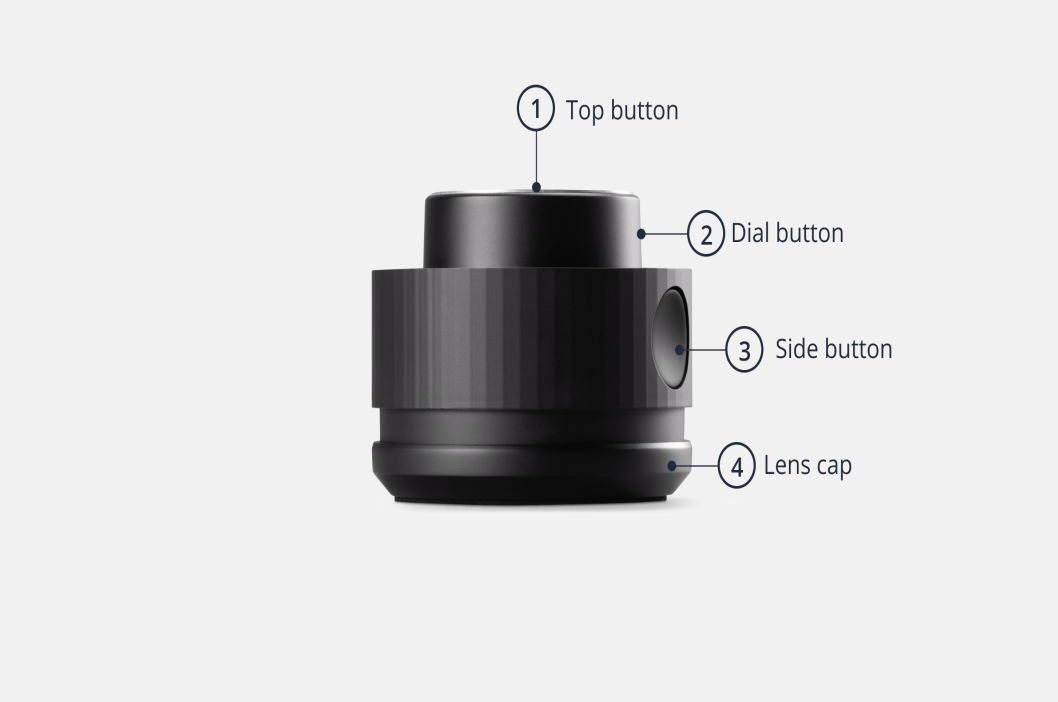
Control Overview
The function of each button will vary depending on the integrated software.
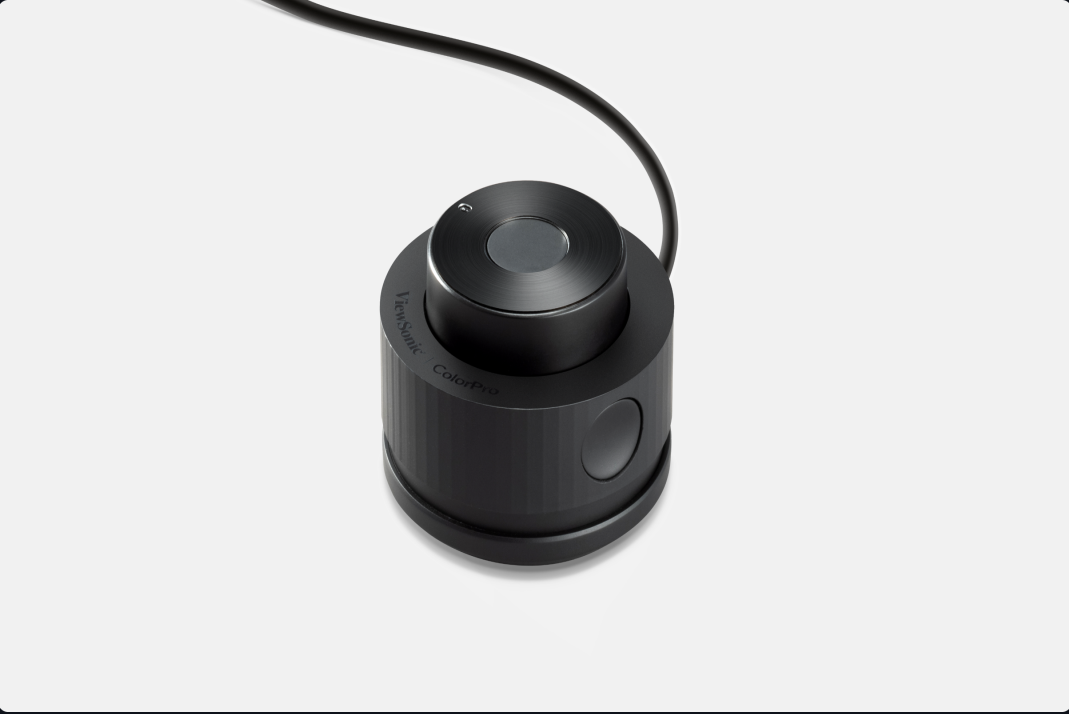
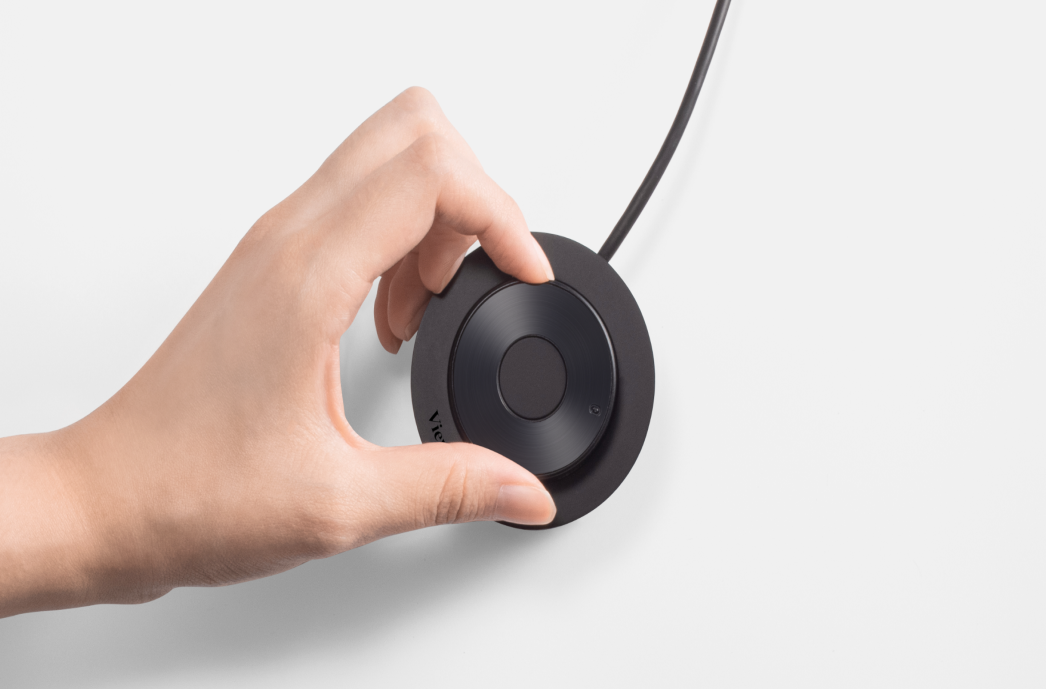
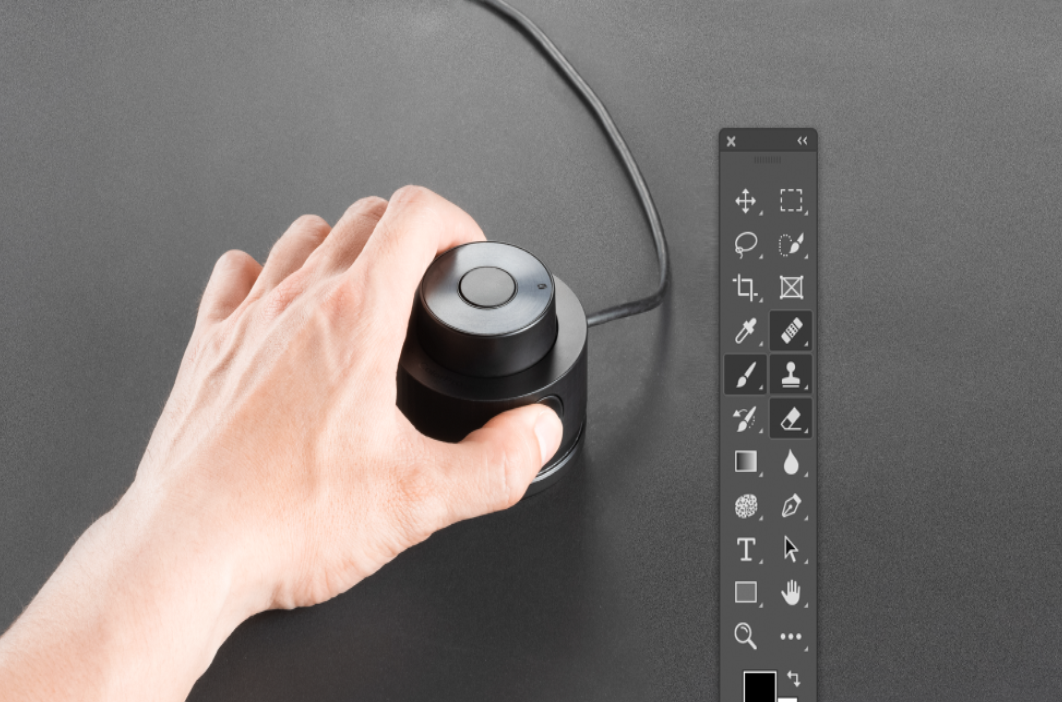
Position Your Hand for the Best Experience
It is recommend to use the ColorPro™ Wheel as follows:
- Use your left hand to operate the Wheel.
- Press the Top Button with your index finger.
- Turn the Dial with your thumb and index finger.
- Press the Side Button with your thumb.
Last Step Before You Start
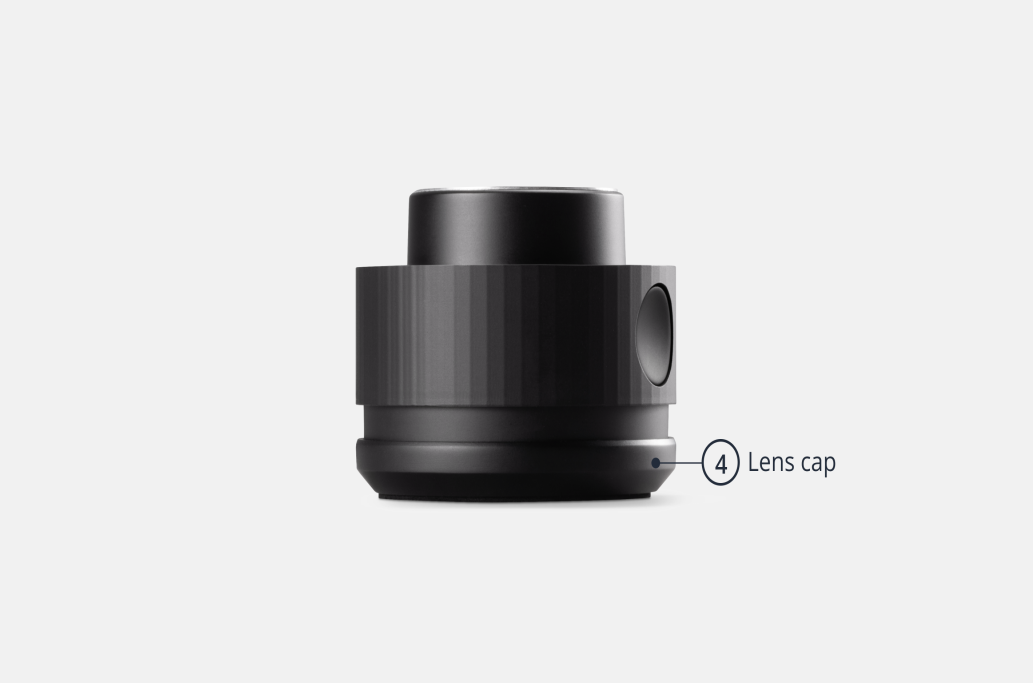
Protect the Lens with the Lens Cover and improve the stability of the ColorPro™ Wheel.
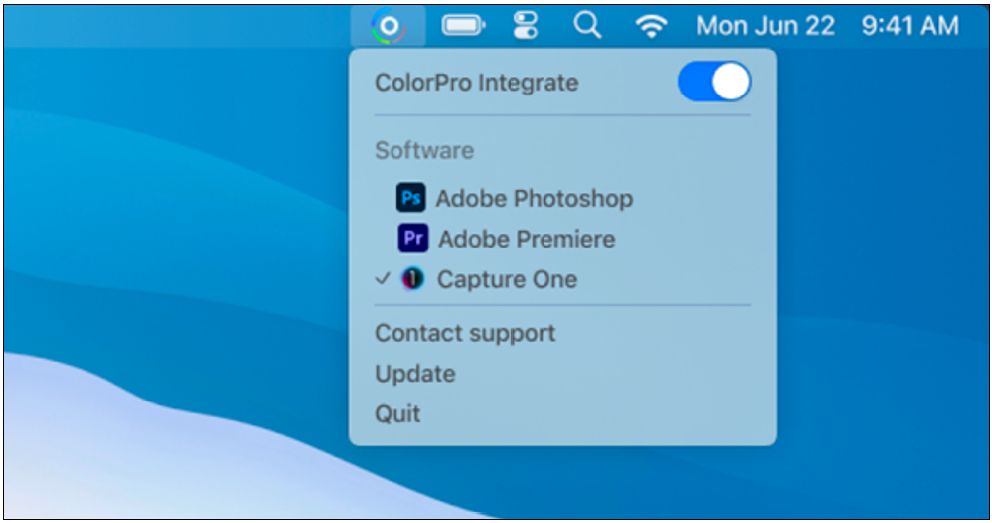
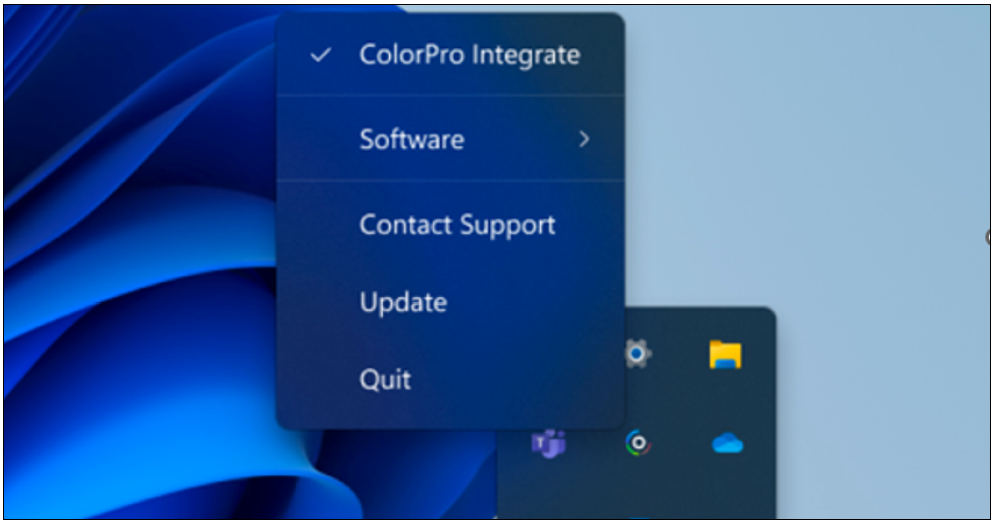
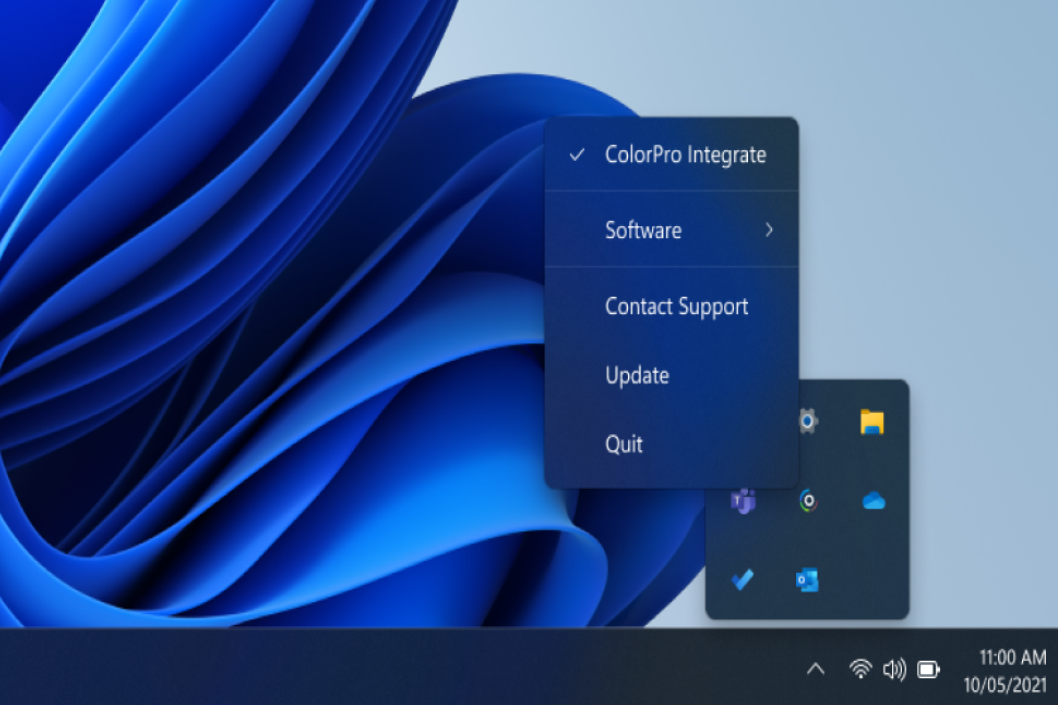
ColorPro™ Integrate Control Menu
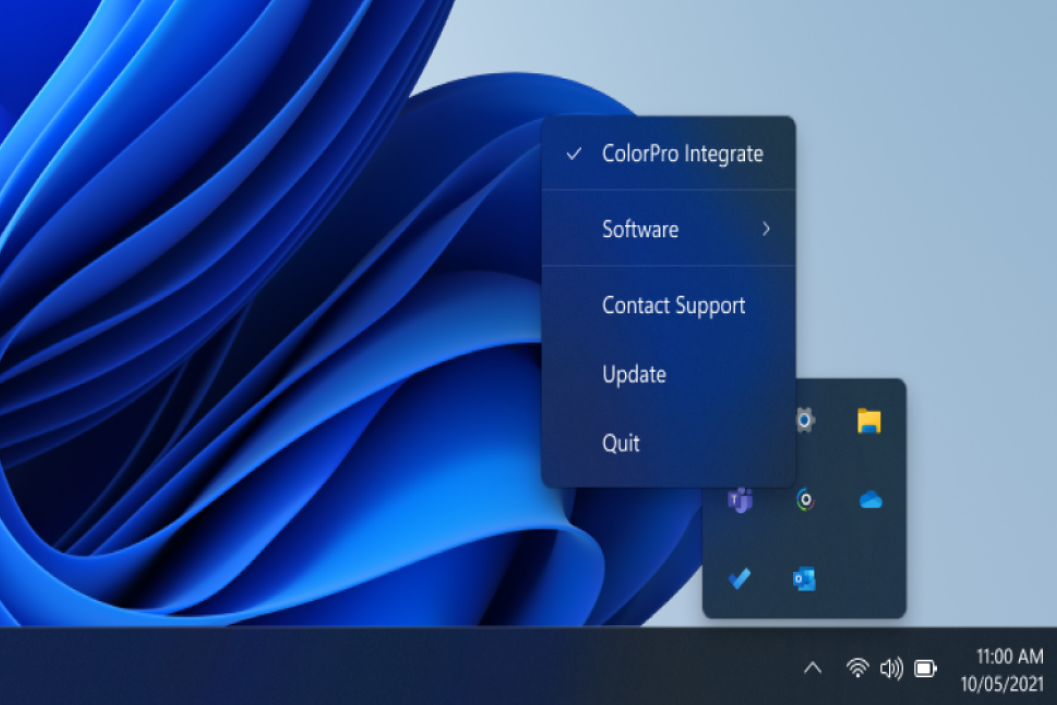
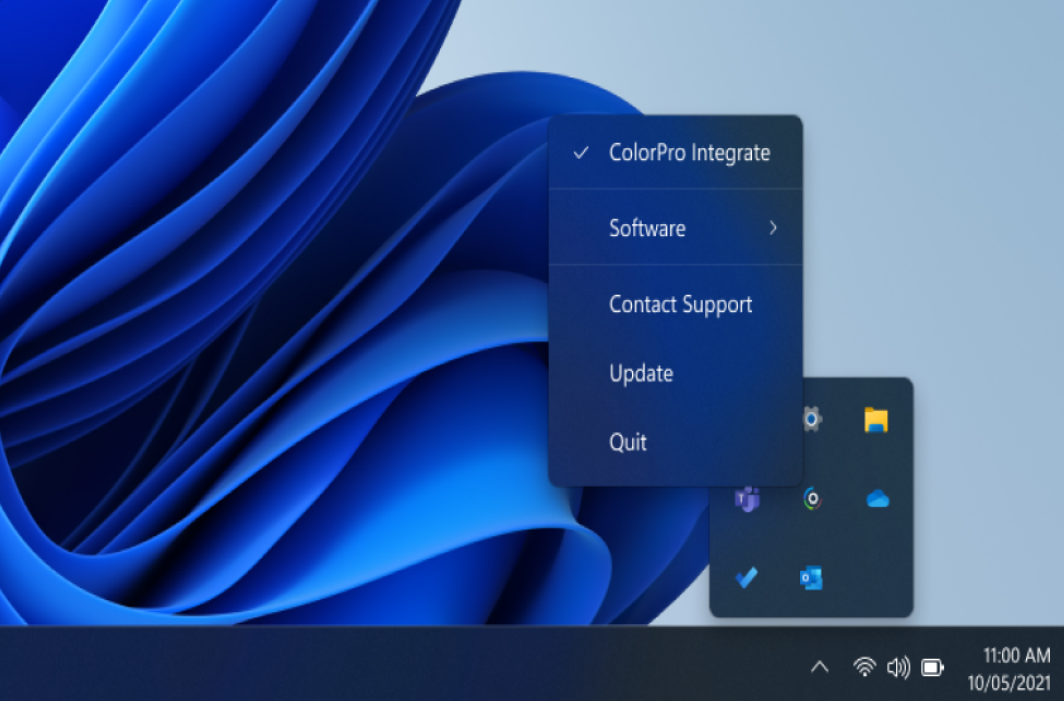
After launching the ColorPro™ Integrate program the Control Menu will be available with ColorPro Integrate, Software, Contact Support, Update, and Quit options.
| MacOS | Windows |
| Menu Option | Description |
|---|---|
| ColorPro Integrate | Enable/disable ColorPro™ Integrate. |
| Software | See which software is currently using ColorPro™ Integrate. |
| Contact Support | Contact ViewSonic’s Online Support Center. |
| Update | Check for software updates. |
| Quit | Exit ColorPro™ Integrate. |
Software Integration
Adobe Photoshop
Photoshop Integration can utilize the ColorPro™ Wheel as a quick access tool to control tools in the software.
Step 1
Use the Side Button to cycle between the Eraser, Stamp, Healing ,and Brush tool.
Step 2
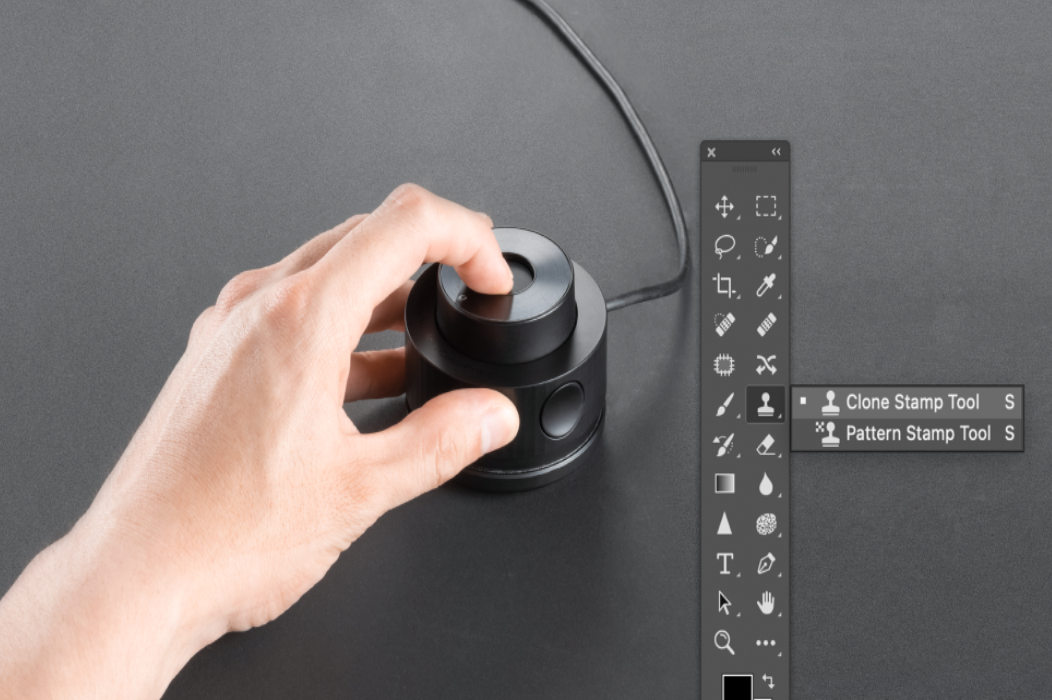
Use the Top Button to choose sub-functions in the designated toolbox, such as Clone in the Stamp tool.
Step 3
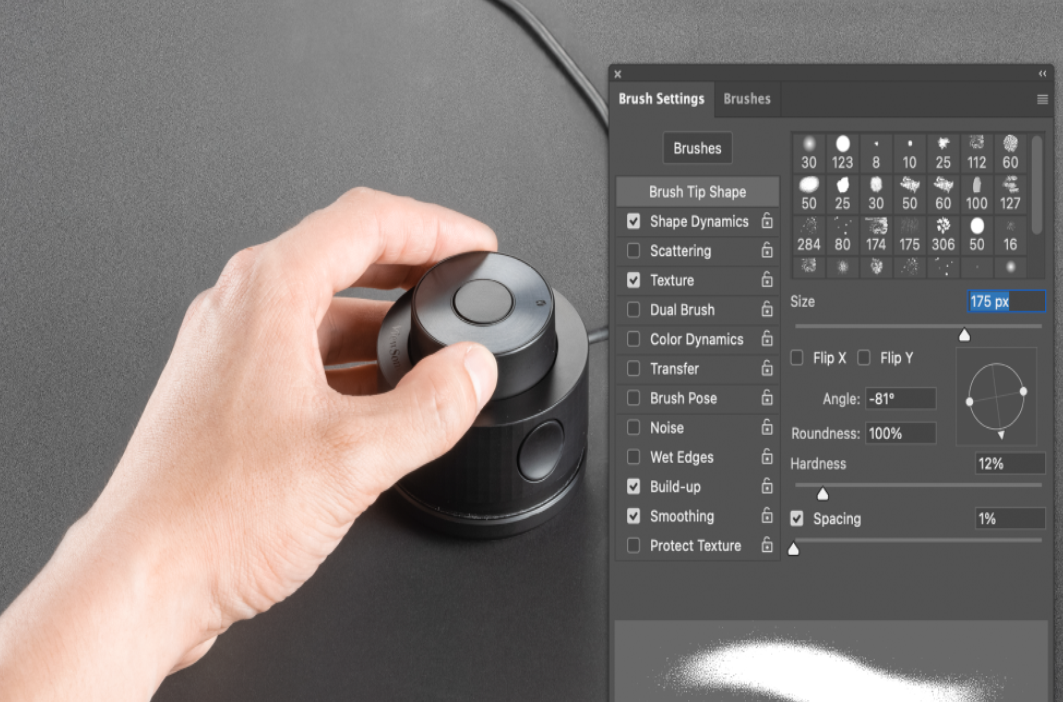
When adjusting parameters, move the mouse anchor to the target and click it, then use the Dial to increase or decrease the parameter.
Step 4
Activate Photoshop integration in the status bar.
Adobe Premiere
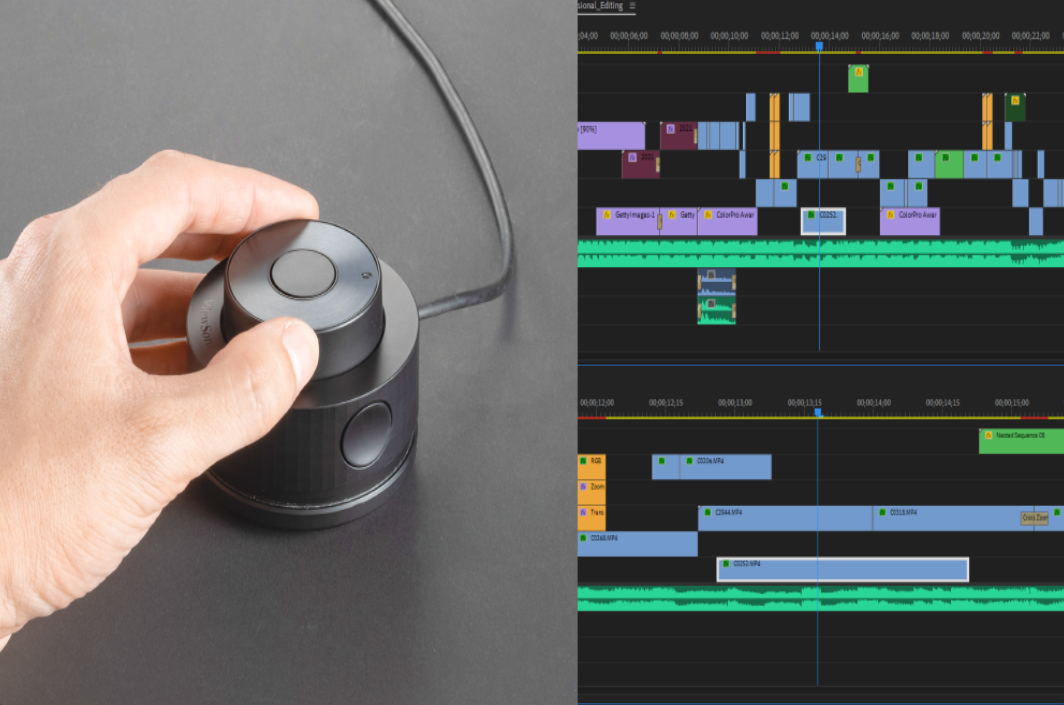
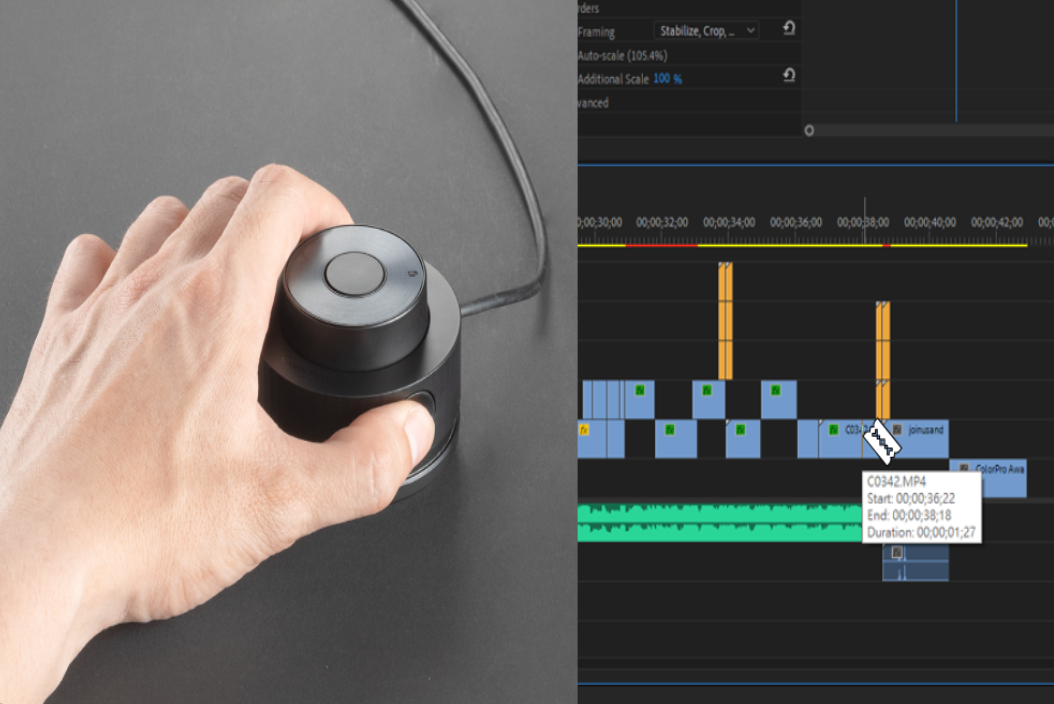
Premiere integration can utilize the ColorPro™ Wheel as a quick access tool to control the Razor tool, Zoom in/out, and the Ripple trim tool.
Step 1
Use the Dial to move through the timeline.
Step 2
Use the Side Button to cycle between the Ripple trim, Razor, Rolling edit, and Zoom tools.
Step 3
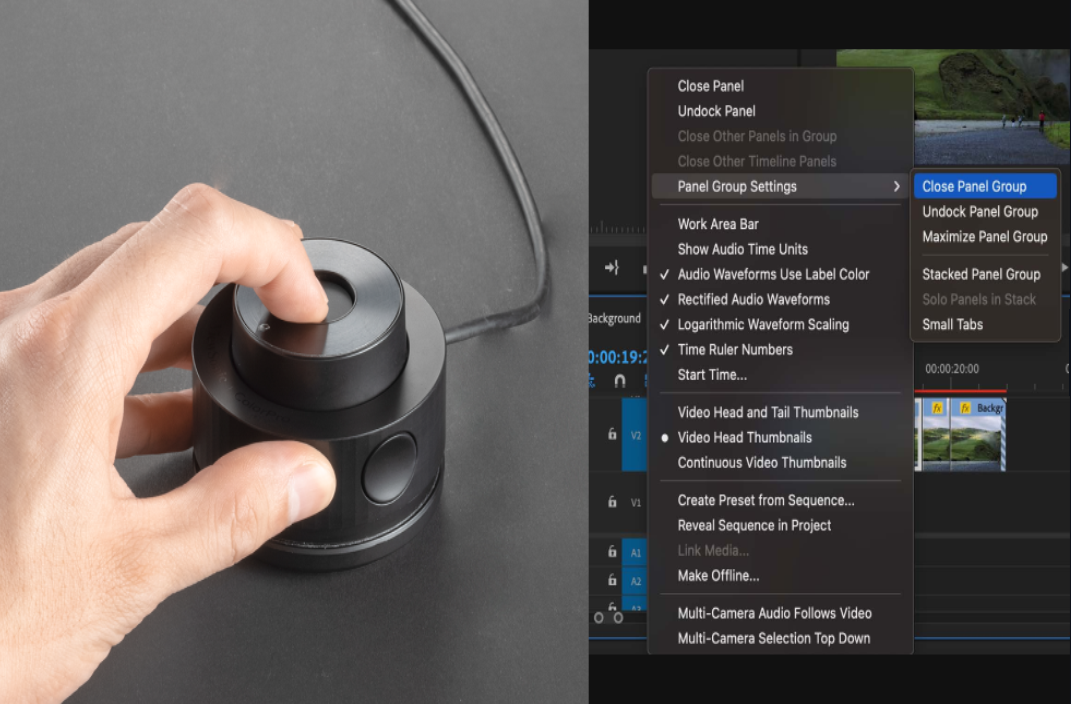
Use the Top Button to choose sub-functions in the designated toolbox.
Step 4
Activate Premiere integration in the status bar.
Capture One
Capture One Integration can utilize the ColorPro™ Wheel to control and navigate the interface.
Step 1
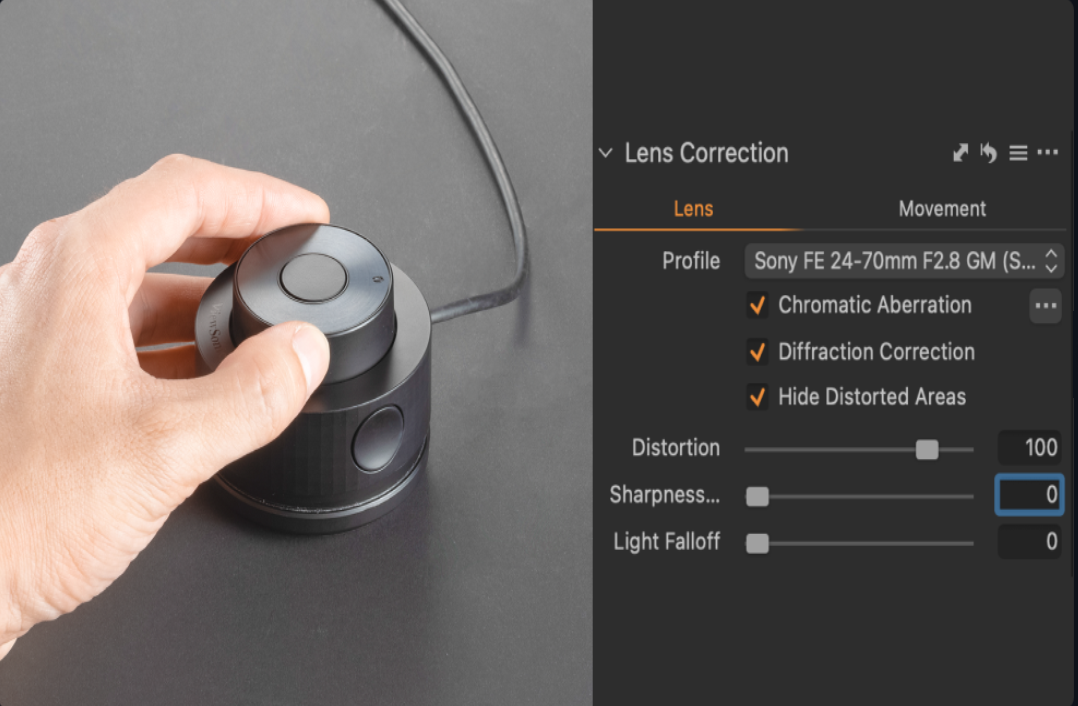
Use the Dial to increase/decrease the value after moving and clicking the mouse anchor on the item you would like to adjust.
Step 2
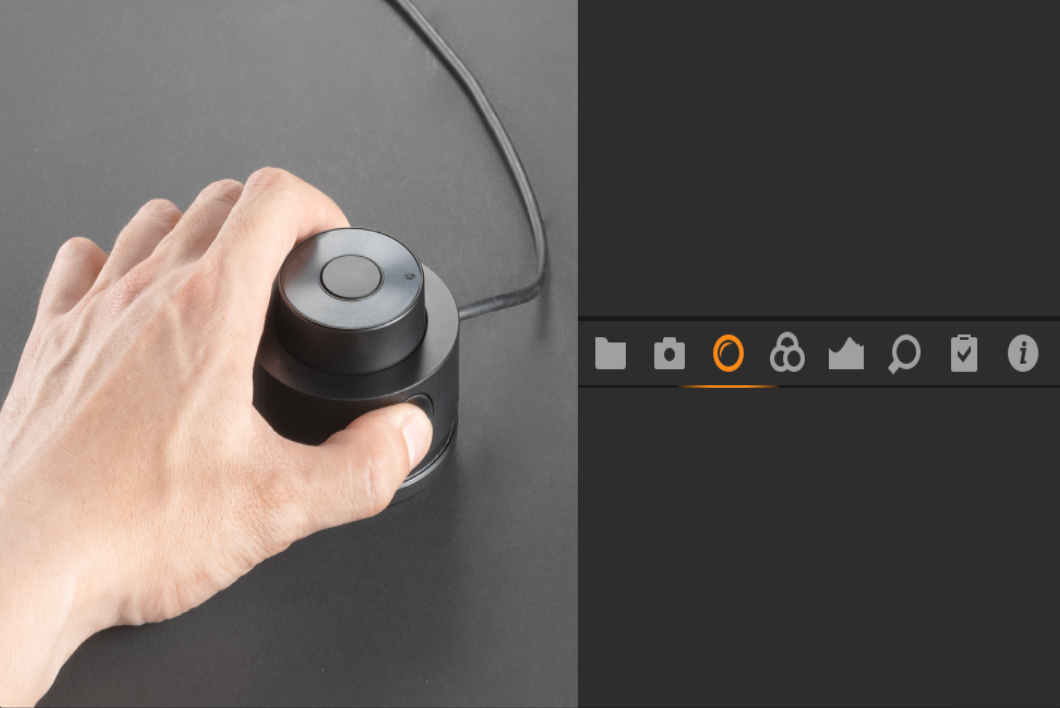
Tools are divided into tool tabs for different categories of tools (e.g., Lens tab, Camera tab, etc.). Use the Side Button to navigate between each tool tab.
Step 3
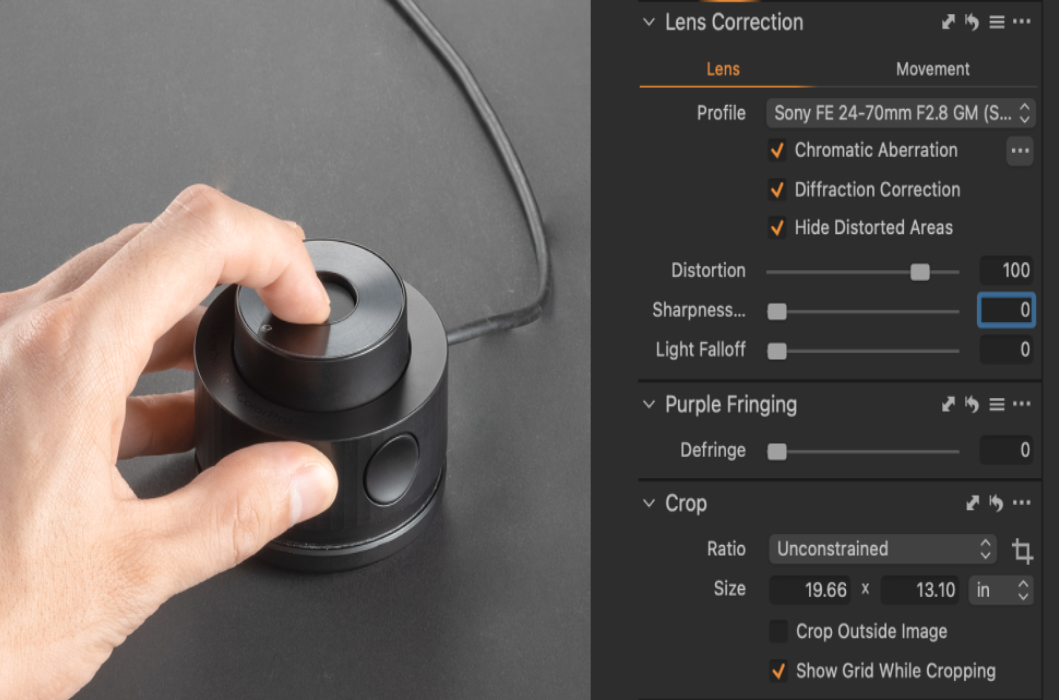
Each tool tab contains a different sub-tool. Use the Top Button to cycle between each sub-tool.
Step 4
Activate Capture One integration in the status bar.
ColorPro_Integrate_UG_ENG_1a_20230519

