LS901HD LS901-4K Menu Options
Menu Options
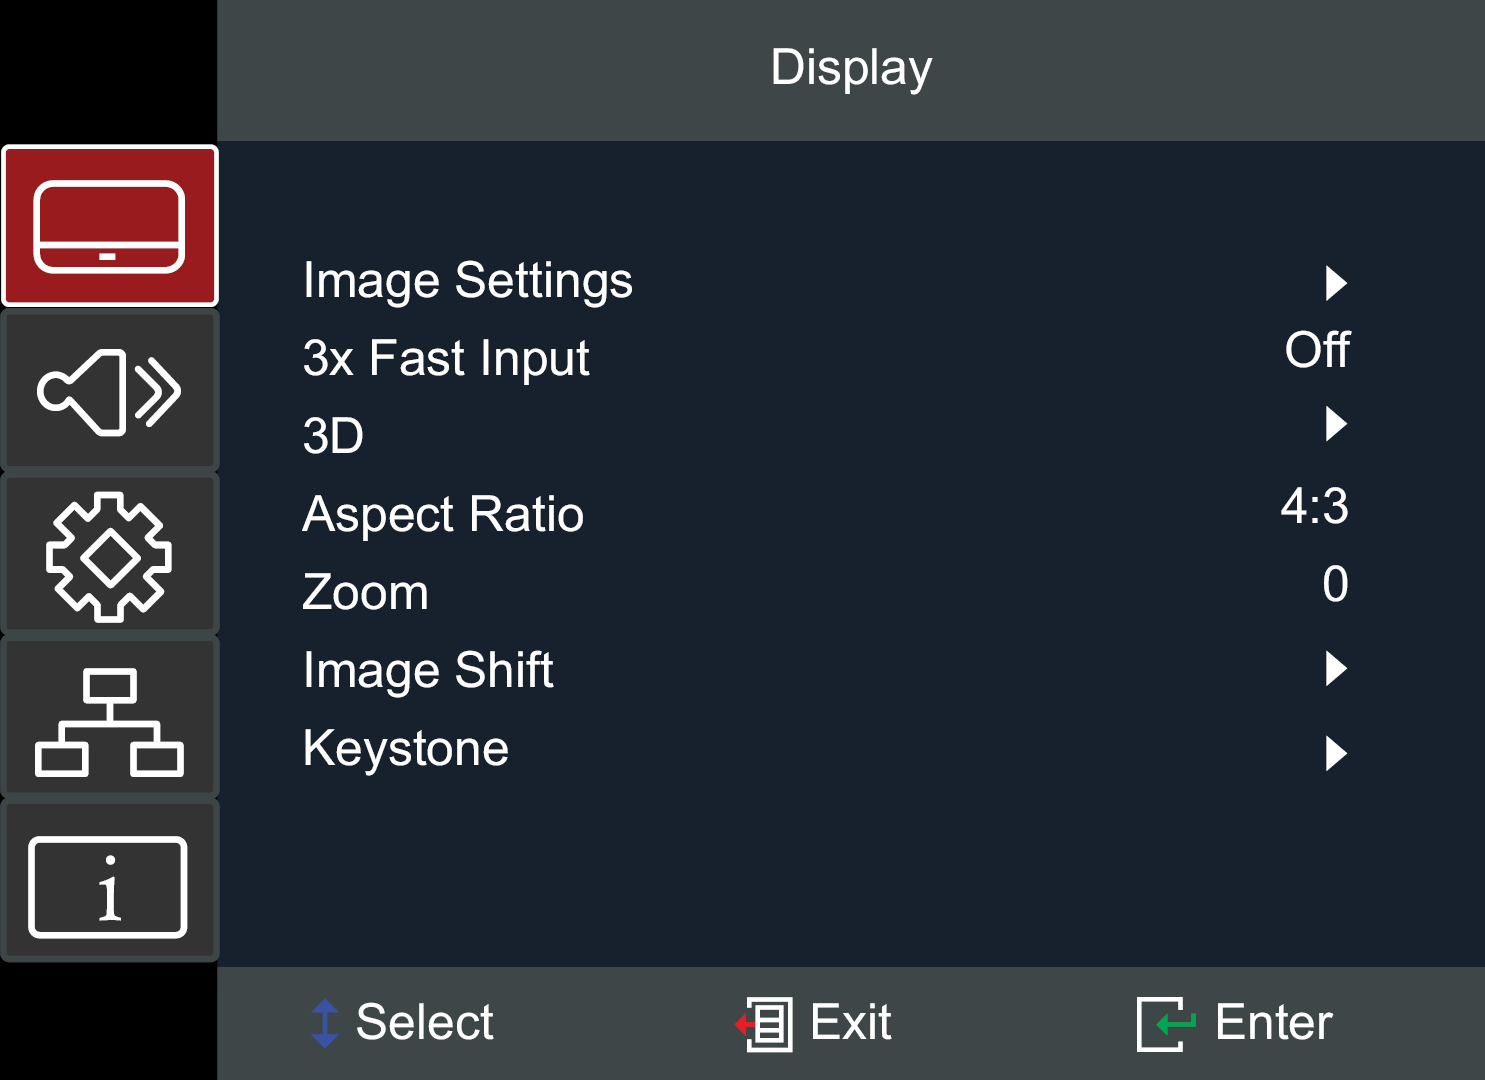
Display Menu
| Menu | Description | |
|---|---|---|
| Image Setting | Color Mode
There are several predefined display modes that you can choose from to suit your viewing preference. |
Presentation
|
Brightest
| ||
HDR SIM.[1]/HDR[2]
| ||
HLG[2]
| ||
Movie
| ||
Gamma
| ||
sRGB
| ||
DICOM SIM.[1]
| ||
Golf
| ||
3D[3]
| ||
Brightness
| ||
Contrast
| ||
Sharpness
| ||
Color
| ||
Tint
| ||
Gamma
| ||
| Color Settings | Brilliant Color™
| |
Color Temperature
| ||
Color Management
| ||
RGB Gain/Bias[1]
| ||
Color Space
| ||
| Light Source Mode | Dynamic Black
| |
Eco
| ||
Light Source Power
| ||
| 3x Fast Input[1]/Ultra Fast Input[2] | This function is favorable to frame rate reducing. | |
| 3D[4] | 3D Mode
Enable or disable the 3D function. | |
| 3D Format[5]
Select the 3D content format. |
Auto
| |
SBS
| ||
Top and Bottom
| ||
Frame Sequential
| ||
| Aspect Ratio | Select the aspect ratio of the projected image. | 4:3
|
16:9
| ||
21:9[2]
| ||
Native
| ||
Auto
| ||
| Zoom | Reduce or magnify the projected image | |
| Image Shift | Adjust the projected image horizontally or vertically. | |
| Keystone | Four Corners[6]
| |
H.Keystone
| ||
V. Keystone
| ||
3 x 3 Warp[2]
| ||
Reset
| ||
Notes:
- ↑ 1.0 1.1 1.2 1.3 LS901HD only.
- ↑ 2.0 2.1 2.2 2.3 2.4 LS901-4K only.
- ↑ 3D glasses are needed.
- ↑ This projector is a 3D ready projector with DLP-Link 3D solution. Please make sure your 3D glasses are for DLP-Link 3D. This projector supports Blue-ray 3D and frame sequential (page-flip) 3D via the HDMI 1/HDMI 2 ports. For the best performance, 1920 x 1080 resolution is recommended. Please note that 4K (3840 x 2160) resolution is not supported in 3D mode.
- ↑ A Blu-ray 3D source will be detected automatically, and options will not be selectable.
- ↑ While adjusting the Four Corners, the Aspect Ratio, Edge Mask, Image Shift, and Zoom menus will be disabled. To enable them, reset the Keystone settings to default
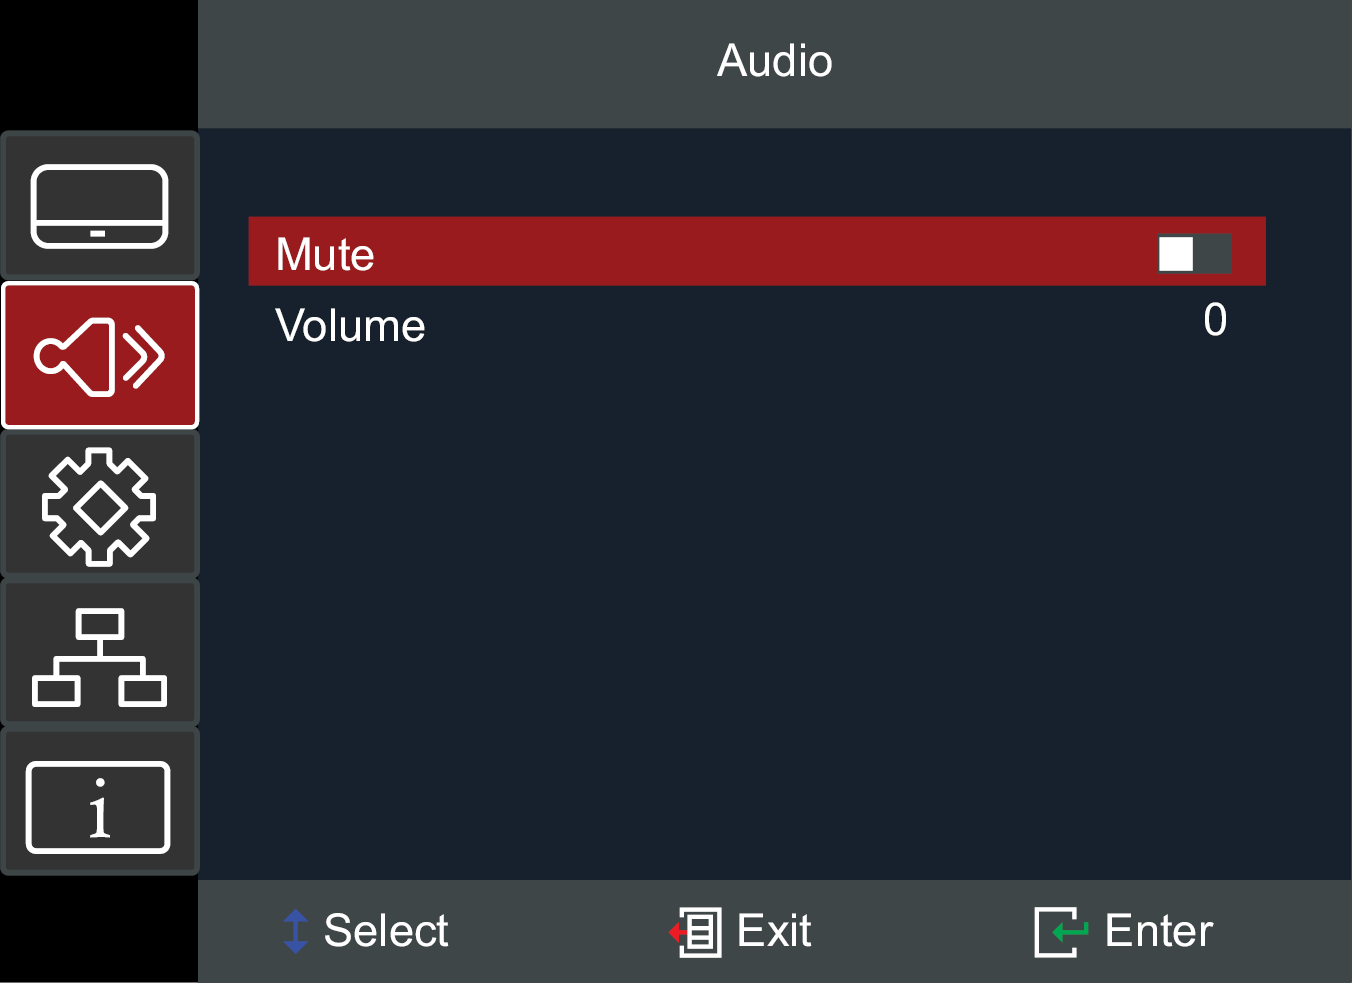
Audio Menu
| Menu | Description |
|---|---|
| Mute | Temporarily turn off the sound. |
| Volume | Adjust the volume level. |
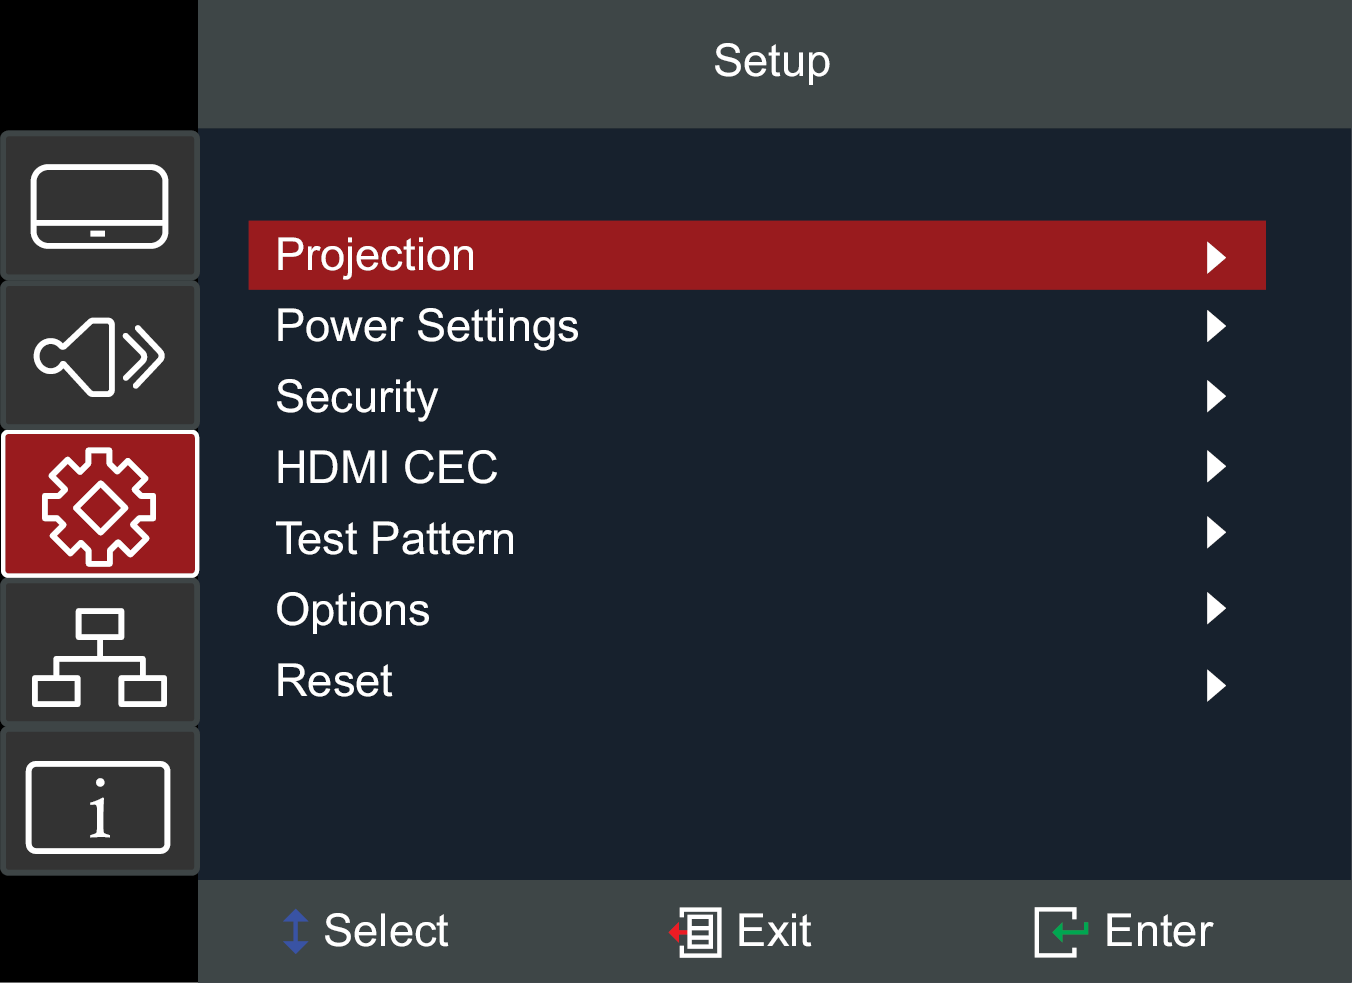
Setup Menu
| Menu | Description | |
|---|---|---|
| Projection | Select the preferred projection: Front, Rear, Ceiling-Top, and Rear-Top. | |
| Power Settings | Direct Power On
| |
Signal Power On
| ||
Auto Power Off (min.)[1][2]
| ||
| Power Mode (Standby)[3][4][1][2] | Eco
| |
Active
| ||
ErP Off
| ||
| Security | Power On Lock[5]
| |
Change Password
| ||
| HDMI CEC[6][7][8] | When you connect HDMI CEC-compatible devices to the projector with HDMI cables, you can control them on the same power on or power off status using the HDMI CEC control feature in the projector’s OSD. This lets one device or multiple devices in a group power on or power off via HDMI CEC in a typical configuration. | |
| Test Pattern | Select the test pattern from green grid, magenta grid, white grid, white, or disable this function (off). | |
| Options | Language
| |
Auto Source
| ||
High Altitude
| ||
Logo
| ||
| Reset[9] | Return the settings to default. | |
Notes:
- ↑ 1.0 1.1 When you deactivate the power management function, energy consumption will increase.
- ↑ 2.0 2.1 A warning message will also appear:

- ↑ There is no USB power supply when the projector is in standby mode.
- ↑ If you wish to connect to the projector via LAN in its standby mode, be sure you have selected “Erp Off”
- ↑ : The default password is: 1234
- ↑ In order for the CEC function to work properly, make sure that the device is correctly connected to the HDMI input of the projector via an HDMI cable, and its CEC function is turned on.
- ↑ Depending on the connected device, the CEC function may not work.
- ↑ LS901-4K ONLY: If both HDMI 1 and HDMI 2 ports are occpied, the CEC funcntion will not be able to detect the correct source.
- ↑ When resetting, the following settings will still remain: Zoom, Keystone Settings, Language, Projection, Power Mode (Standby), High Altitude Mode, Security Settings, Network Settings, Light Source Hours Information.
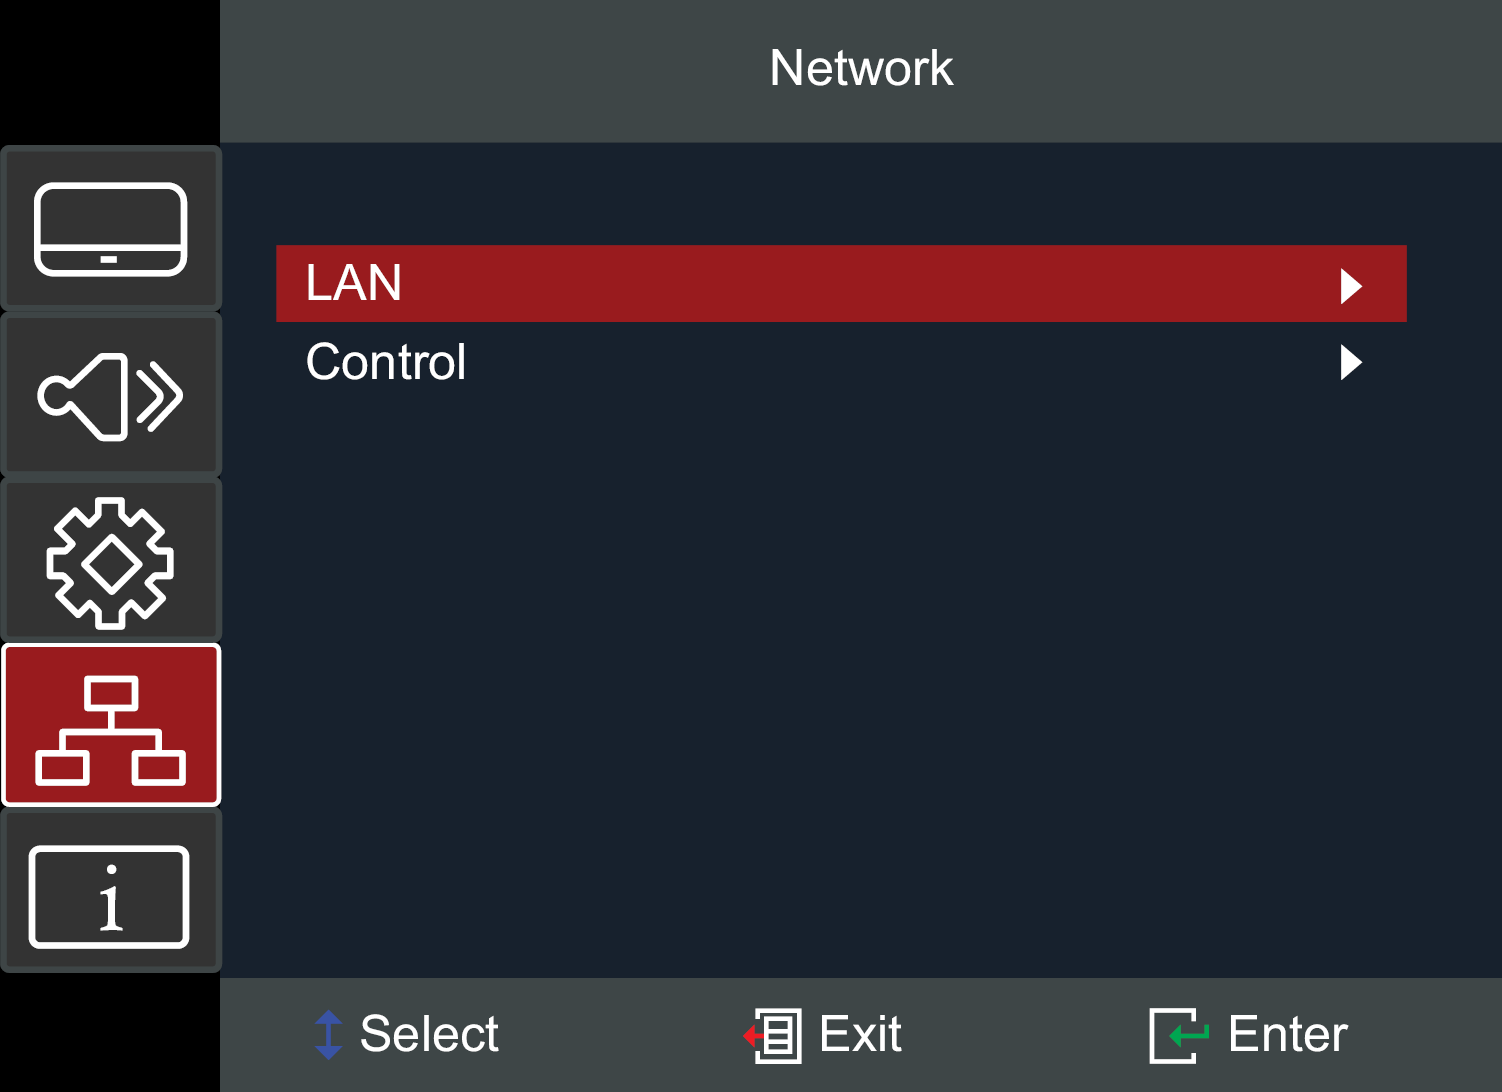
Network Menu
| Menu | Description |
|---|---|
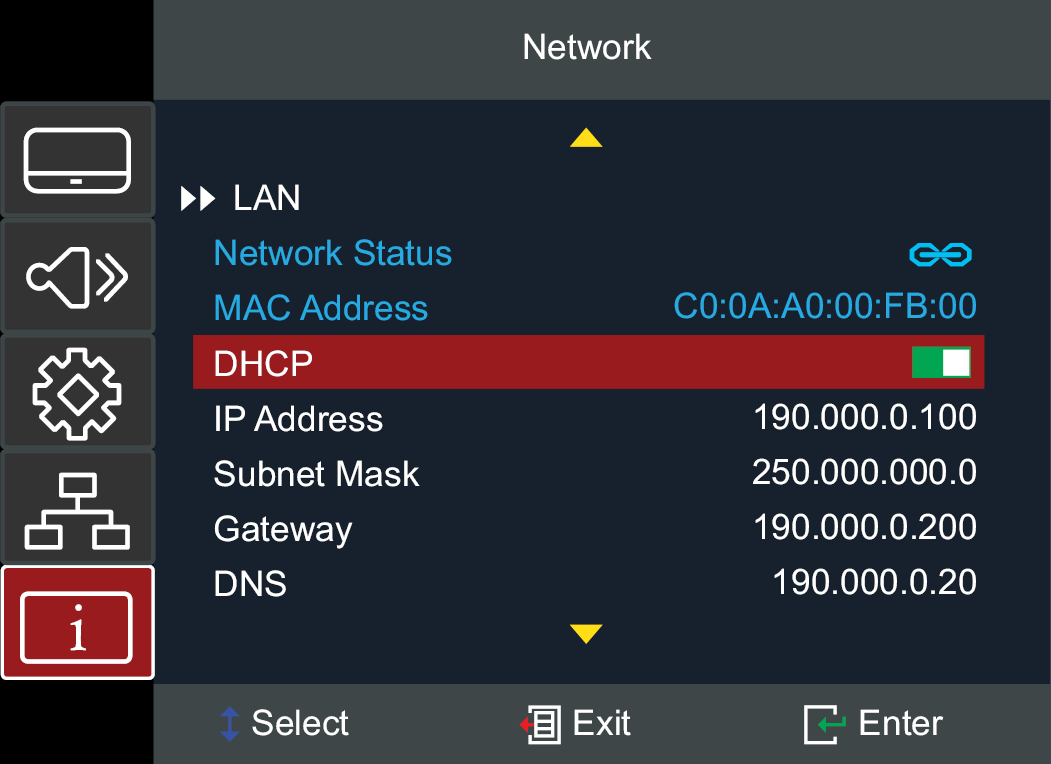
| LAN | View network information and enable/disable DHCP. |
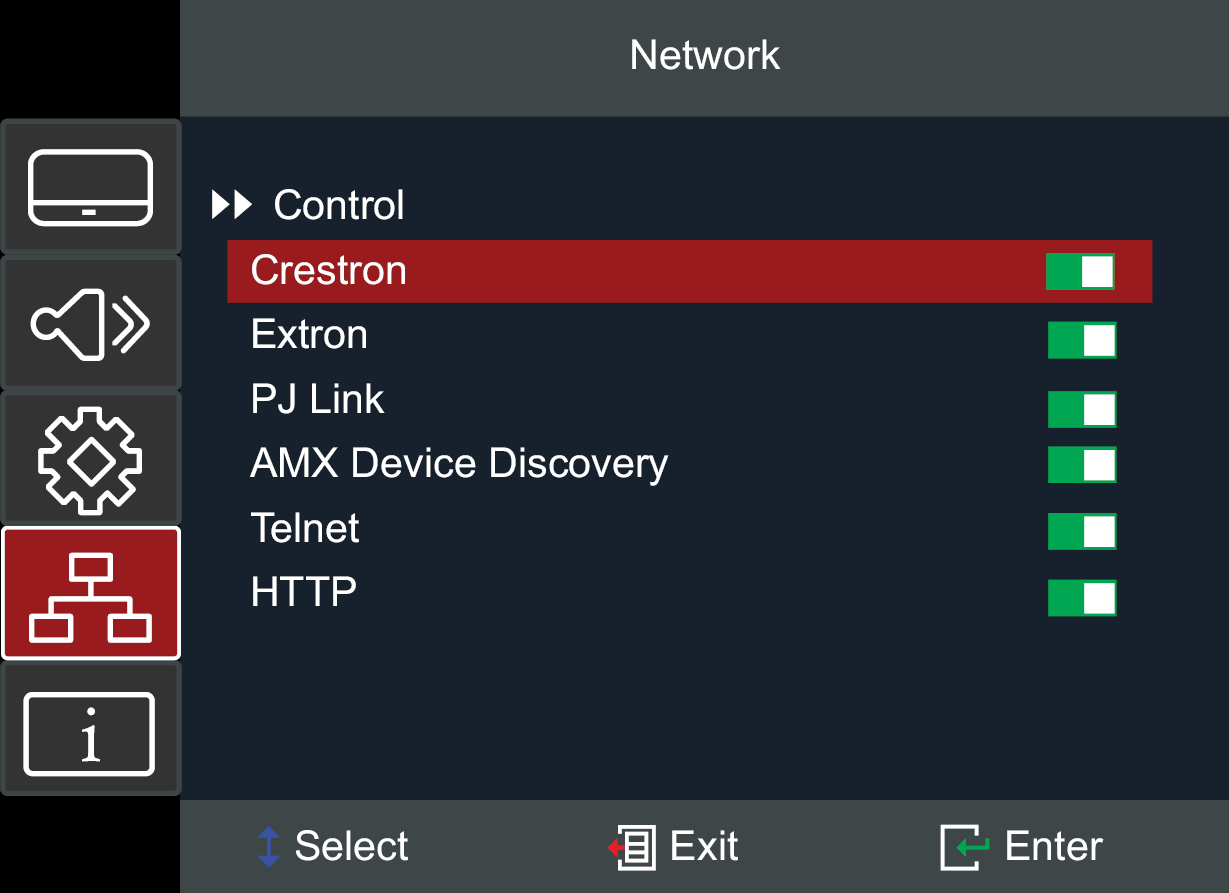
| Control[1] | Enable or disable network control suites. |
Notes:
- ↑ To connect successfully, the control suite must be enabled.
Controlling the Projector throught a Network
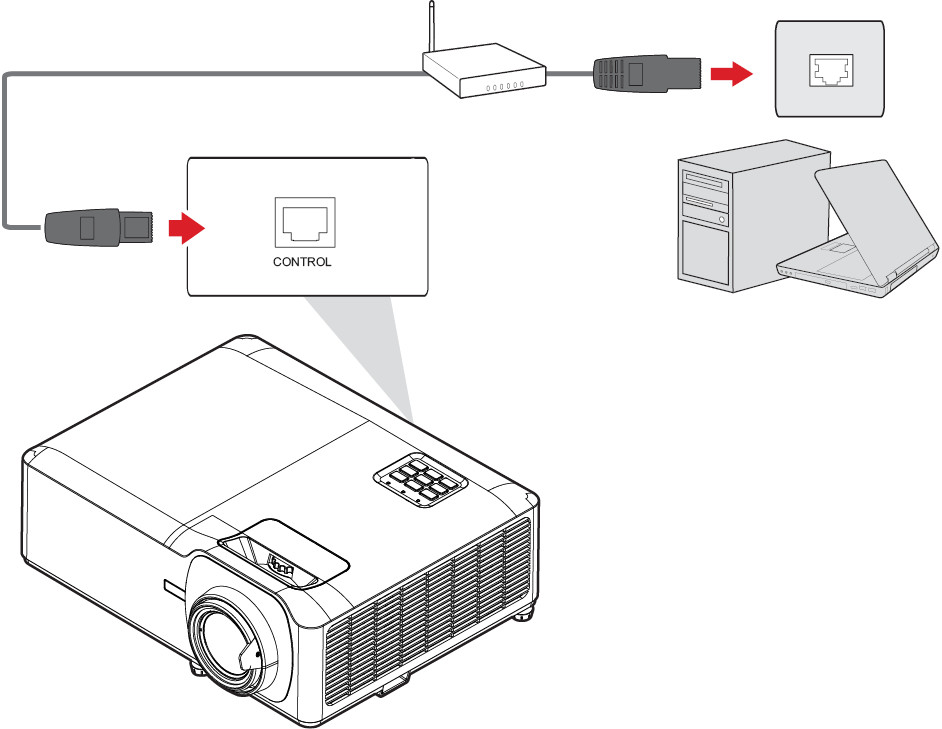
The projector provides diverse networking and remote management features. The LAN /RJ45 function of the projector, through a network, can remotely manage: Power On/Off, Volume adjustment, Input select, Brightness, and more.
- Note: Please ensure Network > Control > HTTP is enabled.
- Connect the projector to a network via the LAN/RJ45 port.
- Open the On-Screen Display Menu and go to: Network > LAN.
- Select DHCP and turn it On to obtain an IP address automatically; or select Off to enter the network information manually.
- Note: Please wait for around 15~20 seconds, then re-enter the LAN settings page. The Projector IP Address, Subnet Mask, Default Gateway, DNS Server settings will be displayed. Make note of the IP address displayed in the Projector IP Address row.
- Using a web browser, and under the same network, type in the projector’s IP address.
- Enter the user name and password, then click Log in.
- Note: When logging in for the first time, please follow the description on the web page to set a password. Then you will be able to log in.
Information Menu
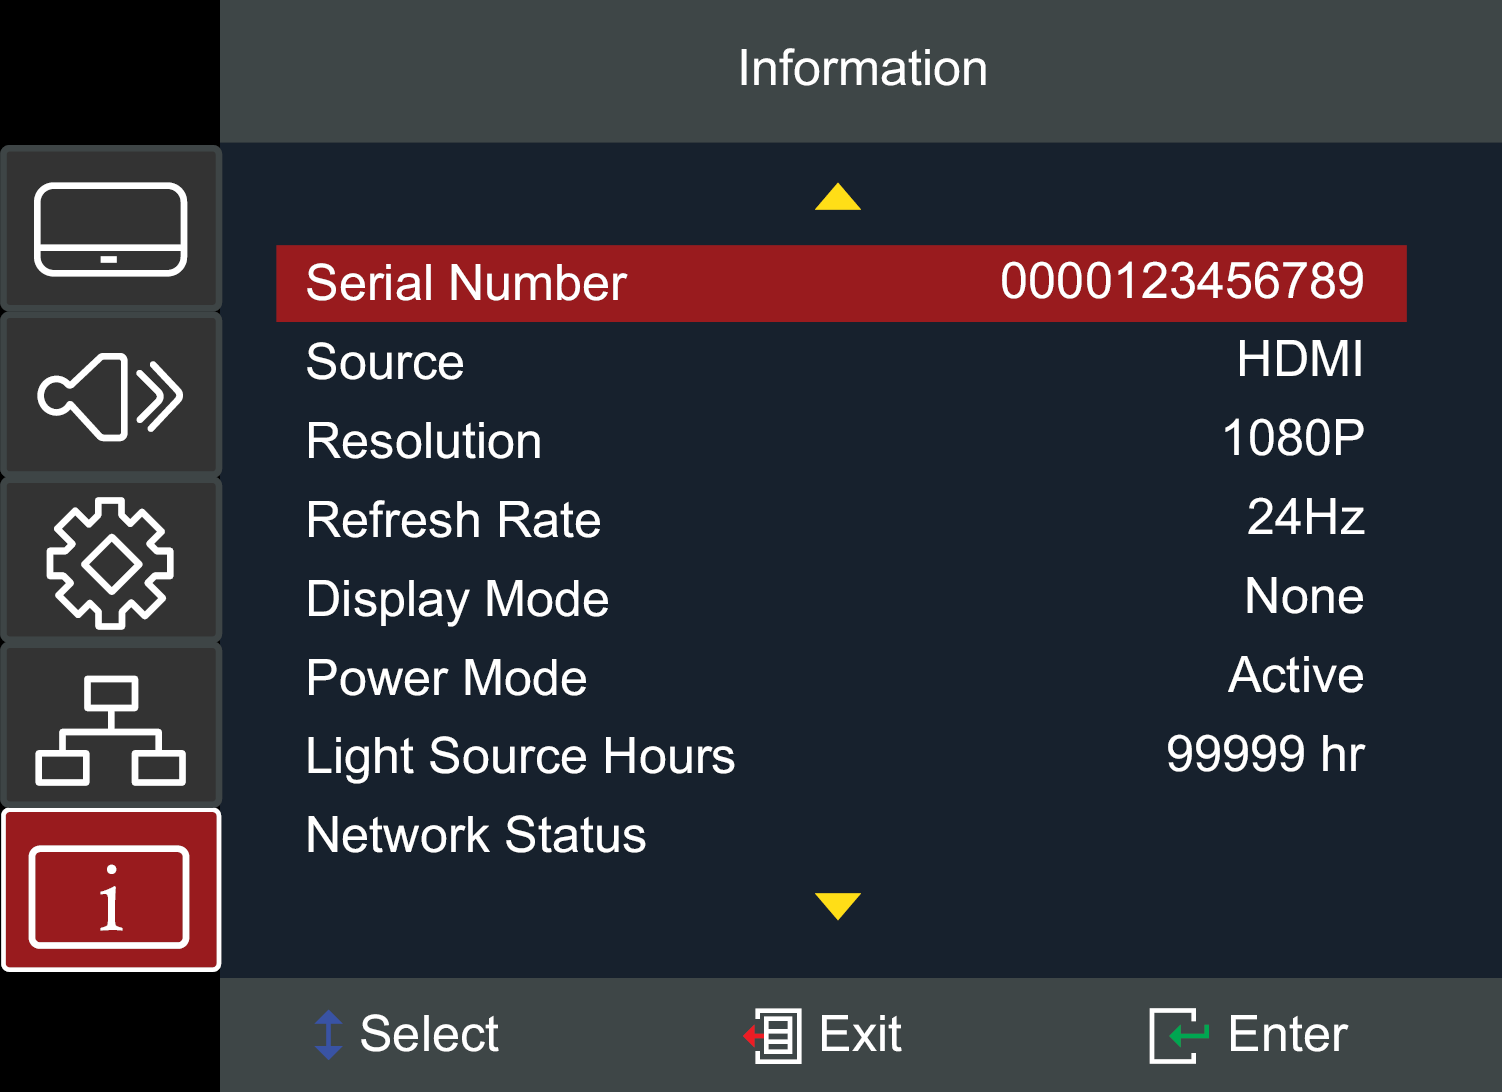
View Serial Number, Source, Resolution, Refresh Rate, Display Mode, Power Mode, Light Source Hours, Network Status, IP Address, Brightness Mode, and Firmware Version information.

